
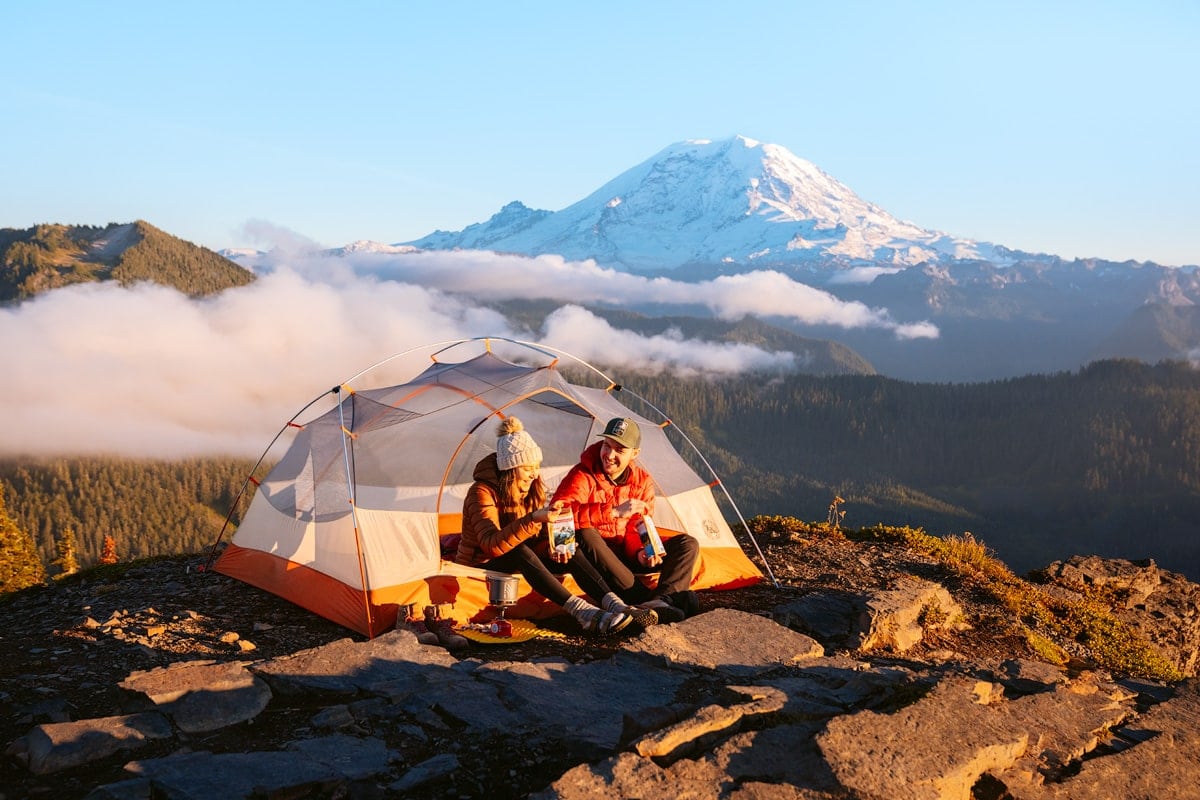
Sleeping outdoors, wild animals, carrying all your gear, pooping in the woods… backpacking can seem daunting if you haven’t done it before! Like most things though, backpacking and wilderness camping is something you get better at with practice. Everyone has to start somewhere!
This guide shares with you all the essentials for getting out on your first backpacking trip. Including how to research, plan ahead and what gear to use. Already a seasoned camper? You may just find some useful tips for your next adventure!
Disclaimer: This blog post may feature some affiliate links, which means I get a small commission if you make a purchase (at no extra cost to you). It’s one of the ways I can keep producing free guides and resources for my readers. Learn more about my affiliate policy here. Thank you for the support!
Beginners Guide to Backpacking
I remember my first time backpacking and wilderness camping. I didn’t know all that much about backpacking and definitely made A LOT of mistakes! It was cold, I packed way too much stuff, and overall got my ass kicked. So I have pretty much written the guide that I needed when I was first started backpacking, with the hope that it will help you not make the same mistakes. 😆 Let’s jump into it!
Research and Plan Your Hiking Trip
It’s important that you do your research and plan accordingly before heading out into the great outdoors as a first-time backpacker. Here are some things you should definitely consider when planning and preparing for your first backpacking trip. Planning out these things will help you feel more confident, safe, and excited for your first backpacking trip!
Where Are You Legally Allowed To Camp?
You can’t just set up a tent anywhere and every backpacking trip should be researched. I often reference with a Google search and/or conversation with a local ranger. When considering overnight backpacking trips or multi-day treks, I will typically refer to a park’s website or call the local ranger office to ask where camping is allowed in a particular area. It’s also a good time to take note of any permits and reservations that may be required (usually required for national parks). This is becoming much more common as certain trails and national parks continue to get busier.
Pro tip: Some great websites to find backpacking trips in your local area include The Outbound and All Trails. For those based in Washington I would also recommend Washington Trails Association.
Do You Know Where You Are Going?
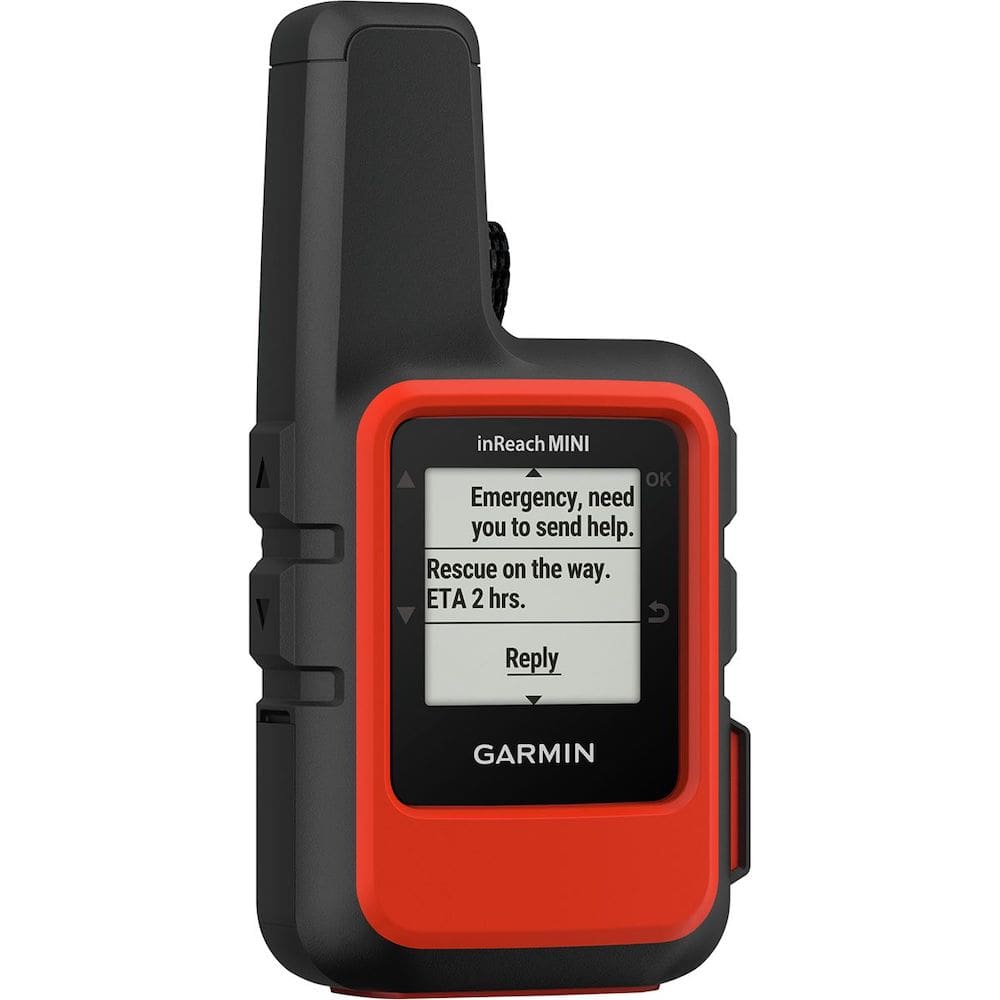
Be sure to have adequately researched the route you are taking prior to leaving home. Do you know where you are going? Where you are camping? Where your water sources are? I recommend taking a physical topographic map (plus compass), download offline maps onto your phone (I use the Gaia App – get 20% off!), and you can also consider carrying a GPS style navigation and emergency device (I have one similar to the Garmin InReach Mini). You’ll want to consider the same factors as planning a day hike, such as elevation gain, mileage to your destination, and the weather forecast. Keep in mind with a heavier backpack your pace will likely be a bit slower. For your first trip, it’s wise to start with a relatively short amount of miles.
Are You Aware Of leave No Trace (LNT) Principles?
I cannot stress this enough… please don’t go hiking or backpacking without knowing how to respect nature. I have an entire blog post on this topic that I encourage you to read, or you can check out the resources on the Leave No Trace Center for Outdoor Ethics website.
Who Are You Going With?
It’s a good idea to travel with someone more experienced for your first backpacking trip. Solo trips are absolutely okay (and preferred by many) but be sure to know what you’re doing before setting off alone. Some ways to find like-minded hikers include Facebook groups, Meetup groups, and booking guided trips through local gear stores and outfitters.
What Are You Packing?
You definitely don’t need every single thing I have listed below, but you should 100% have anything required for survival. These items are commonly known as the “10 Essentials”. They include navigation, insulation, nutrition, hydration, shelter, means to start a fire, illumination, first-aid supplies, repair kit, and sun protection. The National Park Service has a great article on this topic if you want to check it out here.
Have You Told Someone Your Plans?
It’s important that you tell a friend or family member where you are going hiking/camping. Some people also leave an itinerary under their driver’s seat at the trailhead, in case a ranger notices your car has been there for a long period of time.
Get Your Backpacking Gear Ready
I won’t lie, there are quite a few gear items you need for backpacking. In saying that, going on trips with friends can help reduce the items you need to bring along or purchase yourself. Some things that can easily be shared include a tent, stove/cook system, bear canister, first aid kit, bug spray, sunscreen, an emergency device, etc.
Below I have listed the items I personally would recommend for backpacking. You may find that some things aren’t necessary for your own kit (like a camp pillow.) When purchasing gear, you’ll want to think about durability and weight of the items. While lightweight items are preferable when carrying all your gear on your back, they are usually more pricey. Beginner backpackers often get caught up in trying to have as ultralight gear as possible, but it’s totally ok to start with heavier gear that is more affordable. It’s more important to have gear that is safe and durable, and won’t break the bank.
You will find everything listed below in a printable checklist in my free resource library. Keep in mind that every backpacking trip will be different, so use this as a guide as a starting point. You can make adjustments according to your climate, length of trip, budget for new gear, etc.
What To Pack for an overnight Wilderness CAmping trip
Much of what you pack and wear will be similar to what you’d pack for a day hike, with a few key essentials added. I have an entire guide and packing list for beginner hiking essentials, so be sure to check that out. That guide includes my recommendations for the best hiking shoes and boots, lightweight and warm layers, and day hike essentials.
Choosing your backpacking gear depends on a few factors, like how much you want to carry (weight), how long you’ll be backpacking, and the cost of gear. I know that backpacking gear is quite expensive, so I’m sharing some budget-friendly gear recommendations as well. Since you’ll be carrying all of your gear (clothing, food, shelter.. everything!) you’ll want to spend some time determining your budget and researching gear. And I’m here to help with that!
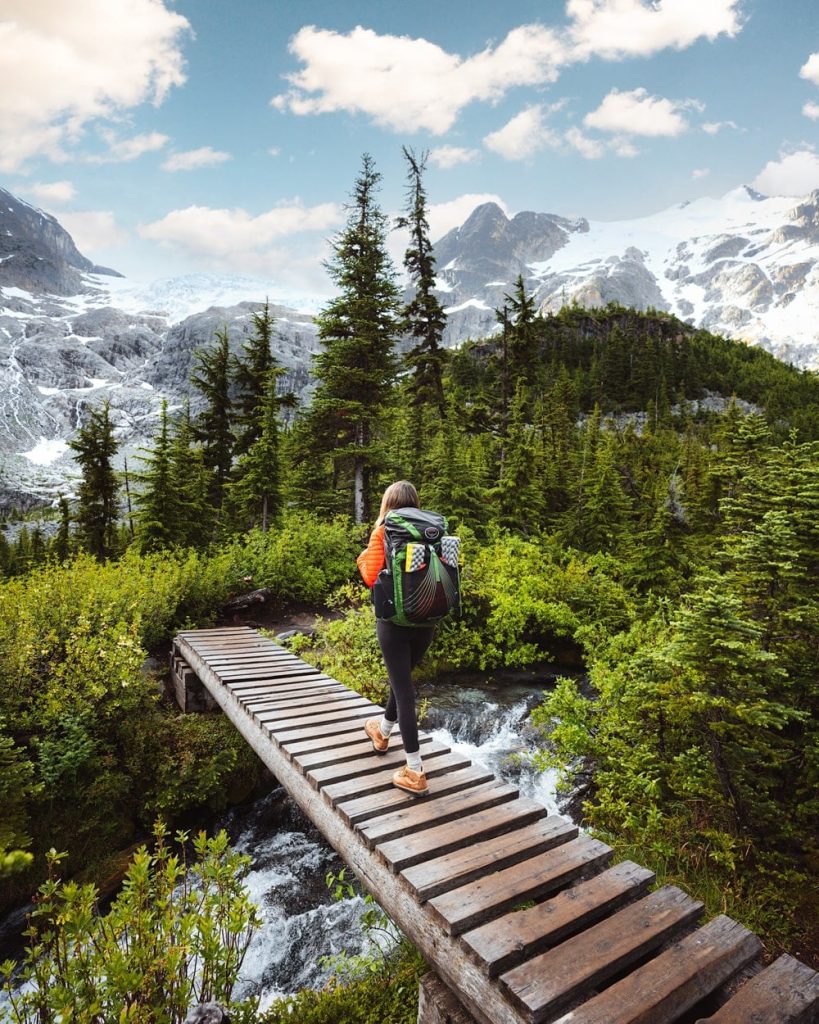
Backpack
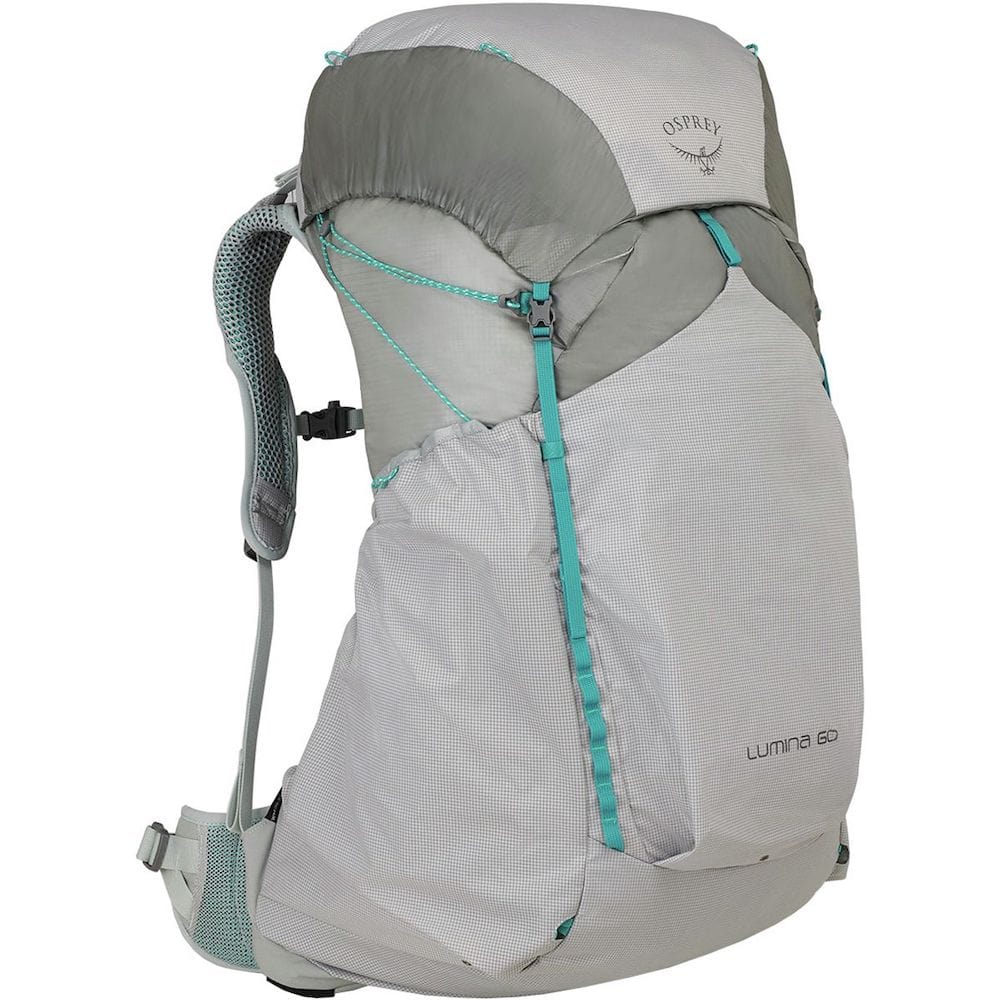
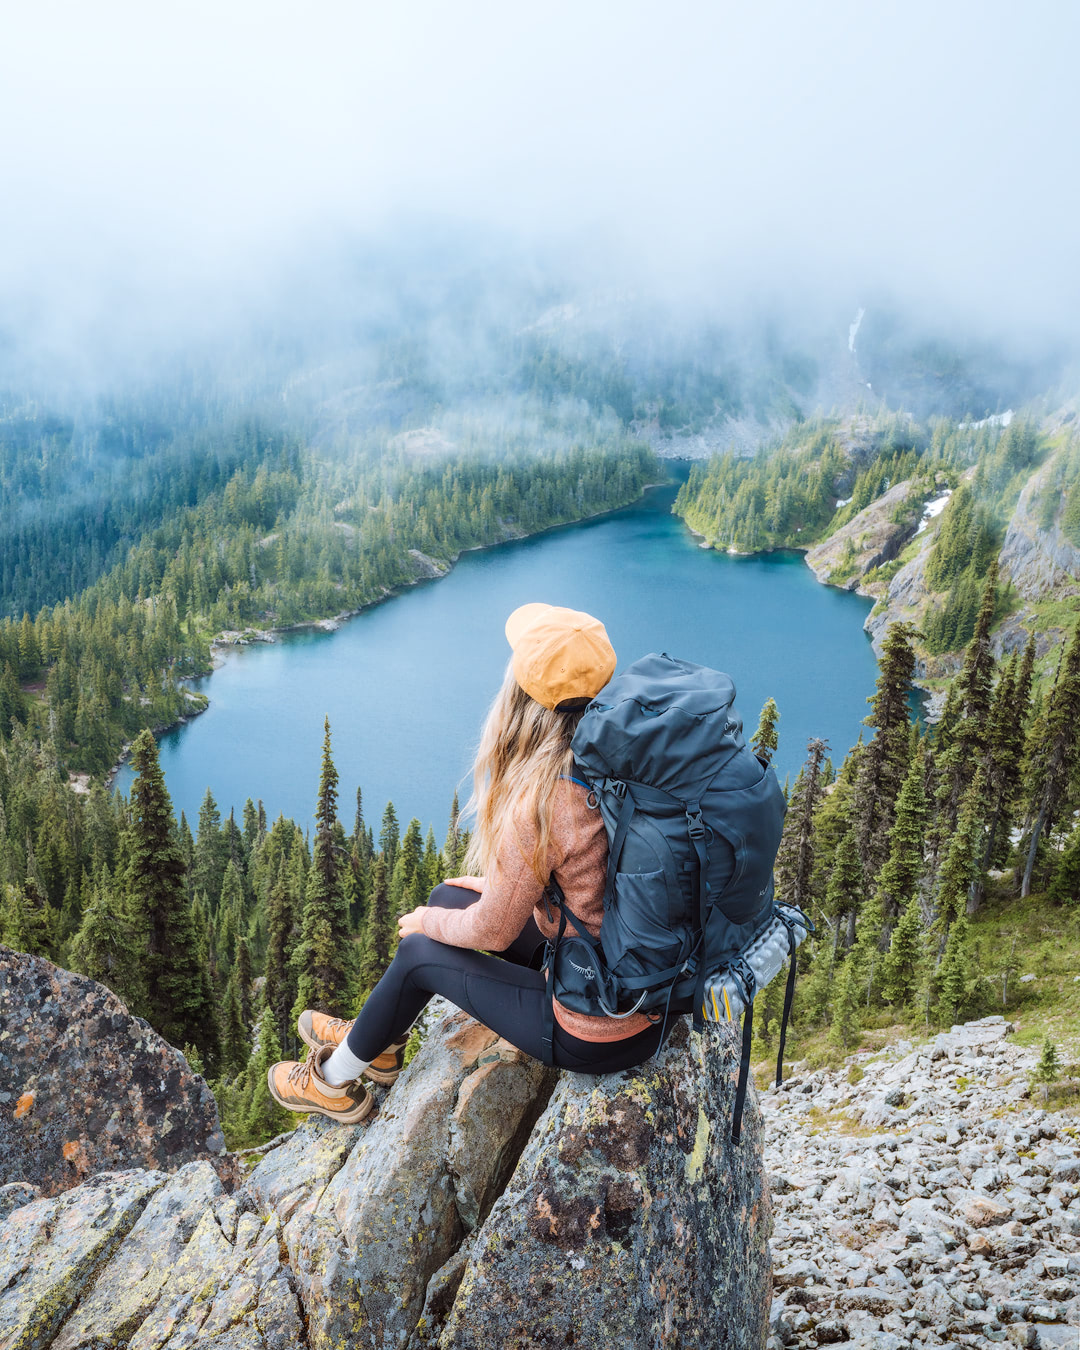
Packs are very personal in terms of size, fit and overall functions. Some people prefer ultra-lightweight with minimal pockets, zips and padding. I personally prefer a light pack that has a few of those features (especially the hip padding) but doesn’t go overboard with the weight. I also typically carry a slightly larger pack than necessary as my camera gear takes up a lot of room!
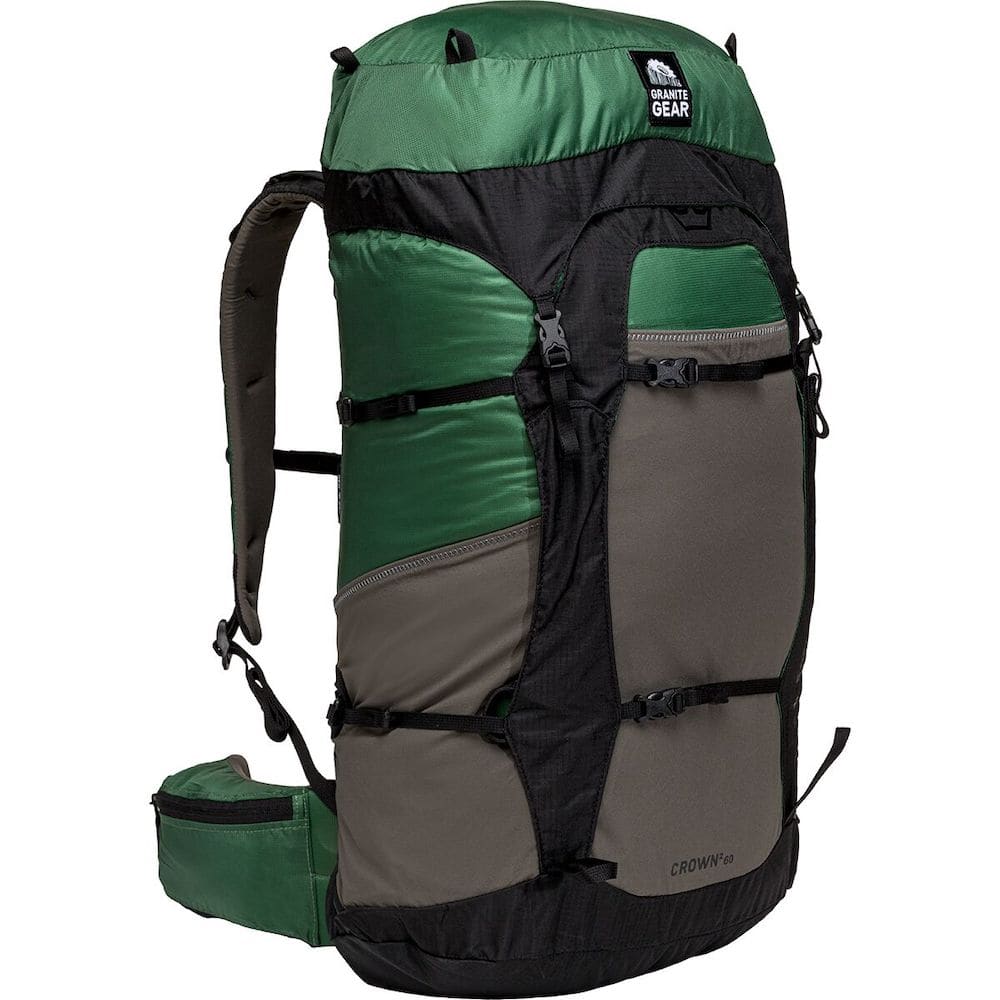
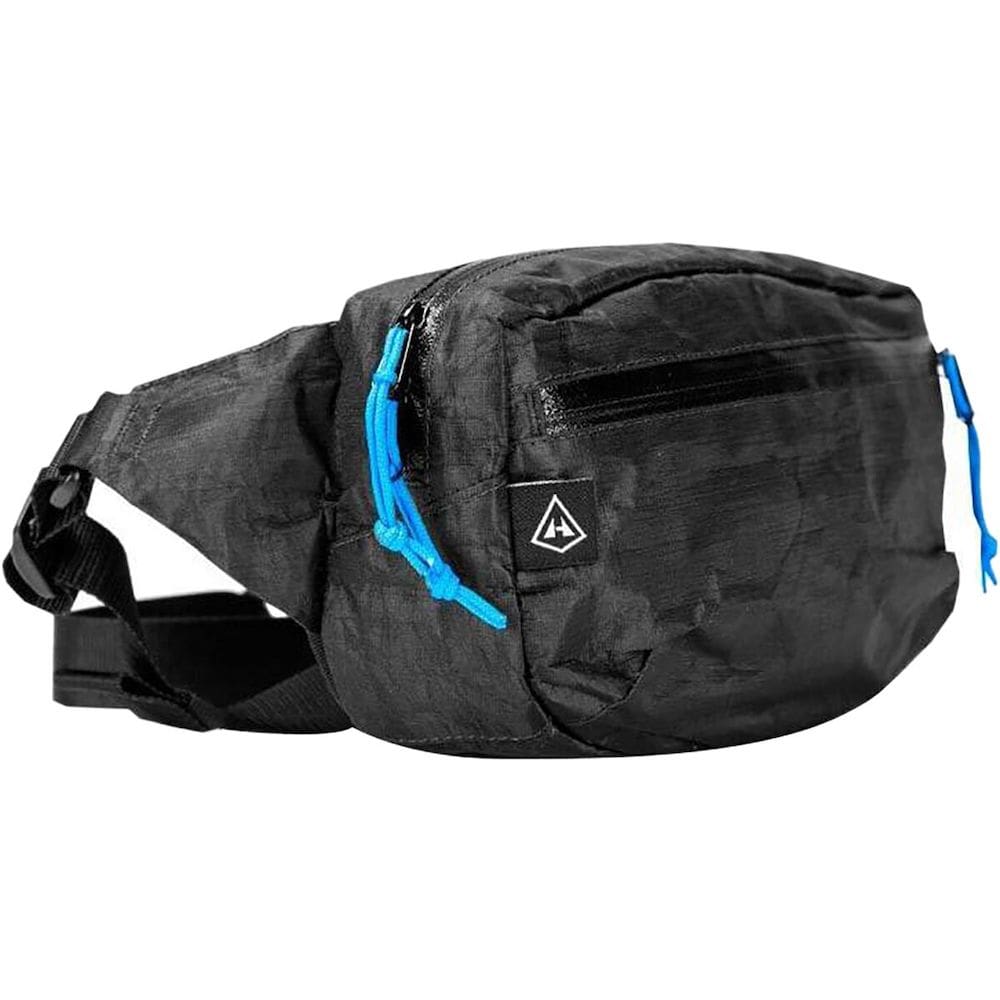
My favorite lightweight pack for backpacking is the Osprey Lumina 60L Backpack (men’s version available here.) For a bit more support and features, I like the Osprey Kyte 46L Backpack (men’s version available here.) If you want to pack fast and light, Hyperlite Mountain Gear makes some of the best backpacks that are ultralight and durable. I recommend the Granite Gear Crown 2 60L Backpack as a budget-friendly option for a good backpacking pack. I often also use the Hyperlite Versa Hip Pack attached to my pack’s waist strap for easy access to essentials (aka snacks and chapstick!)
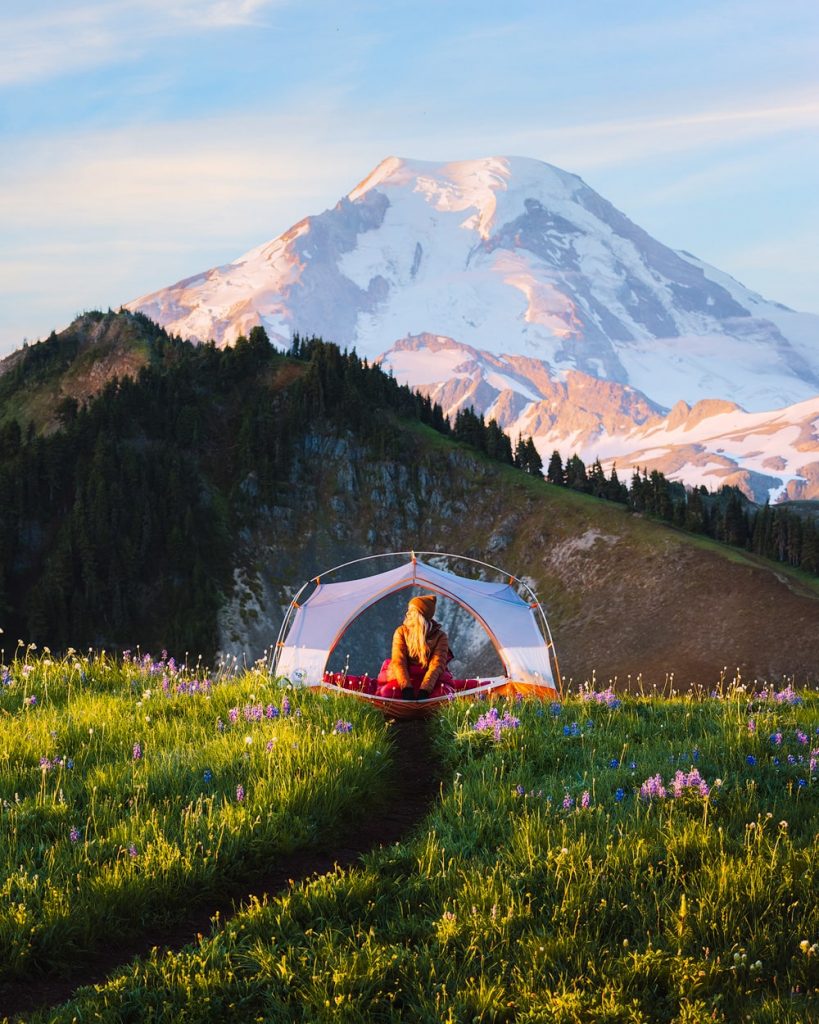
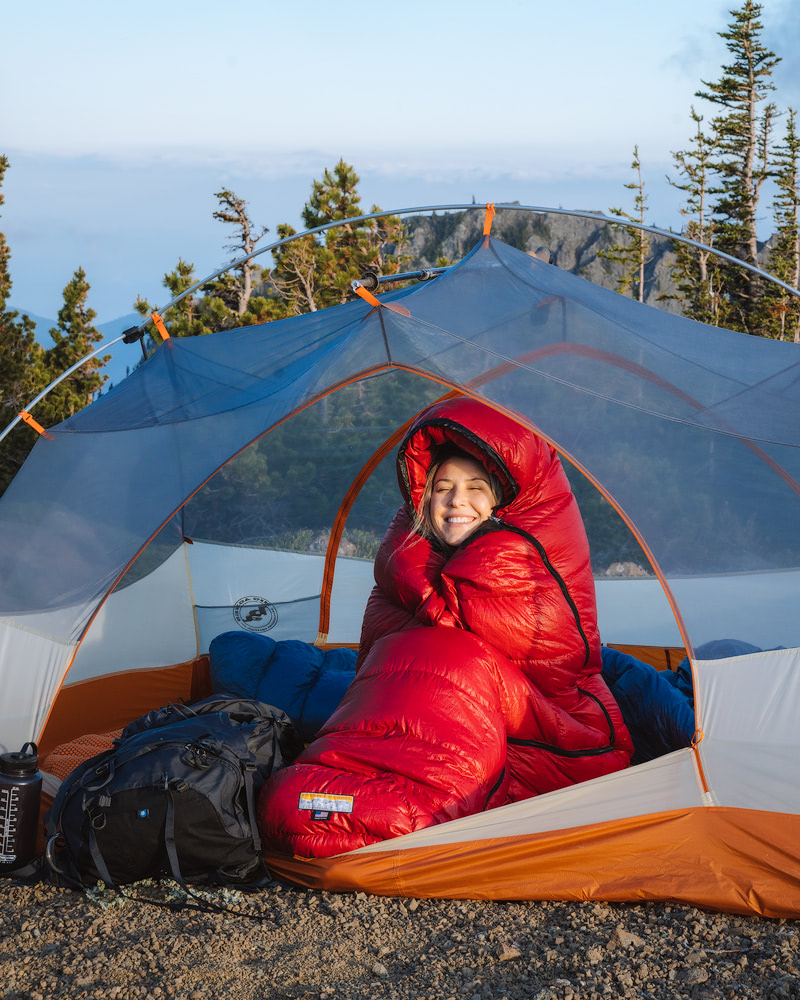
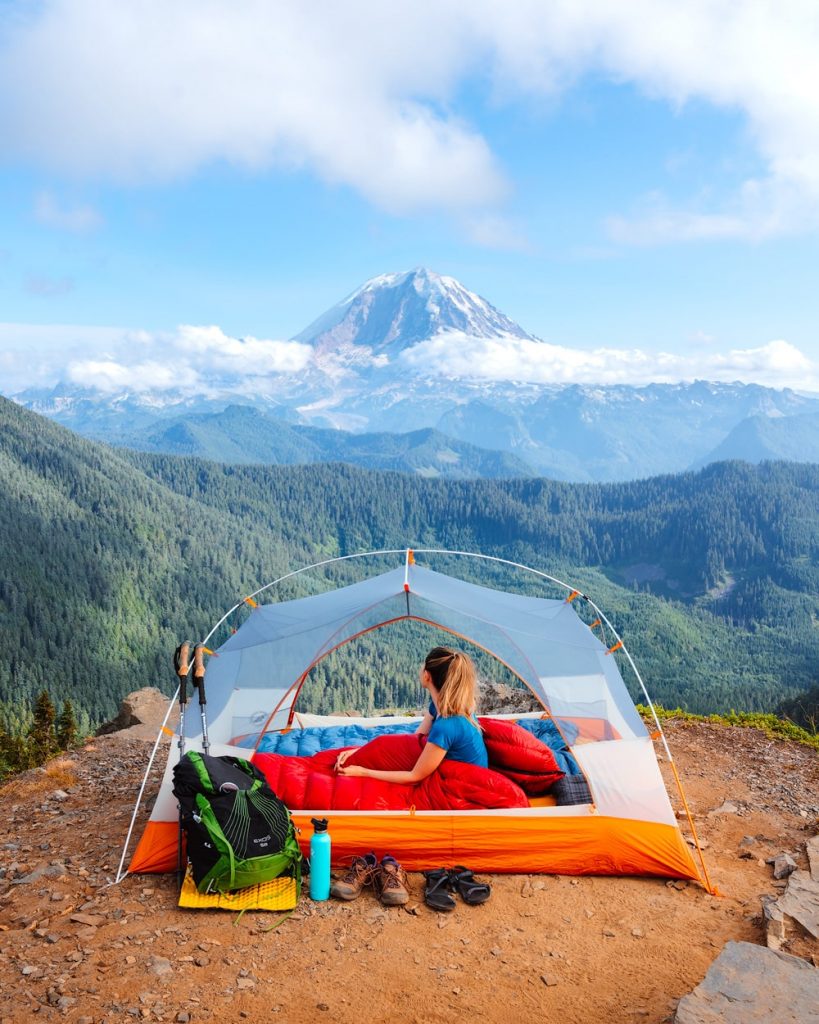
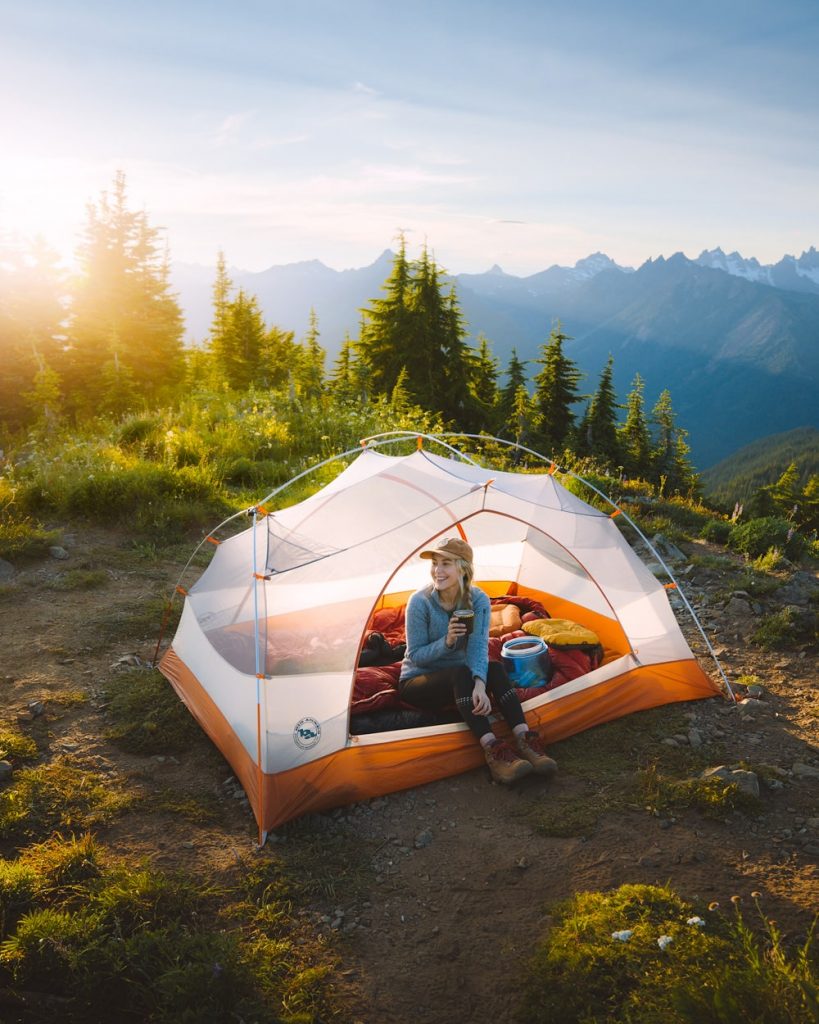
Tent
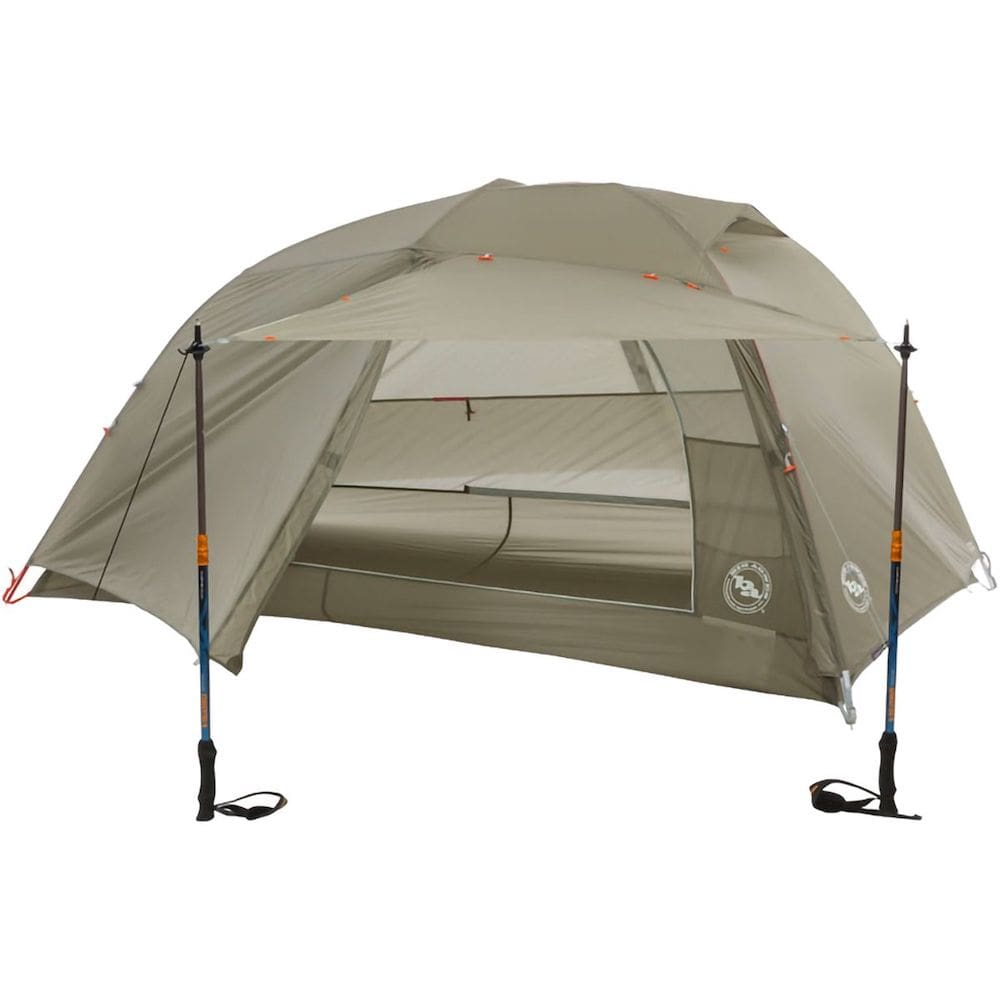
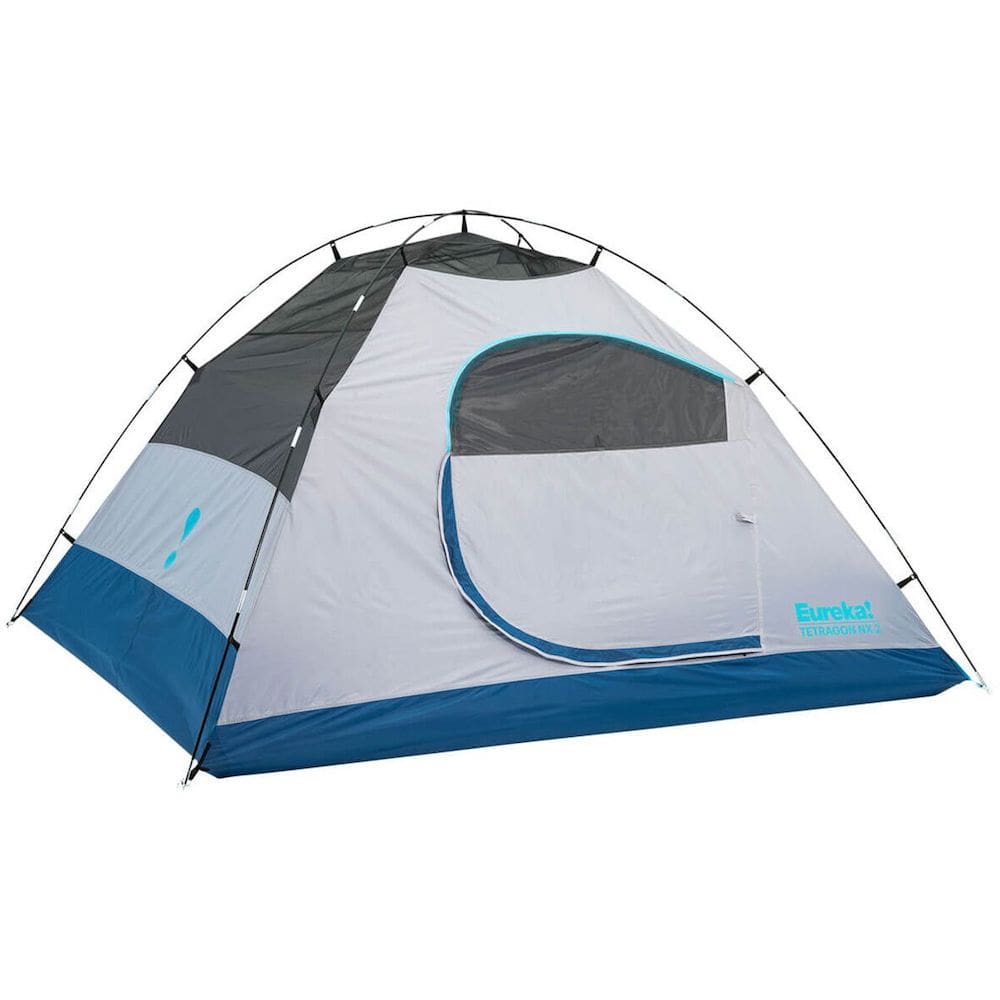
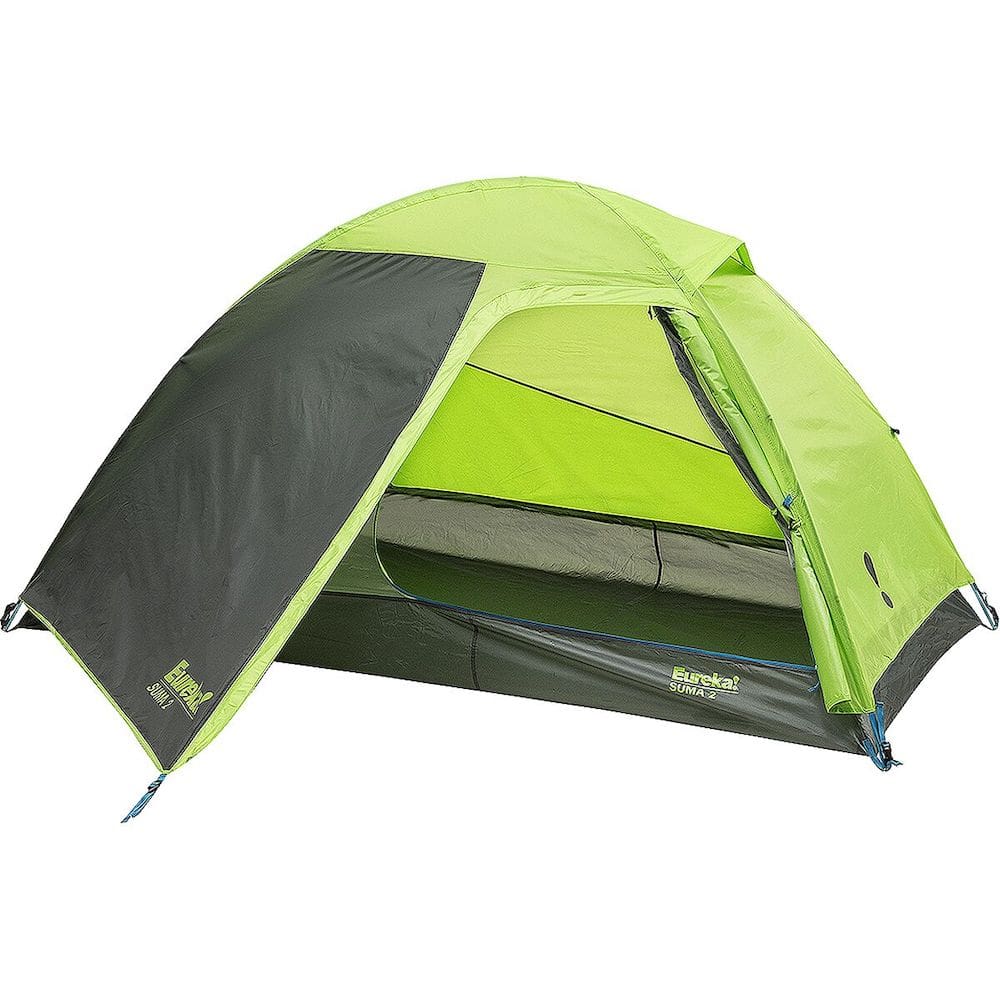
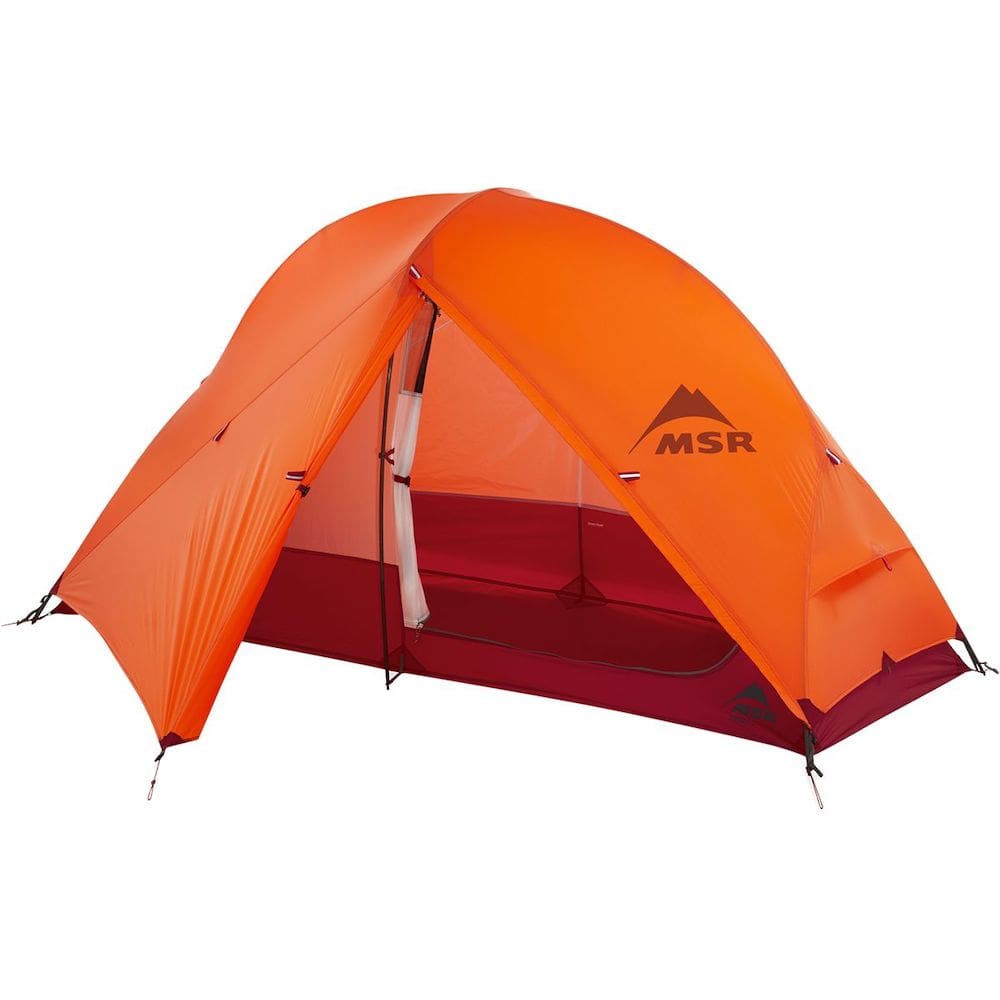
Choosing a backpacking tent is probably one of the most challenging pieces of equipment. This is often the heaviest single piece of equipment, and ultralight tents can be pretty pricey. But, it’s absolutely worth the investment if you’ll be using it frequently! My favorite 2-person tent is the Big Agnes Copper Spur HV UL 2, perfect for sleeping 2 people in most seasons. The Eureka Tetragon NX 2 and Eureka Suma Tent are both good choices for a more affordable backpacking tent.
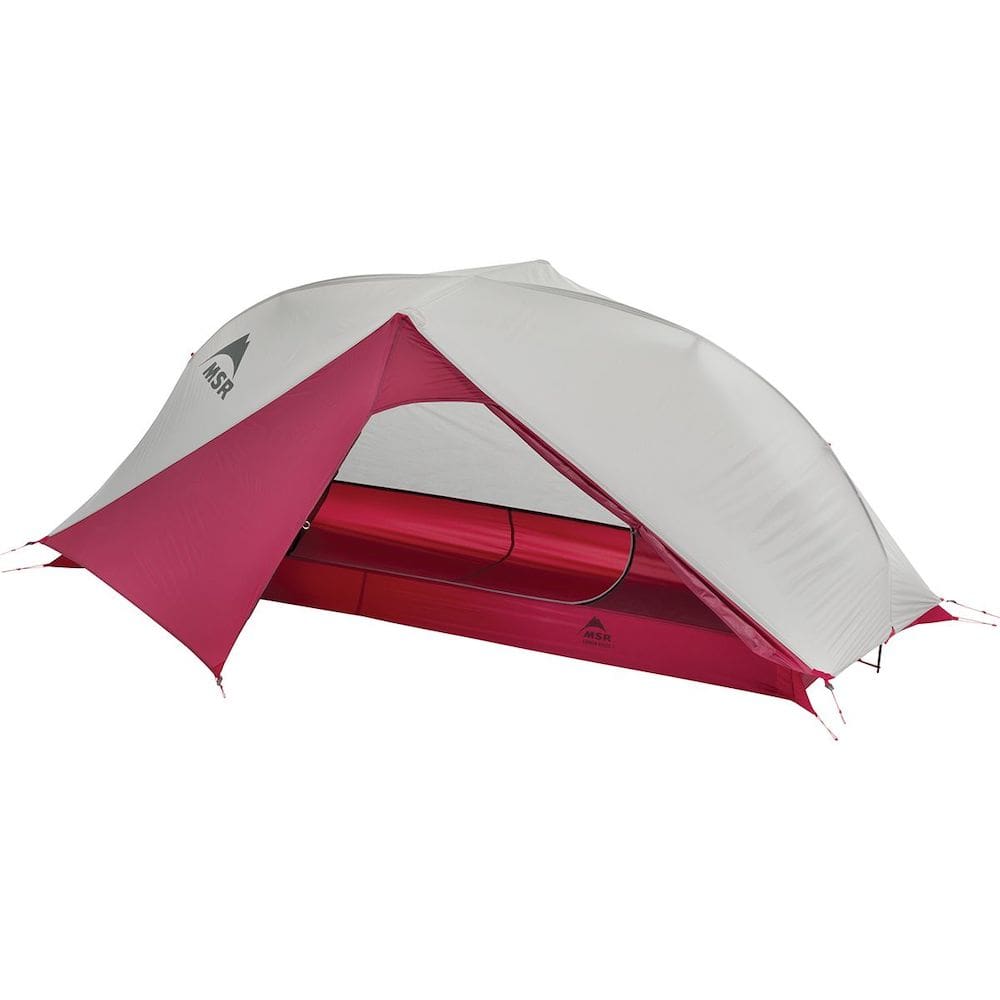
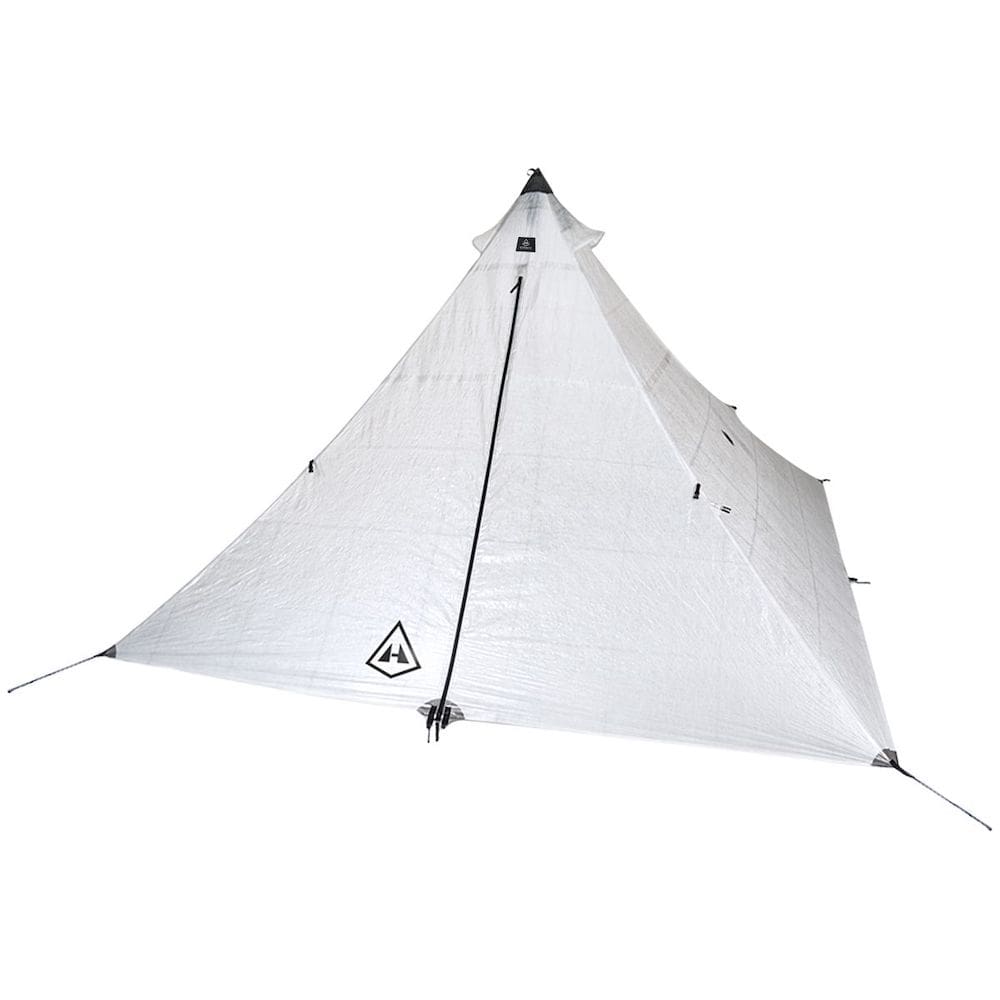
If I am backpacking by myself, I love the MSR Carbon Reflex 1 Tent. The Marmot Tungsten UL Tent is a good 1 person tent that’s a little easier on the budget. If you have the ability to invest in an ultralight tent, the Hyperlite UltaMid 2 Shelter is an amazing option for an ultralight 2-person tent. Though it’s not necessary for a bit of snow and cold weather, you can also invest in a heavy-duty 4-season tent like the MSR Access Tent for more extreme winter adventures with heavy snow and harsh winds.
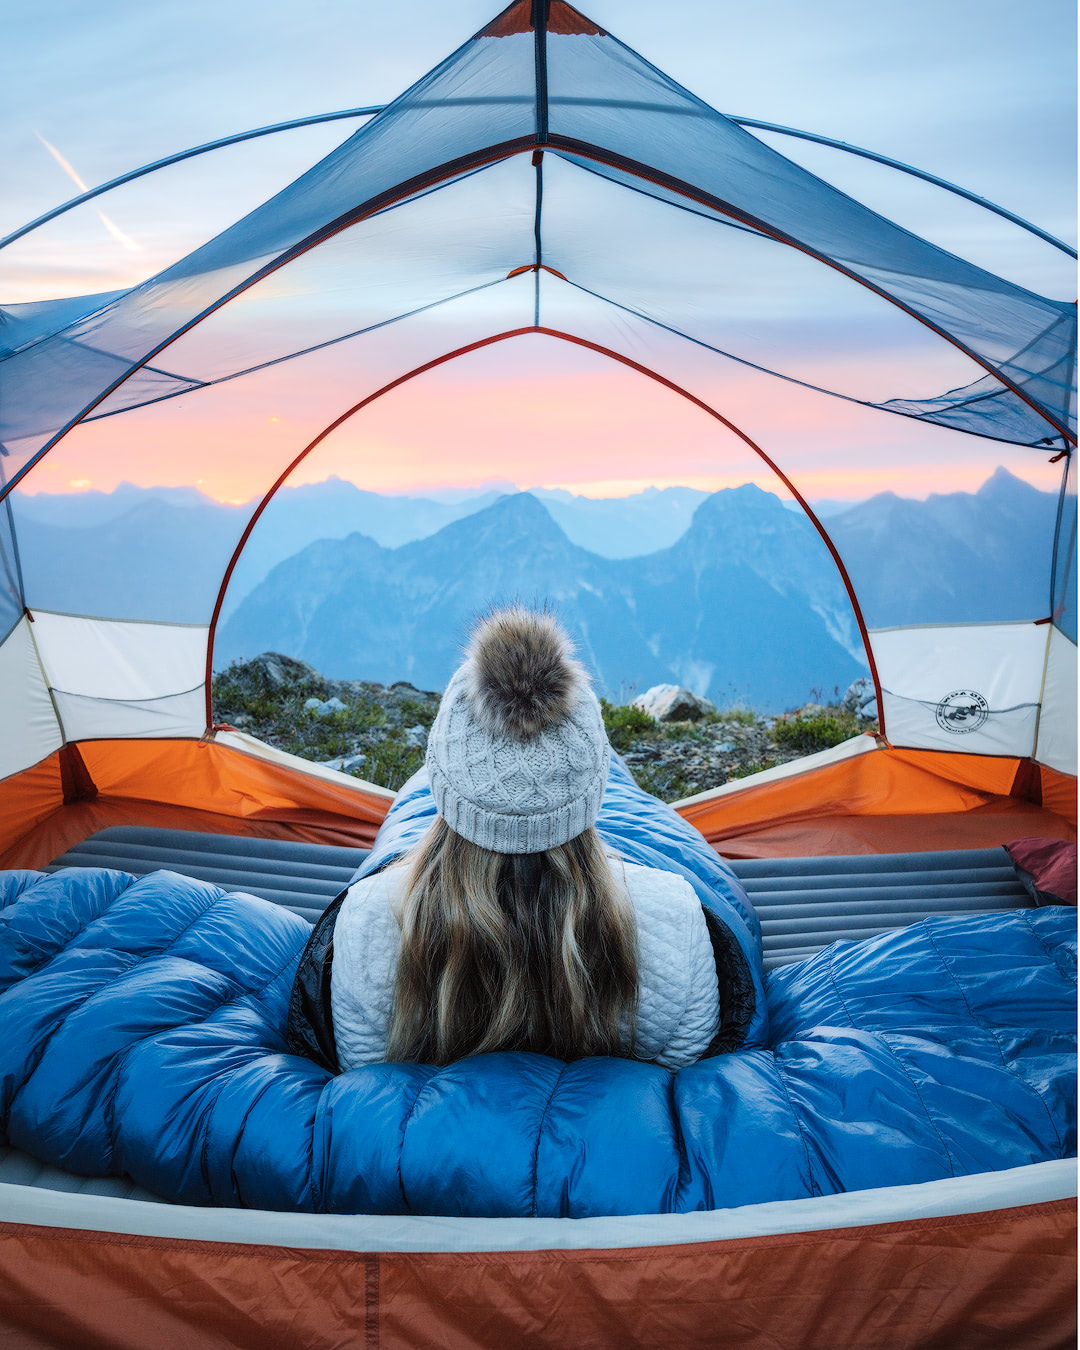
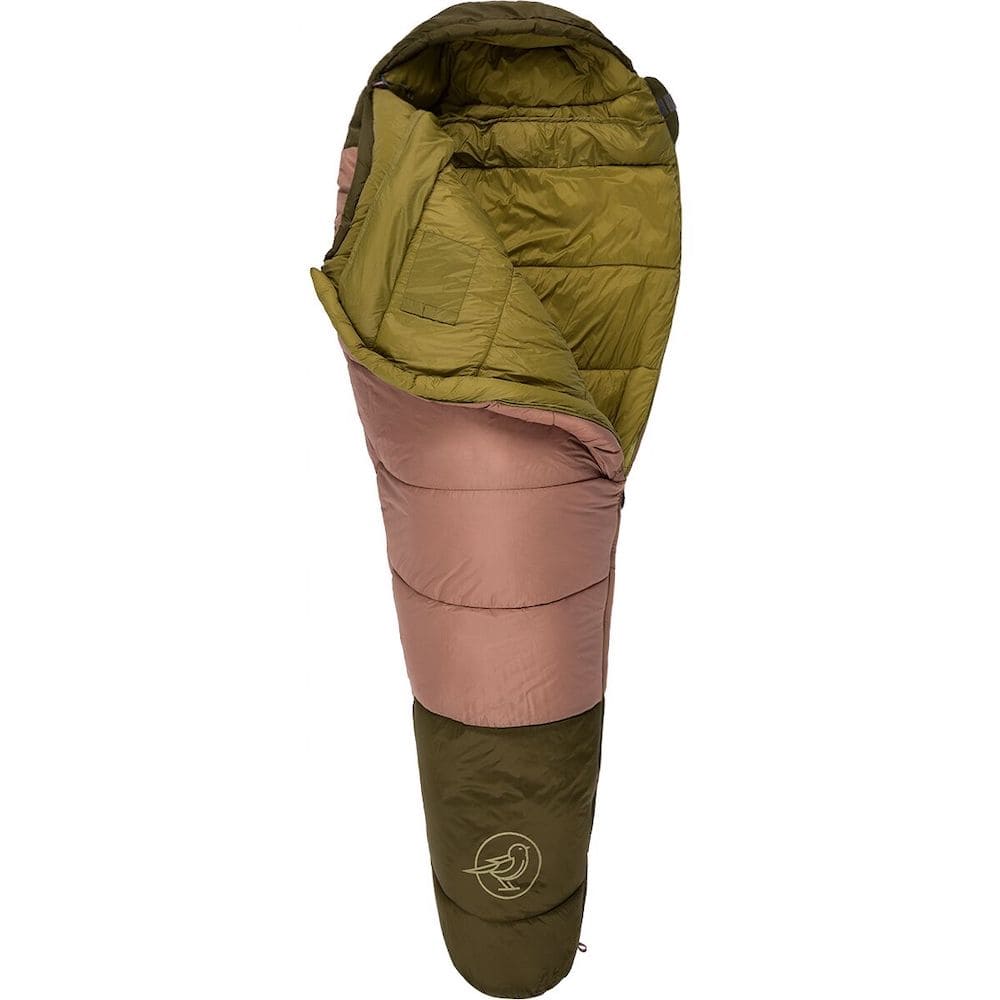
Sleeping Bag
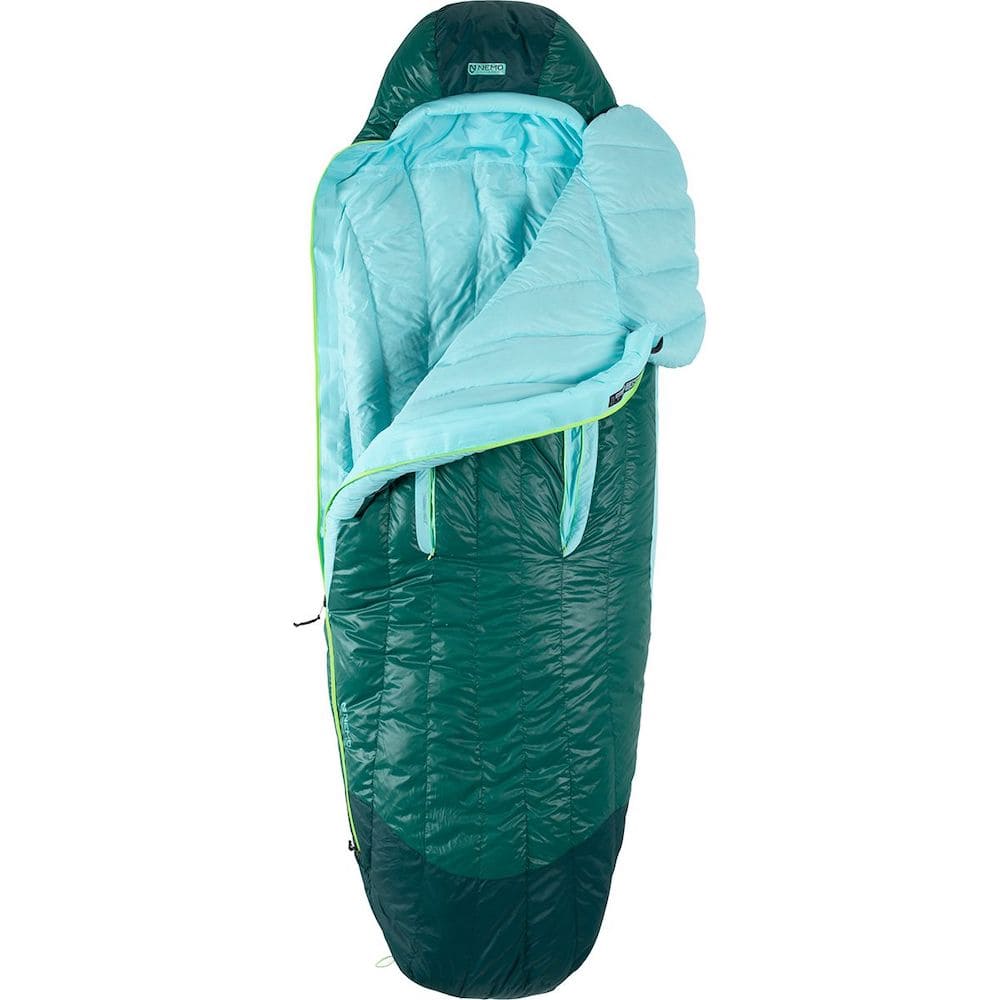
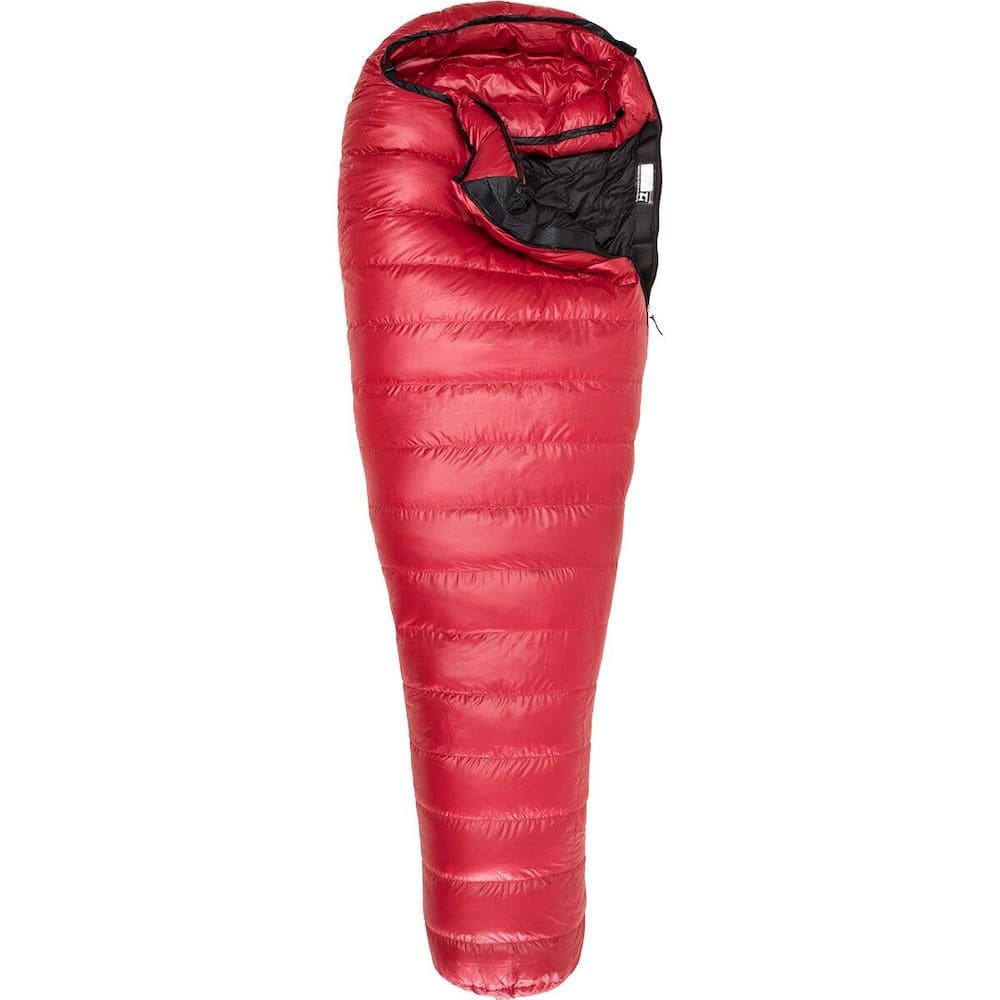
Similar to choosing a tent, you have a lot of decisions when it comes to selecting a sleeping bag, like warmth rating and fill material (down vs. synthetic.) For 3-season camping (aka, most of the year other than intense winter camping) the NEMO Disco 30 Sleeping Bag is a great choice (men’s version available here.) The Marmot Ouray 0F Down Sleeping Bag is a popular choice for winter camping (find the men’s version here.) My favorite option for 3-season backpacking is the Western Mountaineering Apache 15F Down Sleeping Bag – it’s pricey, but I have definitely got my money’s worth as I use it almost year-round! There are definitely some great affordable options out there, like the Stoic Groundwork Sleeping Bag and the Kelty Cosmic 20F Sleeping Bag (men’s version here.)
Pro tip: use a compression bag such as the Sea To Summit Ultra-Sil Compression Dry Sack to keep y;our sleeping bag as compact as possible in your backpack (as well as protected from any moisture.)
Sleeping Pad
My favorite sleeping pad for summer backpacking and the shoulder seasons is the Sea to Summit Ether Light Insulated Sleeping Pad. I recommend this one a lot because it’s a women’s specific shape and great for side sleepers which can be tricky! They also make a men’s version which I also recommend. In the super cold months I use the Sea to Summit Ether Extreme with a closed cell pad underneath for extra warmth. For a few budget options, check out the Therm-a-Rest Trail Scout, the Stoic Clutch Air Mat, or the Therm-a-Rest Z Lite Sol.


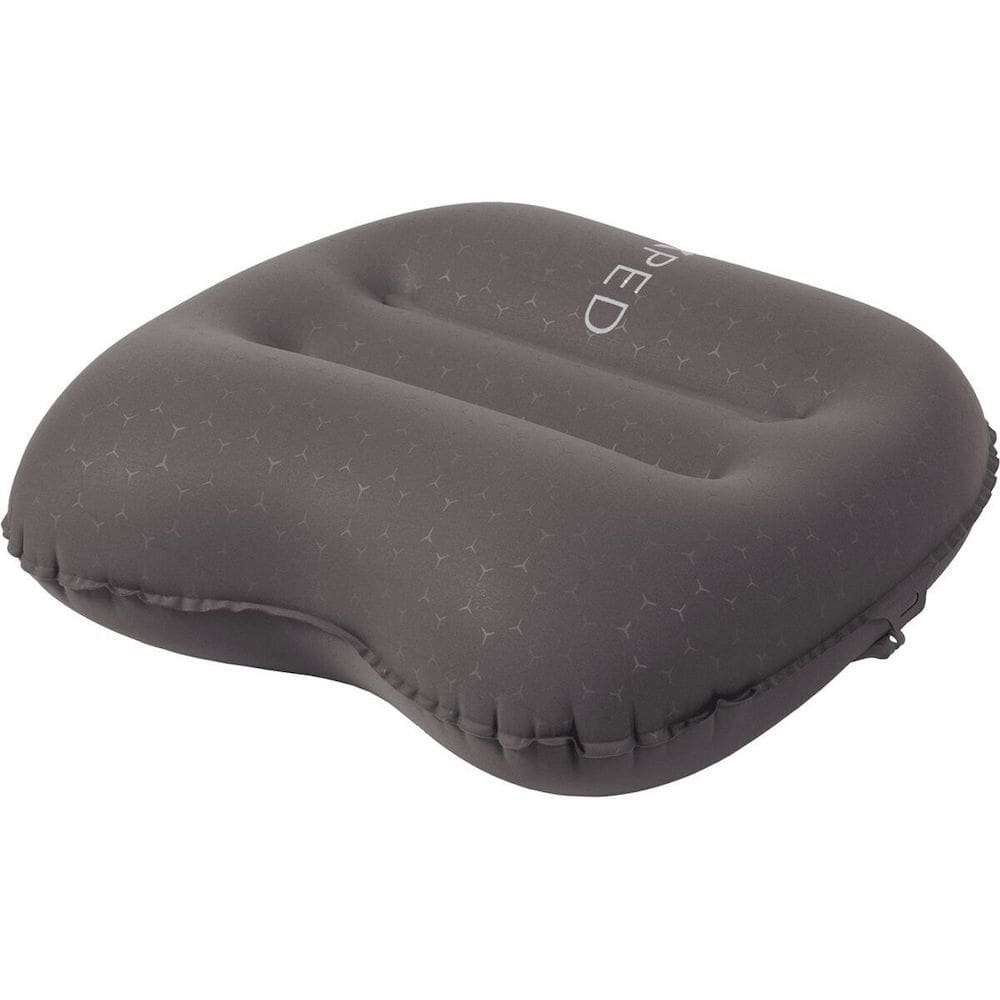
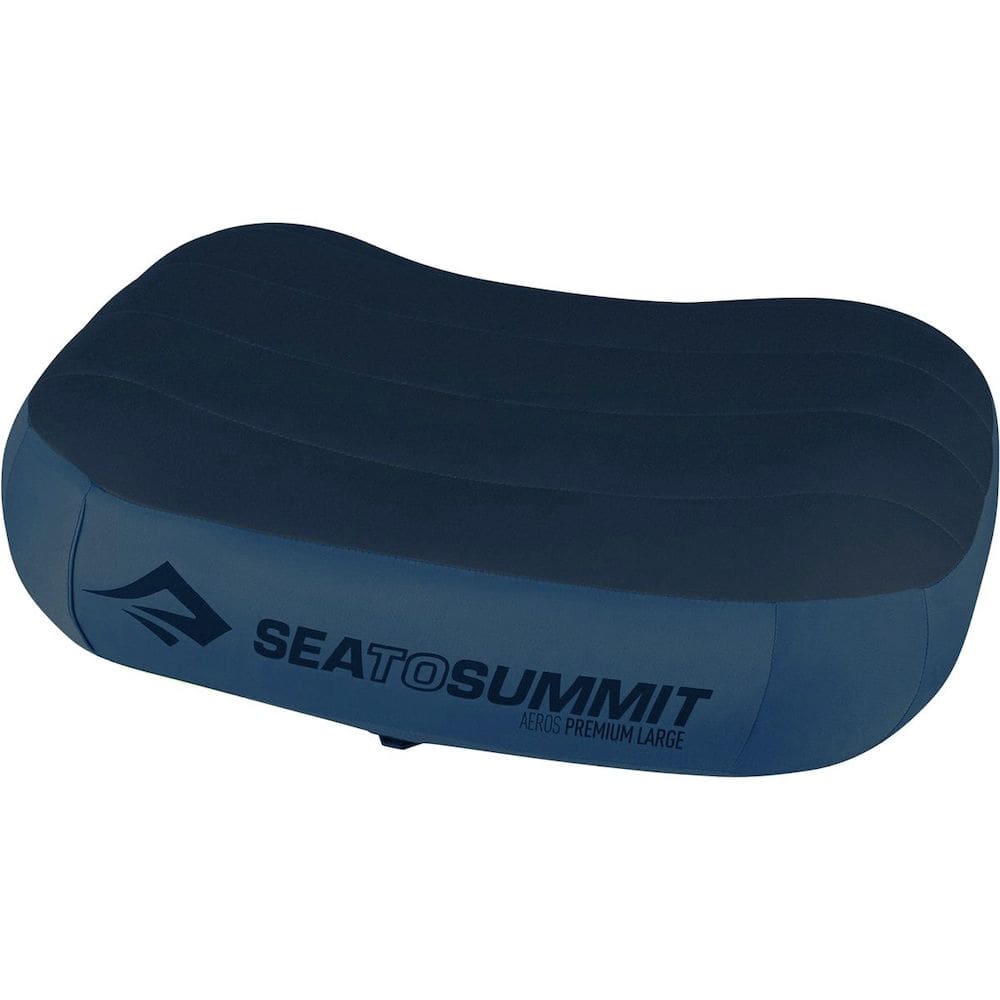
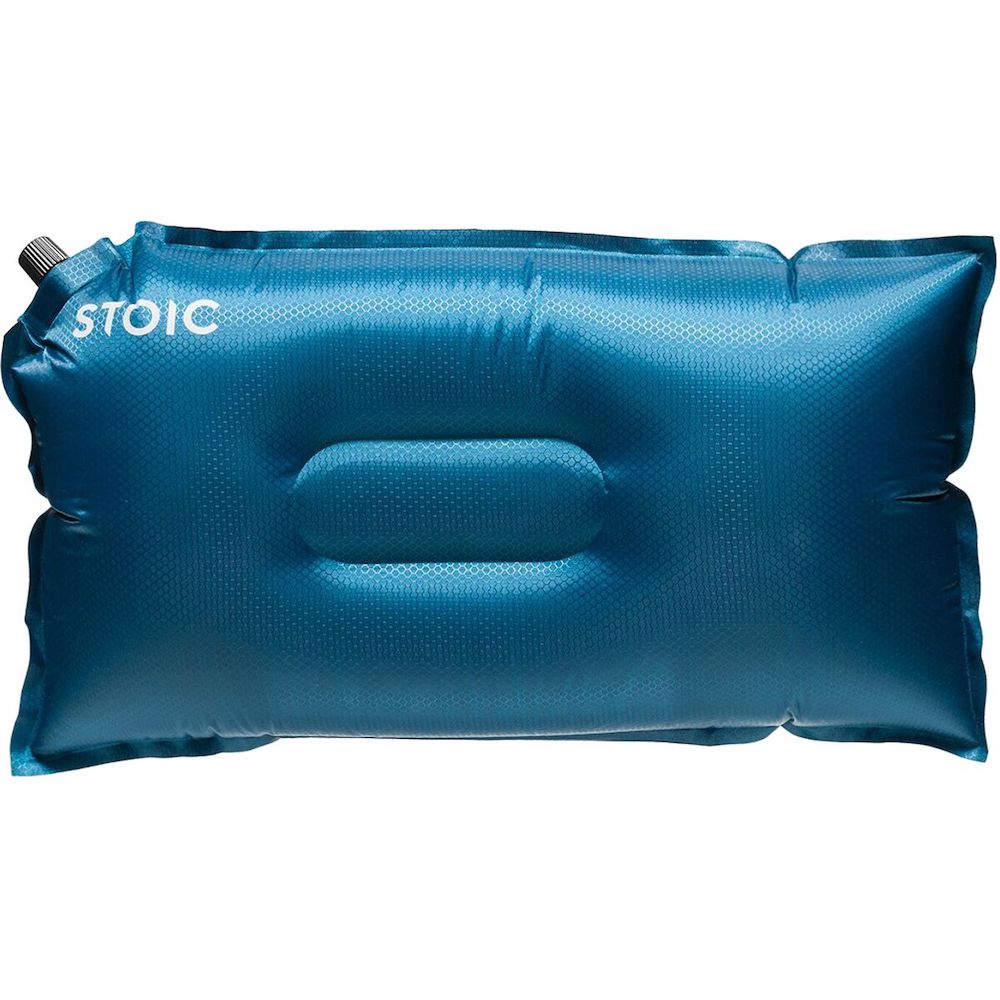
Camp pillow
Packing a camp pillow is definitely more of a luxury item, but can be such a nice treat after a long day of hiking. Lots of hikers use their down jacket as a makeshift pillow, but I almost always pack a camp pillow. I like to be comfortable! The Exped Ultra Pillow is a great ultralight option, while the Sea To Summit Aeros Premium Pillow is even more deluxe and comfortable. For a more affordable option, the Stoic Groundwork Pillow is still lightweight and very comfy!
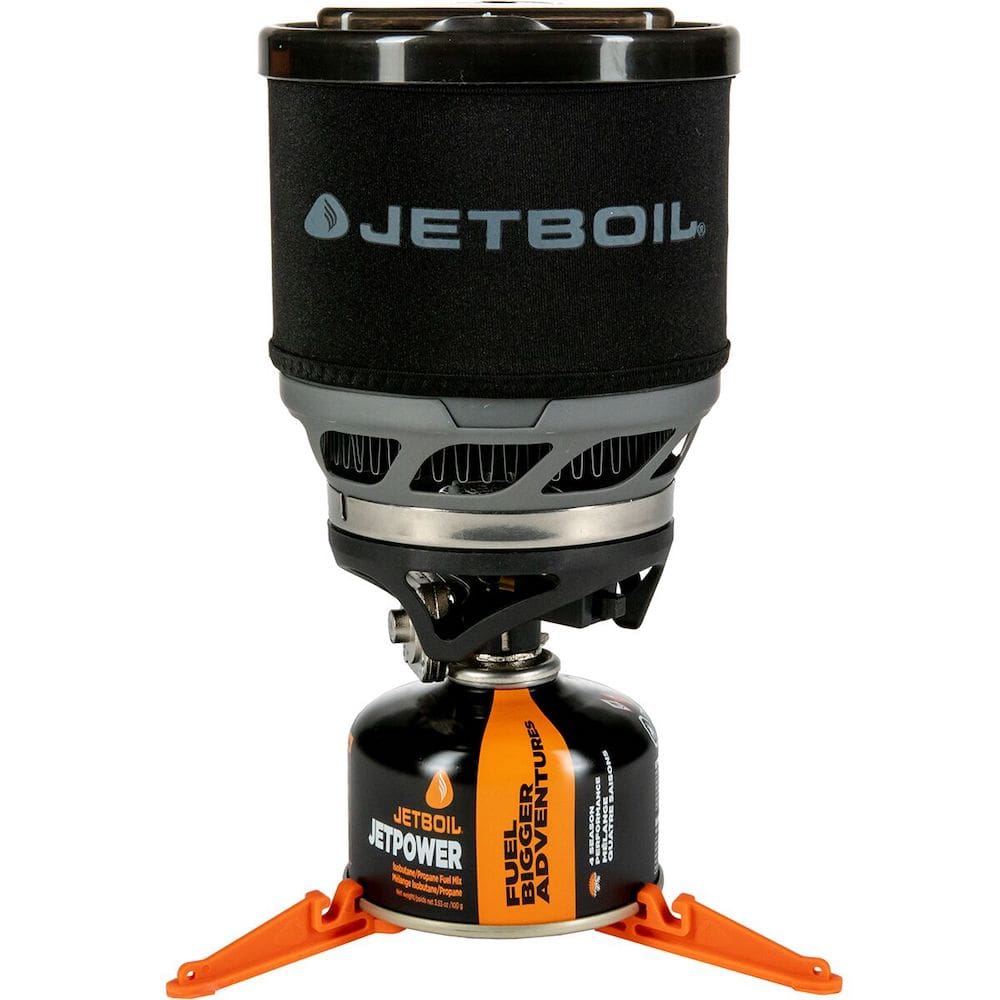
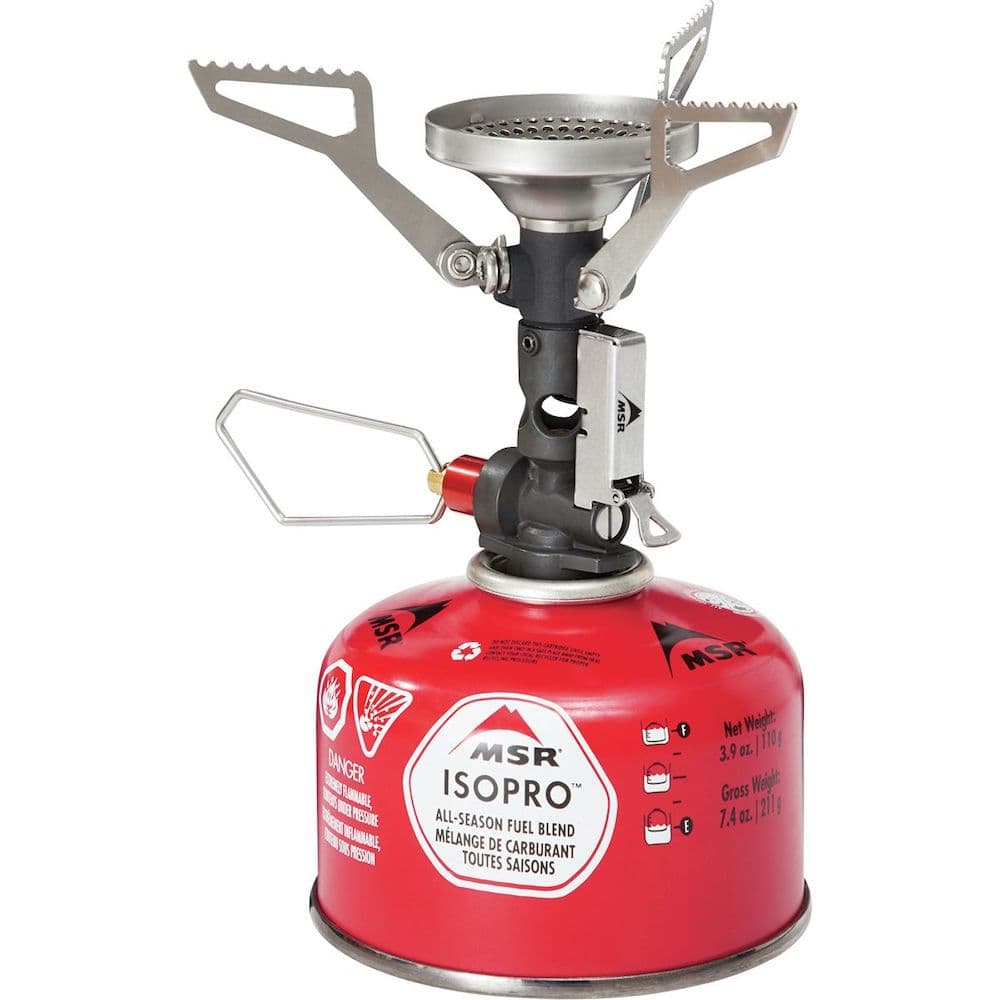
Cooking Gear
My favorite backpacking stove for fast and easy cooking while on the trail is the Jetboil MiniMo Cooking System. It’s perfect for dehydrated meals and boils water so quickly for tea or coffee when you need to warm up on a chilly morning. The Jetboil Stash is another lightweight option great for one-pot meals. For an ultralight option, the MSR Pocket Rocket is a popular choice, and it also comes in a kit option with a pot.
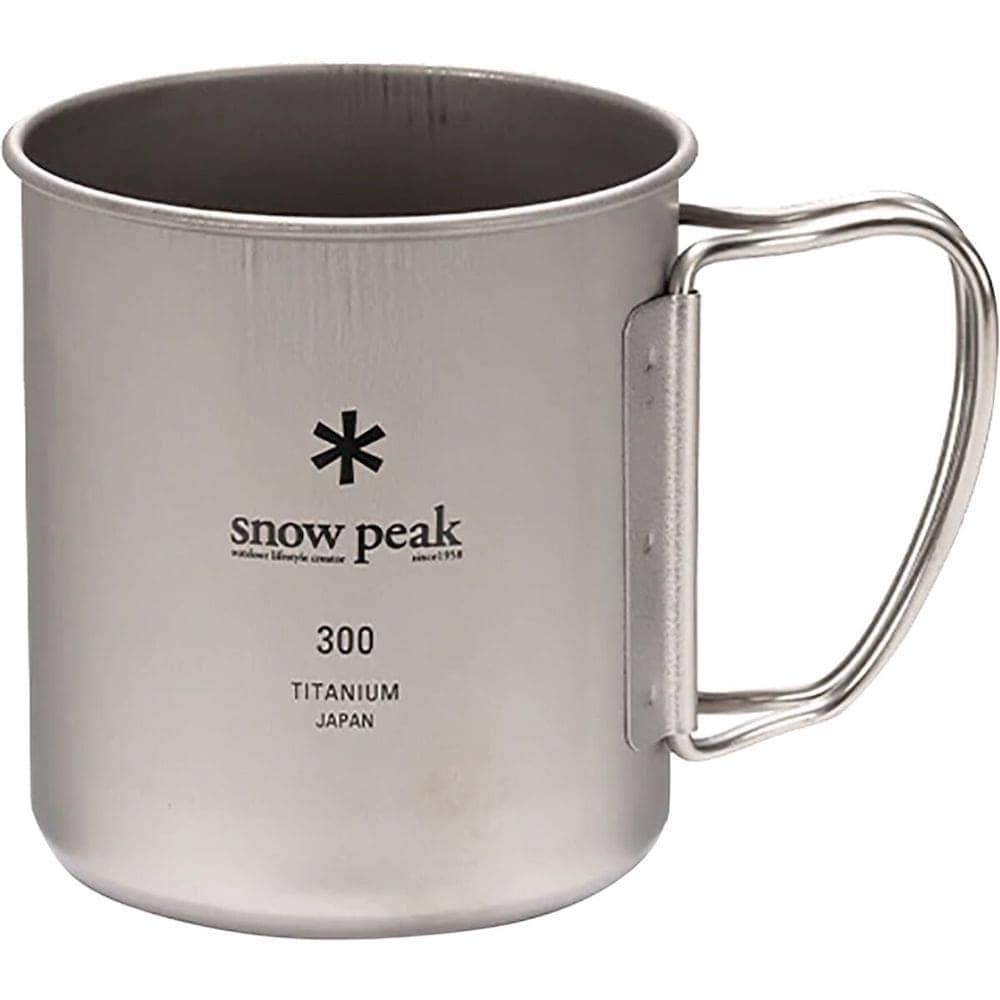
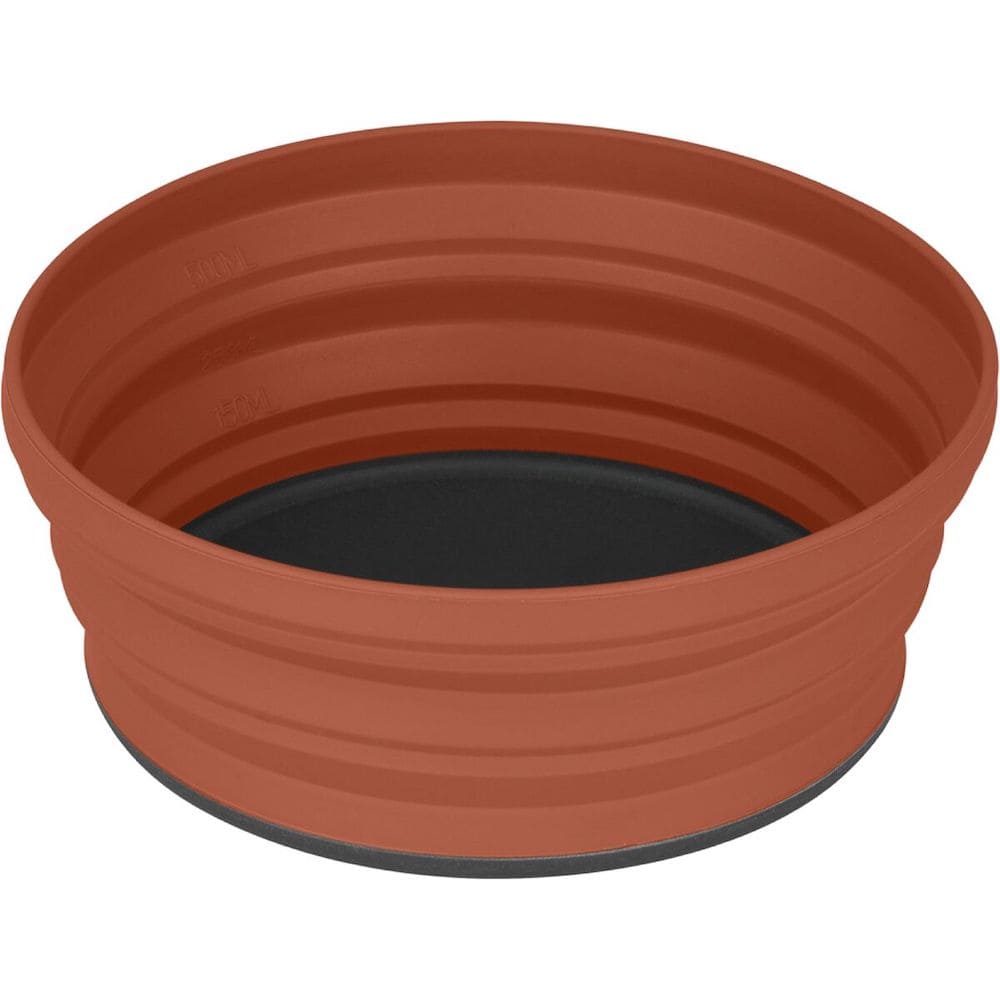
An ultralight mug is essential, and there are a lot of options out there. I personally love the Snow Peak Titanium Single Wall Mug, but the GSI Outdoors Infinity Mug and Sea to Summit Cool Grip Collapsible Mug are both great options as well. I always pack a spork, I love the Snow Peak Titanium Spork or Sea to Summit Spork and Knife for lightweight options. The Sea to Summit Collapsible Bowl is perfect for chowing down on some easy backpacking meals and then packing away.

Food
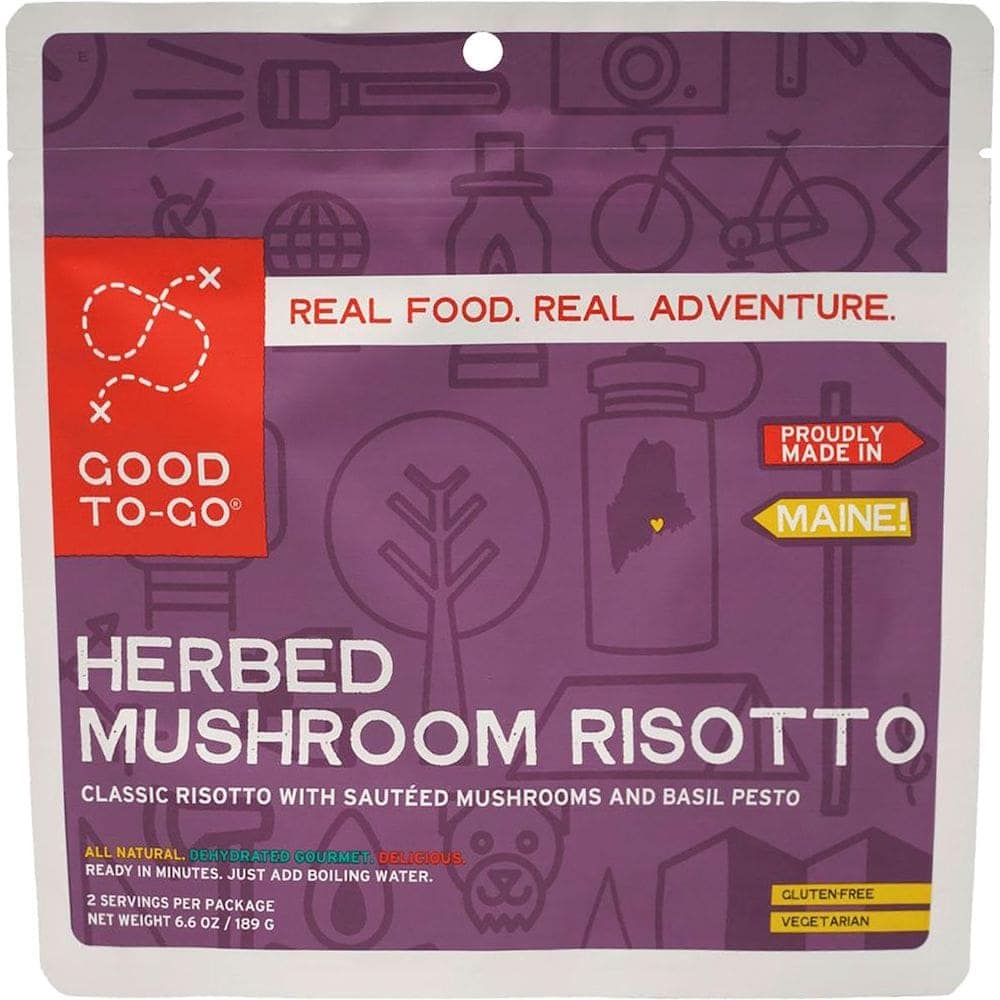
Dehydrated meals are a great option for lightweight, quick dinners when you’re in the backcountry. I really love Mary Jane’s Farm Outpost meals because they don’t have a lot of added ingredients that some other brands do, and they don’t leave you feeling bloated and gassy (no fun!). Good to Go meals are another good option with simple ingredients. Hiking snacks are super important to help you stay fueled and energized throughout the day.
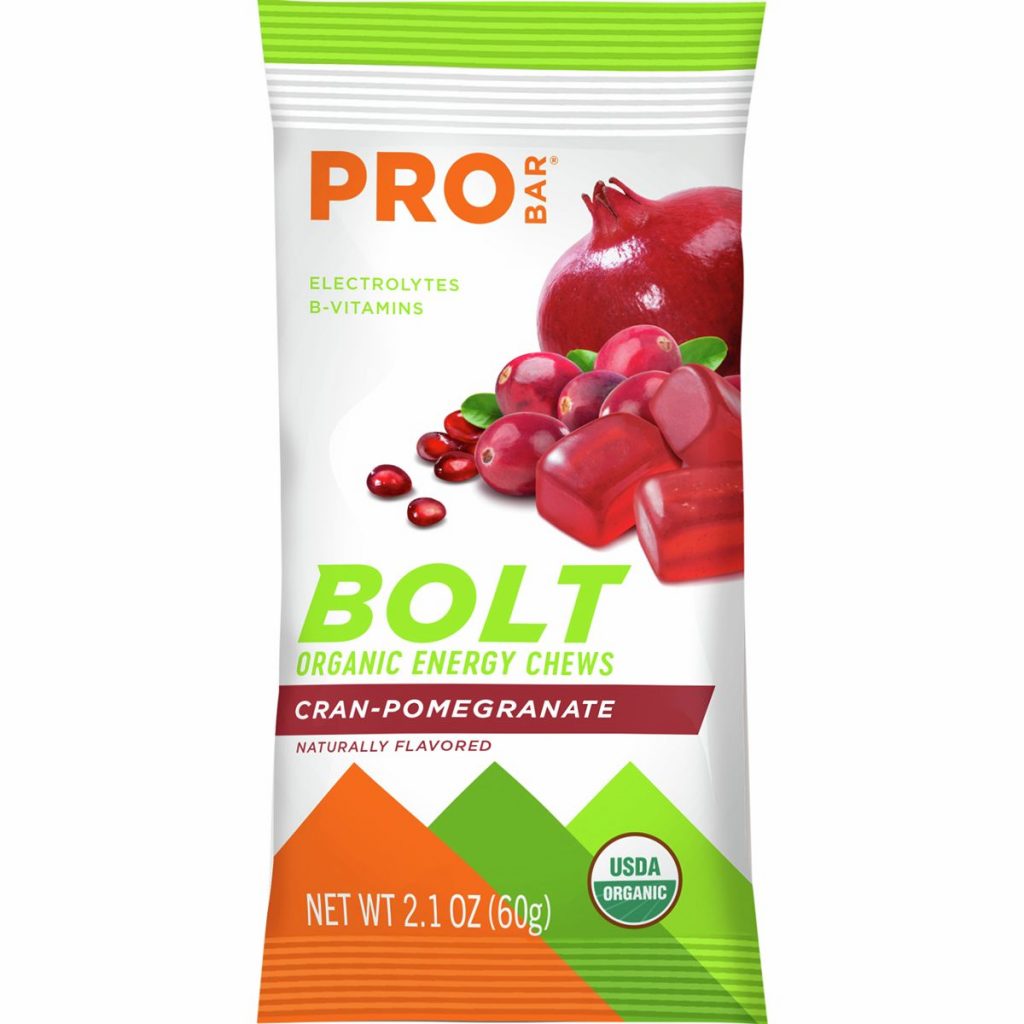
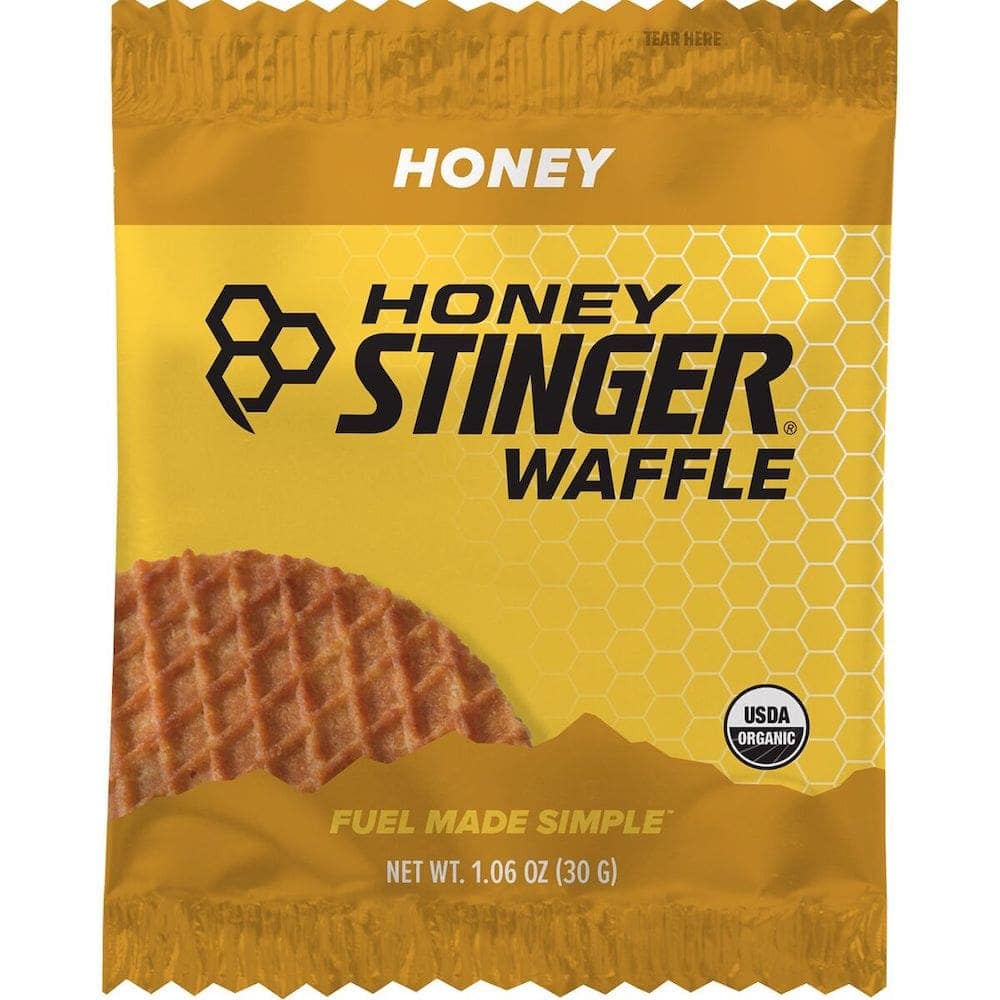
I love to snack on nut butter filled Clif Bars, Pro Bar Bolt Chews, GoMacro bars, Honey Stinger Waffles, nut butters, cheese, avocado, and trail mix. I always use an Ursack for food storage, although there are some areas that require bear canisters. When I backpack in those areas I use a Medium Bear Vault. Keep in mind that all scented items need to go in the bear canister, including lotions, toothpaste, sunscreen, food wrappers, and all trash.
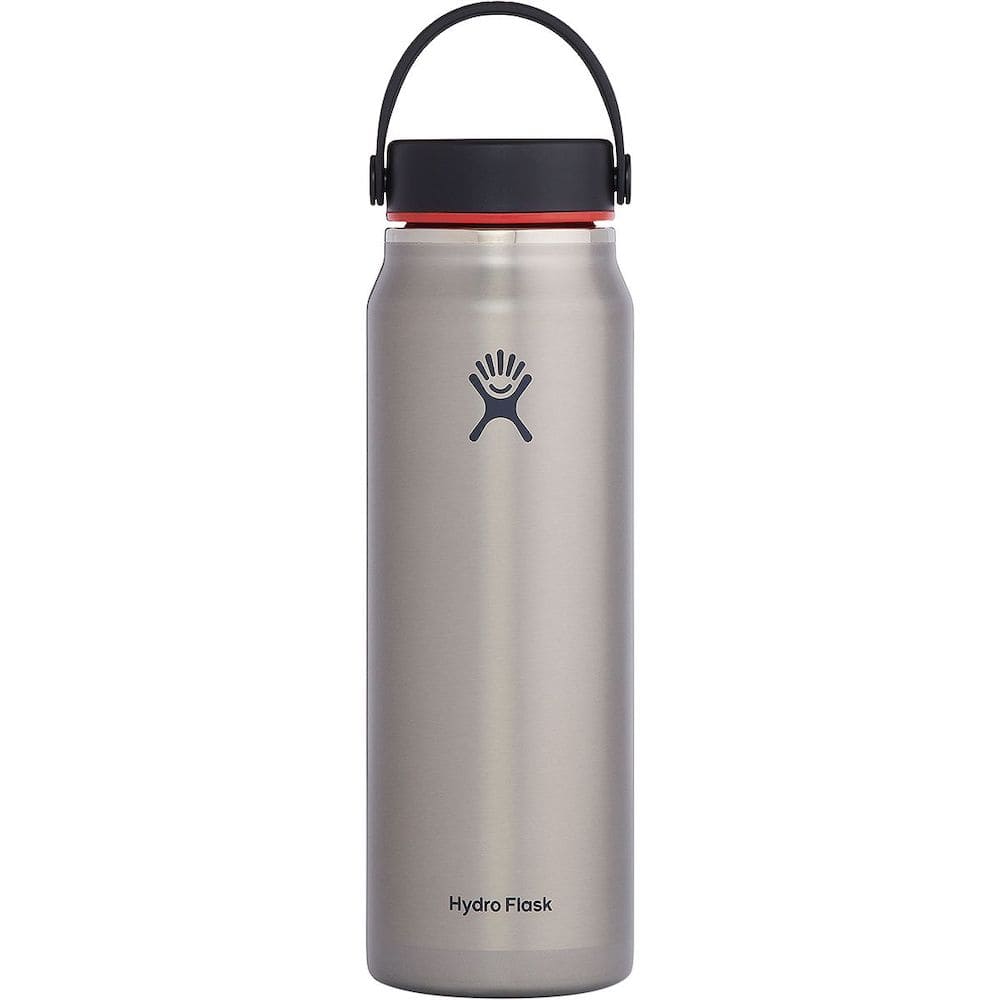
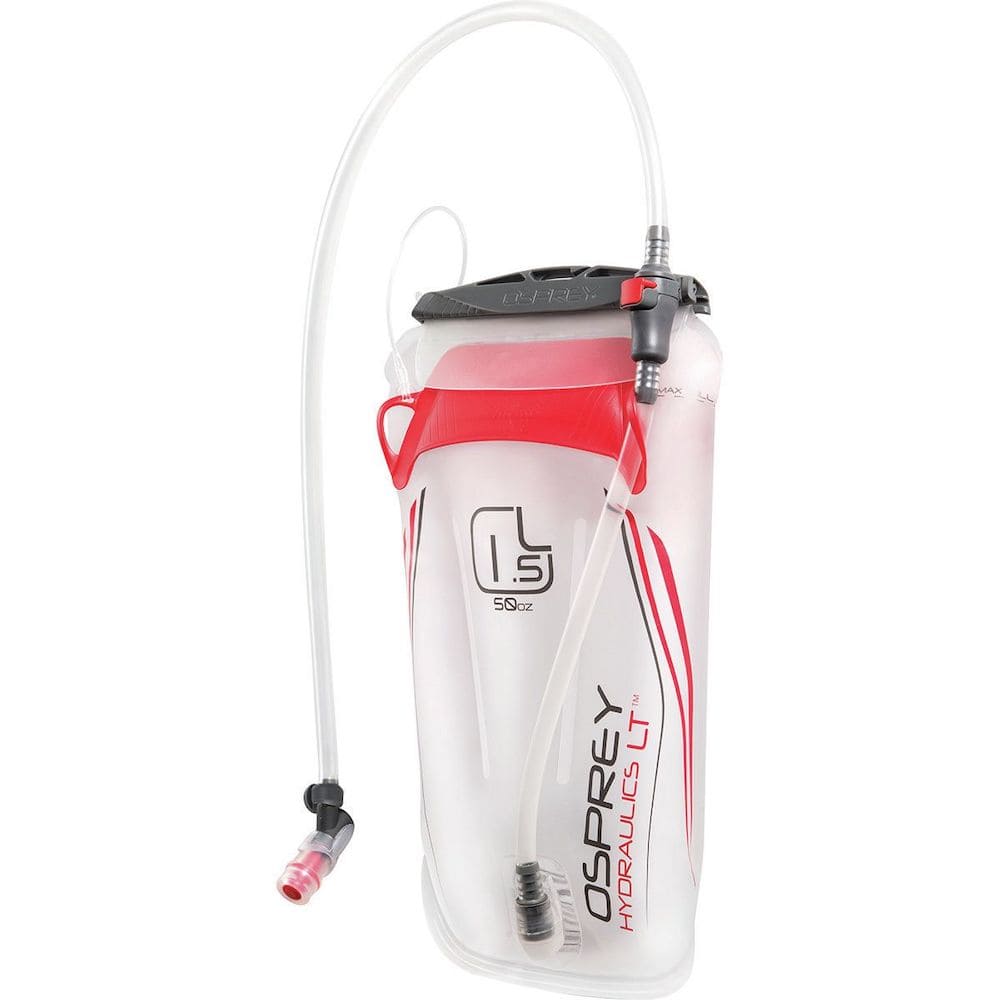
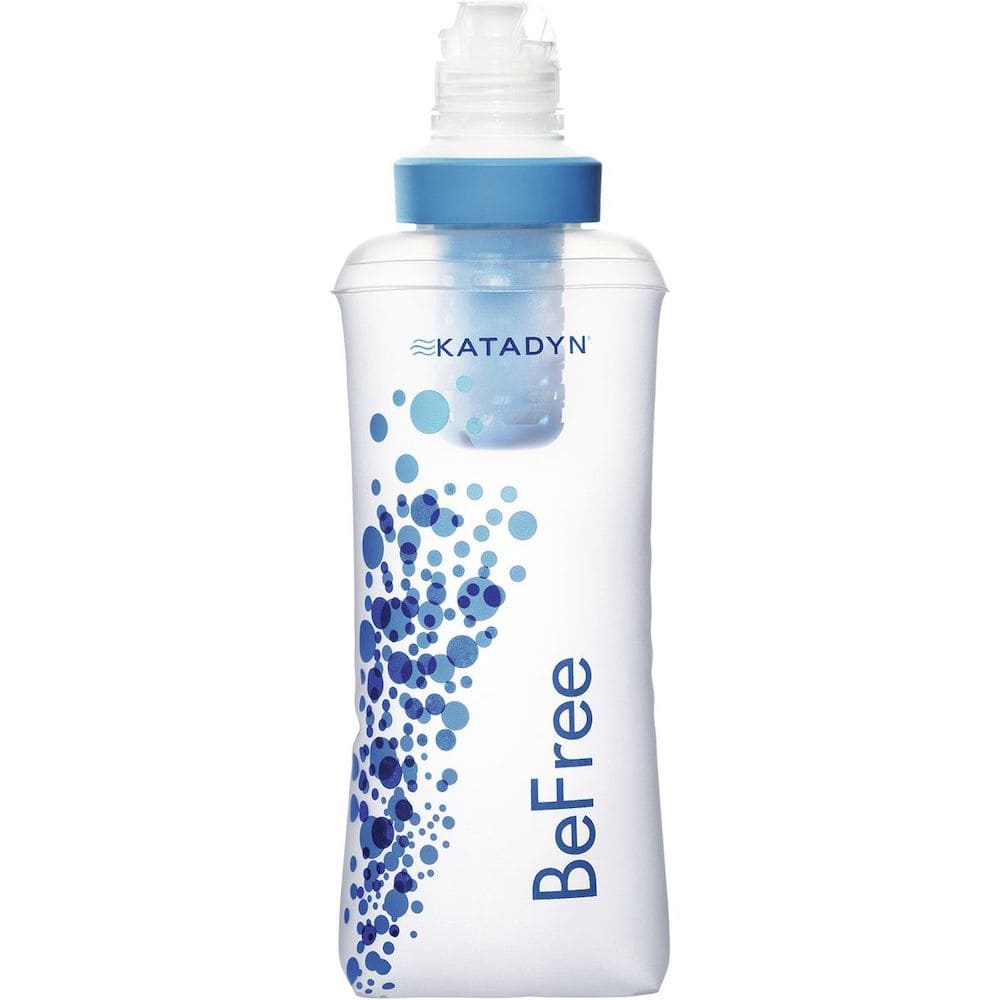
Drink bottle + Water filter
Typically I use a Hydro Flask 32oz Trail Water Bottle or a Hydrapak Recon 1L Water Bottle. Sometimes I use a hydration reservoir/bladder since they’re easier to drink from while hiking, and I will use my water bottle to drink Nuun electrolytes. Depending on how easily accessible water is, you’ll likely want to carry at least a couple liters. In the winter I will also use a Nalgene as a drink bottle because you can use it for hot water and tuck it into your sleeping bag to stay extra toasty! Lastly, you will need a way to filter water when refilling. I like to use a gravity system like the Katadyn BeFree Water Filter with the Hydropak Seeker 4L Water Bladder. You can also use purification tablets, though these often take longer to filter and can leave an aftertaste to your water.
Trekking poles
Some people consider these optional but I personally swear by them for hiking, especially with a heavy backpack! I use the Black Diamond Alpine Carbon Cork Poles regularly and love them. The Kelty Upslope Poles are a good budget-friendly option! Often I will stash one pole attached to my backpack and just hike with one pole. This leaves one hand free to take iPhone photos, eat snacks, or help scramble over rough terrain.
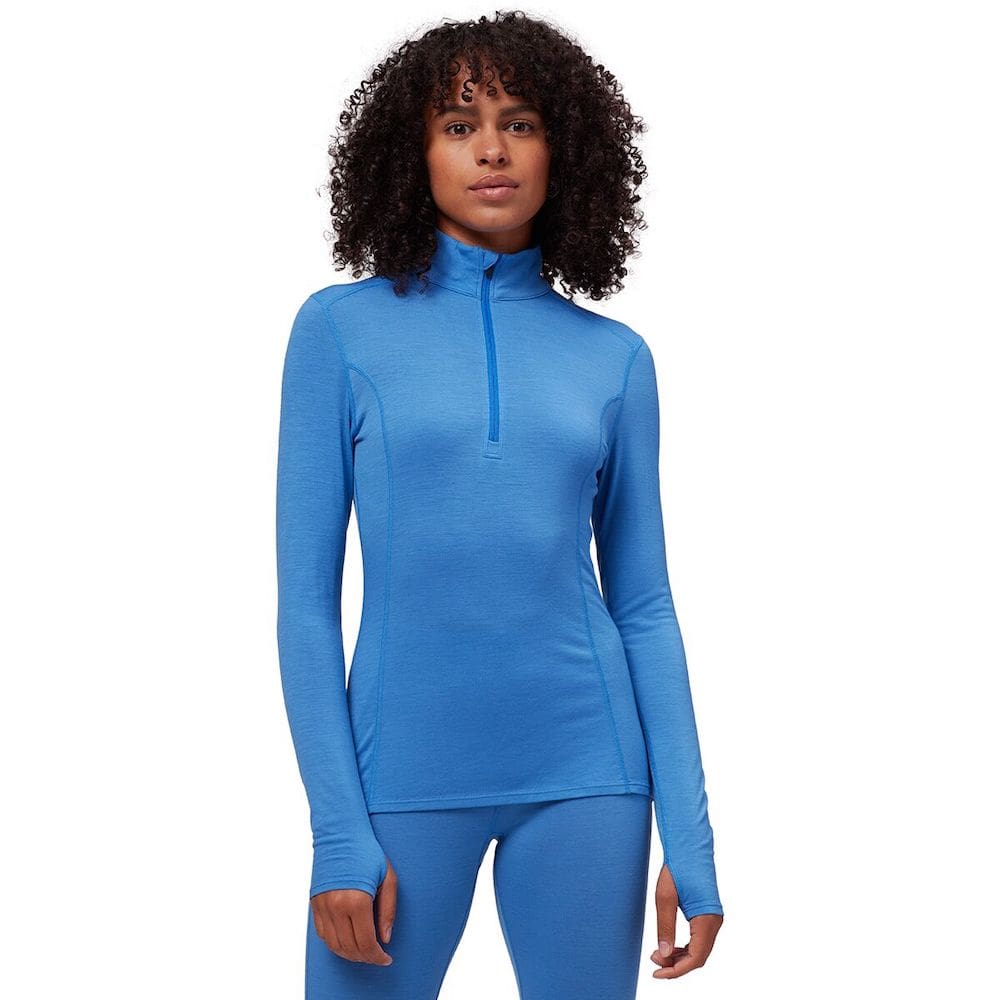
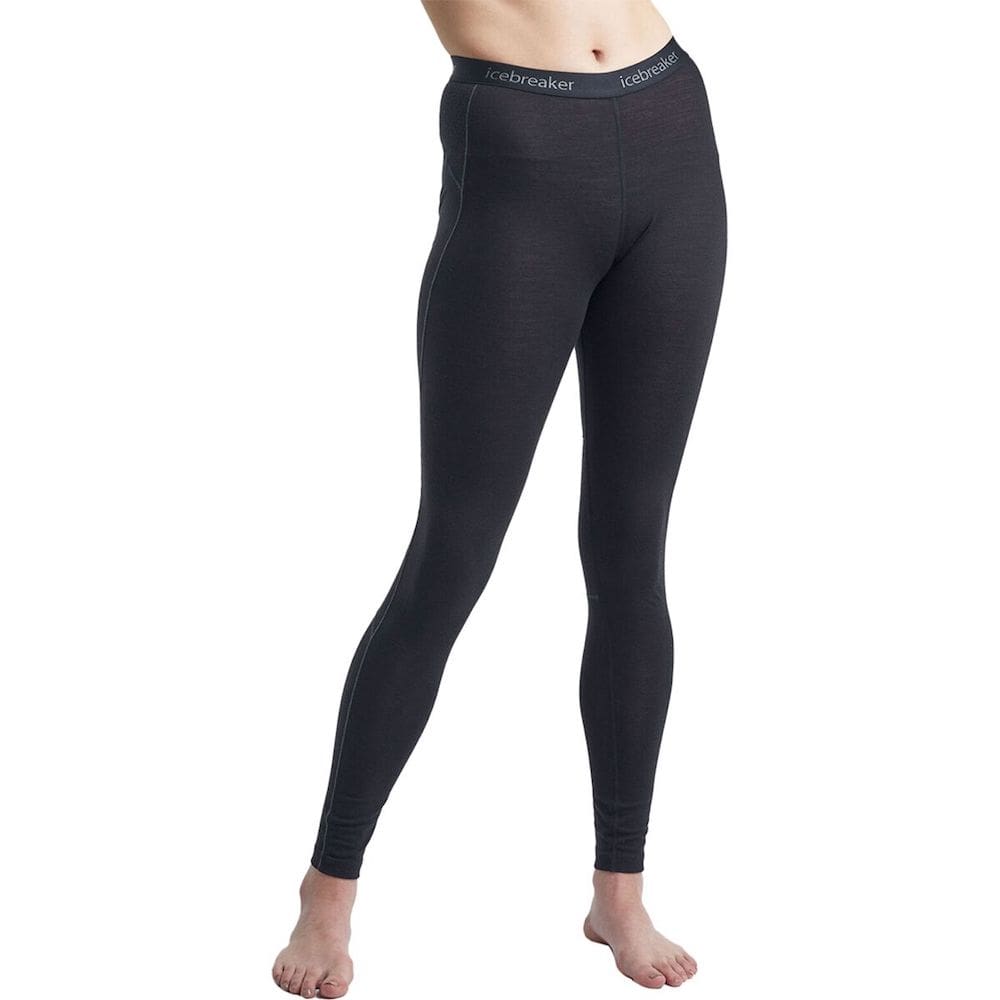
Sleeping Clothes
Having a clean, cozy set of clothes to change into after a long day of hiking feels extra nice. I live in the Icebreaker Long Sleeve Crewe, and the Stoic Merino 1/4 Zip Top is another great option that’s more affordable. These Icebreaker Thermal Leggings are super cozy and warm. I keep my extra clothes in a dry bag so they are always dry when I get to camp.
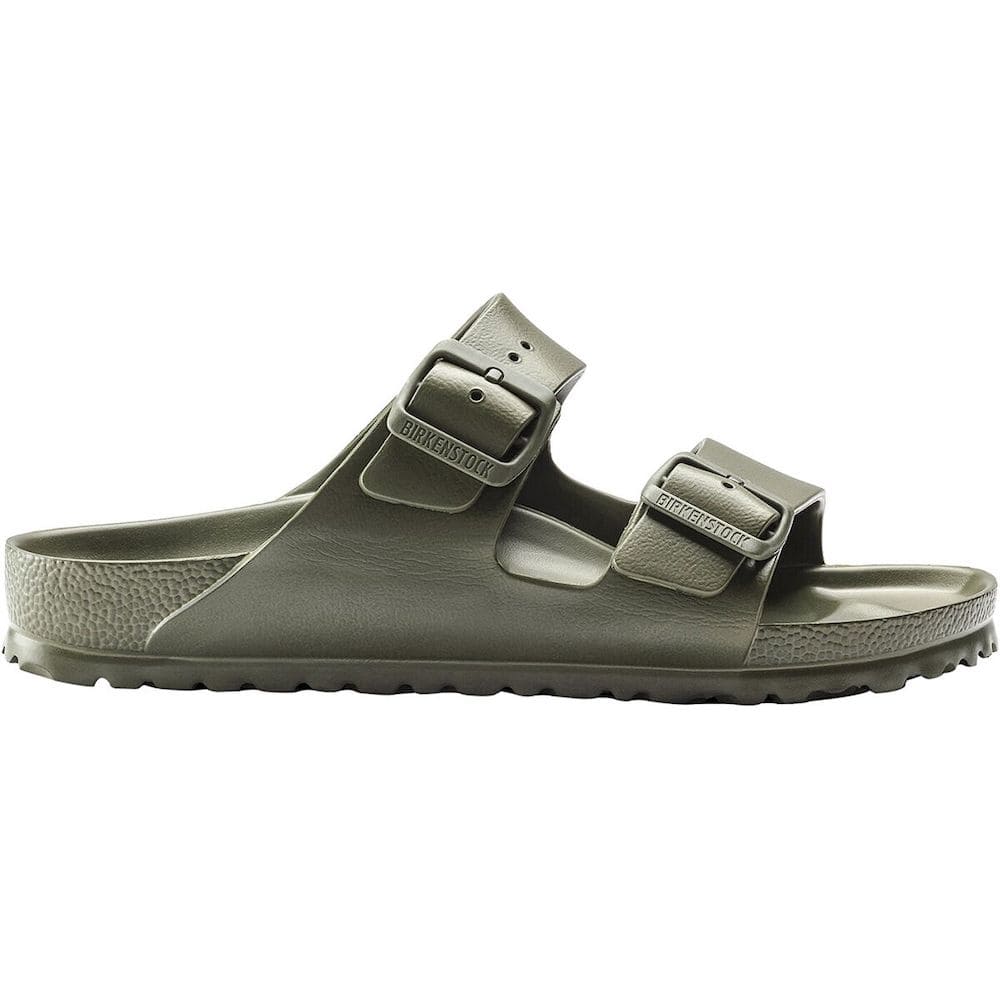
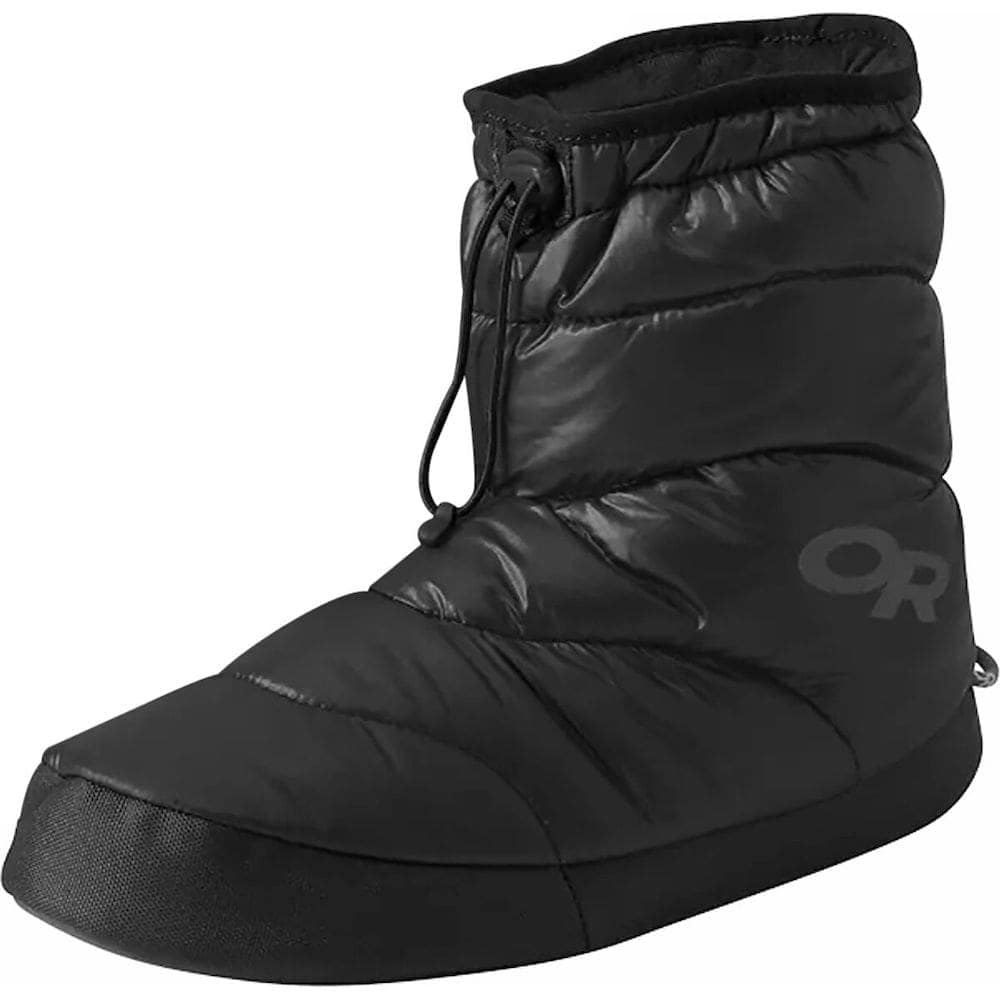
Camp Shoes
After a long day of hiking, there’s no better feeling than peeling off your hiking shoes and slipping on some comfy camp shoes! I often pack the Birkenstock Arizona Core Sandals (there’s a men’s version, too) or the Xero Shoes Z-Trail EV. When winter camping I absolutely love the Outdoor Research Tundra Booties to keep my feet extra warm. There is a men’s/unisex version as well.
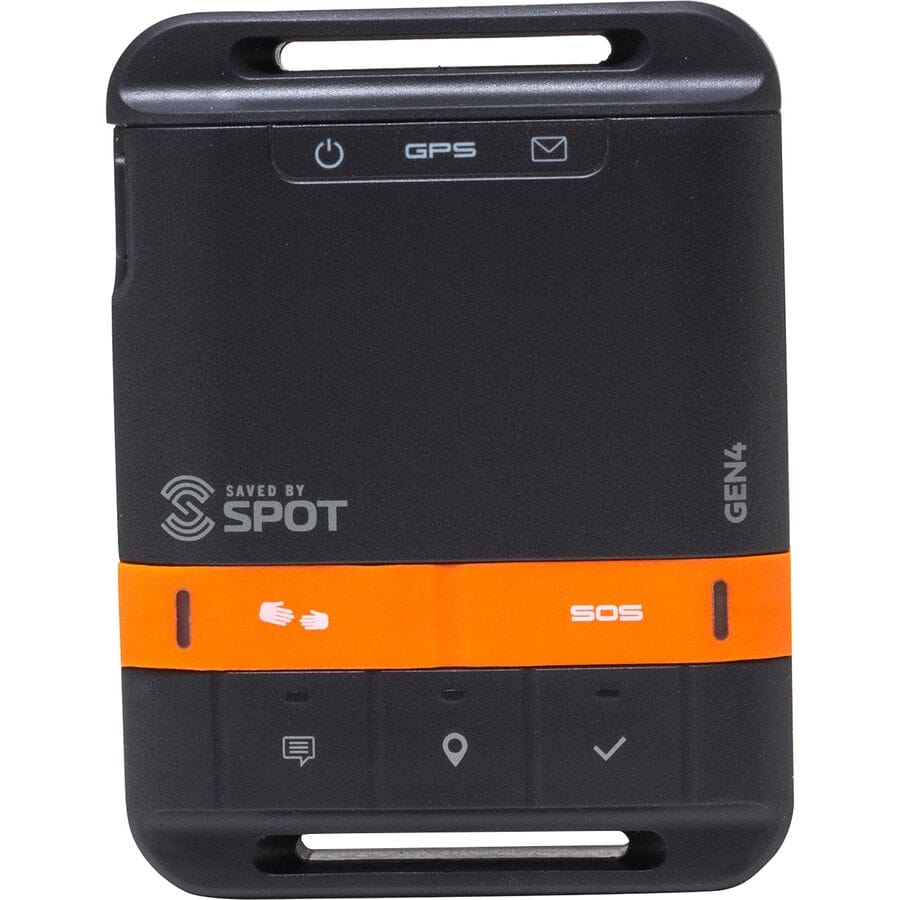
Emergency beacon
These are definitely optional, but are great to give you and your loved ones some peace of mind especially when you’re in the backcountry. I’ve used both the Garmin inReach Mini and the SPOT Gen4 Satellite GPS Messenger. The Garmin has more functions like two-way messaging, but both devices are great options to have in case of emergency.
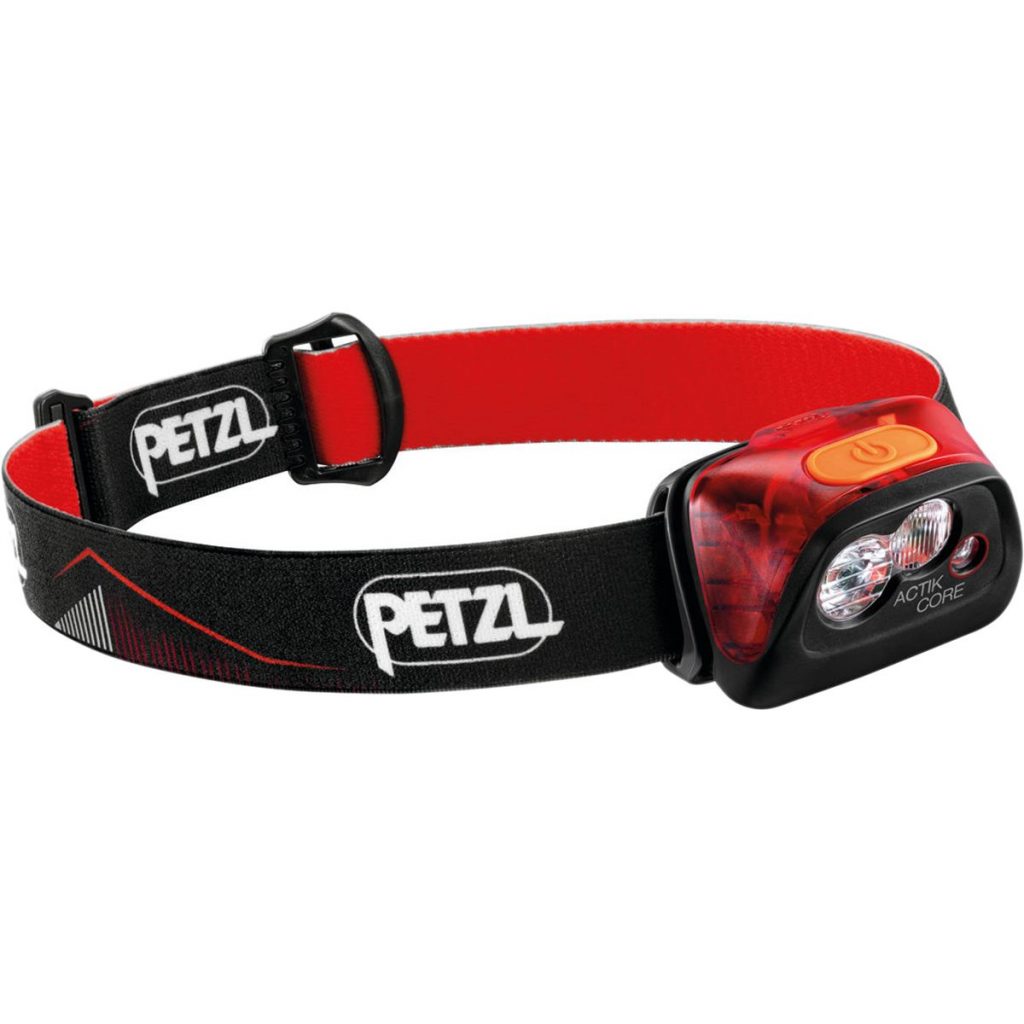
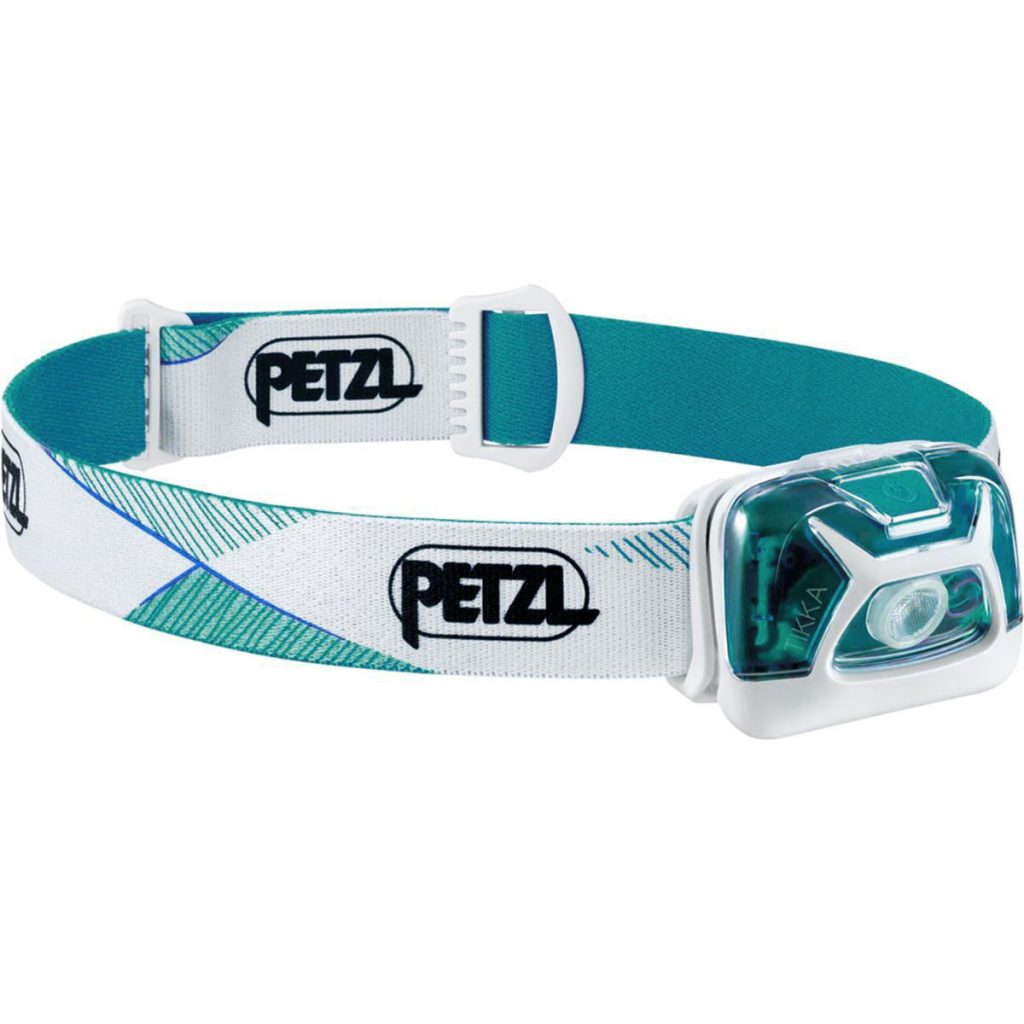
Headlamp + Lantern
You’ll need a headlamp once the sun goes down! I have used the Petzl Actik Core Headlamp for years, and I love it. The Petzl Tikkina Headlamp is a more budget-friendly option that works great. I also like to bring a lantern that I can hang in my tent or campsite for extra light, especially during the winter months when daylight is much shorter. I like the Lander Cairn Mini Lantern and Goal Zero Crush Light.
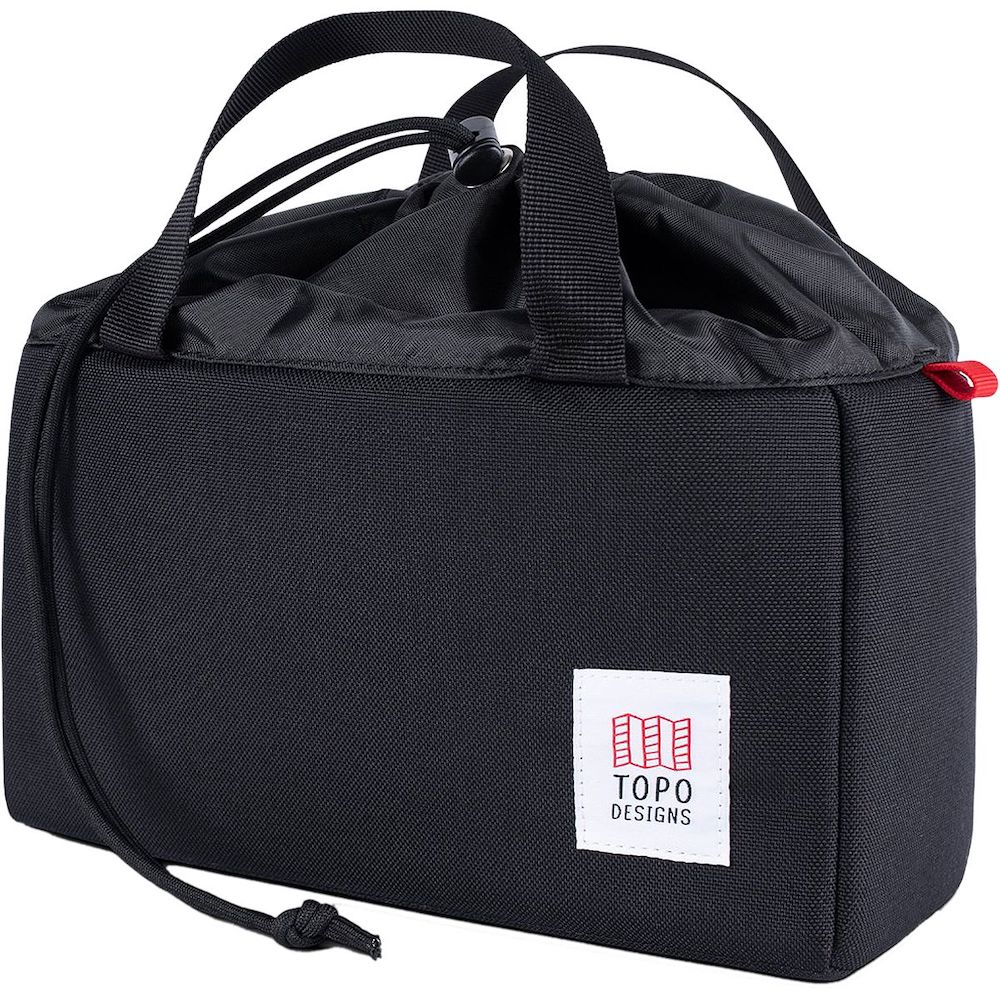
Toiletries
You don’t need much, but you’ll likely want to pack a few things. I typically bring sunscreen, moisturizer, contact lens holder, toothbrush, cleaning wipes, etc. I keep these organized in a small pouch, like this one from Topo Designs. For backcountry bathroom needs I pack a trowel, toilet paper, wipes, Kula Cloth, and a zip lock bag to pack out dirty toilet paper.
Pro tip: You can use a contact lens holder to store small amounts of liquids like sunscreen, moisturizer, and other lotions!
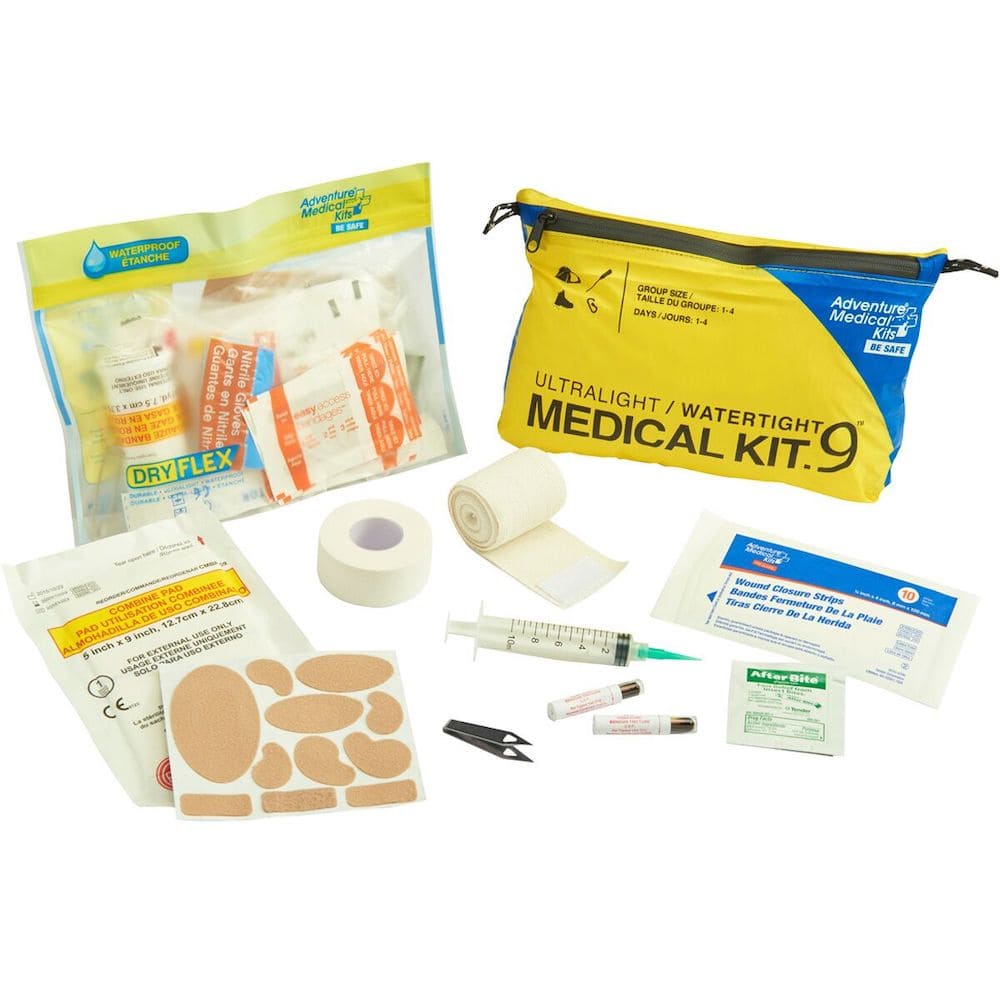
First aid Kit
No matter how far I’m hiking, I always carry a small first aid kit. This includes essential items like plasters for blisters and emergency supplies. Recommended lightweight first aid kit. If you’re lucky, you may never have to use this, but it’s best to be prepared. It’s also wise to pack some bug protection, like bug spray. If I’m hiking somewhere that I know the mosquitos will be bad, I will pack my bug headnet too.
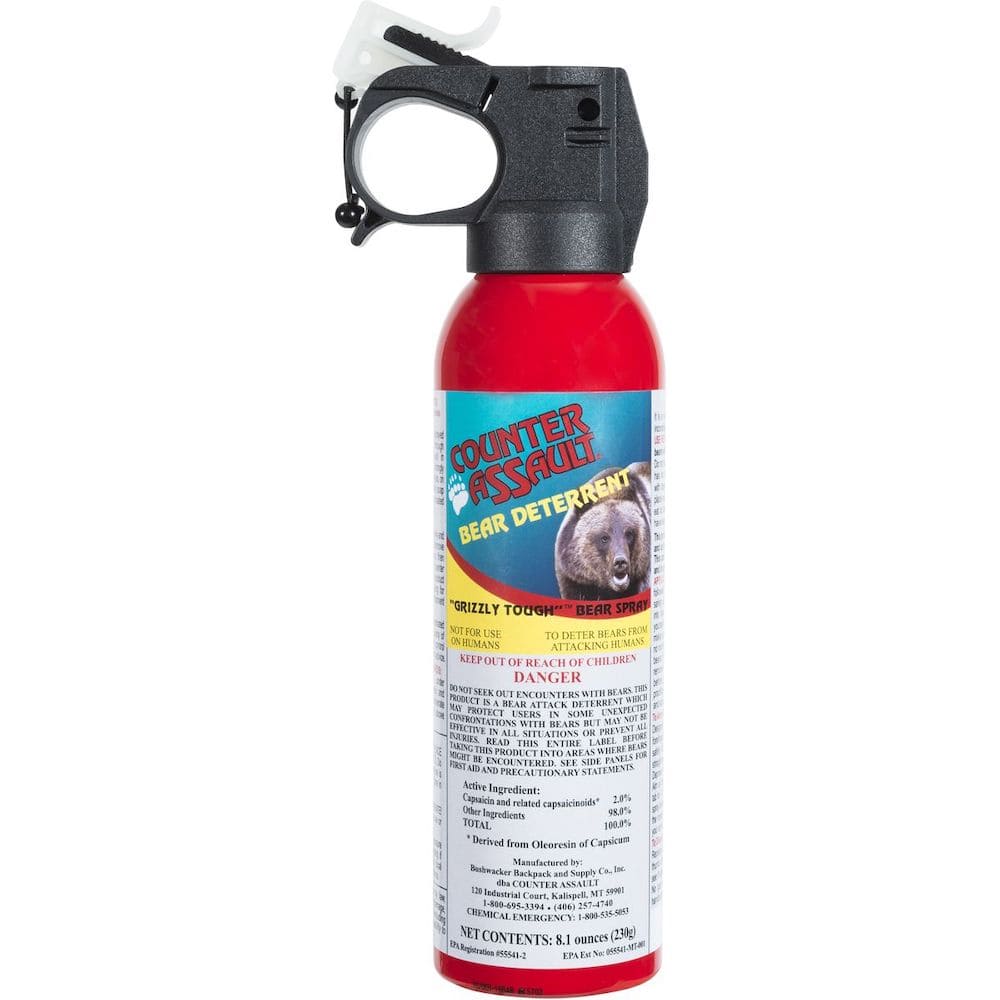
Bear Spray
It’s wise to carry Bear Spray when in bear country. Typically trailheads and national parks will have lots of information posted when this is necessary. Note that it’s important to wear bear spray at your waist or shoulder strap – not in your backpack where it is out of reach. I often will carry pepper spray as a form of defense when not in bear country, especially if I am backpacking solo.
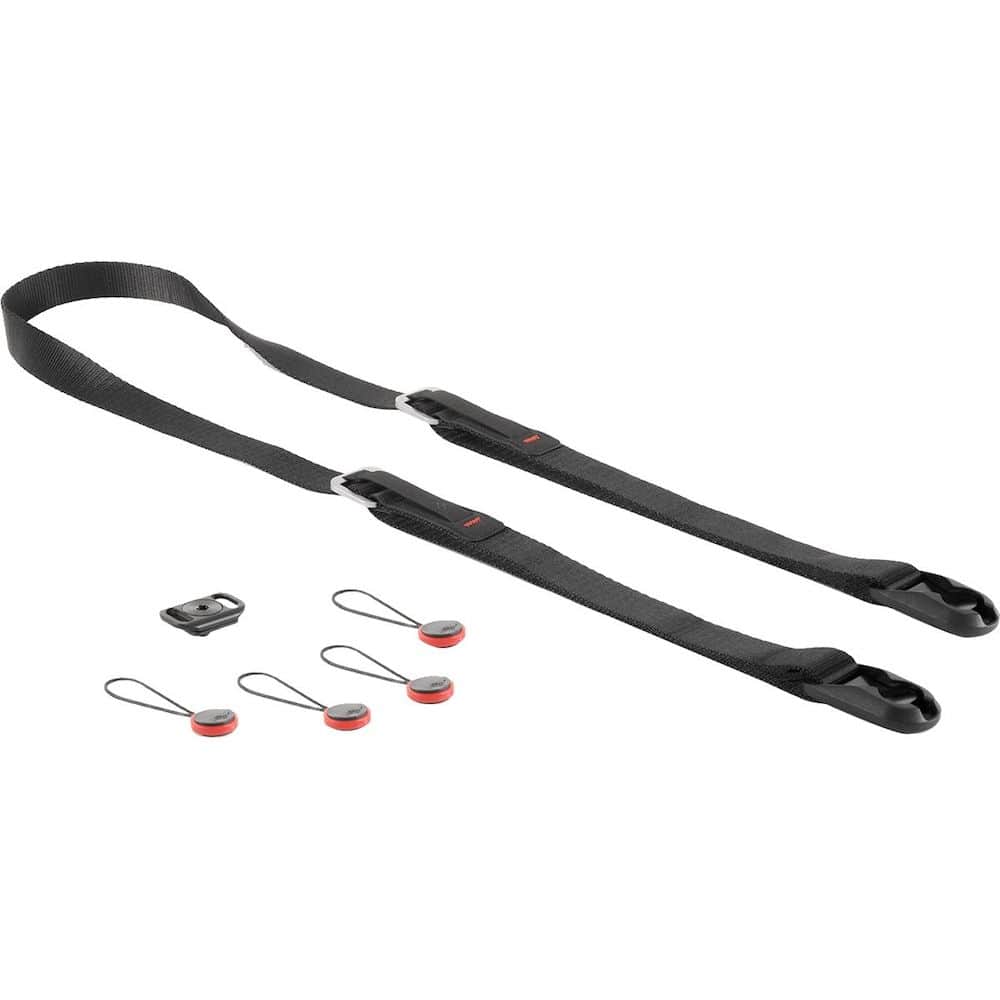
Camera Gear
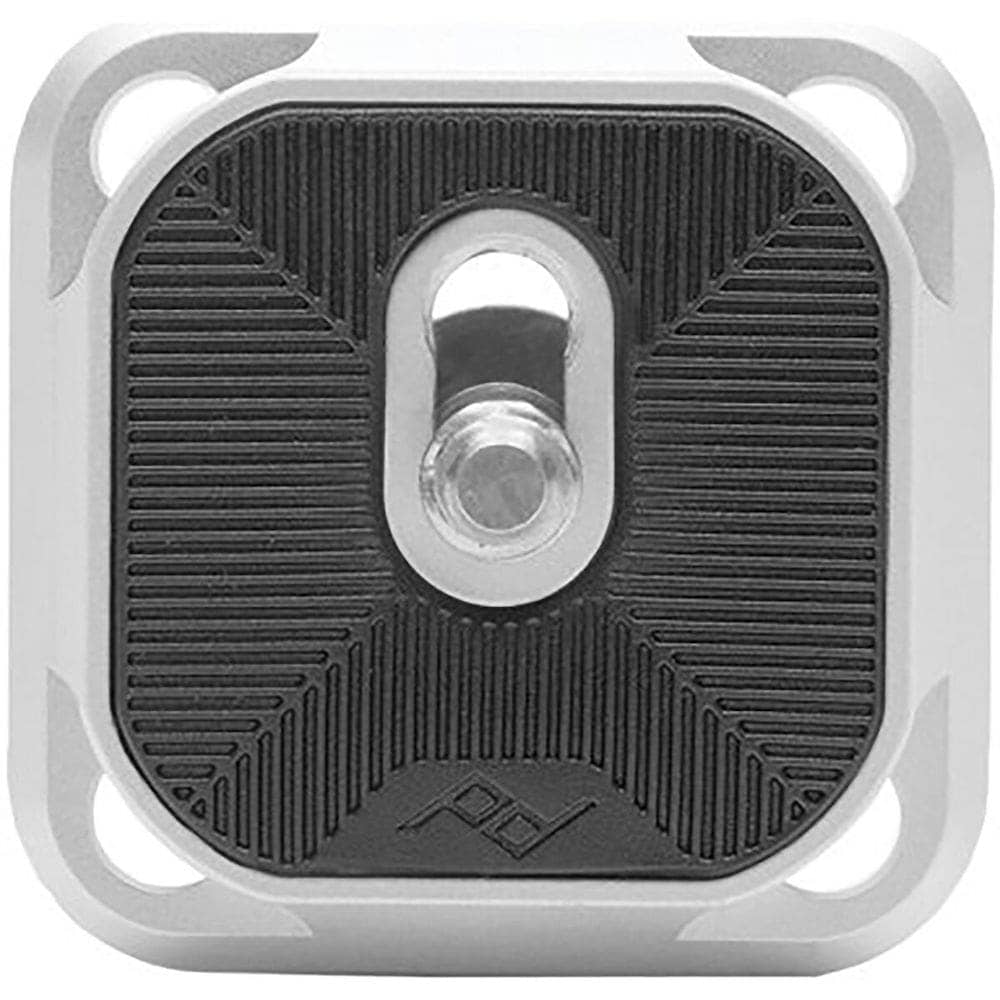
Everyone’s system for carrying their camera gear backpacking is a little different, so here’s what works for me! I pack my camera in a Topo Designs Camera Cube. When carrying my camera for easy access I use a Peak Design Leash Camera Strap and either the Moment Strohl Mountain Light Camera Loader or a Peak Design Capture Clip and Plate (I think this one is more comfortable on my pack waist strap.
Post Hike Kit
Lastly, you might want to leave a small bag in your car with a few items to freshen up at the end of your backpacking trip. My go to items in my post-hike kit include a set of clean, comfy clothes, face/body wipes, hand sanitizer, deodorant, extra water, and snacks.
Want more packing & gear tips? Check out our guides on what to wear hiking, car camping gear essentials, how to plan a national parks trip, and the best hiking shoes.
How to pack your Backpacking Gear
Now that you have your gear laid out in front of you, it’s time to figure out how to pack it all up! This part can feel daunting the first few times, but don’t worry too much. When you lay out all your gear, it can look like a LOT of items! With methodical packing and a bit of practice, you’ll find a system that works well for you to comfortably carry your gear.
First, set aside your heaviest items and the things you will only use once you’re at camp. This includes your sleeping bag, tent, sleep clothes, cooking gear, etc. You want to pack these at the bottom of your pack, and close to your spine. A lot of backpacking packs have dedicated compartments at the bottom for your sleeping bag. This helps evenly distribute the weight and make your backpack more comfortable.
Make sure anything that you want to access while you’re hiking is packed near the top for easy access. This includes things like snacks, camera gear, or any emergency gear (first aid kit, rain gear, extra layers). It might take a few trips to find a good system that works for you, and that’s ok! Take note of what you use frequently and anything you didn’t need, and next time you will be able to pack even more efficiently.
backpacking and Leave No trace
When venturing out on a hike or backpacking trip, it’s important to follow Leave No Trace principles. This ensures that we are recreating responsibly, and preserving the natural environment. Don’t forget to educate yourself on proper hiking and camping etiquette before heading out. Here are some of the guidelines for recreating responsibly. You can find more information via the Leave No Trace Center for Outdoor Ethics or in my in-depth blog post on the subject.
- Know the regulations and special concerns for the area you’ll visit
- Travel and camp on established trails and durable surfaces
- Pack it in, pack it out. Do not leave any trash in the backcountry, this includes toilet paper – if you use it, take it with you.
- Deposit solid human waste in catholes dug 6 to 8 inches deep. This should be at least 200 feet from water, camp and trails.
- Pack out toilet paper and hygiene products.
- If washing up is necessary, carry water 200 feet away from streams or lakes and use small amounts of biodegradable soap. Scatter strained dishwater.
- Examine, but do not touch cultural or historic structures and artifacts
- Leave rocks, plants and other natural objects as you find them
- Where fires are permitted, use established fire rings, fire pans, or mound fires
- Keep fires small. Only use sticks from the ground that can be broken by hand
- Burn all wood and coals to ash, put out campfires completely, then scatter cool ashes
- Control pets at all times, or leave them at home
- Respect other visitors and protect the quality of their experience
- Be courteous. Yield to other users on the trail
- Observe wildlife from a distance. Do not follow or approach them.
- Never feed animals
backpack with Confidence
I know there can be a lot of things to worry about for your first backpacking trip. So I hope that these tips help you feel a bit more prepared to get into the wilderness with confidence! It’s fun to try things outside your comfort zone, and even more rewarding to catch an alpine sunrise. I personally love the feeling of getting from A to B with everything I need to survive on my back and being completely off-the-grid. Be safe out there and have a blast 🙂
PIN for Later!

One thing that really stands out about this article is its readability. Even though the subject includes several detailed concepts, your writing style keeps everything clear and approachable. I appreciate the balance between providing comprehensive information and maintaining an engaging reading experience.
This is exactly the kind of guide I wish I’d had before my first overnight trip — especially the sections on layering and the realistic pack weight expectations. You do a great job of making wilderness camping feel approachable without downplaying the prep work involved. The safety tips are practical without being alarmist.
A nick finder is an easy-to-use tool for finding creative, stylish, and personalized nicknames for games, social media profiles, streaming channels, and online communities. It generates unique username ideas with fancy fonts, decorative symbols, and eye-catching text styles, allowing users to create a distinctive online identity that is memorable and suitable for a wide range of platforms.
This post offers much more than simple information. It provides context, explanations, and practical insights that help readers truly understand what is being discussed. That extra level of detail makes the article stand out and leaves a lasting impression.
I enjoyed exploring Cricbet99 because the website is responsive, well organized, and features a clean interface that makes browsing simple.
This is interesting. The blog is a outstanding resource, and I’ll be visiting often. Keep up the amazing effort—you’re doing an fasinating job!
This is a fantastic beginner-friendly guide—these practical tips make wilderness backpacking feel more approachable and exciting for anyone ready to explore the outdoors!
it’s totally ok to start with heavier gear
This guide breaks down everything so perfect.
This is such a fantastic resource for anyone looking to get into backpacking! I really appreciate how you broke down the essentials like planning and gear. It makes a potentially daunting task feel much more approachable. I’m definitely going to bookmark this for my own future trips. Thanks for sharing!
This is an incredibly helpful and comprehensive guide.
Such a comprehensive guide!
This is such a comprehensive and encouraging guide for anyone looking to start their first backpacking adventure!
I’ve found that one of the biggest challenges for beginners is accurately gauging distances and elevations on trail maps, especially when planning daily mileage. It’s easy to misinterpret scales if you
This is such a comprehensive and inspiring guide for anyone.
Choosing the right design college in India can shape a creative career. Quality education, experienced faculty, and exposure to live projects make these institutions highly valuable for aspiring designers.
Latest CBSE News is essential for students and parents to stay aware of important announcements. It ensures timely preparation and avoids last-minute stress related to exams and results.
This is such a comprehensive and inspiring guide for anyone looking to start their first backpacking adventure!
These look so chewy and delicious,I cannot wait to bake them.
I have wanted to try camping.
Edu Brain Academy stands out for offering updated insights on global education trends. The information is useful for students planning their higher studies in foreign countries.
Great to see such detailed Lifestyle News that focuses on health, fitness, and modern living. The articles are easy to understand and very helpful for daily life improvements.
Been wanting to sleep under the stars for ages, but the thought of carrying a giant heavy pack always intimidated me. Breaking it down into the ‘big three’ (tent, sleeping bag, pad) makes the whole process seem way less overwhelming. I might actually do a test run in my living room this weekend just to practice!
Trimming down my base weight for my initial backcountry overnight has been stressing me out. This breakdown of essential provisions for a rucksack is a massive lifesaver for a novice. Pinning this guide for my upcoming off-grid excursion!
Escaping cellular service and trekking up muddy dirt paths is my primary mission this summer. Acquiring proper waterproof footwear avoids painful blisters. Breathing that crisp pine oxygen makes the exhausting miles totally worthwhile.
The Bhulekh MP system has made land record management much easier for the people of Madhya Pradesh. Earlier, getting land information required visiting local offices and waiting in long queues. Now, users can quickly access their land details online. The platform helps increase transparency and reduces the chances of disputes related to land ownership. Bhulekh MP is definitely a useful digital service for citizens.
Love how approachable you made this guide. Backpacking can seem intimidating from the outside, but your advice makes it feel much more doable for beginners. Appreciate the inspiration!
Such a fantastic and detailed guide! It’s so easy to get overwhelmed by all the gear options out there, but you broke it down so perfectly. Thanks for sharing your expertise and giving us beginners the confidence to get out there!
One thing I like about 51 Game login is that it works fast even on mobile browsers. I usually log in from my phone and the page loads quickly. The login system feels secure and simple at the same time. For regular users, this easy login process makes accessing the platform very convenient.
I have tried several similar platforms but Lottery 7 feels more organized than most of them. The interface is neat and it does not take much time to understand how everything works. I like that the platform runs smoothly even on my phone. The loading speed is good and I never experienced any major issue while using Lottery 7.
Thank you for highlighting the importance of Mukhyamantri Abhyudaya Yojana and Pradhan Mantri Kaushal Vikas Yojana. Free coaching and job-oriented skill training are powerful steps toward youth empowerment. These schemes enhance career prospects and strengthen self-confidence. Such government initiatives are essential for nation-building. Excellent and motivating content!
Your photos always make me want to pack my bags (or my backpack)! I love how you combine practical utility with incredible aesthetics. I was just browsing some ideas for a balanced and high-quality lifestyle and realized that my next step toward harmony is my first solo backpacking trip. Your advice is so timely!
I truly appreciate the effort put into this informative blog. The explanation is easy to follow and helpful. Along with this, I recommend knowing about PM Jan Dhan Yojana. It is an excellent scheme that provides banking access, RuPay cards, and insurance coverage. PM Jan Dhan Yojana has changed many lives positively.
I appreciate this informative article on Tiranga Game Login. The step-by-step explanation makes the login process smooth and stress-free. It’s great to see common issues explained so clearly. Thanks for sharing such useful knowledge. This post will surely help many users who are new to the Tiranga Game platform.
This blog provides clear and detailed insights that are both informative and engaging. I learned a lot from this post, and everything was explained in a simple way. Great work! If you’re interested in online gaming, Okwin Gaming is a fantastic platform to explore. It offers a wide range of games, user-friendly navigation, and a fun experience for everyone.
Thx
PolyTrack Unblocked is a challenging puzzle game with sharp graphics and engaging gameplay. Players need to use their brains to overcome difficult levels, creating an exciting and addictive feeling.
I truly understand it.
Great beginner tips and gear advice! Loved the Leave No Trace reminder. Thanks for sharing!
thank you for sharing information very nice
This is such a solid guide for beginners! I really like how you emphasized Leave No Trace—it’s something too many new hikers overlook.
Nesabamedia membantu saya menyelesaikan masalah komputer.
Nesabamedia juga membahas teknologi masa depan.
Thanks for the great tips, Renee! I’m considering my first backpacking trip, and your advice on choosing the right gear and planning a safe route is super helpful. Can’t wait to put these suggestions into practice!
Great tips, Renee! I particularly loved your advice on packing light and choosing the right gear. As someone just starting out, I found your suggestions super practical and motivating. Can’t wait to hit the trails!
O grande diferencial do ativador office 2016 kmspico download está em sua compatibilidade com diversas versões do sistema Windows. Seja você usuário do Windows 7, 8.1, 10 ou 11, pode contar com uma ativação rápida e sem erros. O software é constantemente atualizado para manter essa compatibilidade e evitar falhas durante o uso. Isso o torna uma ferramenta versátil, ideal para qualquer tipo de máquina — desde notebooks mais antigos até PCs modernos com hardware avançado.
I appreciate what you share in the post. Thanks to your post, I have gained a lot of new and useful knowledge.
The camping gear is neat and modern, I love it.
Thank you for sharing. I also have something to share that I would like to tell you Welcome to the definitive NYT Connections solver tools(word connections solver), puzzle enthusiasts!
This post is so helpful! The practical tips you’ve provided are easy to understand and implement, which makes a big difference. I appreciate the time and effort you’ve put into making this content accessible and valuable. Thank you for your generosity in sharing your expertise. Your blog is a fantastic resource, and I’ll be visiting often. Keep up the amazing effort—you’re doing an outstanding job!
Backpacking for Beginners shares must-know tips for wilderness camping, much like CarX Street Drive teaches mastering the streets. Both require preparation, strategy, and adaptability. Just as you tune your car for races, gear up with essentials for adventure. Whether on roads or trails, success lies in planning and precision.
Your blog is always so informative. Appreciate it!
It’s great idea! Let’s start with my friend
This is definitely a place that those who love to travel cannot miss.
This list is very outstanding! Regards for spreading it! awesome advice I’ve always been reluctant to do business outside, but now I feel like I could!