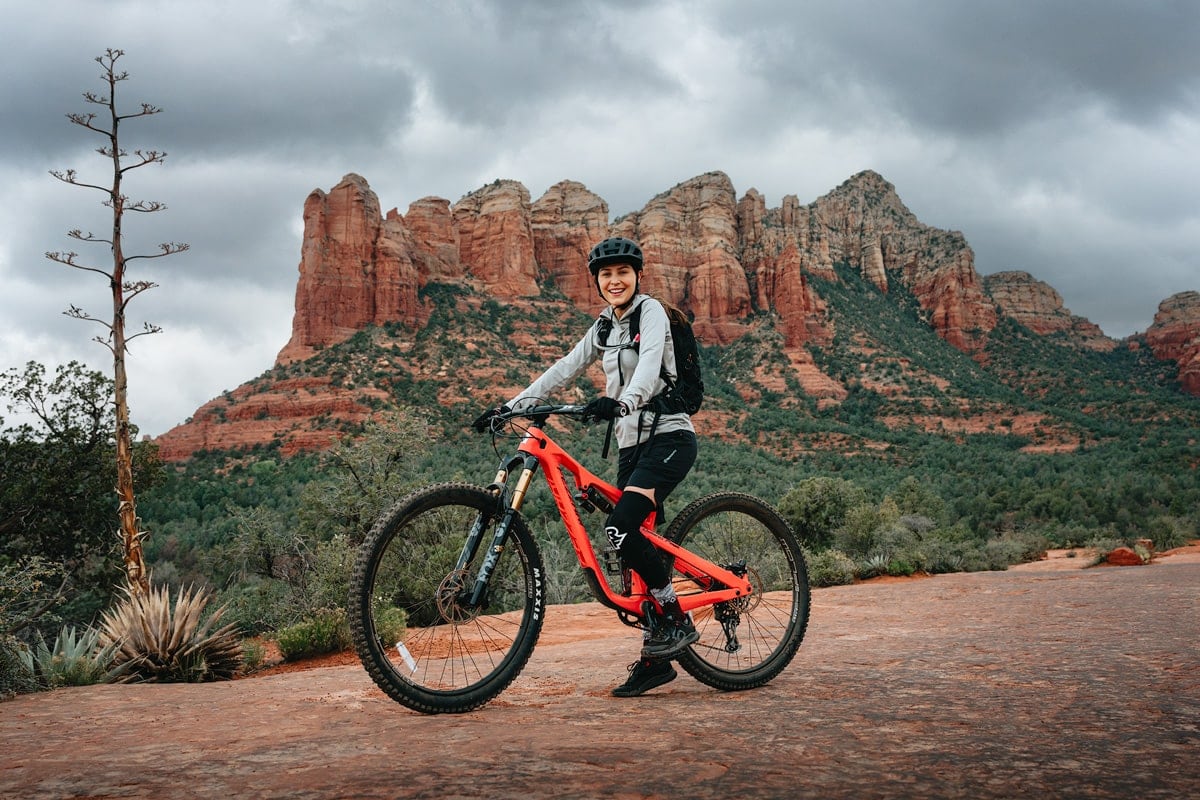
Picking up new activities can be intimidating (and hard!) and mountain biking is no different. I recently started learning to mountain bike here in the Pacific Northwest, and while it’s been challenging, it’s also been an exciting way to explore new trails. I’ll admit, it was a little intimidating my first time mountain biking! I didn’t know much about what kind of bike I needed, what to wear, where to go, or any basic form. So, I’m sharing the best beginner mountain biking tips that have helped me on my journey!
Disclaimer: This blog post is in partnership with Fezzari and features some affiliate links, which means I get a small commission if you make a purchase (at no extra cost to you). It’s one of the ways I can keep producing free guides and resources for my readers. Learn more about my affiliate policy here. Thank you for the support!
5 Beginner Mountain Biking Tips
Much like learning to hike or learning to ski, there’s a lot of things to think about before you even get on your bike for the first time. These are the best beginner mountain biking tips that have helped me feel more comfortable while on my bike on the trail. But I’m also sharing a few things that have helped me feel more prepared in general, like a mini-glossary of bike lingo and packing list.
Even finding trails that are suitable for beginner can be daunting. I recommend visiting your local bike shop and asking for recommendations! You can always do a quick google search for “beginner mountain bike trails near me”, but I always believe local knowledge is the best route. I also like using MTB Project and Trailforks as resources for finding trails. They both have apps you can download, and I love being able to see elevation profiles so I have a good idea of what I’m getting into!
When I first started talking to friends about mountain biking, there were a lot of terms that I didn’t really understand! So, here is glossary of mountain bike terms that should help you become more familiar with the lingo and help as you read through these beginner mountain bike tips.
Mountain Biking Terms
- Singletrack and doubletrack – Singletrack refers to the width of the trail being wide enough for one rider; doubletrack trails are wide enough for two riders.
- Flowy vs Technical – These are also trail descriptions. Flowy trails are normally pretty smooth trails that don’t require much pedaling. They often feature rolling terrain, berms, and maybe some jumps or other features. Technical trails are typically a bit bumpier or rougher, with more natural features that you’ll need to ride over (such as rocks and roots)
- Berm – a banked turn in a trail that gives traction and momentum to ride through the turn smoothly and quickly
- Loam – a type of soil or dirt found on mountain bike trails
- Chamois – pronounced “shammy”, padded shorts that keep your bum happy. A must, in my opinion!
- Hardtail vs Full suspension – Hardtail bikes only have front fork suspension. Pros: they are more affordable. A full suspension bike has both a suspension fork and rear shock. Pros: better control, better traction, and more comfortable.
- Pedals – Flat pedals are a large, flat platform to rest your feet on the pedals. Clipless pedals are a little misleading because your foot is attached to the pedal with these. Many riders like these to help improve pedaling efficiency since you can also pull up on the pedal. They also keep your foot attached so you don’t have to worry about it slipping off.
- Shifting – refers to changing gears
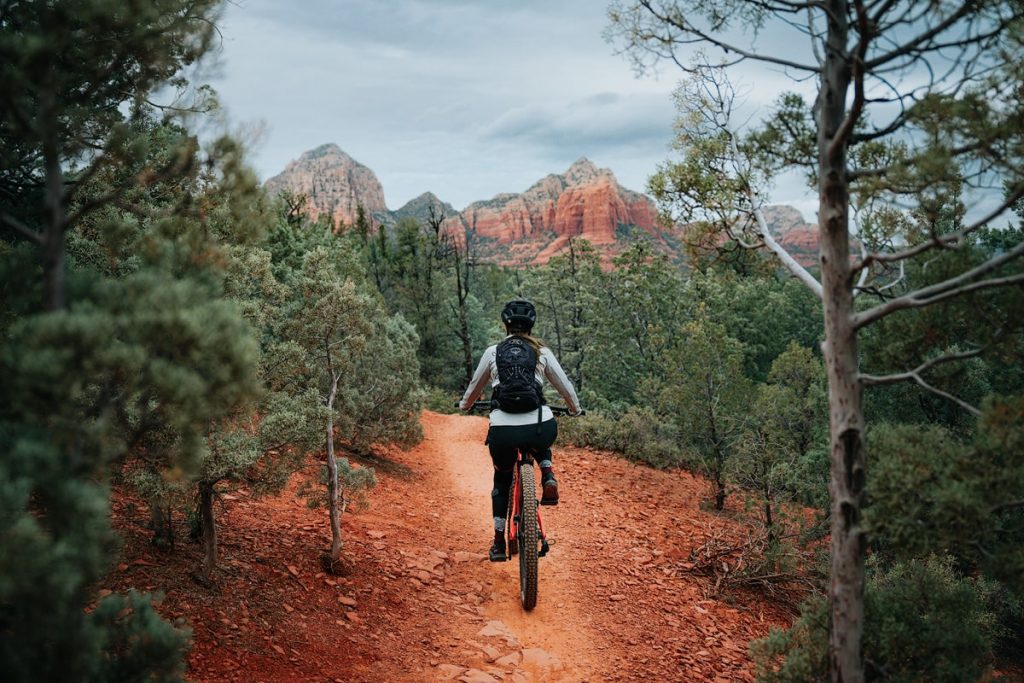
Mountain Bike Tip #1 – You can ride slowly!
It’s absolutely okay to ride slowly when you’re learning new skills and getting comfortable on your trail bike. Don’t be afraid to walk your bike on sections of trail that intimidate you. If there’s a steeper downhill section, or a tight corner, start by walking through this section of trail so you get a visual of the terrain. I also find it helpful to walk my bike over some of these sections to see and feel how smoothly it can ride over some of the rougher terrain. But don’t be afraid to try it out! After all, you won’t know what you’re capable of until you try.
When you start to tackle more features on your bike, speed will be your friend. So start slowly when you learn the fundamentals, but don’t be afraid of picking up some speed once you start to feel more comfortable on your bike. Having a bit more speed will actually help to ride more seamlessly over roots and drops, and you can trust your suspension to absorb the shock. I have probably fallen over on my bike more times due to riding too slowly, rather than too fast.
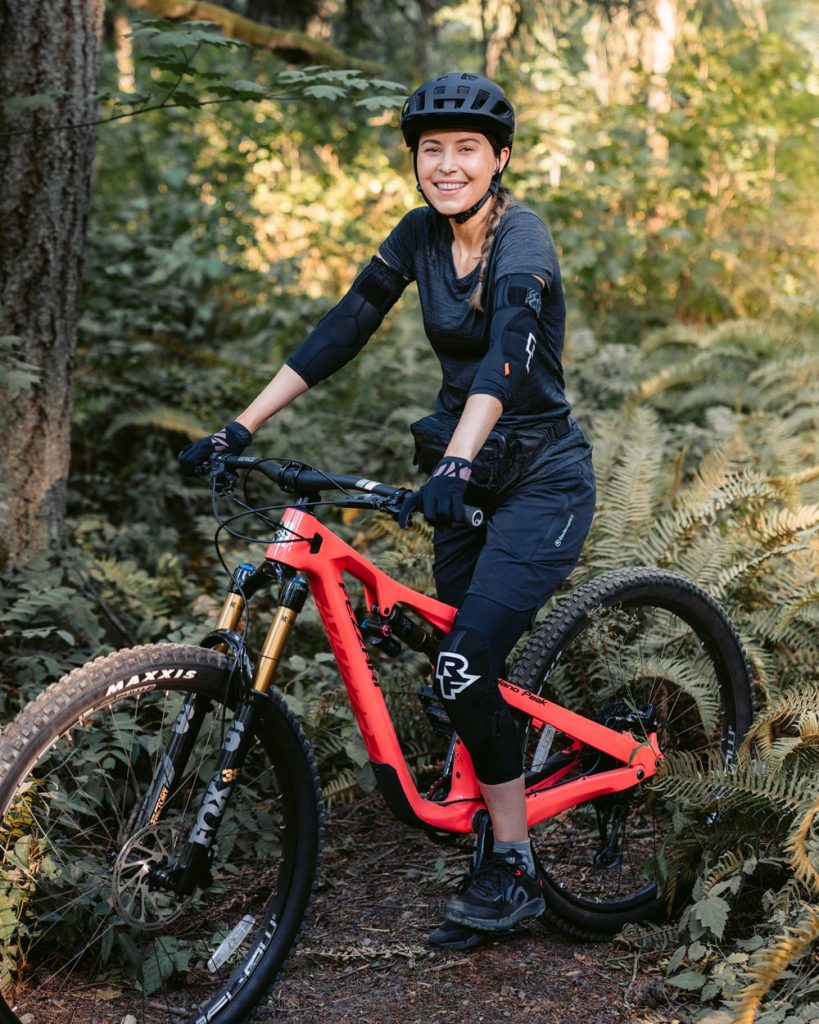
Mountain Bike Tip #2 – Get out of the saddle
You have to get comfortable coming out of the saddle when you’re on a mountain bike. Standing up on the descent is one of the most important stances to get familiar with when you’re learning to mountain bike. You also have to become comfortable getting out of the saddle when you’re riding over rocks, roots, etc. It’s helpful to get familiar with your dropper post that raises and lowers your seat. Getting your butt out of the saddle and into an athletic stance on technical terrain and downhills will also be much more comfortable long term.
Here are the things I think about when getting into this position.
- Keep your pedals even and level (rather than one leg up, one leg down) with flat feet and your heels slightly dropping.
- Soft knees and soft elbows – try not to lock out your joints so that your bike can absorb all the impacts of the trail. That’s what your suspension is there for!
- Hinging from your hips like you’re folding in half helps to lower your torso towards the handlebars and keeps your weight evenly distributed across both your front and rear wheels. The closer your body is to the frame, the more control you will have. I tend to do the opposite when I am afraid or nervous, so I constantly have to remind myself of this!
- Keep your eyes up! You don’t need to look at your front wheel, or the tricky rock that you’re trying to pedal over (more on this below)
If you’ve road biked in the past, this might take some getting used to because it’s essentially the opposite! Normally while road biking you would stand out of the saddle in a heavy climb. But while mountain biking you want to stand during the descent with your knees and elbows bent and responsive. Keeping your weight centered over the bike is the best way to stay balanced and feel secure in your stance. This article breaks down the uphill and downhill mountain bike stance with helpful visuals.
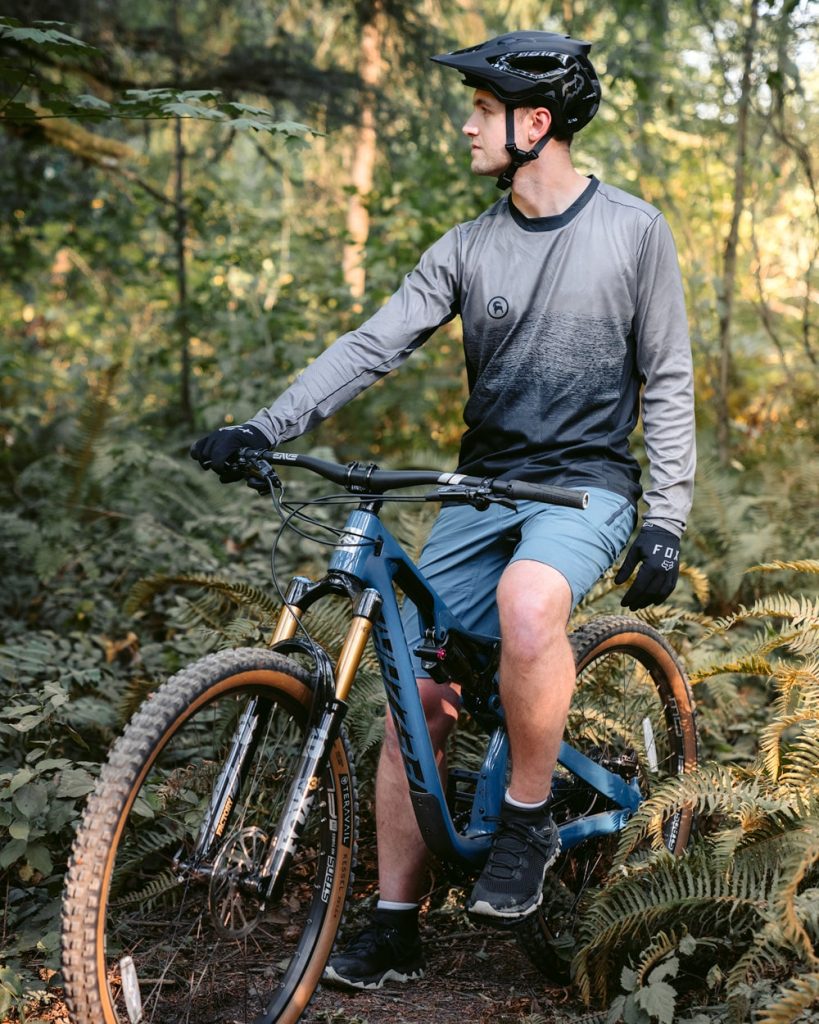
Mountain Bike Tip #3 – Go easy on the brakes
It’s important to have a relaxed grip on your handlebars because your grip translates to how the bike reacts! When you’re relaxed, the bike is more responsive and provides a much smoother ride with the bike components absorbing trail impacts, rather than your body. Wearing mountain bike gloves helps me feel that I have a more secure grip on the handlebars without having to have a death grip.
This goes for your grip on the brake levers, too. Smooth, even braking helps you have a smooth ride and will (hopefully) prevent any dreaded OTB (over the handlebar.) As you get more comfortable on your bike and the trails you’ll quickly realize that a little bit of speed is your friend and helps you maneuver over rocks or roots and through corners and berms much more smoothly.
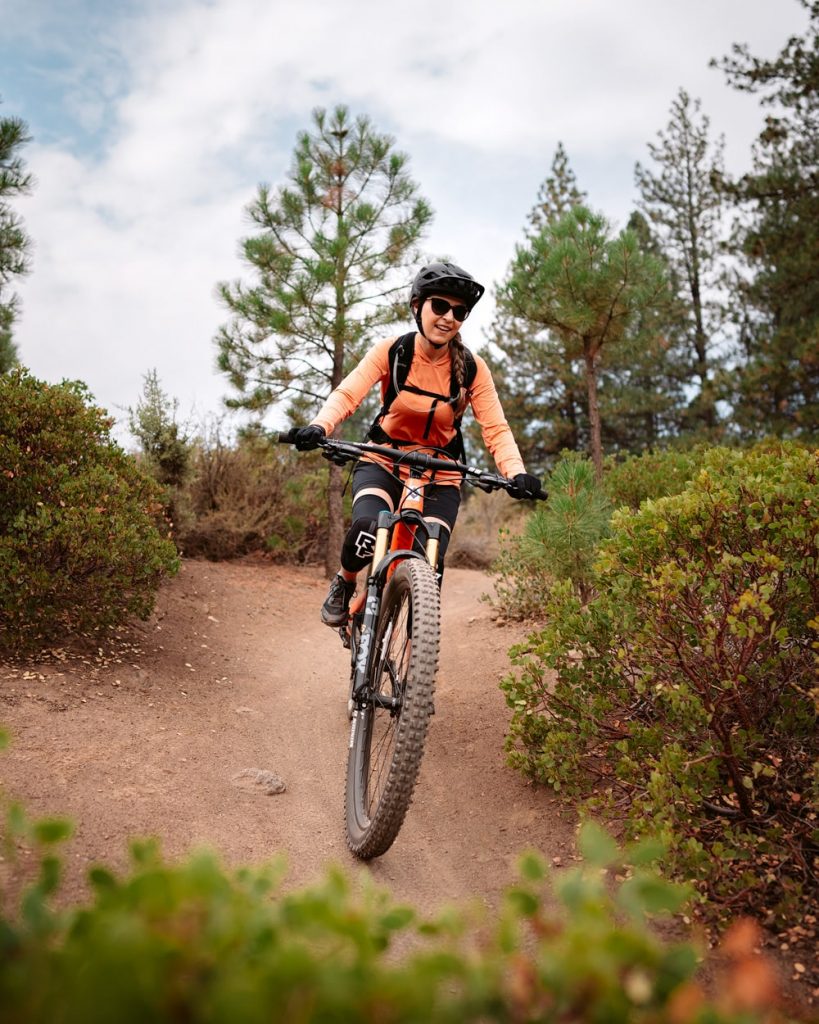
Mountain Bike Tip #4 – Don’t look at the scary stuff
It’s easier said than done when you’re riding down a technical trail with a lot of obstacles. But one of the most important and helpful things I have learned is not to look at the scary stuff. Instead, look where you WANT to ride. Looking through the obstacles and having an athletic, responsive stance on your bike is the best way to easily ride over and through the rocks, roots, or drops. When you start to ride bigger drops or maybe even jumps one day, looking ahead to where you want to land is super helpful.
When cornering or turning, it also helps me to point my shoulders and torso in the direction I want to turn. Your bike will naturally follow the direction your body is pointing! Trust your bike and use your body language and direction to communicate with the bike where you want to travel.
Mountain Bike Tip #5 – Practice, Practice, practice
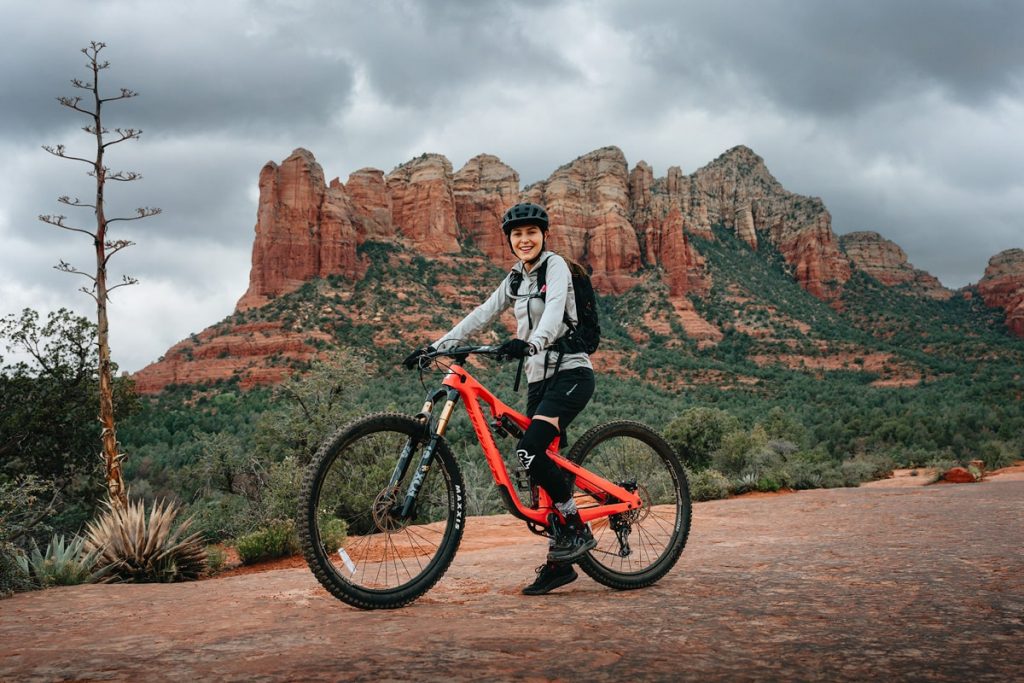
As it goes with most new hobbies, the only way to get more comfortable is by practicing consistently. Try to ride a few days a week! If you have the means, it’s a great idea to take a lesson or sign up for a clinic. Here in the Pacific Northwest there are tons of amazing coaches. Lessons are great for riders of all experience levels, especially if you develop bad habits and need to recondition your brain and form.
Another way to develop your skills is by riding with people that are better than you! Trying out new trails is a good way to test your abilities and grow your comfort zone. I definitely recommend trying to find friends to ride with. It’s a great way to stay motivated, explore new trails, and nothing beats having great pals to shred with.
Mountain Bike Gear
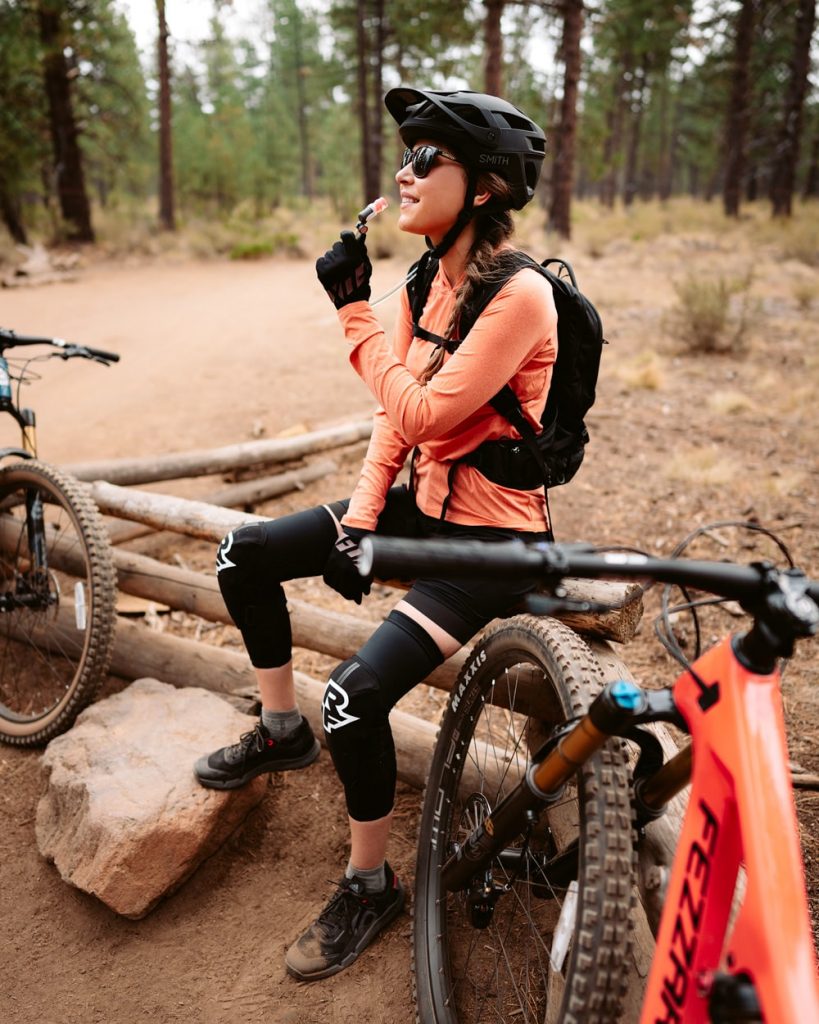
Like most outdoor activities, a lot of what you wear and pack depends on where you’re going and the time of year. So here I am sharing some of the gear that I wear and use regularly, tips on what to pack, and suggestions on buying a mountain bike when you’re ready!
Protective Gear
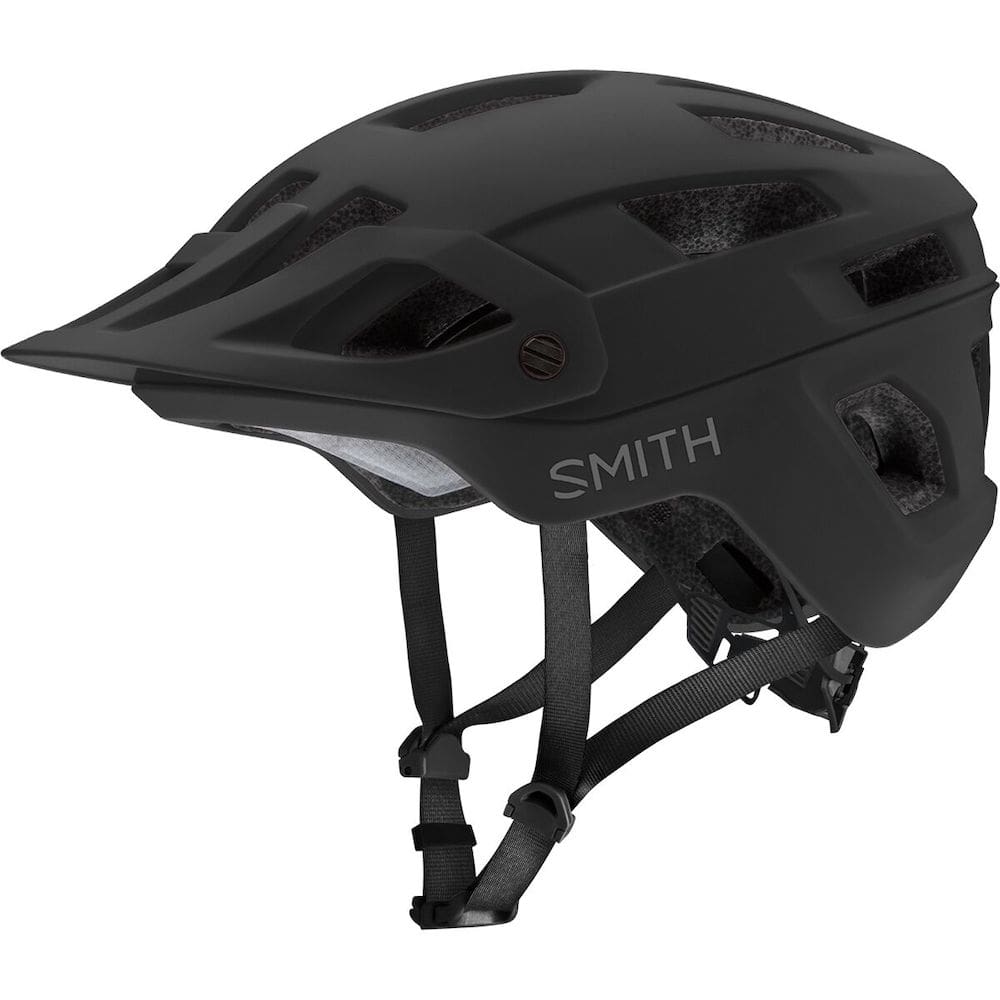
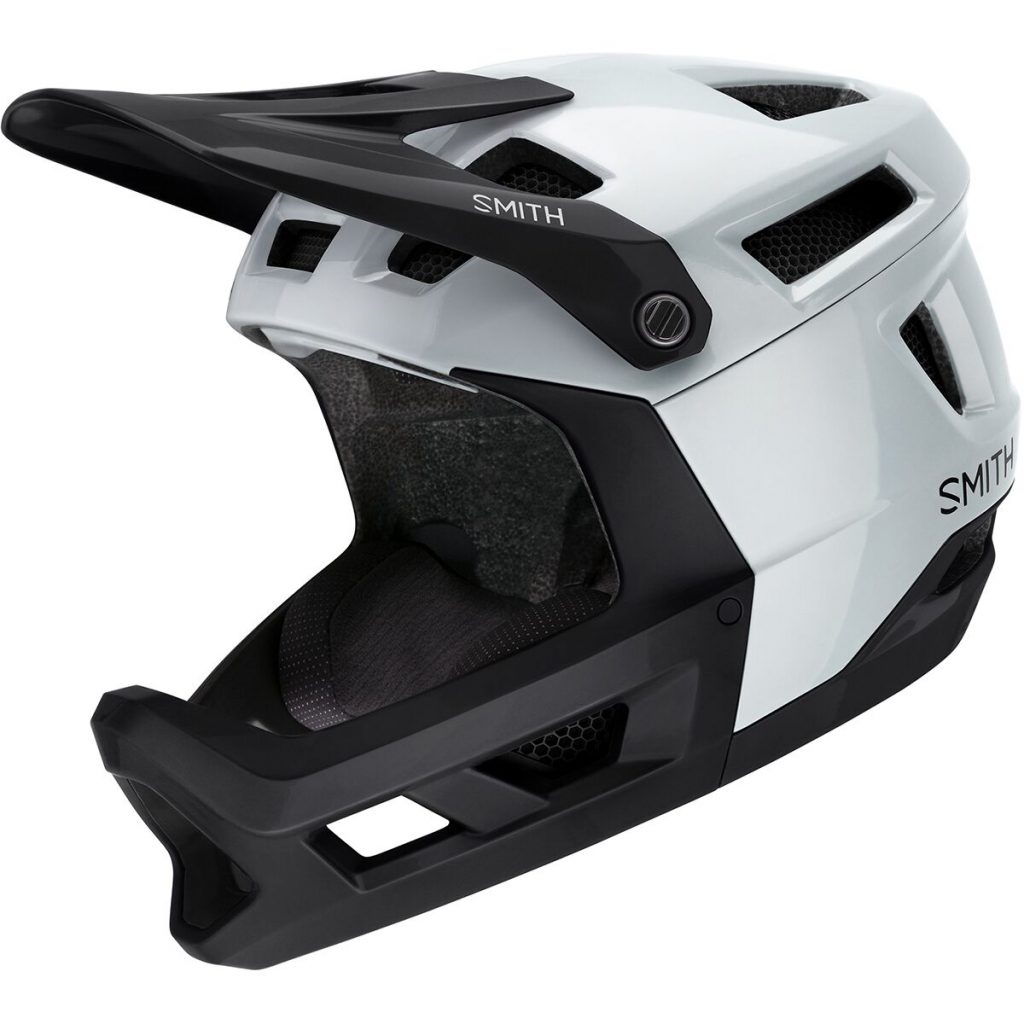
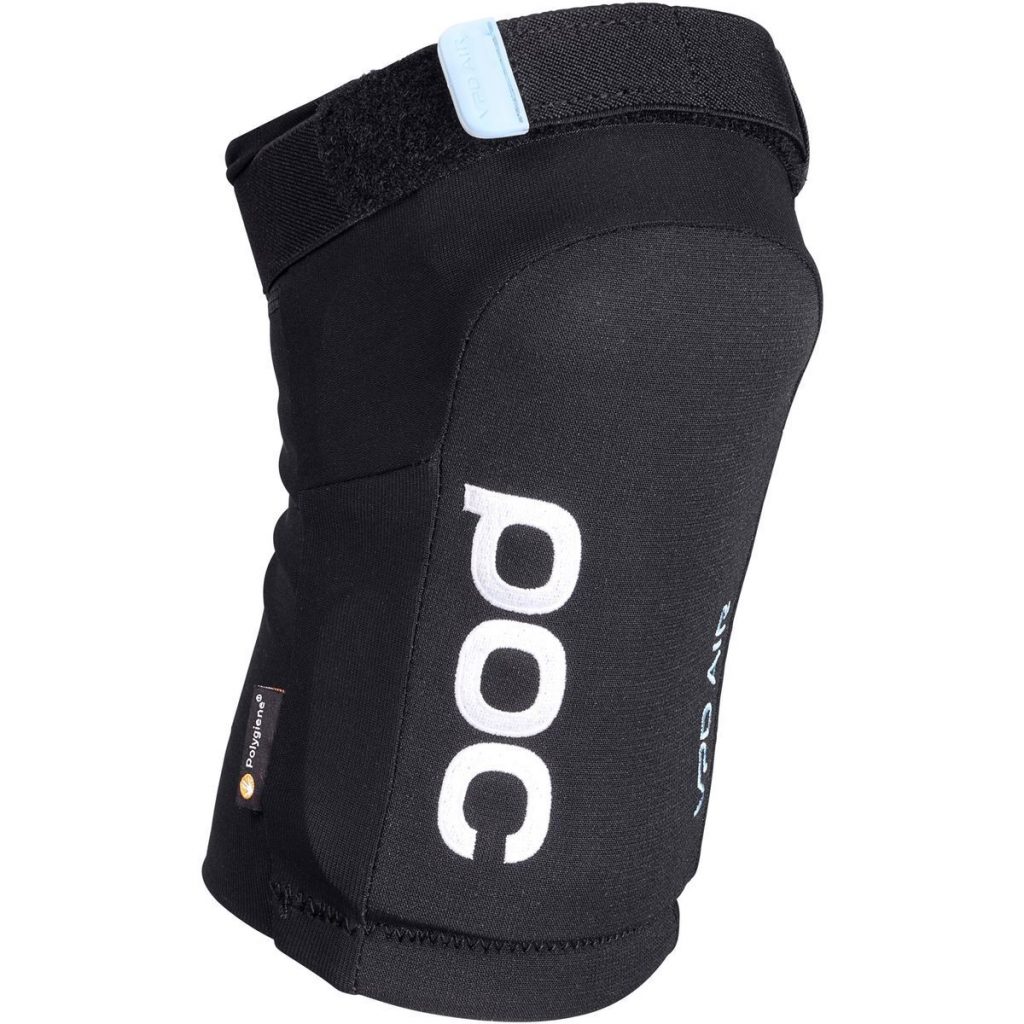
This is super important! You definitely don’t want to skimp on your safety gear. First and foremost you’ll want to wear a helmet. I wear the Smith Engage MIPS Helmet and my husband Matt wears the Fox Speedframe MIPS Helmet. If you want even more protection, or maybe you’re thinking of riding steeper terrain or hitting features like jumps, I’d recommend a full face helmet like the Smith Mainline which can keep more of your head and jaw protected. Elbow pads and knee pads are “optional” but certainly make learning a lot more fun when you can prevent some bruises. It’s also helpful to wear a pair of sunglasses for eye protection. Your everyday sunglasses can work in a pinch, but bike glasses are often more comfortable with a helmet, and typically come with multiple lenses. Clear lenses are great for cloudy PNW days! I feel more confident when I have all my protective gear on and am definitely more inclined to try things outside my comfort zone when I have all my safety gear on!
Clothing
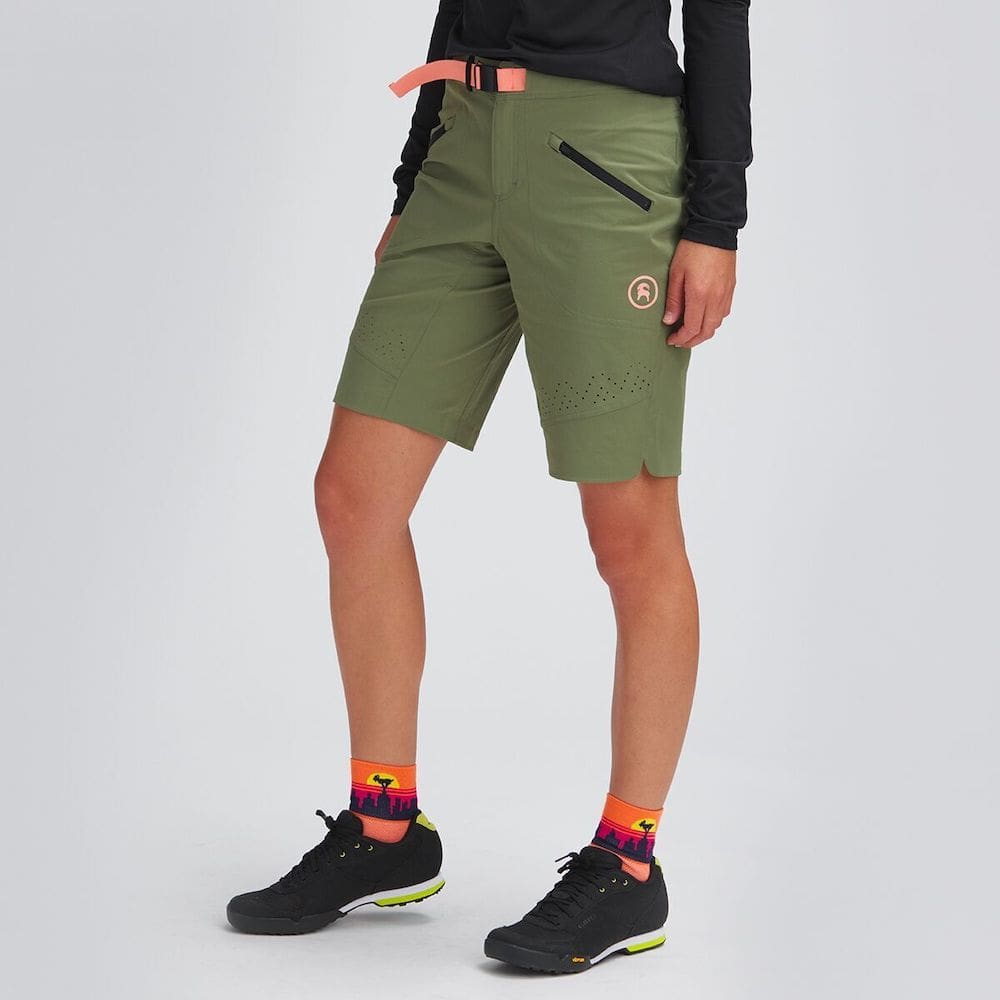
First and foremost, you’ll want to invest in a chamois (padded shorts.) These will literally save your behind on longer rides. I prefer to wear my chamois under a pair of durable shorts like the Backcountry Slickrock Short which come in a lot of fun colors. Matt even wears the men’s version of the same shorts.
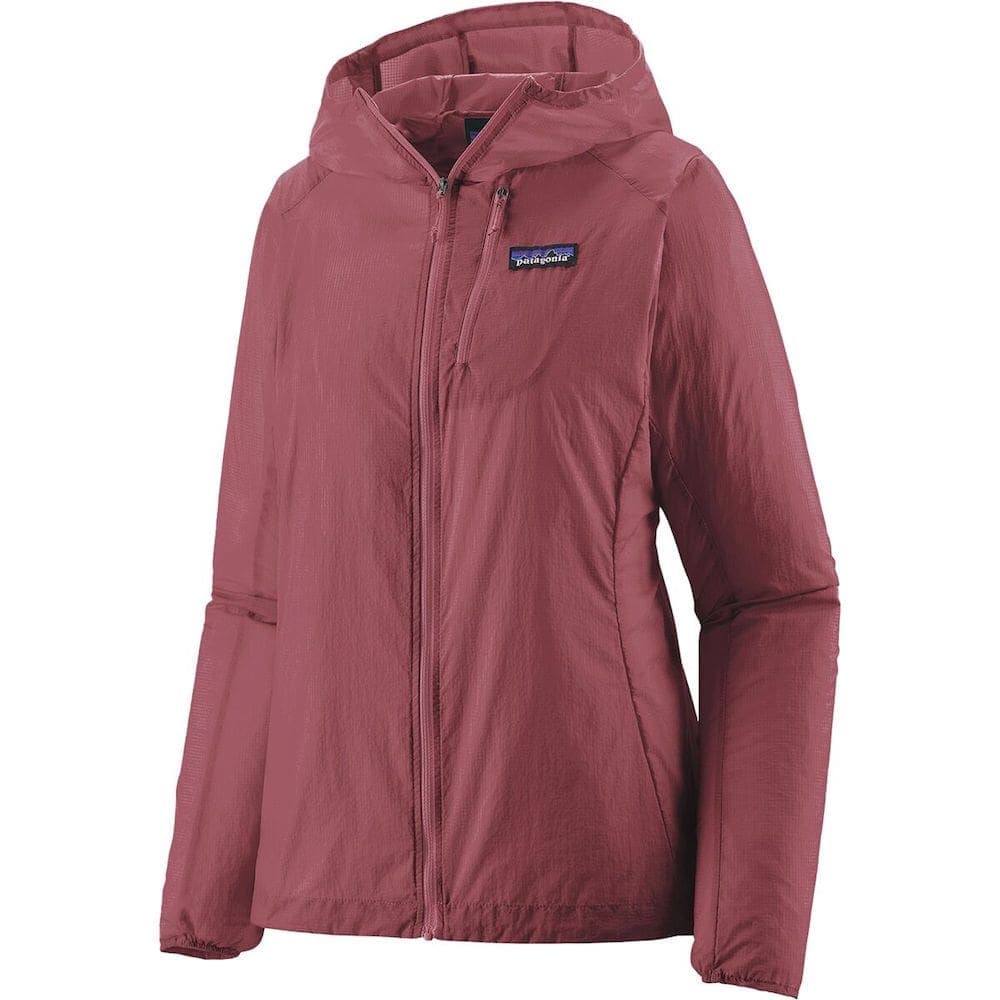
You really don’t need anything fancy for a shirt, and most active tops will do just fine. I like to wear a long sleeve shirt like the Mons Royale 3/4 Shirt or the Backcountry Sun Hoodie that will protect me from sun, dirt, and rogue scratches. I also like wearing my Patagonia Houdini Jacket riding because it’s pretty lightweight and breathable, but gives me a little break from the elements if it’s windy or drizzly.
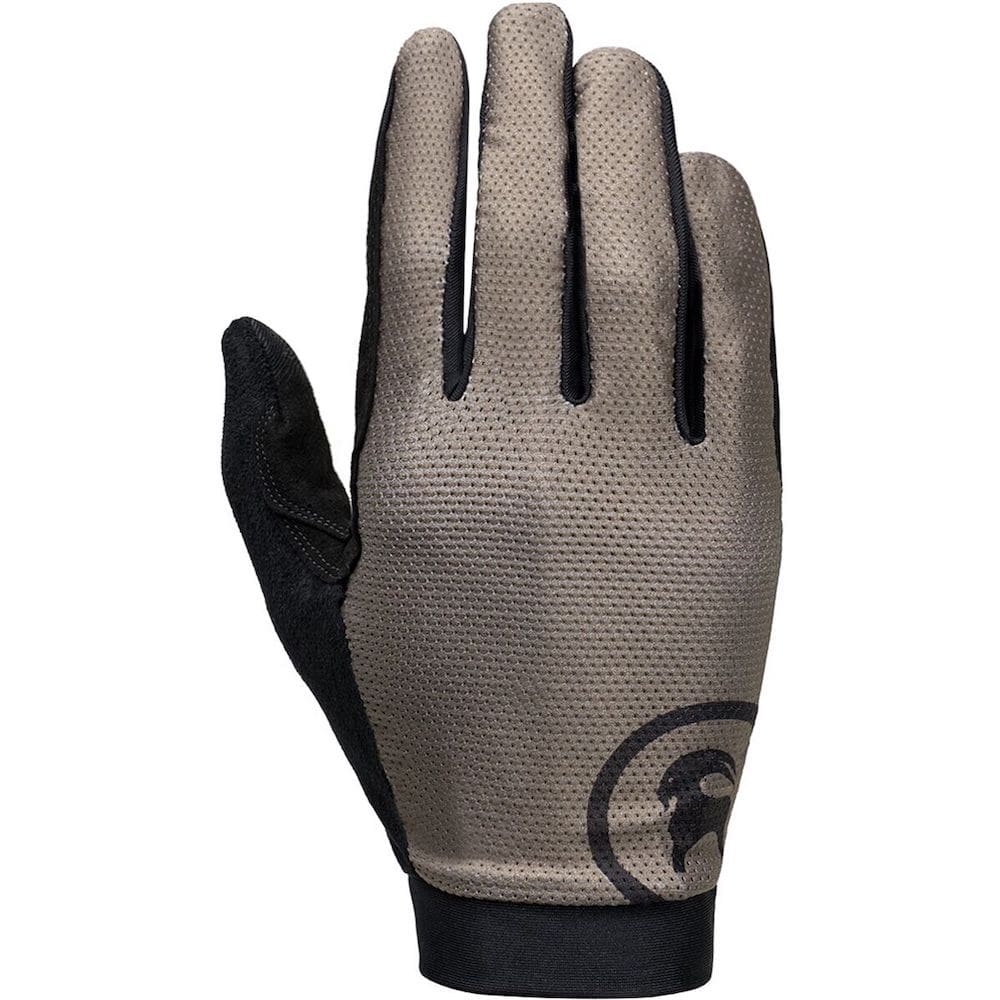
I’ve heard that some people actually don’t like wearing gloves, but I think they’re super useful. These Backcountry MTB Gloves are super lightweight and comfortable, even on hot days. For a little more padding and comfort on your palms, the Fox Ranger Gloves are a good choice too. They can also protect your hand in the case of any wipeouts.
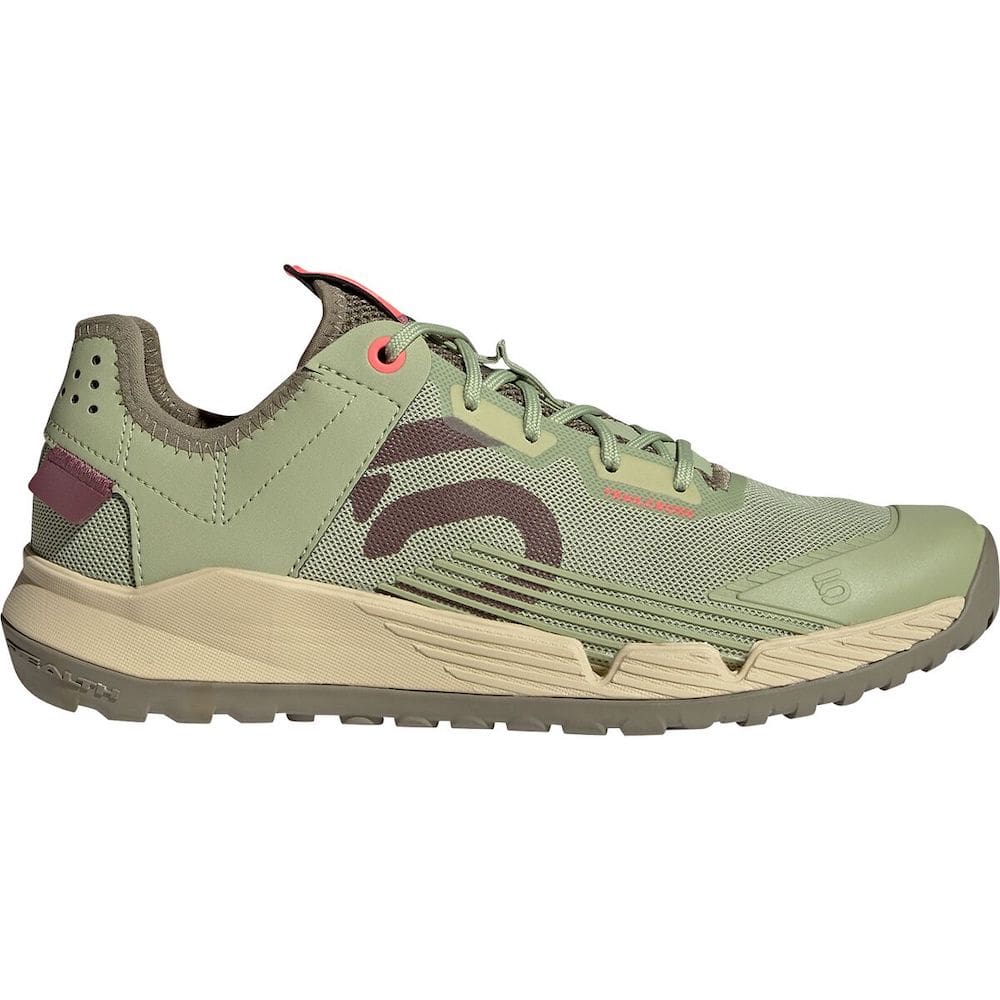
Mountain bike shoes have flat, hard soles that help keep your feet connected to the pedals. I have been wearing the Five Ten Trailcross Mountain Bike Shoes. They’re pretty comfortable if you need to walk around a bit during your ride. A good plan B is a flat shoe, like a skate shoe or a pair of Vans.
Packs
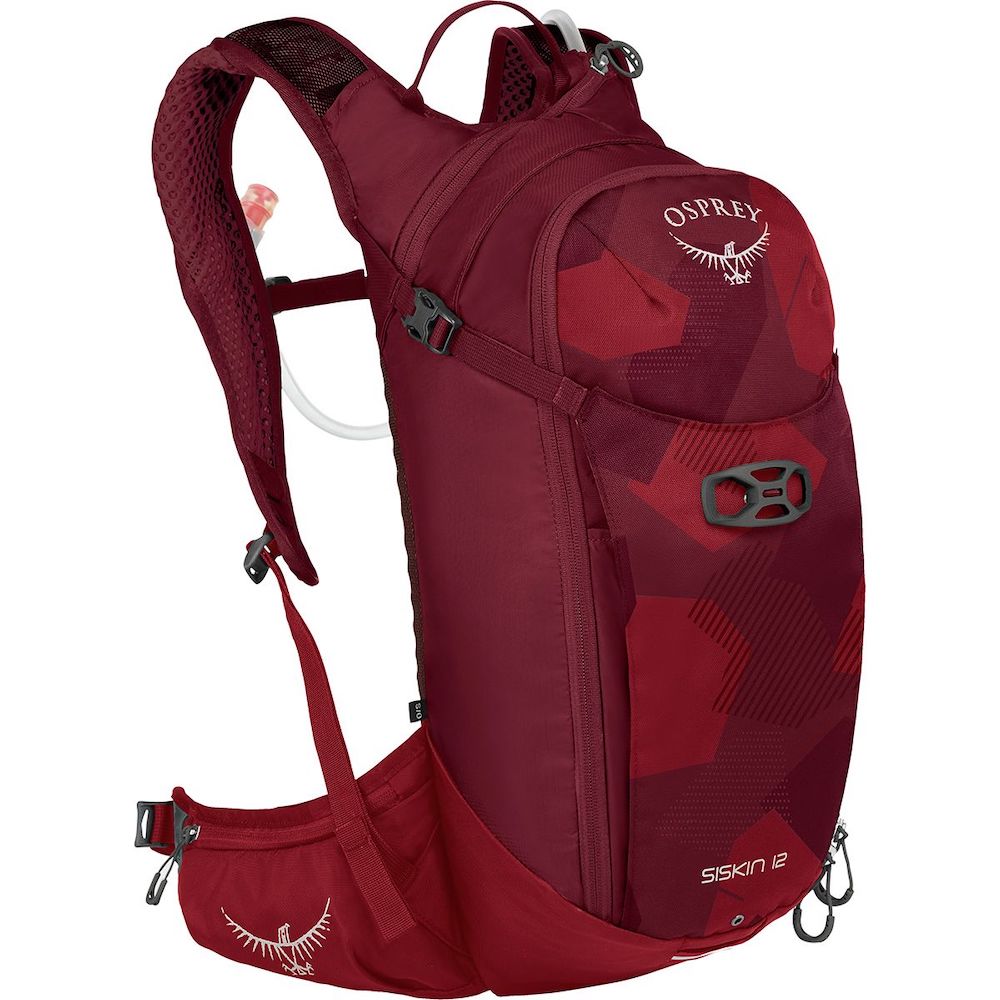
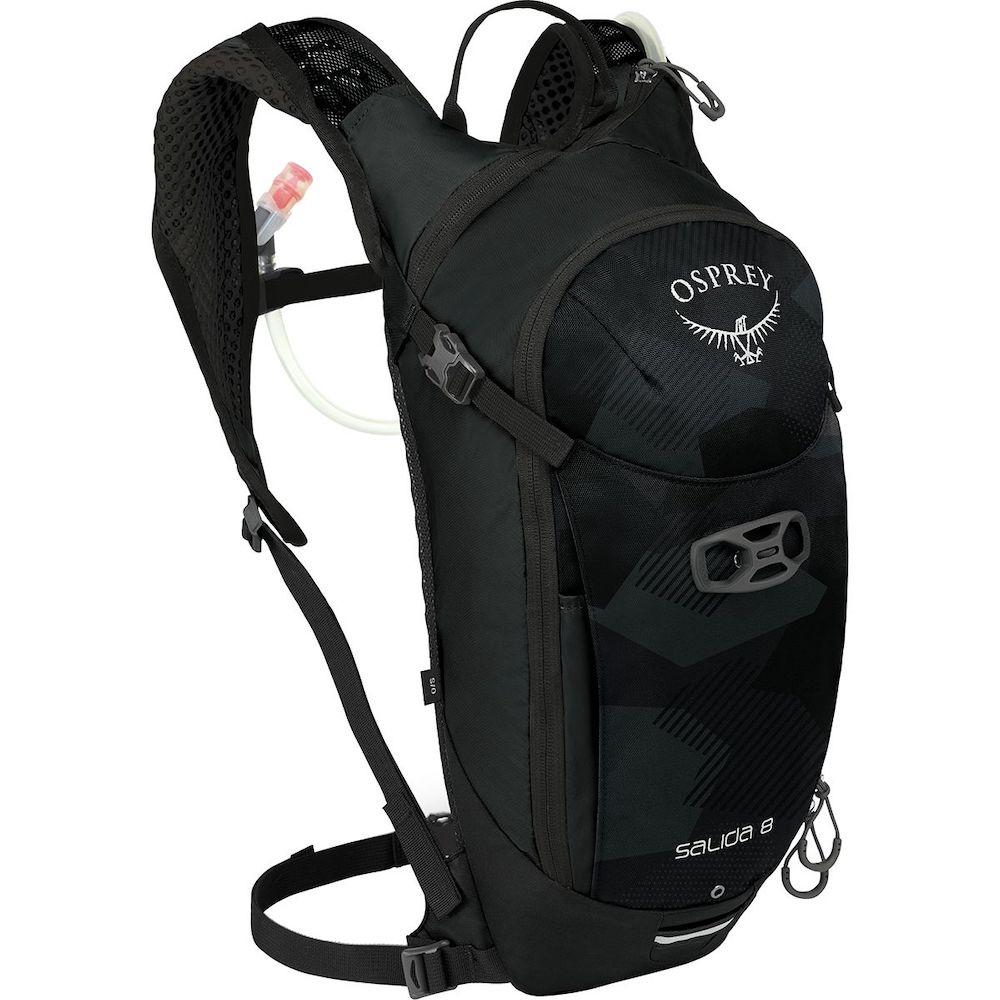
If you’re heading out on a longer ride, you’ll want to carry some kind of pack for water, snacks, and extra gear. Matt and I both like to ride with a hydration pack – he wears the Osprey Siskin 12L Backpack and I wear the Osprey Salida 8L Backpack, both of which are specifically designed for mountain biking. They have a lower profile and have a helmet attachment which can be helpful when packing your gear. I really prefer to have a hydration bladder while riding because it is so much easier to drink from. But some riders prefer to wear a waist pack or fanny pack style bag. This Camelbak Belt Pack has just enough space for a water bottle, snacks, and keys – the essentials!
The big one – Your mountain bike!
Buying a bike can be daunting. There’s really no way around it, a full suspension mountain bike is an investment! But it’s 100% worth it. When you’re starting out, I definitely recommend borrowing a bike or renting a few times to get the hang of it. Often you can take a lesson or a clinic and have a demo bike (and other protective gear) included!
When you’re ready to purchase your own bike, I definitely recommend checking out Fezzari. They make a bunch of direct-to-consumer bikes that they build specifically for your measurements. They’ll ship the bike directly to your house, already tuned! My husband, Matt, and I both ride the Fezzari Delano and couldn’t be more stoked! Fezzari makes the process super easy with fantastic customer support, a 30-day return policy, and even a lifetime warranty.
Fezzari have kindly offered my readers one of the following perks when purchasing a bike:
- Free pedals (reg. $60)
- Free tubeless upgrade (reg. $75-85)
- Free frame protector kit (reg. $65)
Just simply choose one of the above upgrades and mention and mention the name ‘Renee Roaming‘ at checkout! You can do this by ordering over the phone or mentioning it in the notes when checking out online.
Bike transport
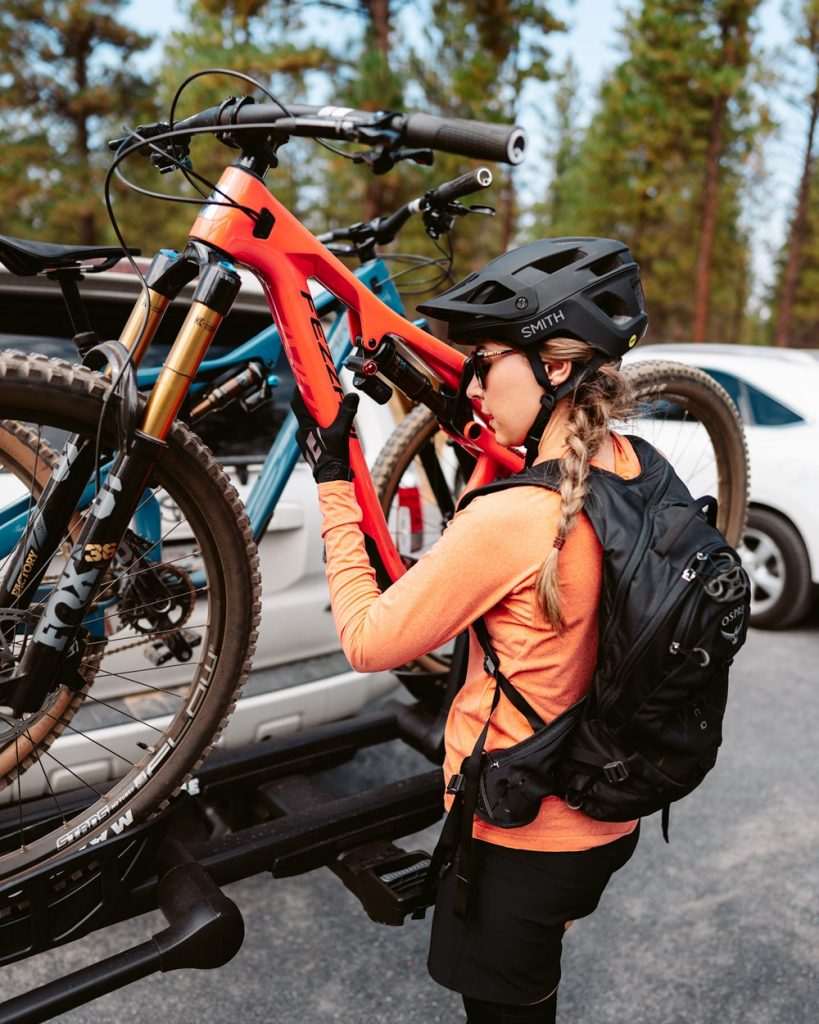
To get our bikes to the trailheads, I use a Thule Hitch Rack. If you have a truck, you can use a tailgate pad to protect your truck bed and keep gear secure. It’s also handy to keep a tool kit on you in case of emergencies, but make sure you know how to use it! If you don’t know how, then there’s no point in carrying it. I keep a bike pump and pressure gauge in my car too.
What are your best beginner mountain biking tips?
I’m definitely still a beginner, but these tips have made me feel more confident and have made mountain biking a lot more fun! What are your best beginner mountain biking tips? If you’re a more experienced rider, what do you wish you knew when you were starting out? I’d love to hear your best tips on becoming a more confident beginner mountain biker!
PIN for Later!
Great tips, Renee! I appreciate how you broke down the essentials for beginners. Especially the part about choosing the right trail—it’s so important to match your skill level to the terrain. I can’t wait to hit the trails with this advice in mind!
you are right mountain biking is alot of fun especially with your friends.
Have a good day! I can start at the weekend
The posted material was really insightful and helpful. You all are working very hard. Carry on. I appreciate you sharing this fantastic article!
Hello Renee!
A fellow Fezzari Ambassador posted a link to this blog in our group. As a longtime MTBer, your tips are spot on. Your post is very detailed and well written. I’m fortunate to live just 20-miles from Fezzari’s HQ. I’ve also got the Delano in Coral Dune and it’s been an amazing bike. The purchasing process in person is nearly identical to online and Fezzari has been amazing to work with.
Thank you for your post!