Washington has thousands of miles of incredible hiking trails, and many of my favorites are right here in North Cascades National Park. With old-growth forests, waterfalls, wildflower meadows, and endless glaciers, the North Cascades has a wild variety of scenery to take in. It can be hard to pick a hike when there are so many, so I’m sharing 6 of the absolute BEST hikes in North Cascades National Park. You can’t go wrong with any of these!
Disclaimer: This blog post is in collaboration with Backcountry.com and features some affiliate links. This means I get a small commission if you make a purchase (at no extra cost to you). Use code RENEE15 to get 15% off your first Backcountry order (some exclusions apply). You can also learn more about my affiliate policy here. Thank you for the support!
6 Absolute Best Hikes in North Cascades National Park
For most of these hikes you’ll start your journey on Highway 20, also known as the North Cascades Highway. This scenic highway follows the Skagit River and accesses the majority of the trailheads for the best hikes in North Cascades National Park. You can also access other popular stops like Diablo Lake and Ross Lake/Ross Dam along the way, or continue all the way east to the Lake Chelan national recreation areas. Some of these trails are officially in the national park, and some are technically just outside the park. But these are all popular trails for those visiting the North Cascades, and shouldn’t be missed. Most require a small fee at the parking lot or trail entrance; I recommend purchasing a Northwest Forest Pass, which should cover all of the hikes below!
best Time To Visit North Cascades National Park
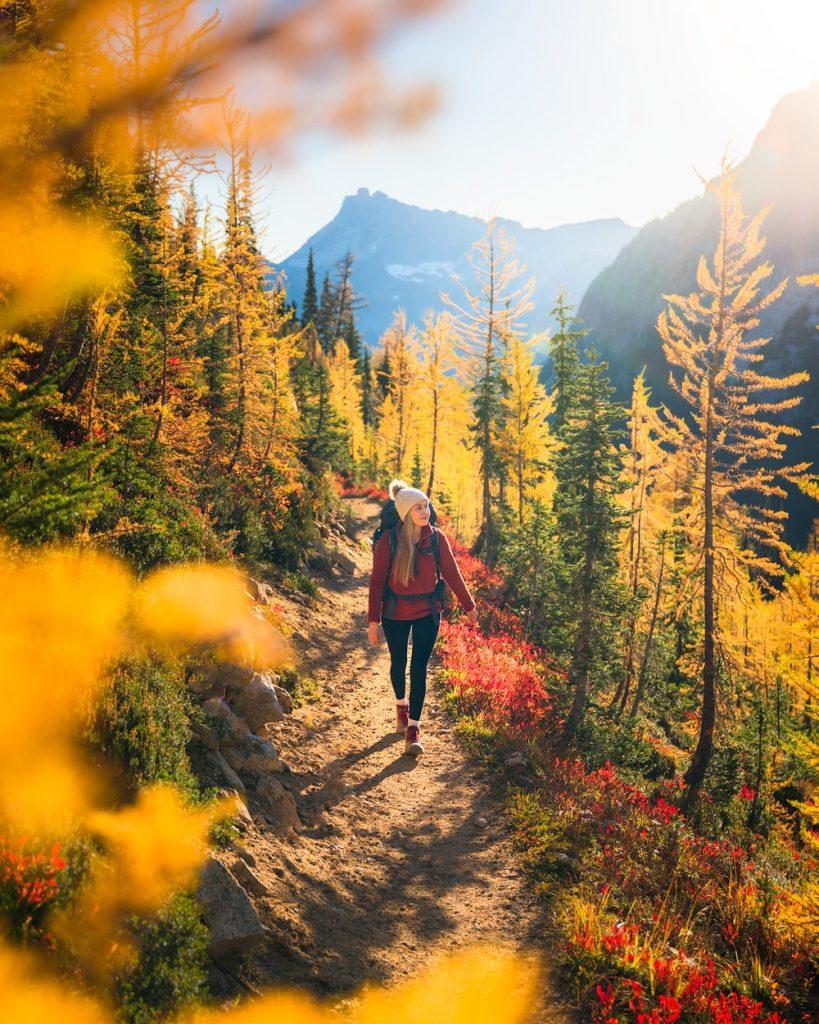
Hiking season in the North Cascades starts whenever the snow melts, so it depends heavily on the snowpack. Often these trails are accessible by mid-June, but it varies widely year to year. Though summer is spectacular here, I highly recommend autumn in the North Cascades. No more mosquitoes, wild berries are aplenty, and the fall foliage cannot be beat! Keep in mind, however, that winter arrives early at high elevations. Be prepared for wintry conditions as early as September or October.
North Cascades Hiking and Leave No Trace
Before you head out on your new favorite North Cascades hike, here’s a refresher with some guidelines for recreating responsibly. It’s important that we all are mindful of our impact when recreating in natural environments.
Pack out all your trash
This one is self-explanatory: do not leave behind any trash, fruit peels, nutshells, toilet paper, human waste, etc. Bring along a trash bag so that you can pack out all your own garbage (and any that others may have left on the trail). Be sure to read up on the 7 Leave No Trace Principles if you haven’t already.
Be Respectful of Wildlife and Other People
Never feed wildlife and be sure to observe them from a safe and respectful distance. Do not touch or pick up wild animals. It’s also important that you be respectful of other hikers enjoying the trails. We cover the basics in our guide on hiking etiquette rules. Some of the main tips to consider are giving way to others, keeping noise to a minimum, and being conscientious when taking photos.
Stay on the Trail
Most hikes in North Cascades National Park have good signage and are well-maintained. Stay on the trail and when you yield to other hikers, bicyclists, or horses and horseback riders, be mindful of where you step when stepping off the trail. Don’t step on delicate plants or small animals.
Going to the Bathroom Outdoors
Use the restroom before you begin hiking (many trailheads have vault toilets). If you need to go during your hike then there are some best practices to follow. When peeing and pooping outdoors make sure to do it at least 200 feet away from any hiking trail, waterways, and campsites. Click here for more information about going to the bathroom outdoors.
Things to bring in your pack for using the bathroom outdoors:
- Toilet paper – you can also bring a Kula Cloth, pee rag, bandana, or wipes. A great day-hiking item to pack for peeing outdoors is a TP Kit. These little kits have some toilet paper, two wet wipes, and a sealable bag to pack out everything.
- A zip lock bag/trash bag to carry your waste out in (a Reusable Smell Proof Waste Bag is also great to have to go alongside this). Instead, you can use a RESTOP™ 2 Wilderness Kit.
Blue LAke
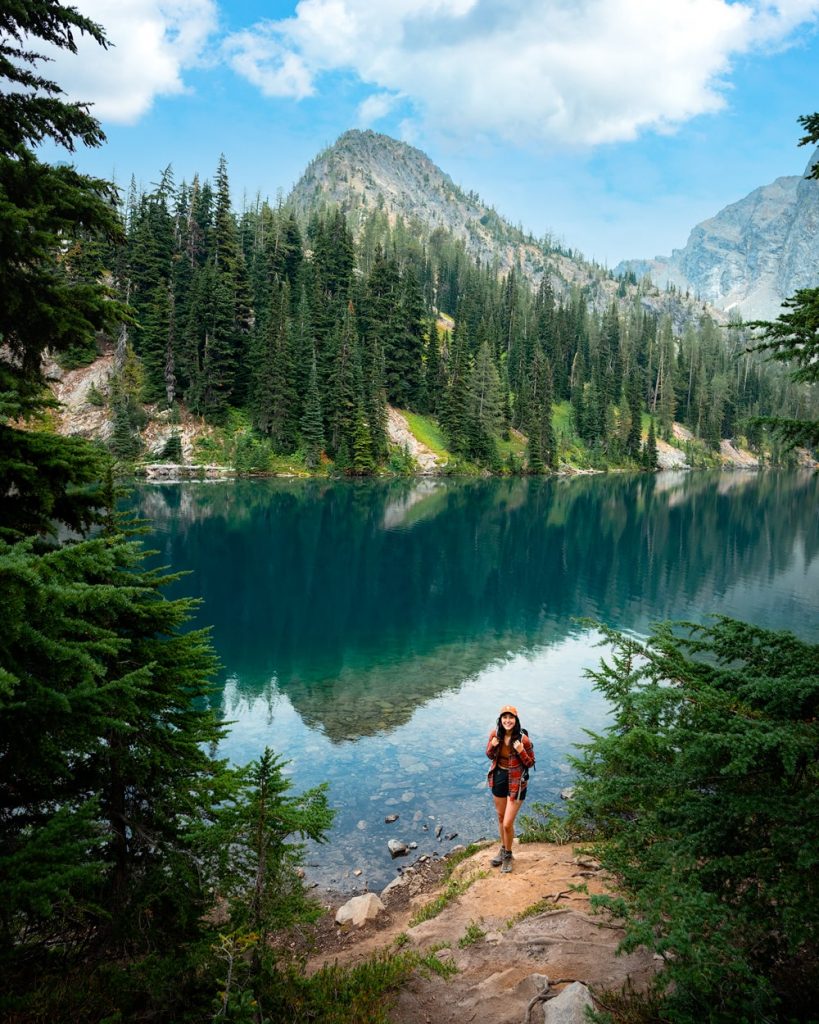
The Blue Lake trail is a relatively short and moderate hike, perfect for a morning or afternoon when you do not have all day to explore. Though the trail starts out in lush forest alongside Highway 20, you’ll quickly find yourself at beautiful Blue Lake. It’s hard to beat this gorgeous alpine lake surrounded by granite peaks. You might even see mountain goats along the way! If you visit on a hot day, pack a swimsuit and towel for a dip in the cold lake, if you dare. No North Cascades hike is complete without an alpine swim.
Distance: 4.4 miles roundtrip
Elevation gain: 1050 feet
Difficulty: Easy-moderate
Road access: Paved, suitable for all vehicles
Pet friendly: Dogs allowed, leashed
Park permit required: Northwest Forest Pass
Trailhead location: Located directly off Highway 20 – get directions on Google Maps
Latest trail conditions and information
Insider Tip: Washington Pass Lookout is less than a mile east on Highway 20 from the Blue Lake trailhead. I recommend taking a short detour to take in the views here!
Cascade Pass and Sahale Arm
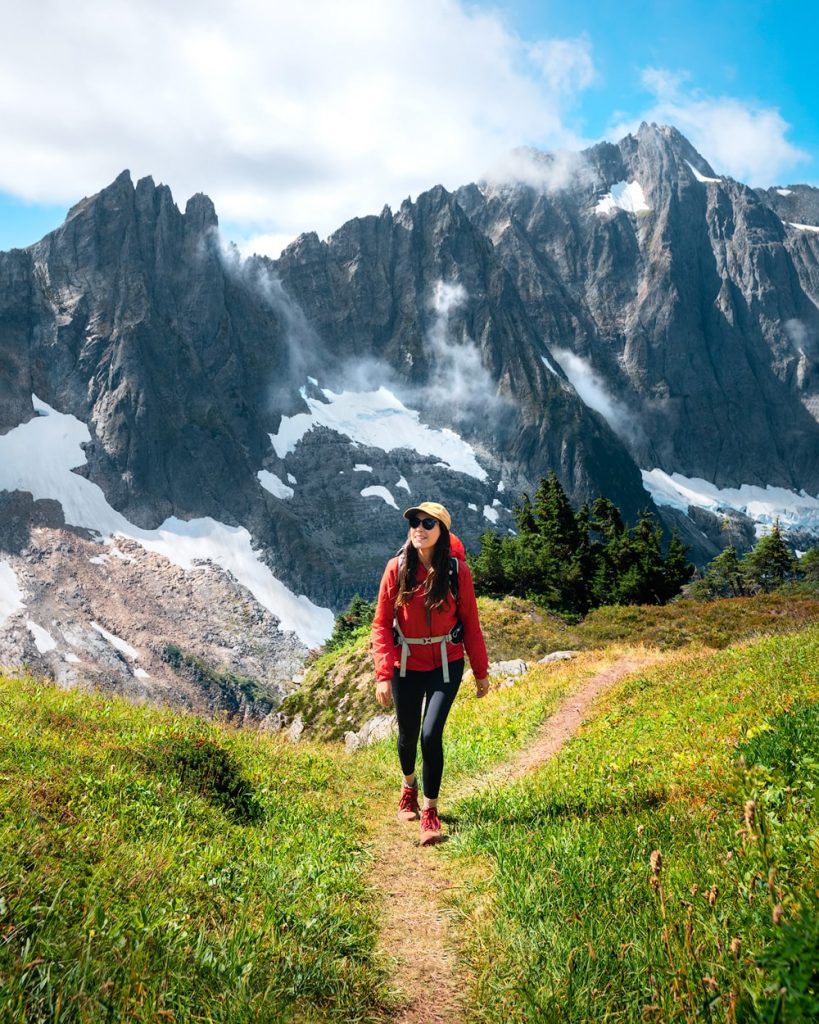
The trail to Cascade Pass and Sahale Arm is definitely a bucket list-worthy North Cascade hike. After climbing out of the initial forested trail, you’re surrounded on all sides by some of the most dramatic scenery in Washington state. Craggy Sahale Mountain looms overhead, with its glacial runoff feeding over the mountainside into the lake below you.
For a shorter adventure, you can opt to hike just the first 7 miles of the Cascade Pass trail. You’ll still have incredible views from Cascade Pass, without quite as much mileage on your feet. To add on to the full trail, take a side detour down to Doubtful Lake, which you can peek at from the trail along Sahale Arm.
Distance: 12 miles roundtrip
Elevation gain: 4000 feet
Difficulty: Moderate-strenuous
Road access: Dirt road, but suitable for all vehicles
Pet friendly: No
Park permit required: None
Trailhead location: Located at the end of Cascade River Road – get directions on Google Maps
Latest trail conditions and information
Insider tip: You can backpack and spend the night at Sahale Glacier Camp with a backcountry permit. Check out the visitor center in Marblemount for more information.
Thornton Lakes and Trappers Peak
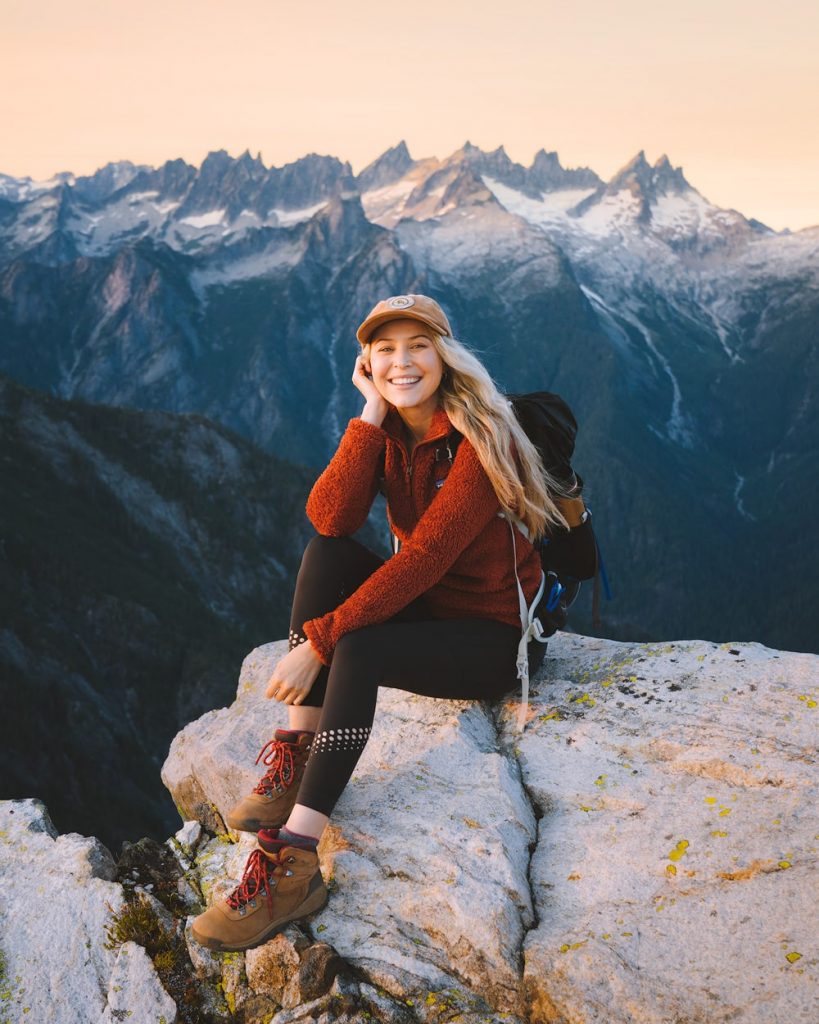
Another classic North Cascades hike, the trail to Thornton Lakes and Trappers Peak is popular for its incredible views. The first four miles travel up switchbacks through the forest, but then you get to decide whether to journey steeply down to Thornton Lakes or scramble up to Trappers Peak (or both!) While Thornton Lake is beautiful, I definitely recommend climbing higher up to take in the views from Trappers peak.
The scramble up to Trappers Peak isn’t too strenuous, but I’d advise against it in rainy weather or if you have a fear of heights as there are a few exposed sections. The 360-degree perch provides some of the best views of the Picket Range with dramatic peaks and glaciers, as well as peering down at Thornton Lakes, and all the way to the Skagit River and Newhalem.
Distance: 9.7 miles roundtrip
Elevation gain: 3789 feet
Difficulty: Moderate-strenuous
Road access: Rough gravel, but suitable for all vehicles
Pet friendly: No
Park permit required: Northwest Forest Pass
Trailhead location: Located at the end of Thornton Lakes Road – get directions on Google Maps
Latest trail conditions and information
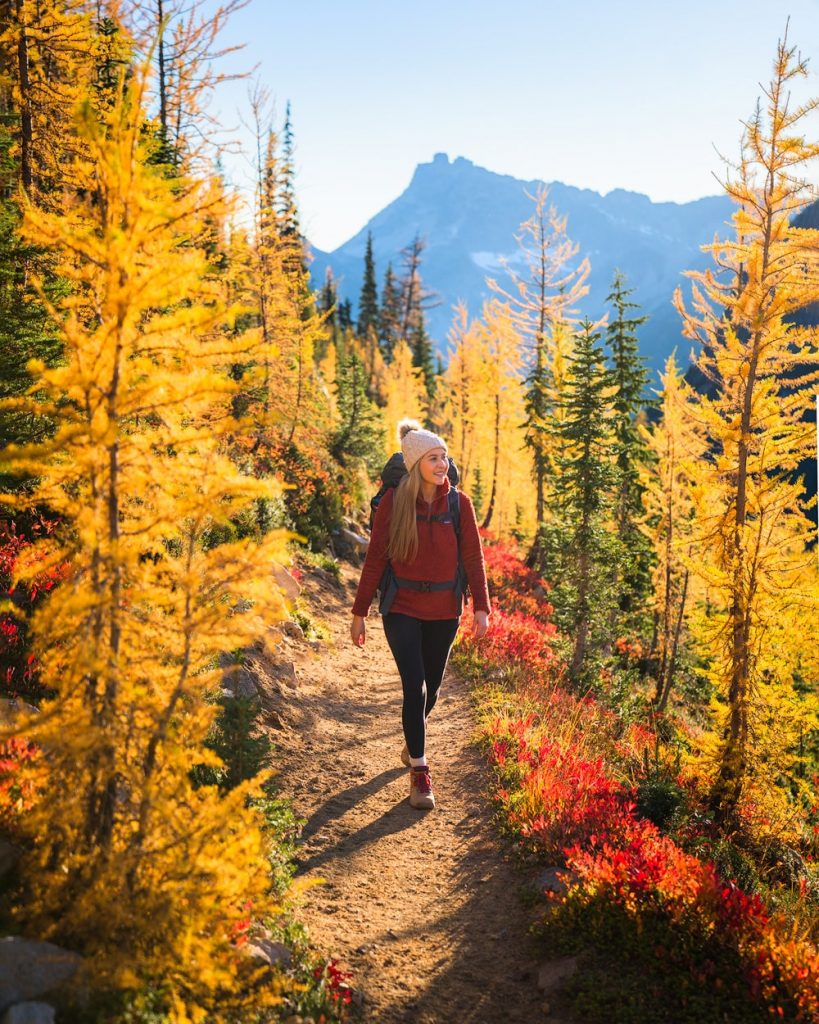
Cutthroat Pass
Hikers can access Cutthroat Pass from either side, but I recommend hiking along the Pacific Crest Trail from Highway 20 for the best experience. You’ll be treated to great views of Cutthroat Lake, plentiful huckleberries, and lots of scenic granite and boulders along the way. I love this North Cascades hike as a way to get away from some of the more popular trails, especially in the fall when it can get very busy.
Distance: 10 miles roundtrip
Elevation gain: 2000 feet
Difficulty: Moderate
Road access: Paved, suitable for all vehicles
Pet friendly: Dogs allowed, leashed
Park permit required: Northwest Forest Pass
Trailhead location: Located off Highway 20, Pacific Crest Trail parking lot – get directions on Google Maps
Latest trail conditions and information
Insider tip: There can be numerous creek crossings, especially when the rains return in fall. I recommend sturdy, waterproof hiking shoes and trekking poles to help safely cross!
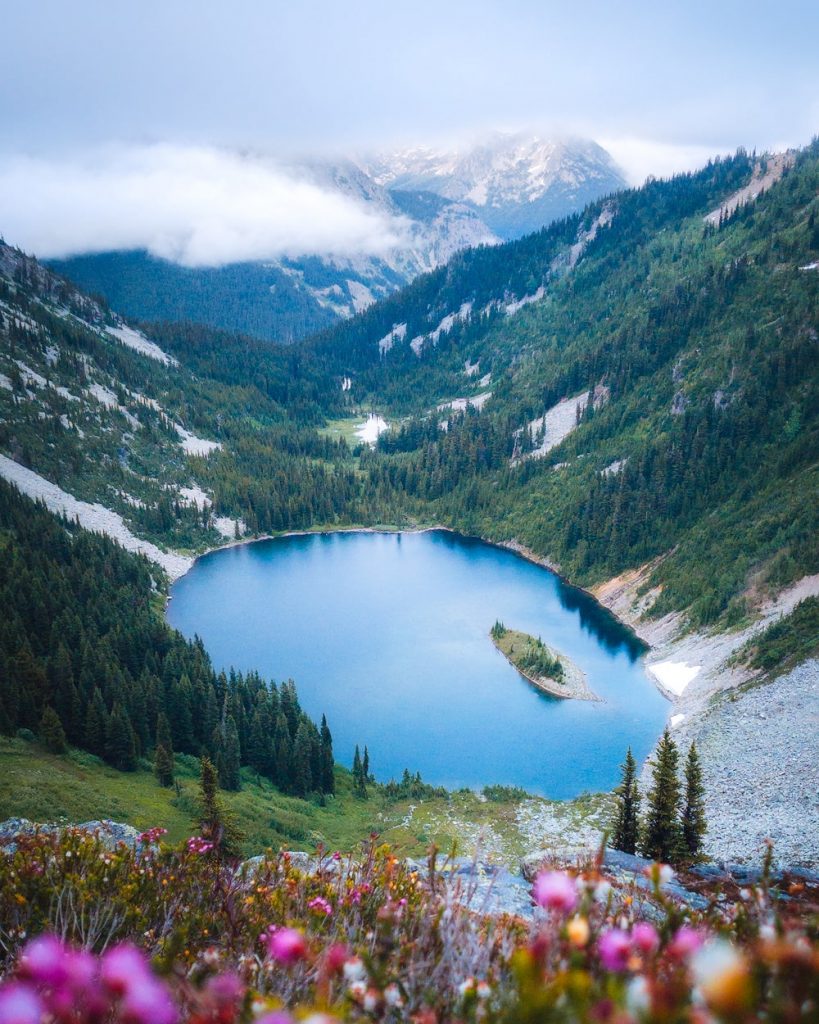
Maple Pass Loop
A phenomenal hike in summer, and even more epic in fall! The Maple Pass Loop is one of the quintessential North Cascades hikes, especially to take in the golden larches in autumn. It’s worth spending some extra time on this loop visiting some of the glacial lakes and enjoying the extensive views.
Hiking the loop counter-clockwise is the more popular choice, as it offers a more gradual ascent and the best views while climbing. Both directions have their benefits – hiking clockwise you’ll get the steep climbs out of the way early. Hike your own hike, and you’ll enjoy regardless of direction!
Distance: 7.2 miles roundtrip
Elevation gain: 2000 feet
Difficulty: Moderate
Road access: Paved, suitable for all vehicles
Pet friendly: No
Park permit required: Northwest Forest Pass
Trailhead location: Located off Highway 20 – get directions on Google Maps
Latest trail conditions and information
Insider Tip: While the parking lot is quite large, this trail is very popular in the fall during larch season. I recommend getting an early start!
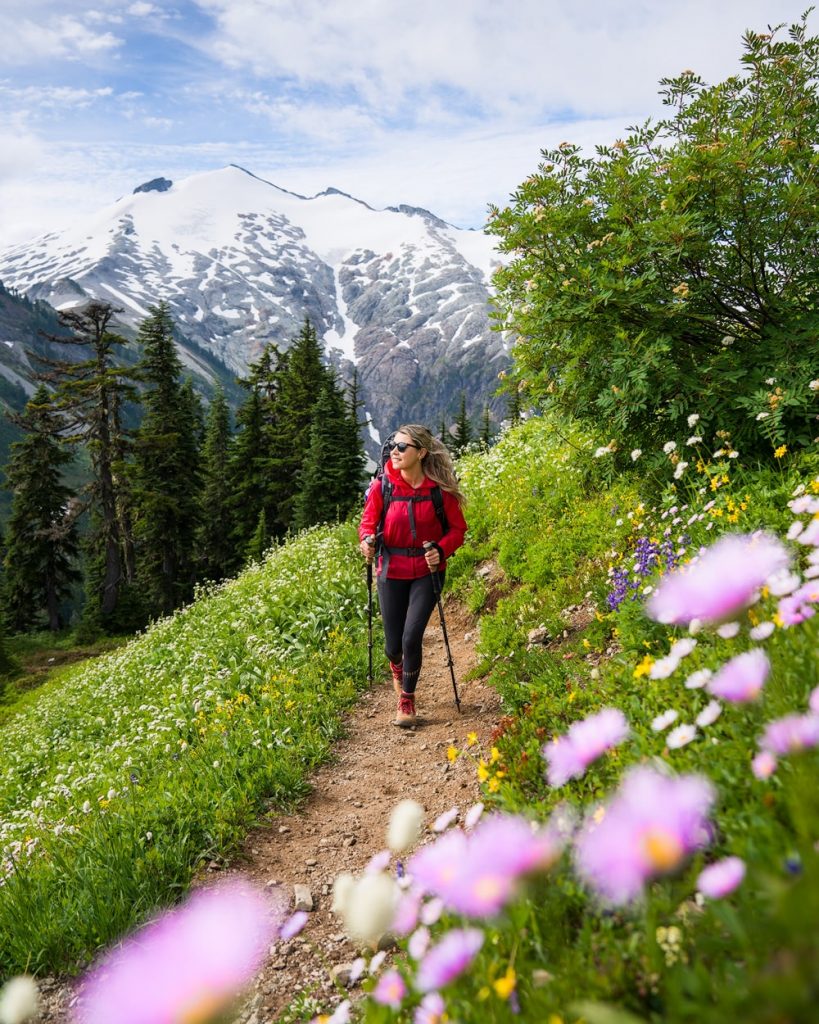
Hannegan Pass
Traveling off the beaten path (aka, Highway 20) rewards you with the Hannegan Pass trail. It’s a relatively gradual climb to Hannegan Pass with epic views most of the way. The majority of the elevation comes from the steep climb up to Hannegan Peak after the pass. The mileage and elevation below include the trip up to Hannegan Pass – the trail up is steep, but in good condition with minimal scrambling. You still have a great hike with phenomenal views if you opt to hike to Hannegan Pass and turn back from here.
Distance: 10.4 miles roundtrip
Elevation gain: 3100 feet
Difficulty: Moderate-strenuous
Road access: Paved, suitable for all vehicles
Pet friendly: Dogs allowed, leashed
Park permit required: Northwest Forest Pass
Trailhead location: Located off Highway 542 – get directions on Google Maps
Latest trail conditions and information
Important note: As of September 2022, Hannagan Peak and Pass are closed due to wildfire activity. Be sure to check latest trail conditions for updates.
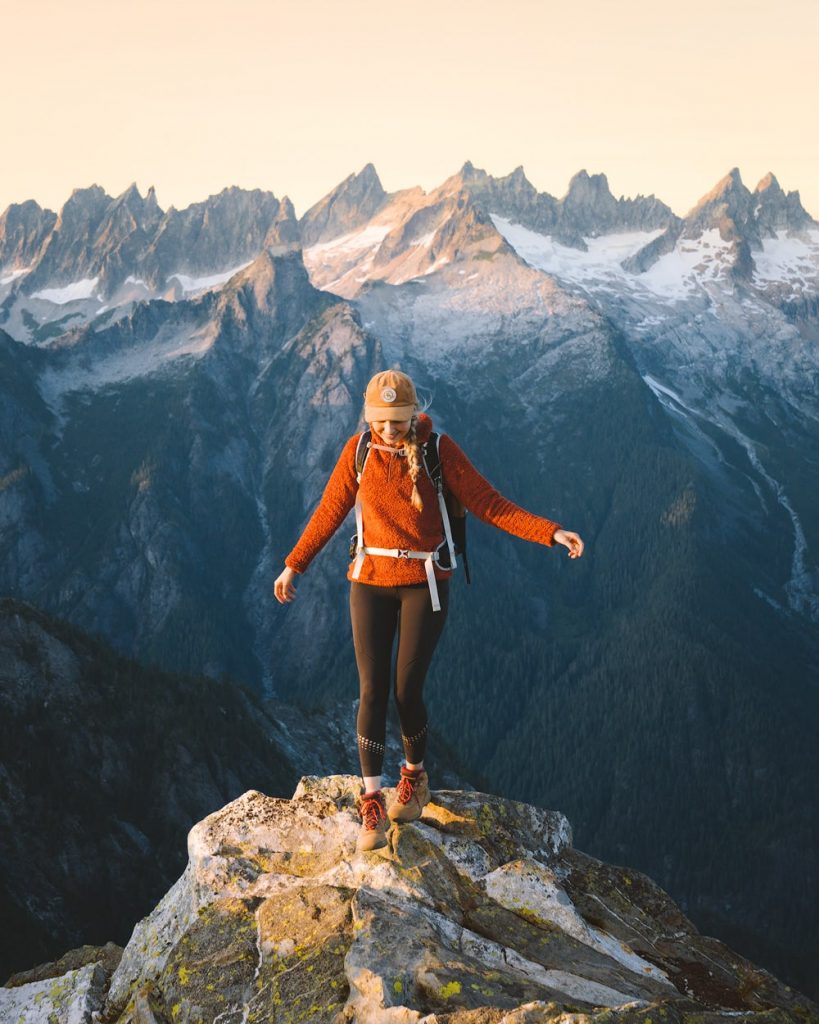
What to Pack for a North Cascades Hiking Trip
Here are some of my favorite items that I suggest you pack for the best hikes in North Cascades National Park. It can take some time to find the best hiking footwear, clothes, and gear that you like, so I’m sharing my recommendations for comfortable and durable gear that I’ve used and loved. Weather can change quickly and dramatically at high elevations, so I always recommend bringing extra layers and warm, protective clothing. It’s always better to be prepared with extra gear!
Don’t forget to use code RENEE15 to get 15% off your first Backcountry.com order! (some exclusions apply) Click here to shop my favorites.
Backpack:
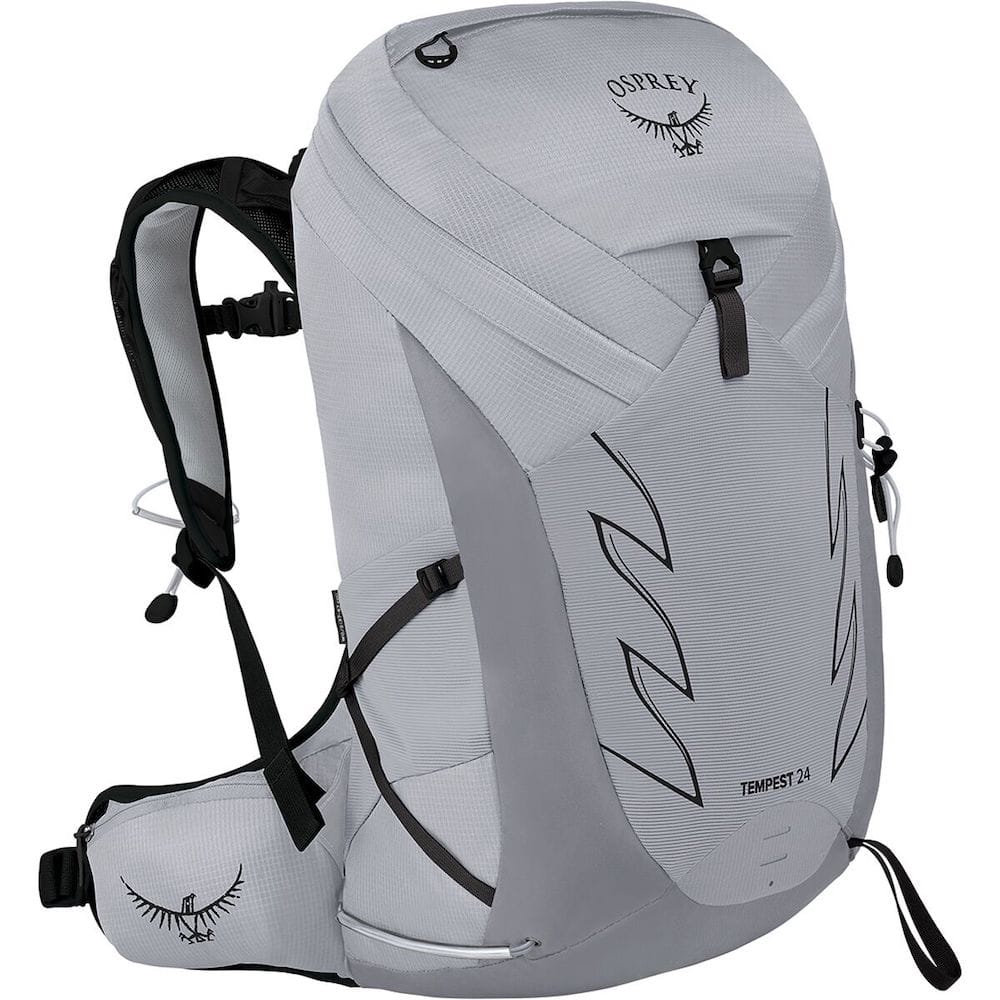
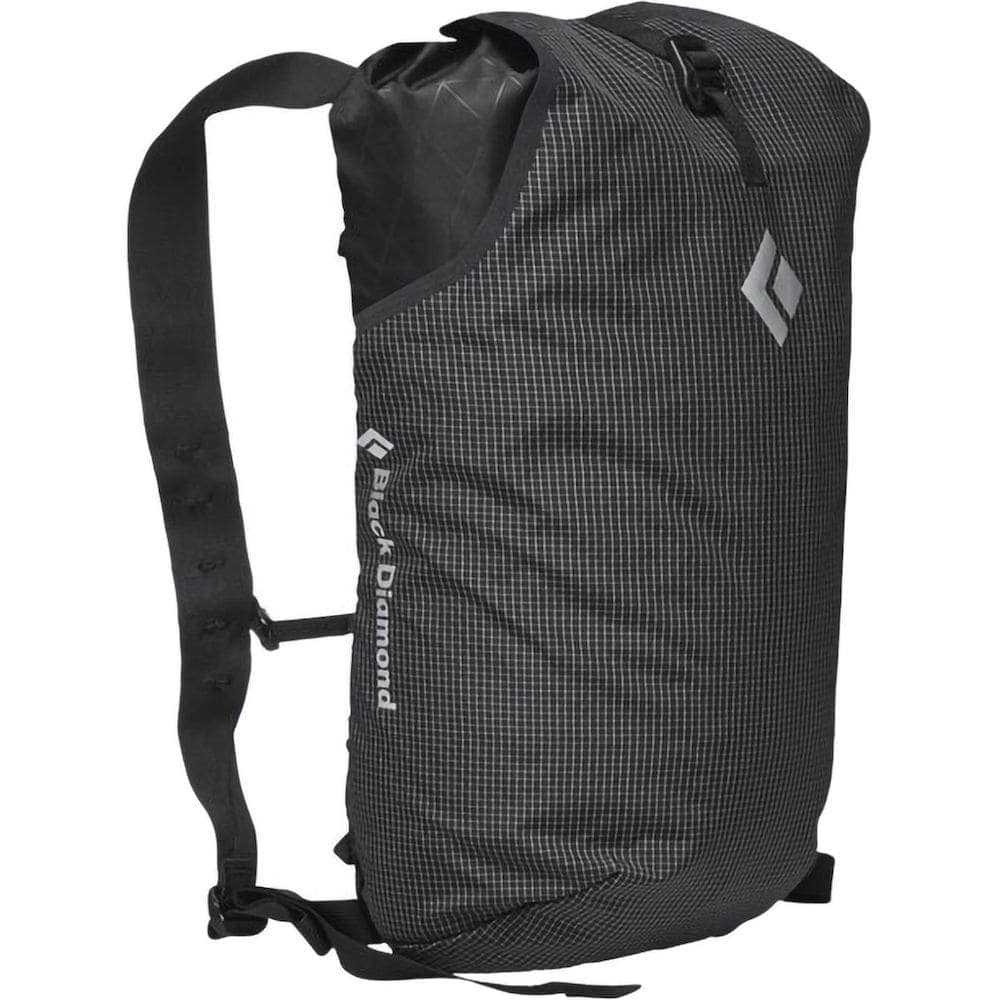
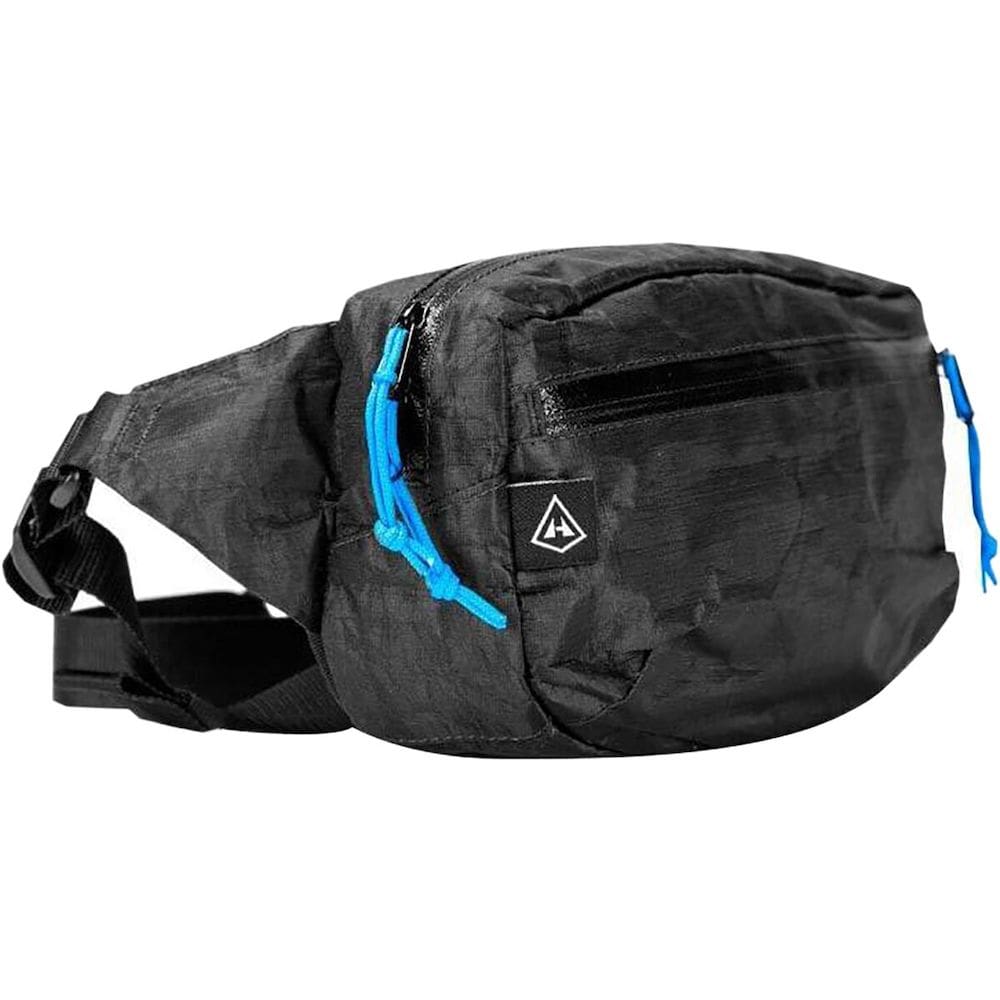
My favorite day hiking backpack is the Osprey Tempest. This pack comes in quite a few size options, though I think the 24L size is the best option for a day hike. The Mountainsmith Clear Creek 20L Backpack is a good budget-friendly option for packing your day hiking gear. I also like Black Diamond’s Trail Blitz 12L Backpack as a minimalist and ultralight pack option for short hikes. It’s nice to have a way to keep your pack dry in case of rain, so I almost always pack my Osprey Backpack Rain Cover. Another option is to carry a large trash bag that can cover your pack, or line your pack with the trash bag so everything inside is protected. I often also use the Hyperlite Versa Hip Pack or Cotopaxi 2L Hip Pack for easy access to essentials (aka snacks and chapstick!)
Hiking Shoes
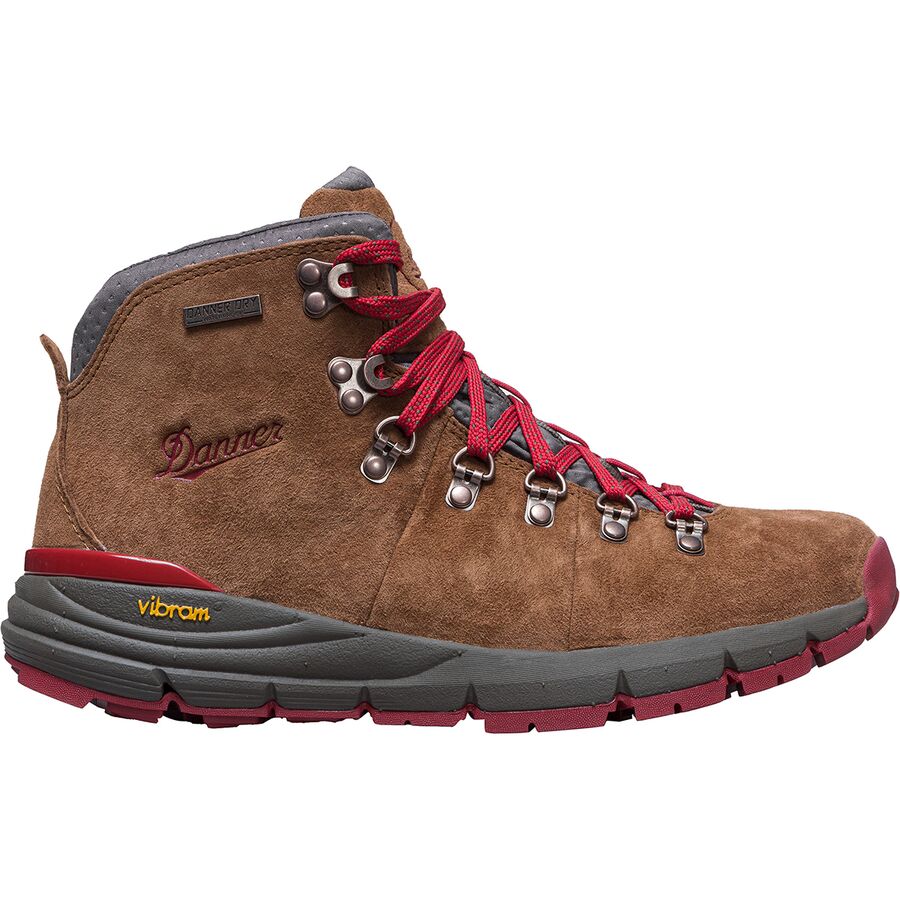
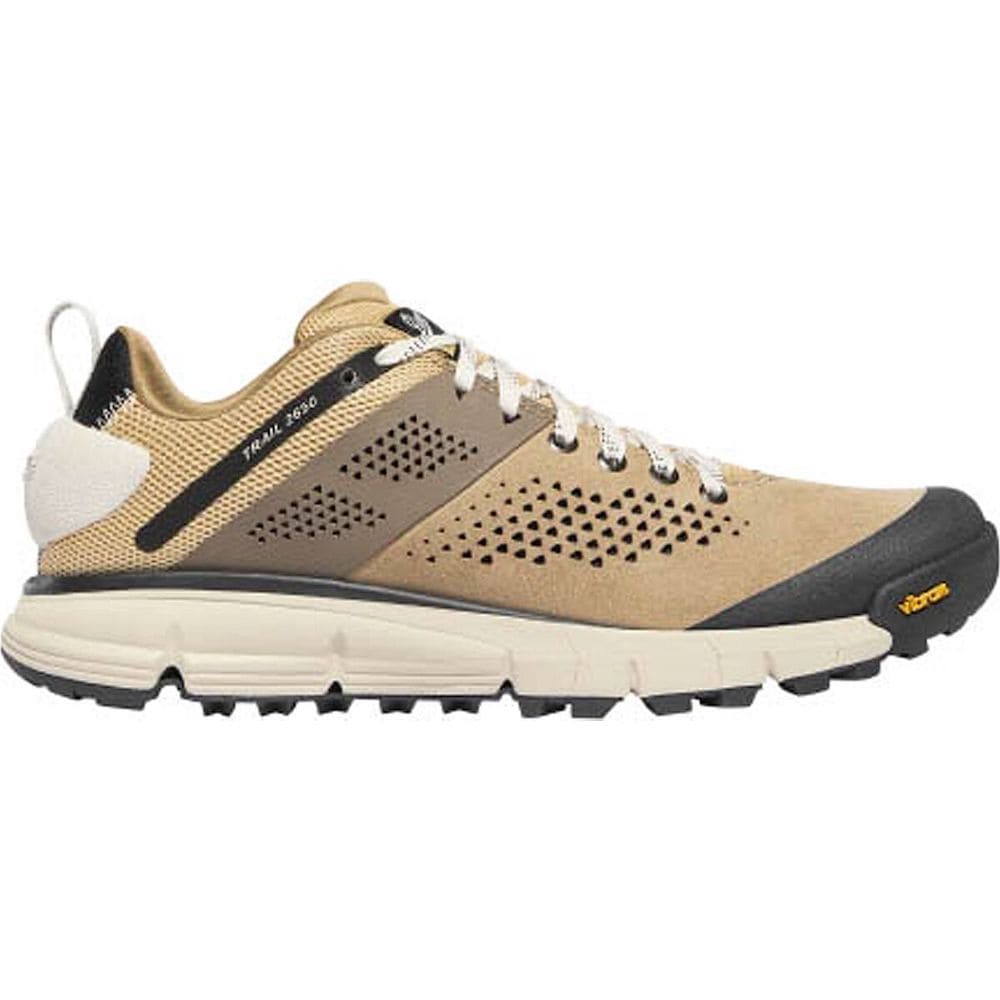
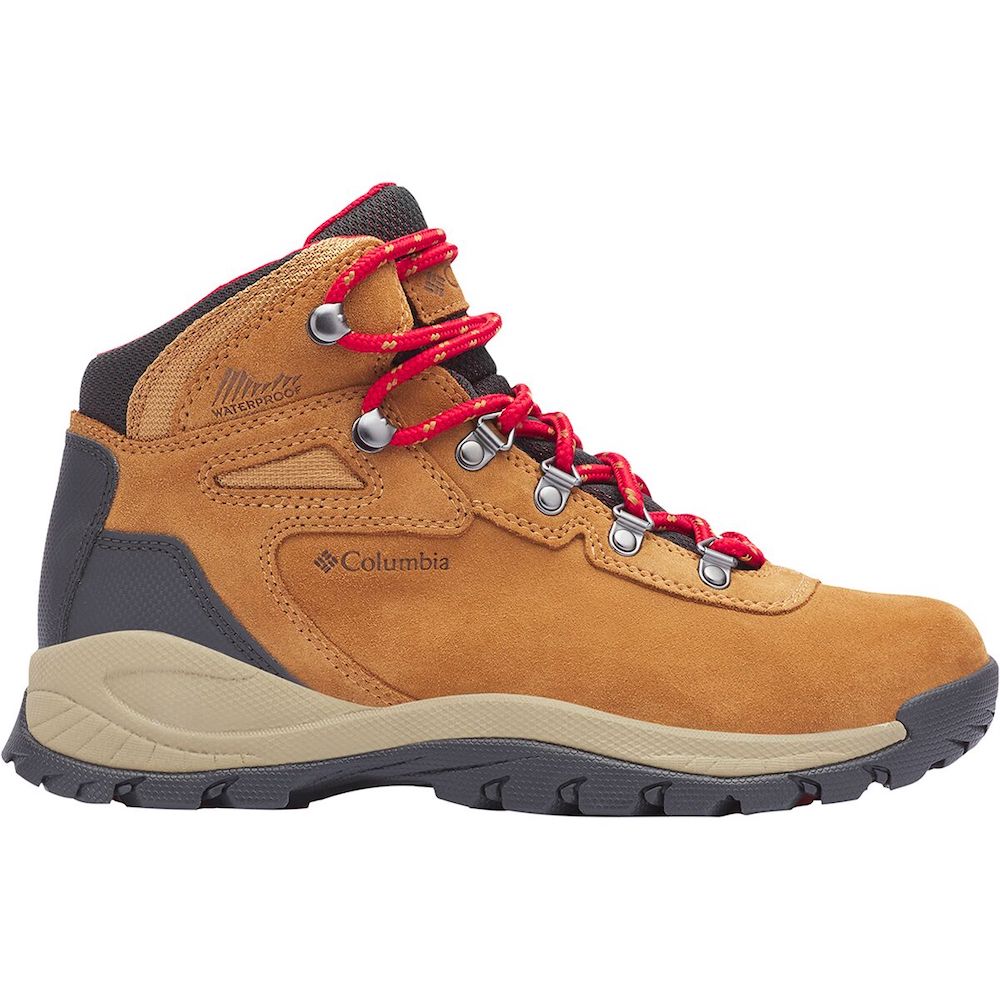
Hiking shoes are very person-specific. Some people love wearing trail runners and others prefer boots. Some people prefer heavier waterproof boots and others prefer lighter options. When hiking somewhere that tends to be wet (like the Pacific Northwest) I usually opt for a waterproof boot with ankle support, but something that isn’t too heavy, like the Danner Mountain 600 Hiking Boots. If the trails are dry or I’m hiking somewhere very warm, I opt for a pair of trail runners like the Danner Trail 2650 Hiking Shoes. For a more budget-friendly pair of hiking boots I recommend the Columbia Newton Ridge Waterproof Boots. Sometimes it takes a few tries to find which hiking footwear option works best for you, but don’t give up! There are plenty of comfortable hiking shoes out there and I promise they make all the difference.
Hiking Socks
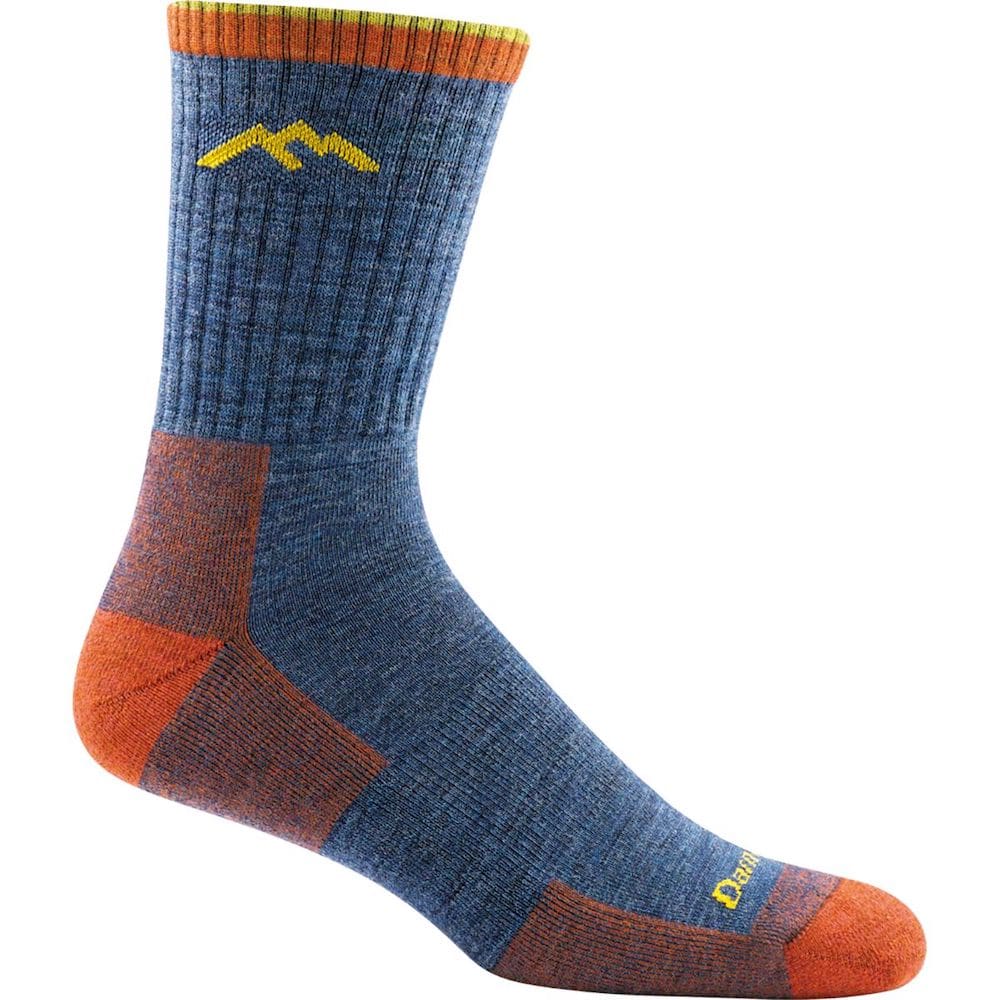
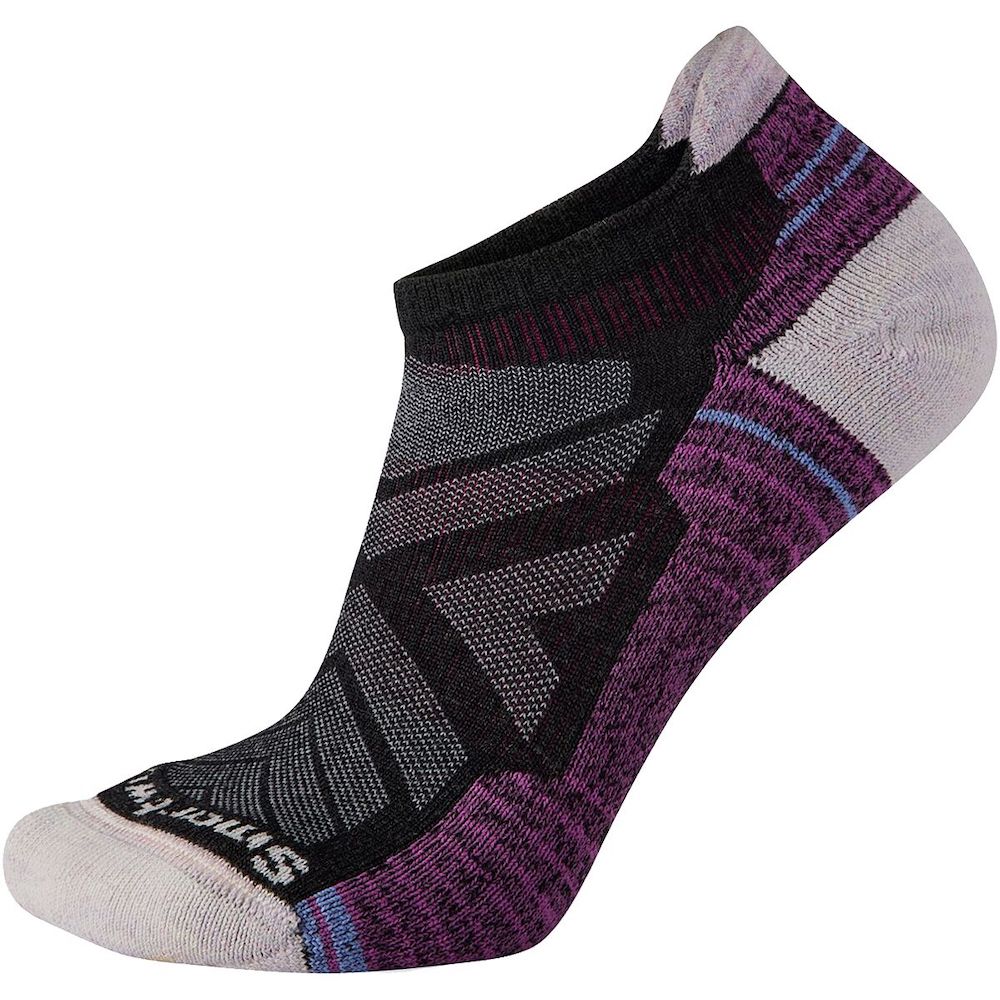
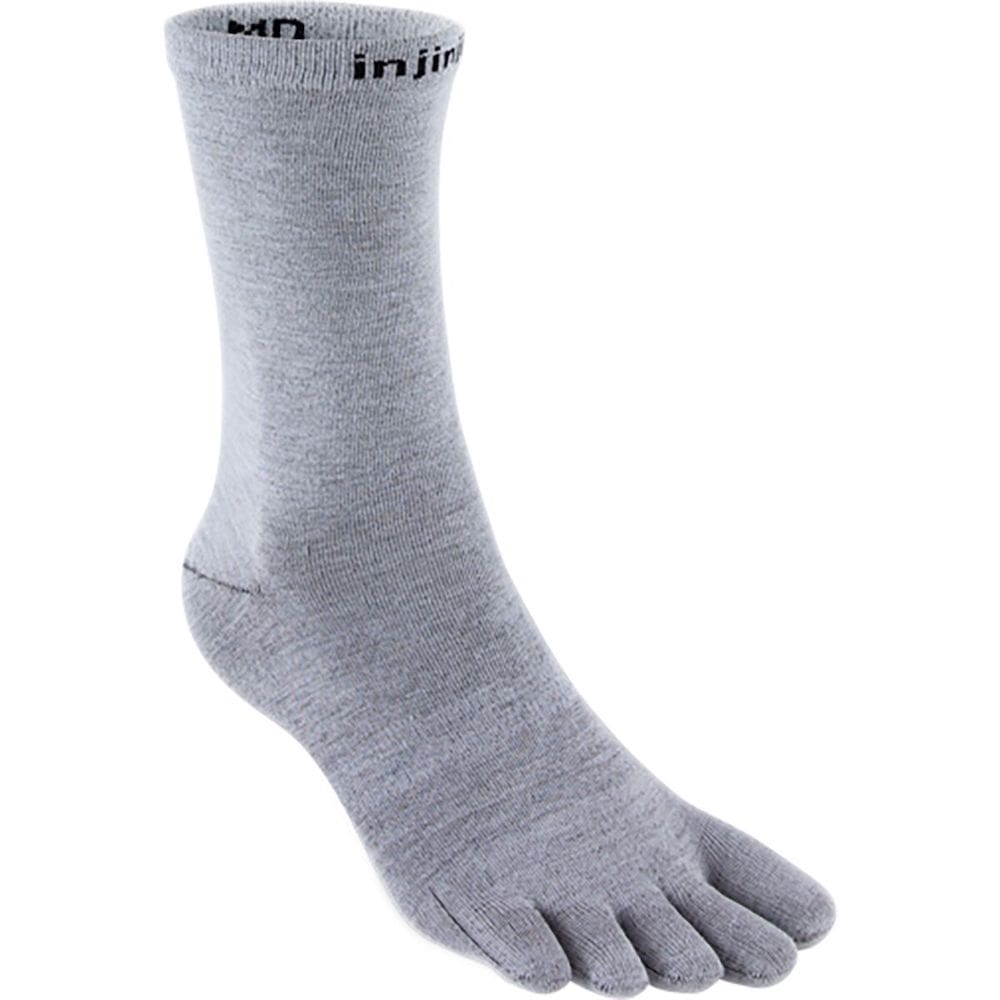
Don’t overlook the importance of having socks that fit correctly and are comfortable to wear for a long time. Over the years I have found that merino wool socks from Darn Tough’s Merino Hike Sock are the most durable, least smelly, and most comfortable for hiking. With trail runners, I will sometimes opt for lower socks, like these Smartwool socks. If it’s extra cold or snowy out, I’ll wear warmer pair of Smartwool Full Cushion socks on winter hikes. Injinji Liner Socks are a great way to help keep your feet dry and prevent pesky blisters!
Hiking Tops
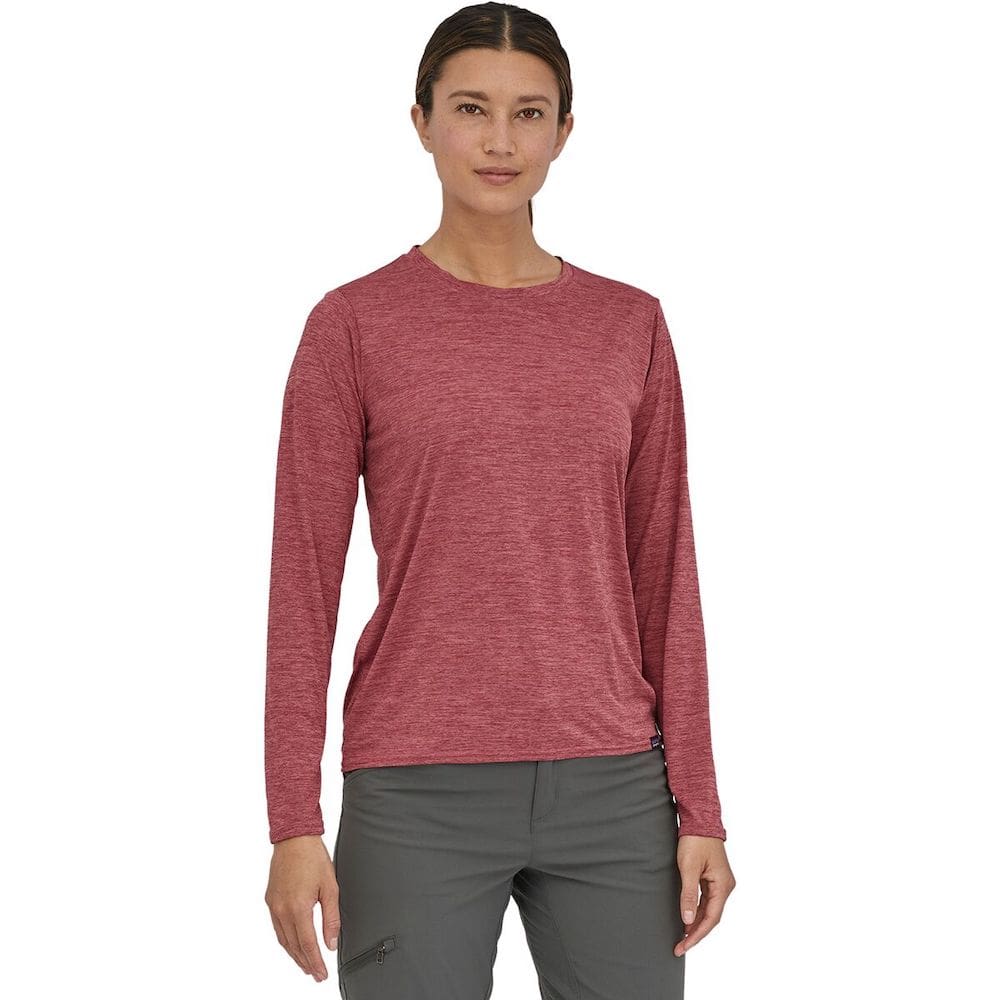
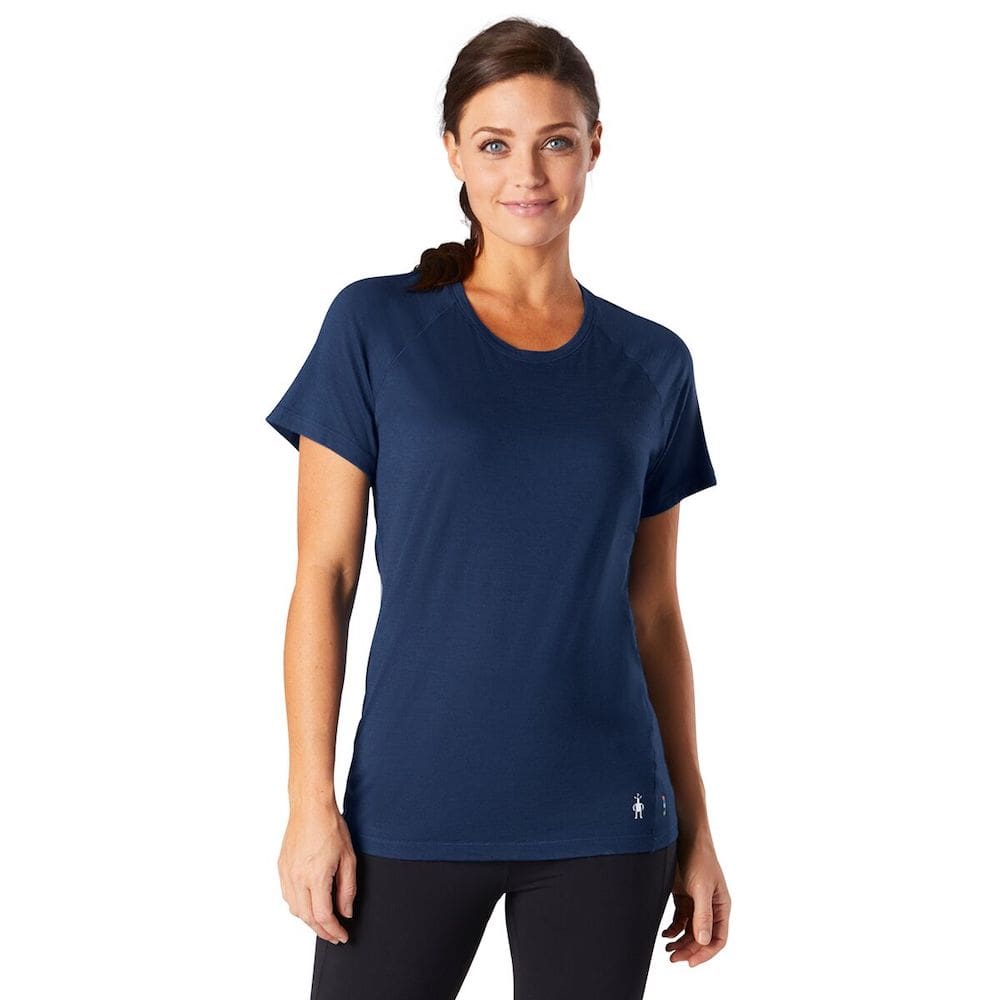
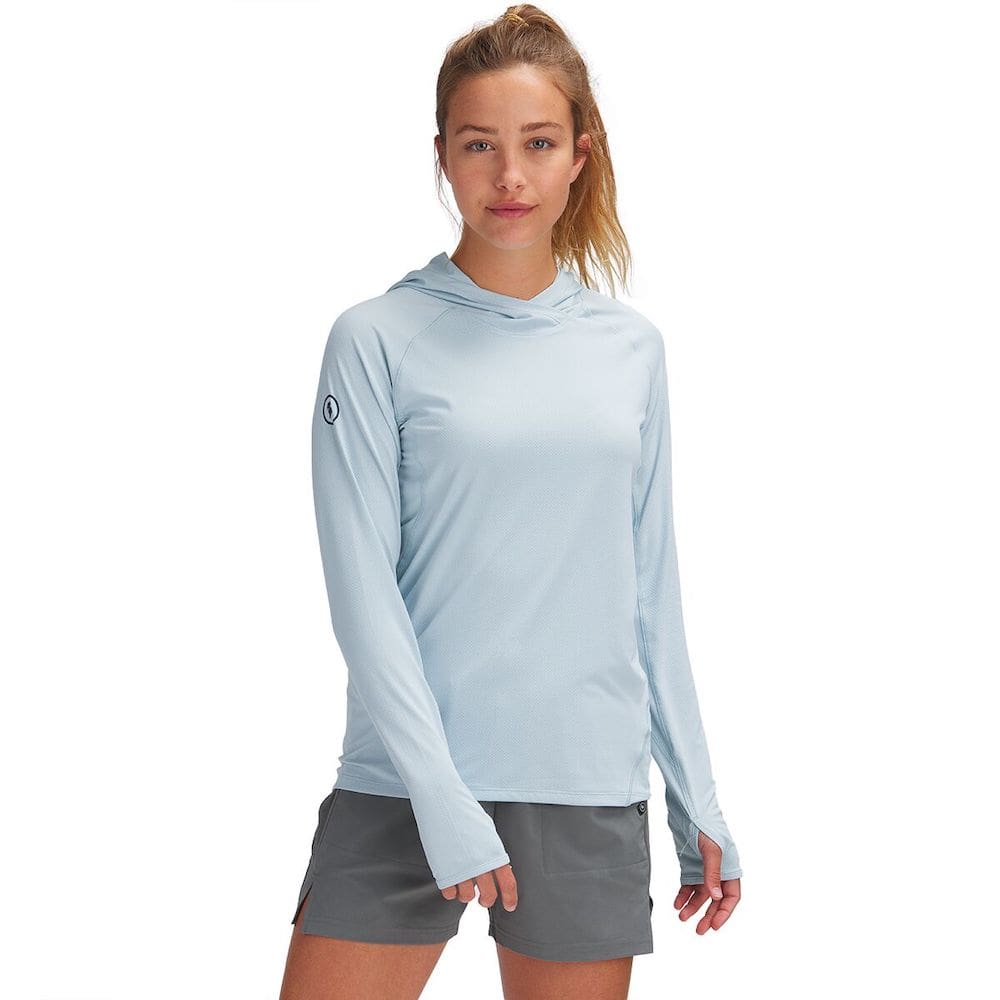
Depending on weather and personal preference, you can either go with short sleeve, long sleeve, or a tank option. For cooler hikes or those where I am worried about sunburn I will usually opt for longer sleeves and wear something like the Smartwool Merino Long Sleeve Shirt or the lighter Patagonia Capilene Cool long sleeve. Lightweight sun shirts, like the Backcountry Tahoe 2 Sun Hoodie, are really popular for hikes with no shade (like hikes above treeline.) Otherwise you will usually find me in one of the Smartwool Merino Short Sleeve, Patagonia Capilene Cool tees, or Icebreaker Sphere Crewe shirts.
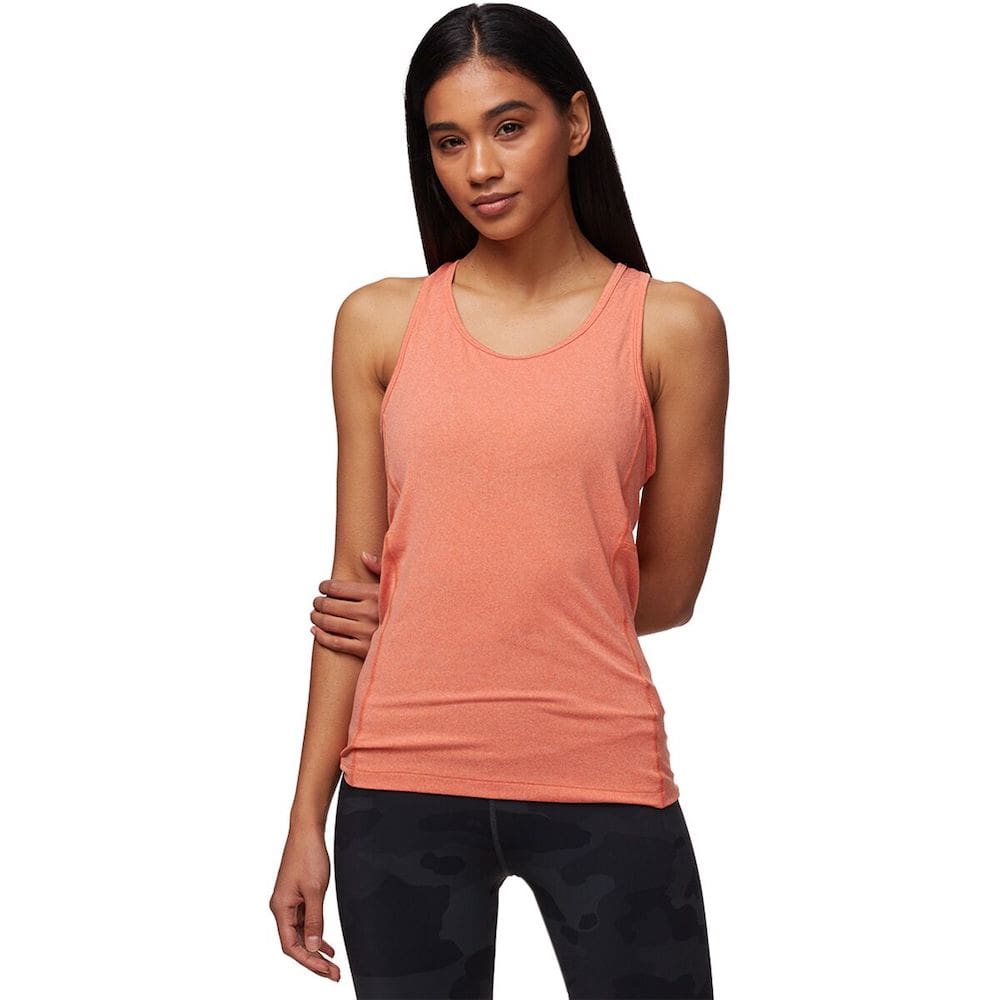
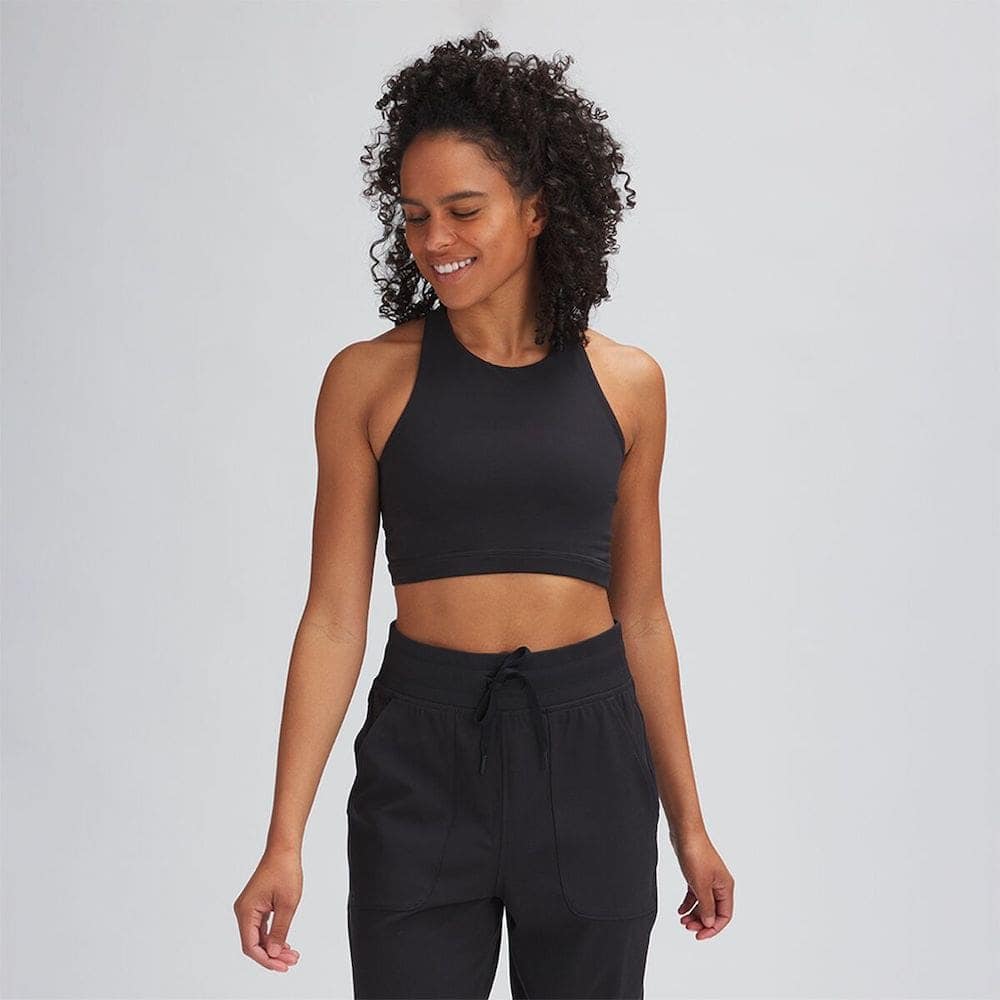
Natural fibers like merino wool are my go-to for hiking tops due to the odor-reducing propoerties and overall comfort. I avoid cotton in favor of more moisture-wicking materials (like merino) to stay dry and comfortable, no matter how sweaty I get. Sometimes I do opt for a tank top, like the Stoic Tech Tank Top, or a crop top. I like this crop top from Stoic, and the Beyond Yoga Cropped Tank is quite comfy too. Be mindful that your backpack straps might rub your skin when wearing a tank top.
Hiking Bottoms
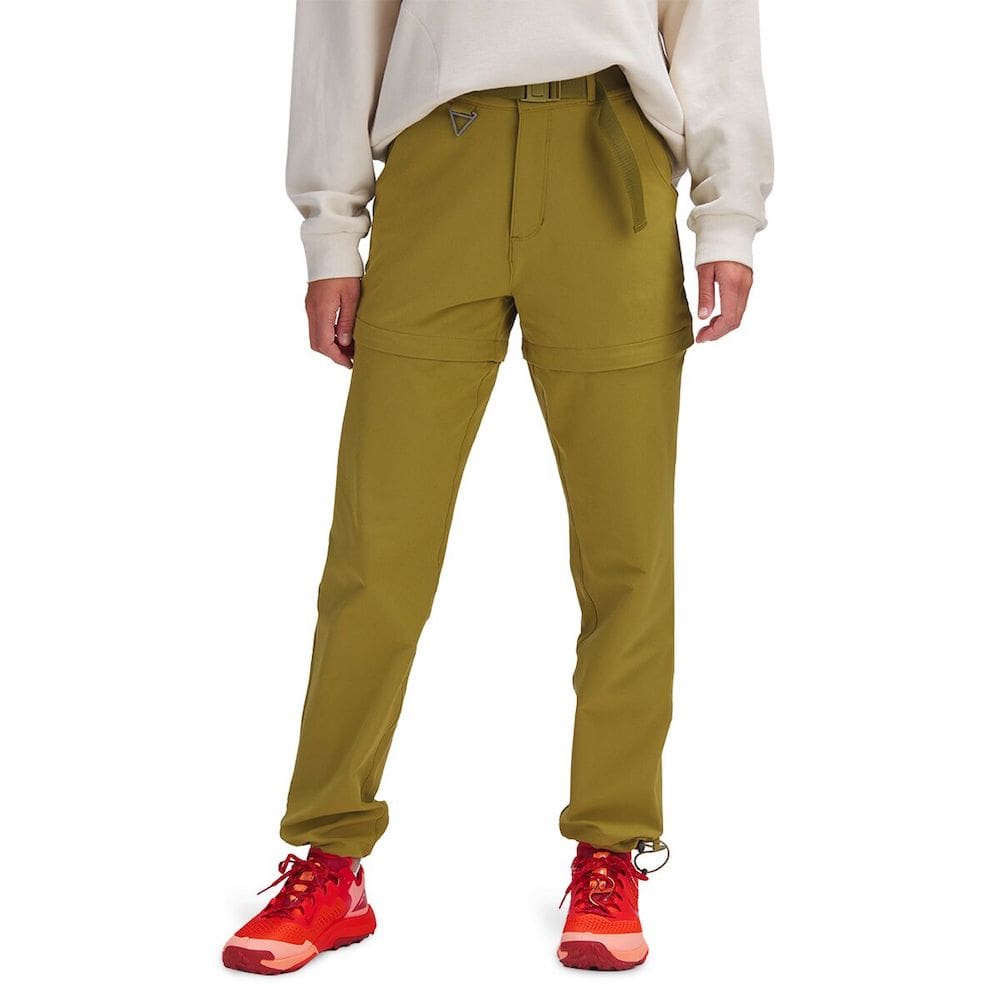
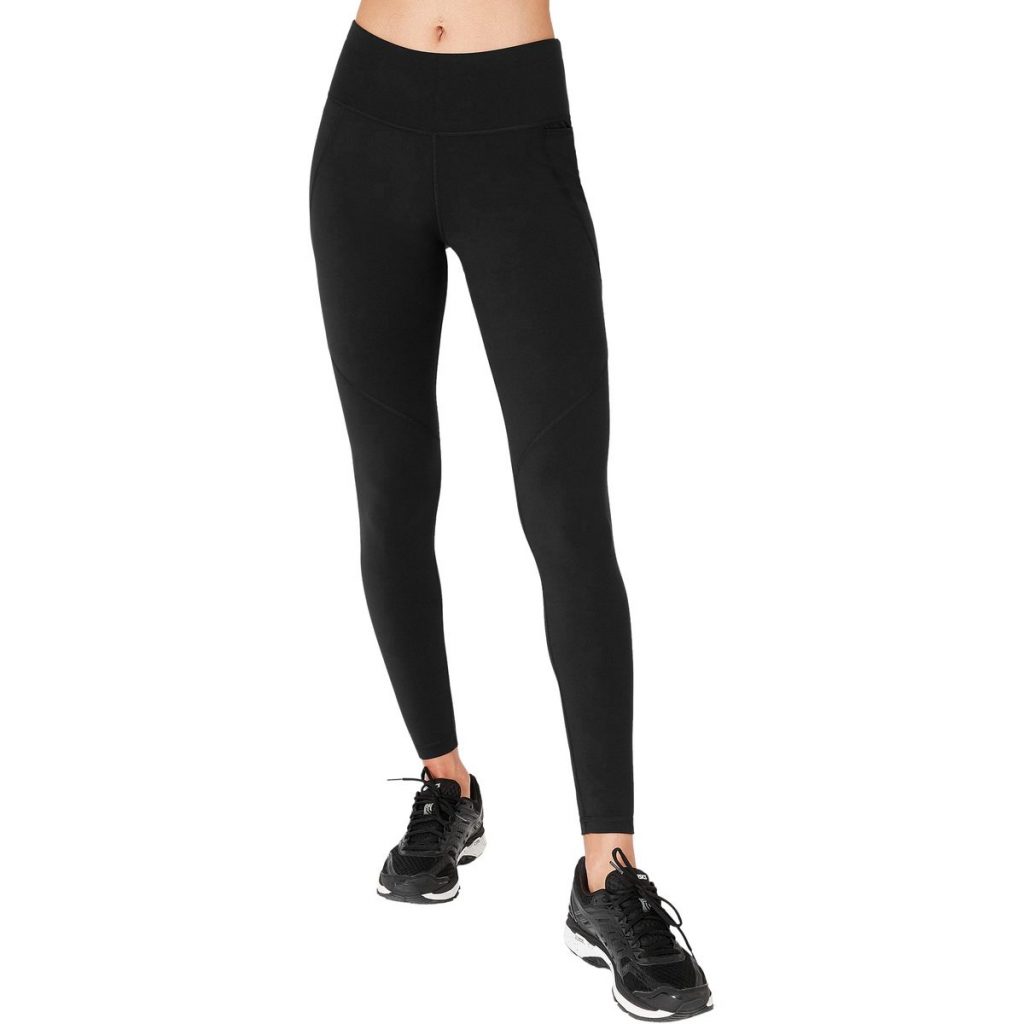
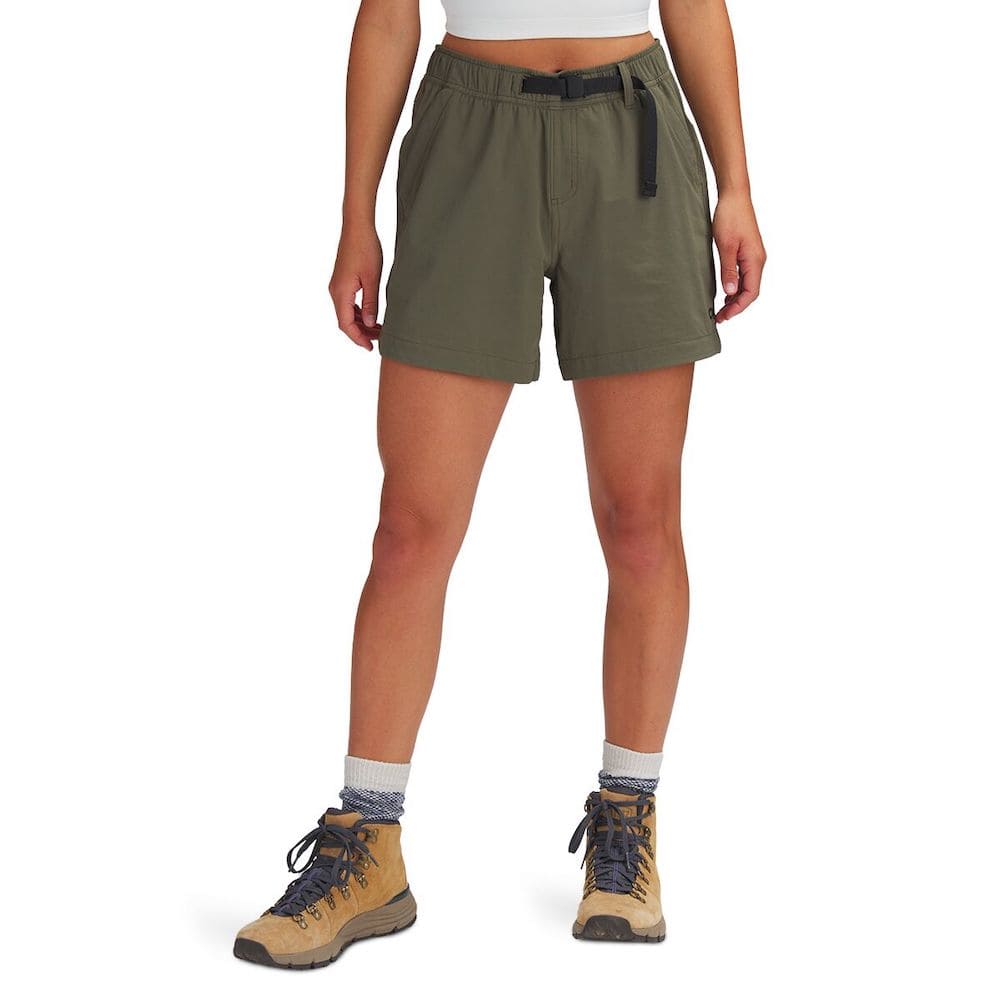
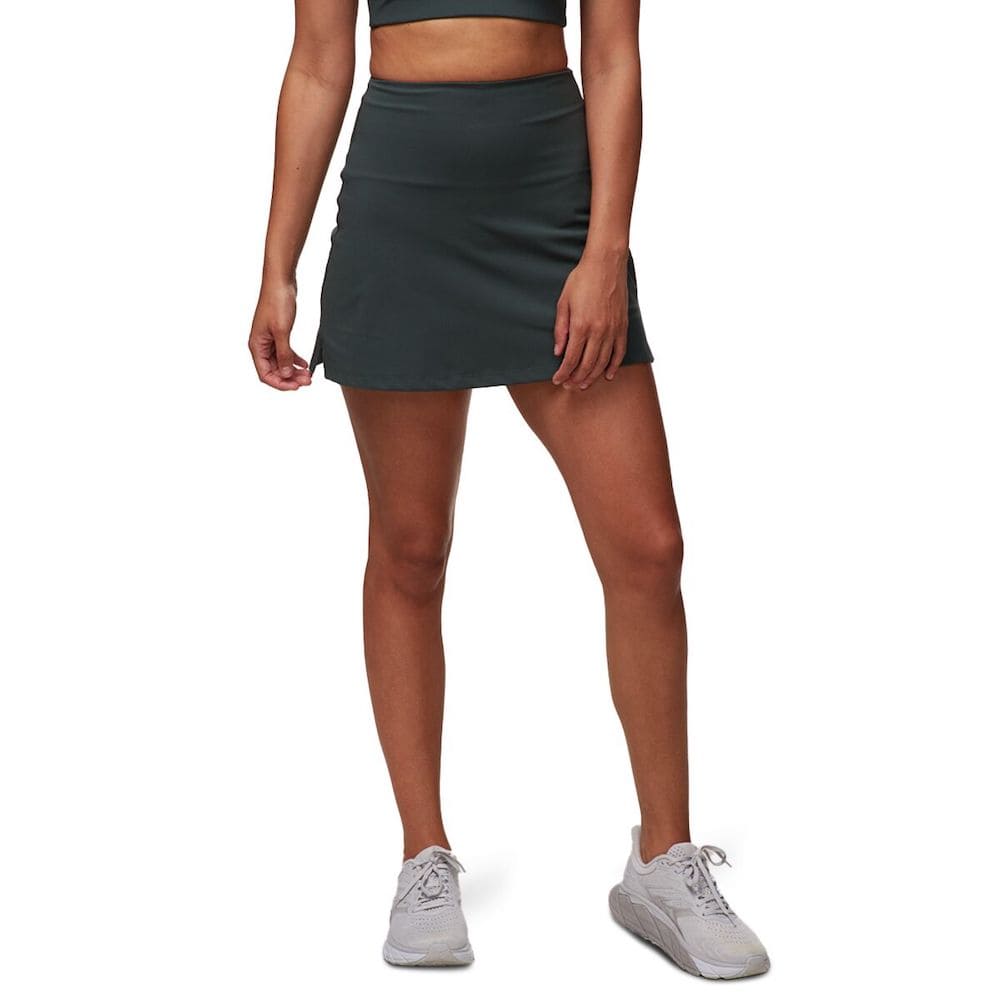
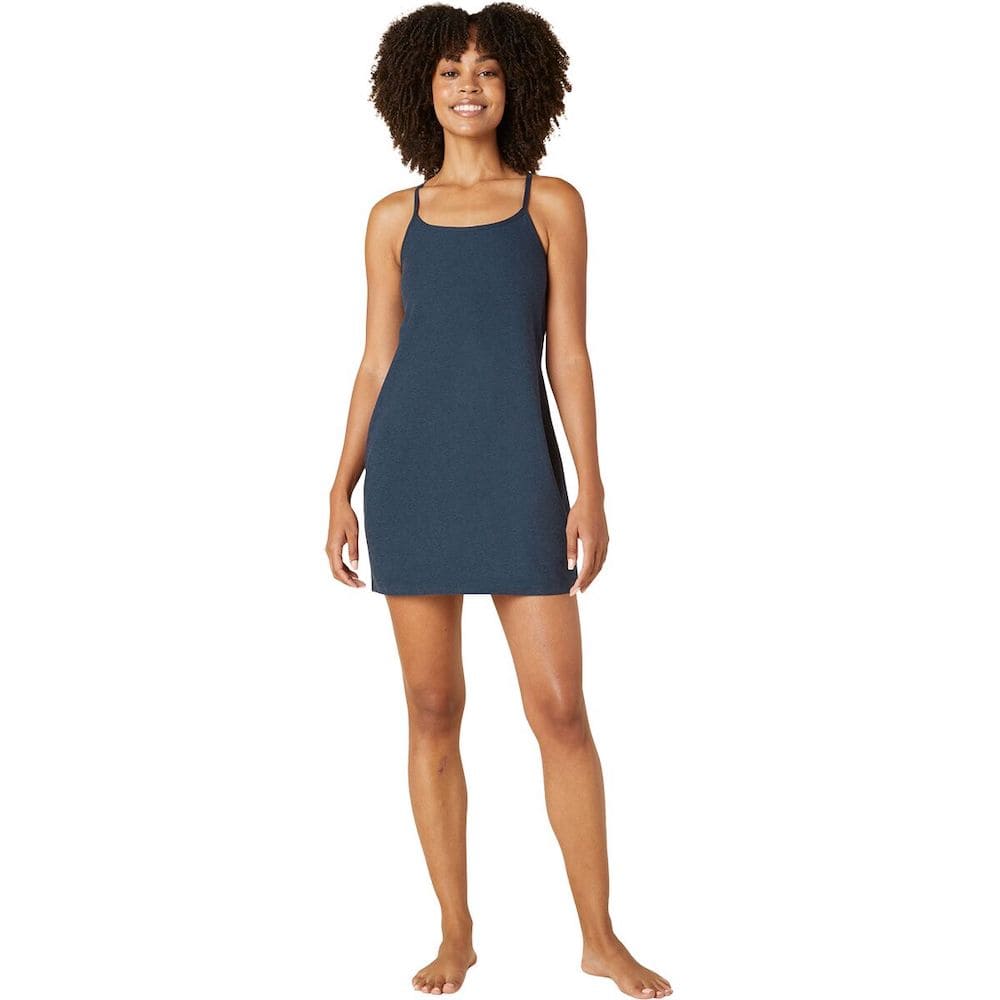
Hiking pants, or shorts, are also very much personal preference. I almost always hike in pants or leggings to prevent sunburn, scratches, and bug bites. Recently I have been wearing the Stoic Zip-Off Pant – I love that they can turn into shorts in a pinch. The Sweaty Betty Power Sculpt Legging are my favorite leggings for hiking. If I do hike in shorts, I love the Columbia Firwood Short and Outdoor Research’s Ferrosi Short. Some people even like to hike in a skort or workout dress!
Underwear
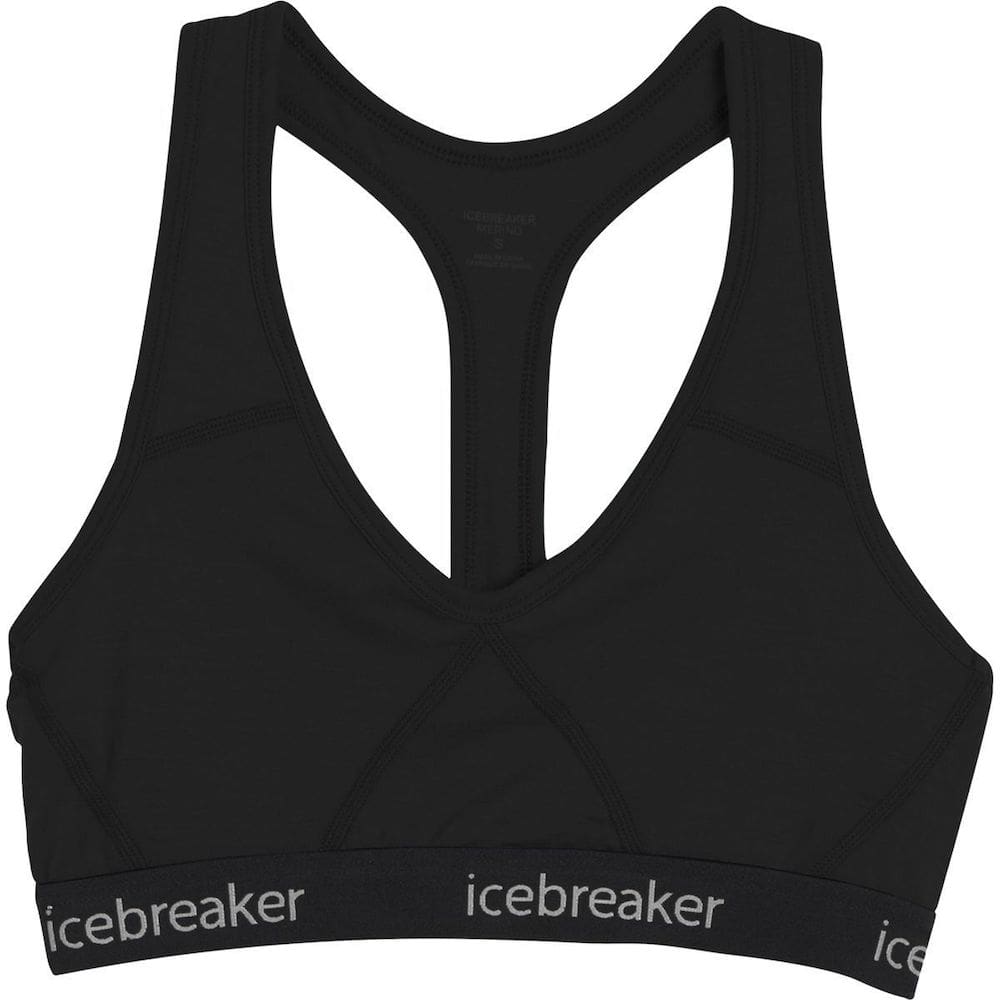
Comfort is key for your underwear. I highly recommend choosing a material that’s quick-drying and breathable. Merino is a great choice for underwear and sports bras, but everyone’s preferences are different. I love that I can wear a merino sports bra for multiple days without feeling gross and smelly. I personally recommend the Icebreaker Siren Thong and Smartwool Seamless Bikini for underwear. The Icebreaker Sprite Racerback is my go-to sports bra, and Patagonia’s Wild Trails Sports Bra is a great option if you prefer more support.
Warm Layers
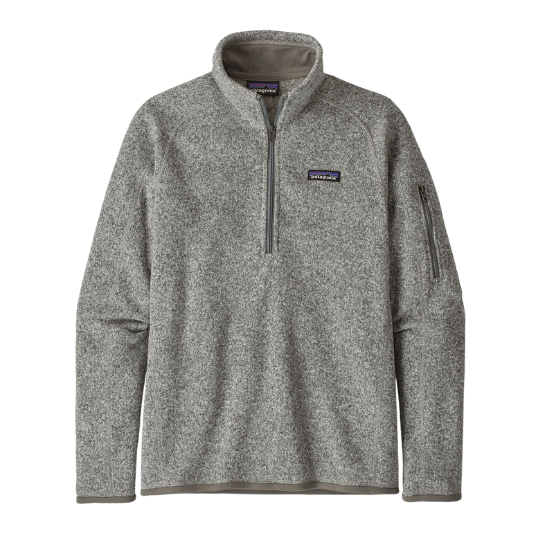
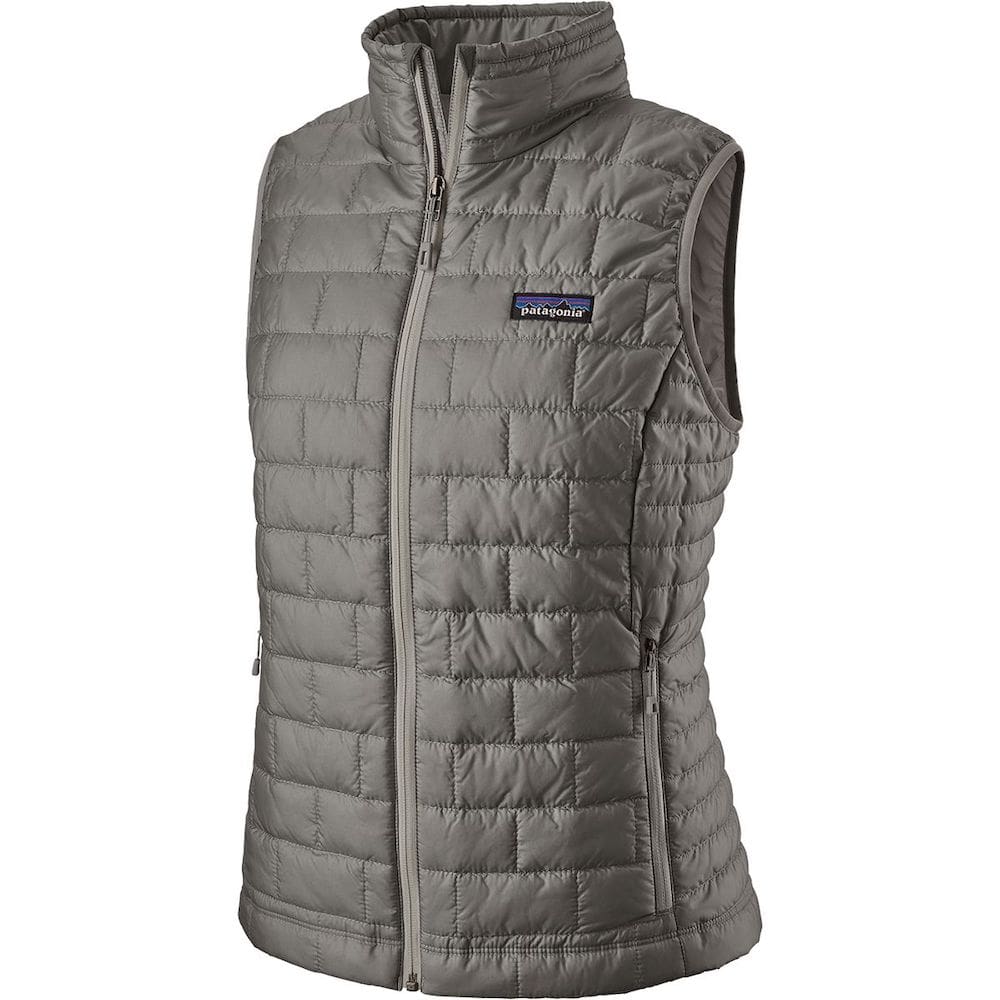
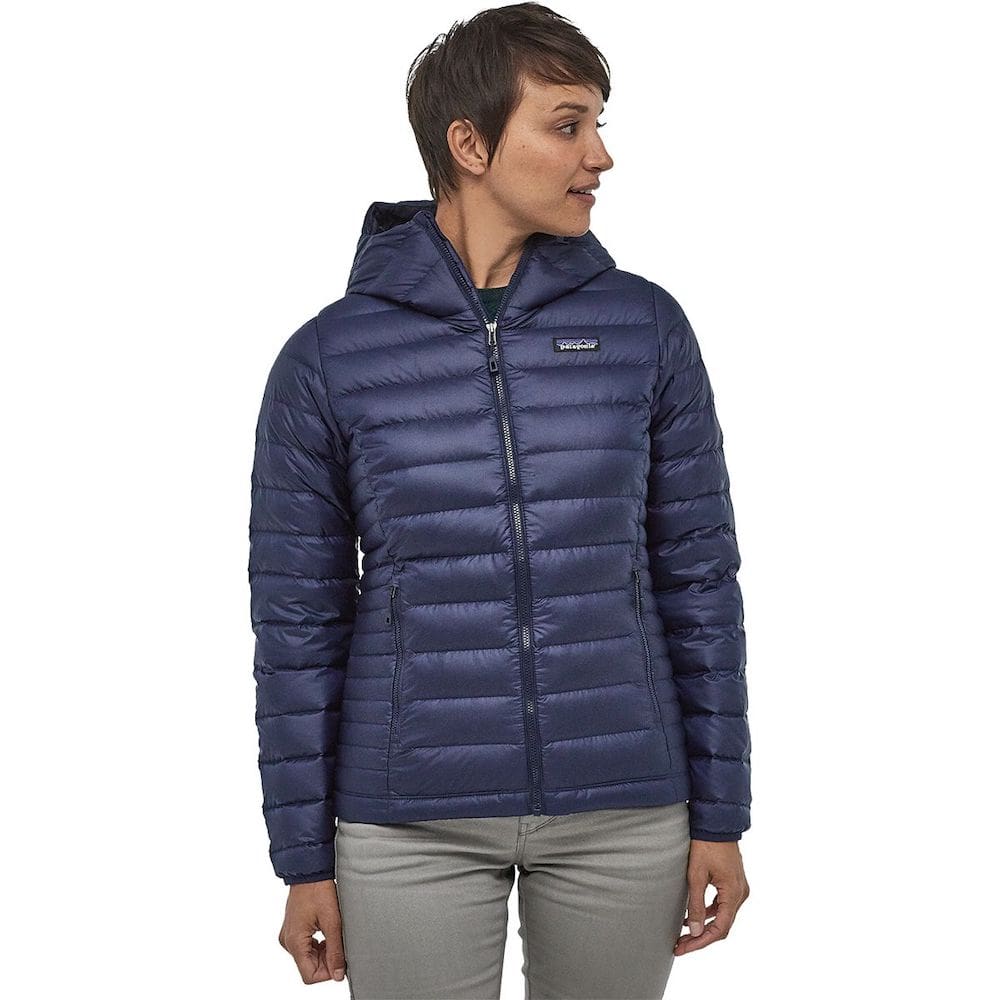
My favorite medium-weight layer is the Patagonia R1 Fleece or Patagonia Better Sweater. I’ve worn both of these hiking for years and they’re so cozy and warm! Vests are great options for hiking because they keep your core warm without overheating your extremities, and they’re lightweight to pack. I wear the Patagonia Nano Puff Vest during every season. I almost always carry a puffy with me (yes, even in the summer) both because I get cold easily, and it’s easy to get chilly at higher elevations. The Patagonia Nano Puff Hooded Jacket (non-hooded version here) is a great 3 season puffy, and the Patagonia Hooded Down Jacket (non-hooded version here) is my favorite thicker puffy, great for winter hiking. Stoic’s Insulated Jacket is a great budget-friendly option for a puffy.
Extra Layers
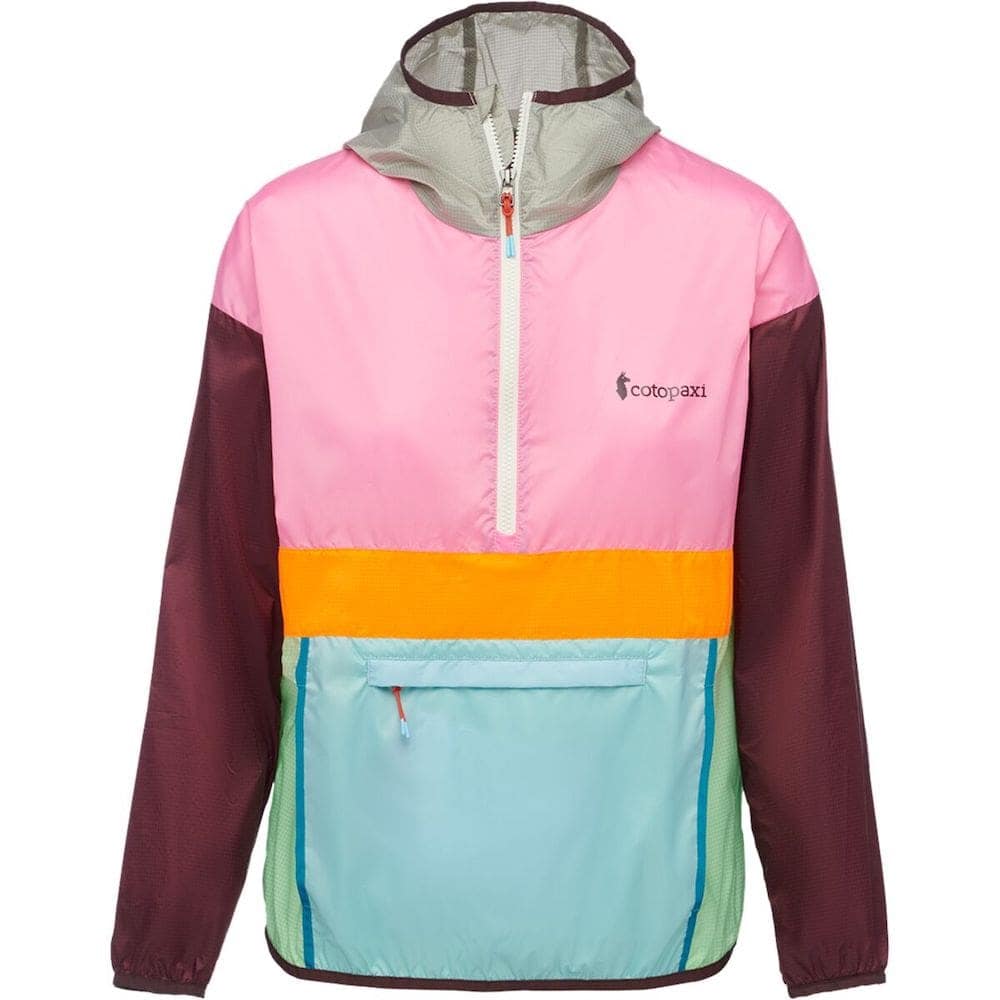
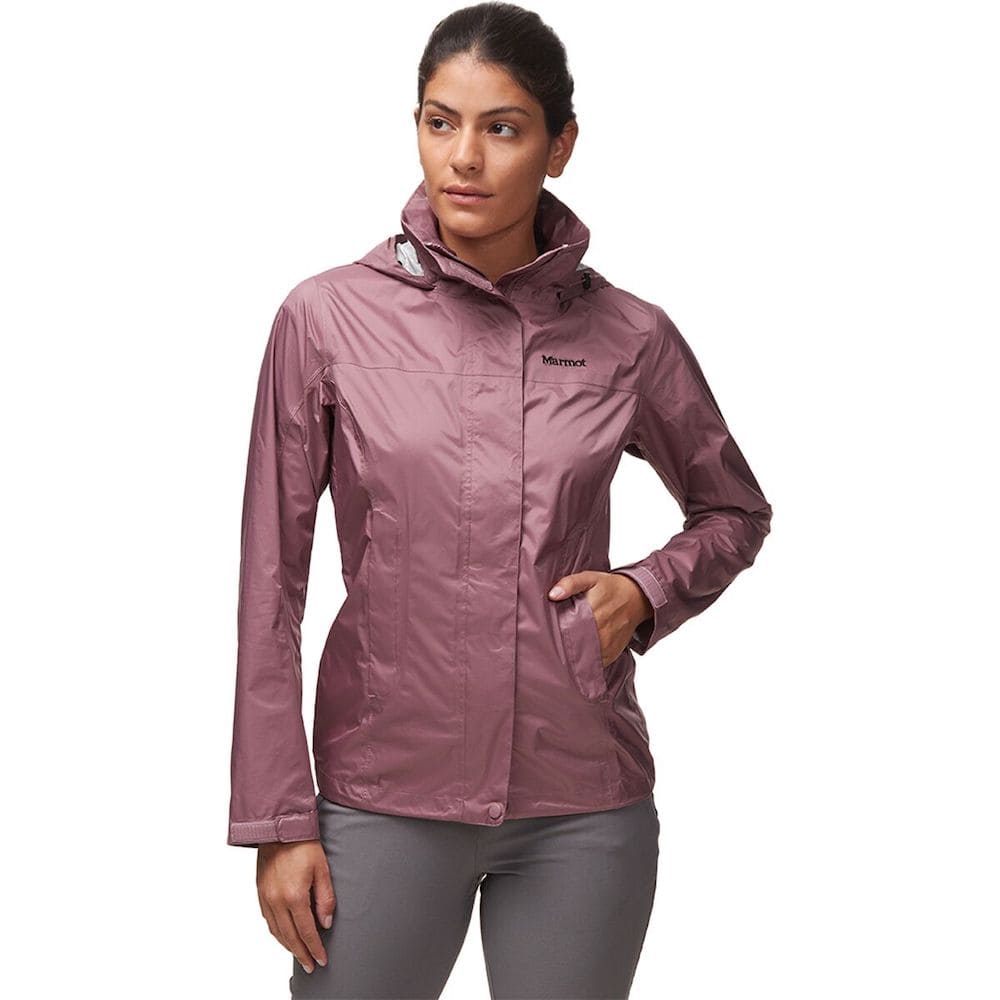
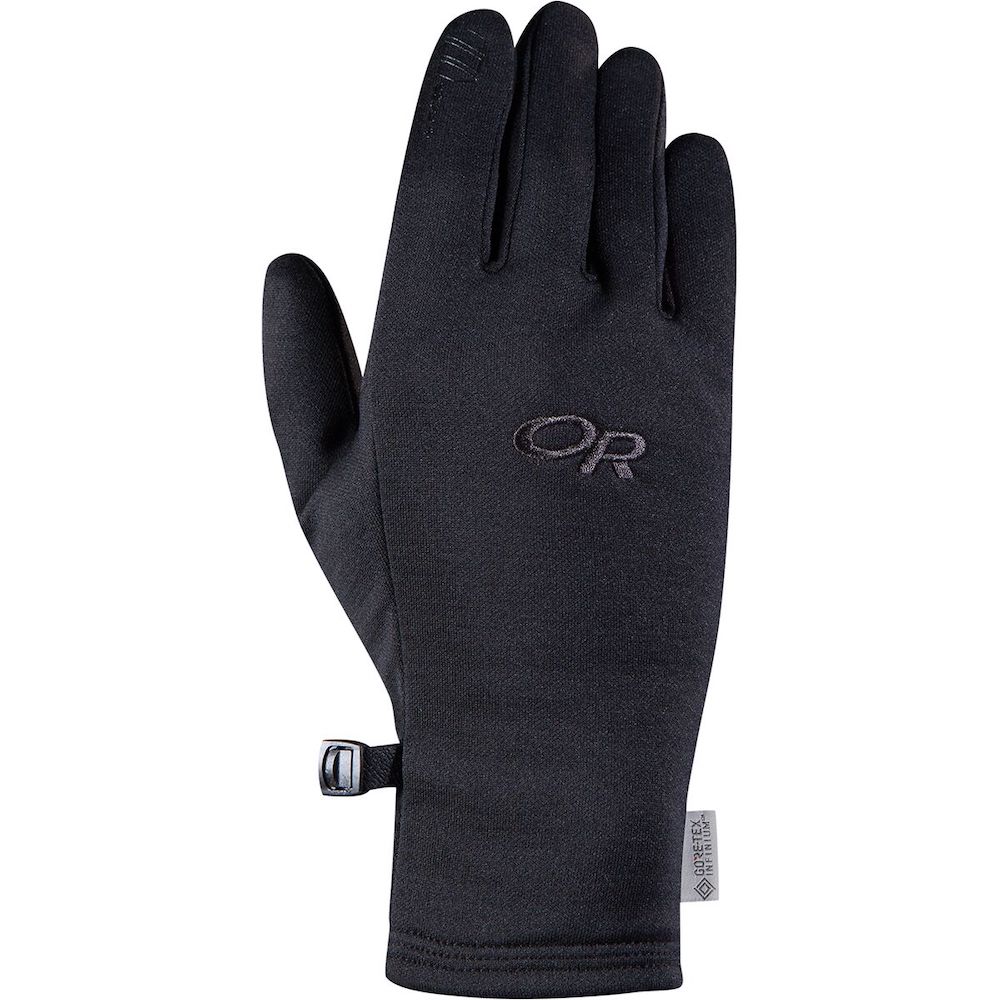
I always pack an extra layer for wind and/or rain protection on day hikes. For a windbreaker (and bug protection) I really like the Patagonia Houdini Jacket (packs down super small!) and the Cotopaxi Teca Windbreaker which comes in fun colors. A good rain jacket is essential, especially here in the PNW. I’ve used both the Marmot PreCip Eco Jacket and Patagonia Torrentshell Rain Jacket, and the Outdoor Research Helium Rain Jacket looks like a great lightweight option. I probably wear rain pants more frequently when backpacking, but I do sometimes wear the Marmot PreCip Eco Pant on day hikes to keep my legs dry. I often pack gloves with me on day hikes, especially if I plan on hiking for sunrise or sunset when it can get cold quickly. The Outdoor Research Backstop Sensor Glove is perfect for most of the year.
Hat
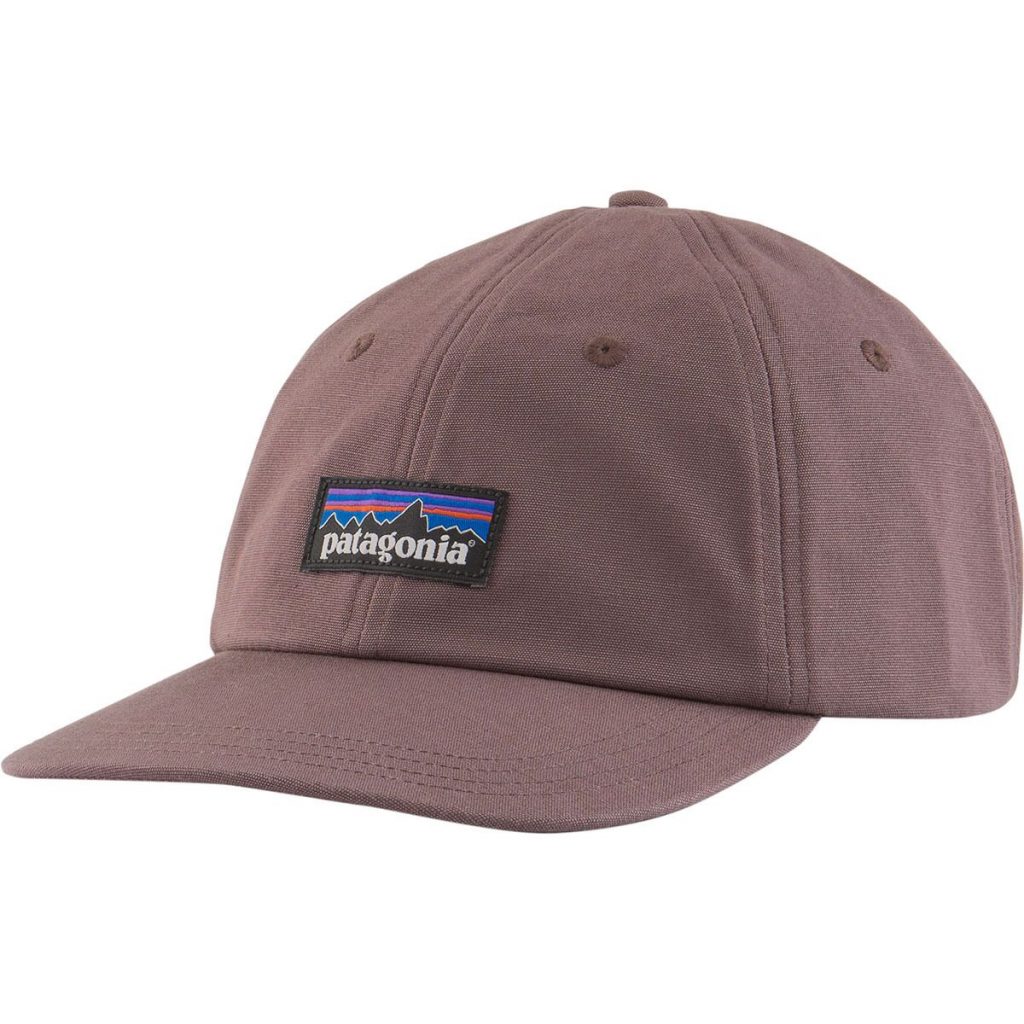
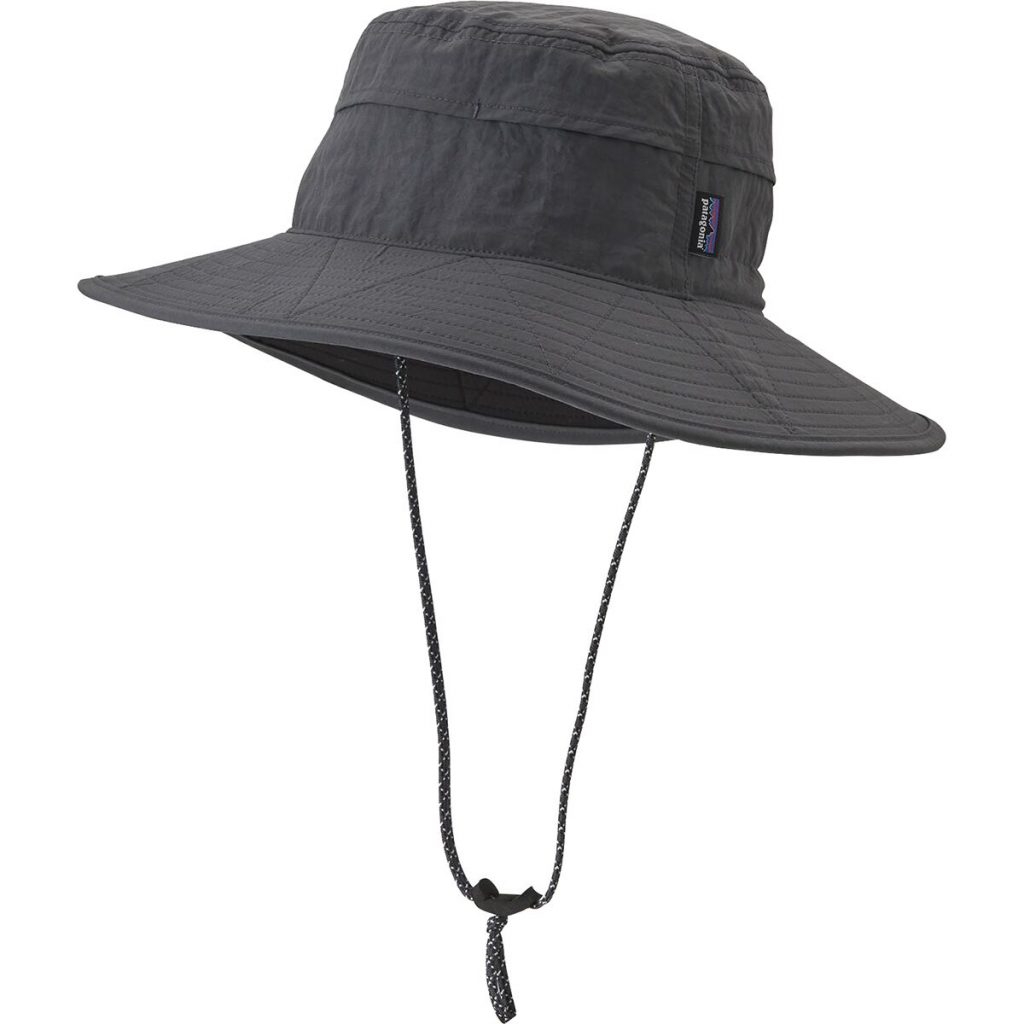
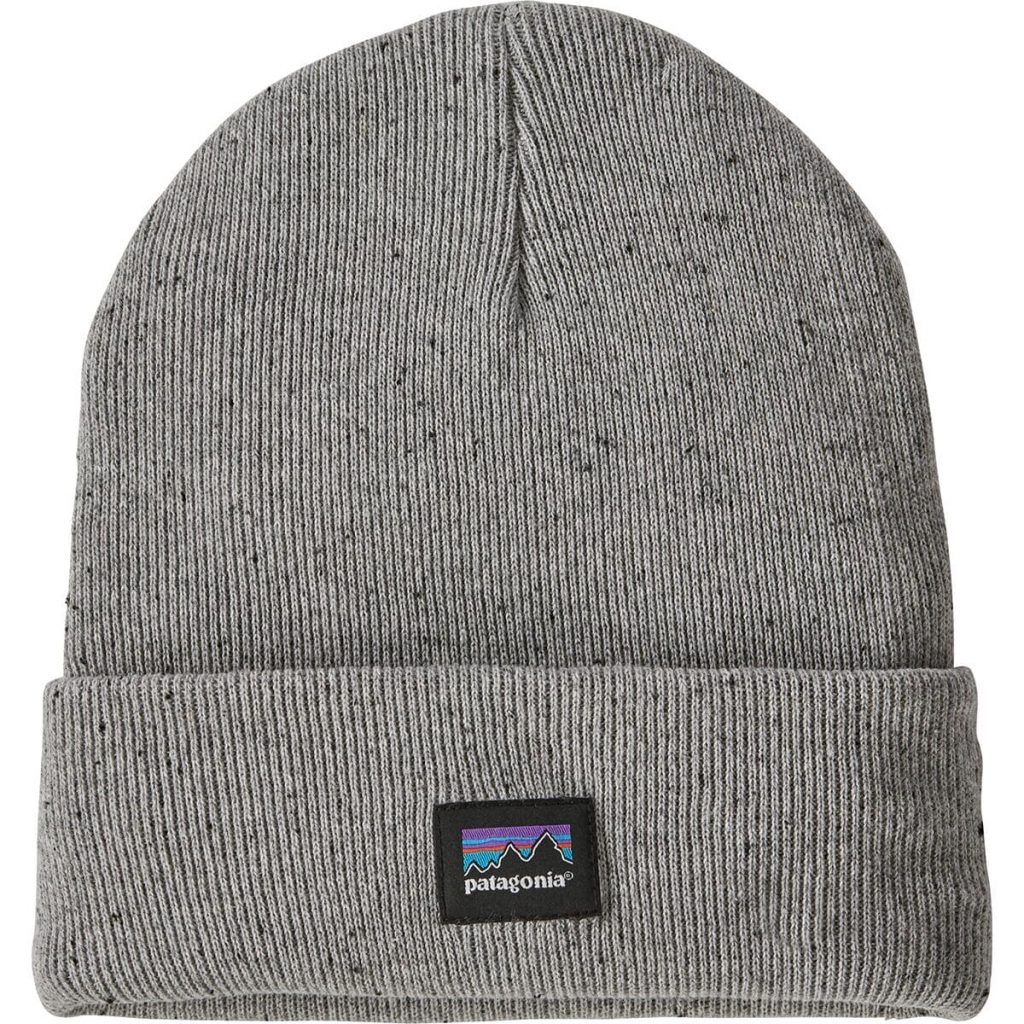
I recommend you wear some kind of hat on the trail to protect you from the sun, especially during the warmer months of July and August. Some popular options are caps such as the Patagonia P-6 Label Trad Cap or wider hats such as the Outdoor Research Wadi Rum Brim Hat or Patagonia Baggies Brimmer Hat. For cooler mornings or evenings, the Patagonia Everyday Beanie is a classic.
Sun Protection
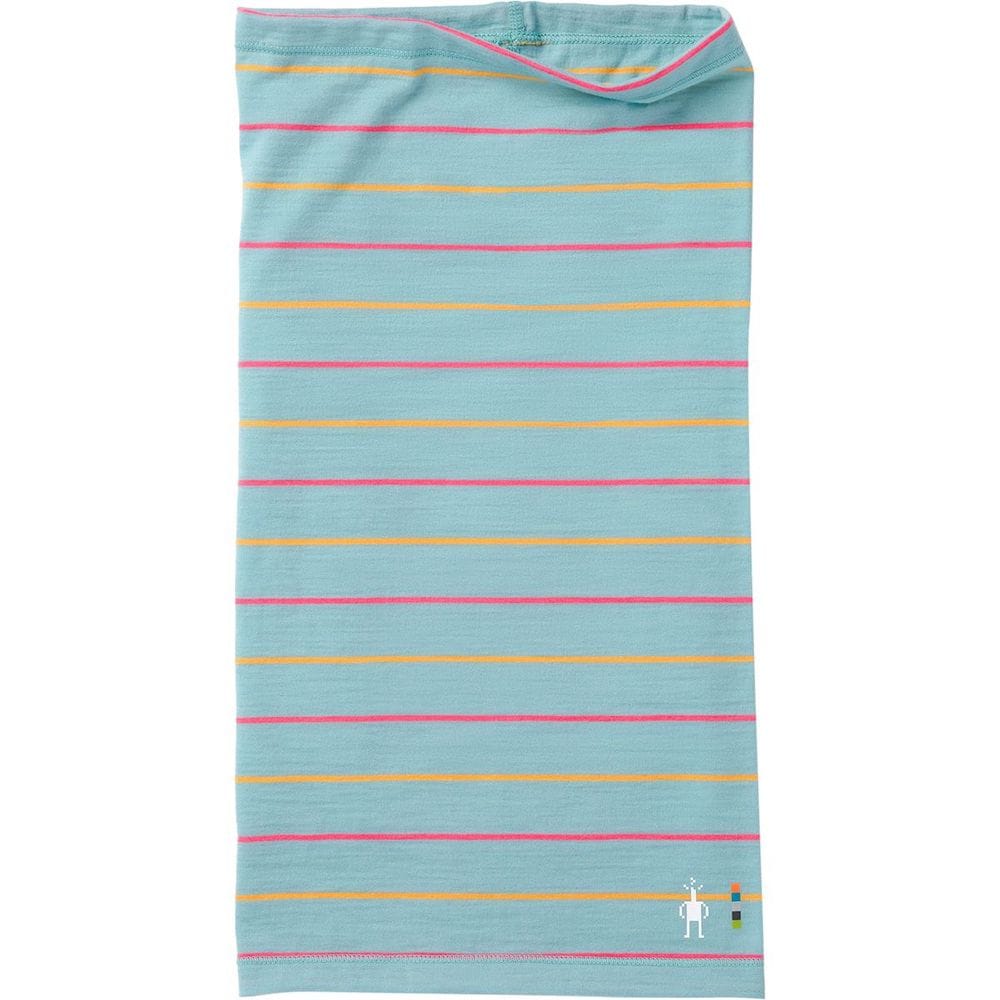
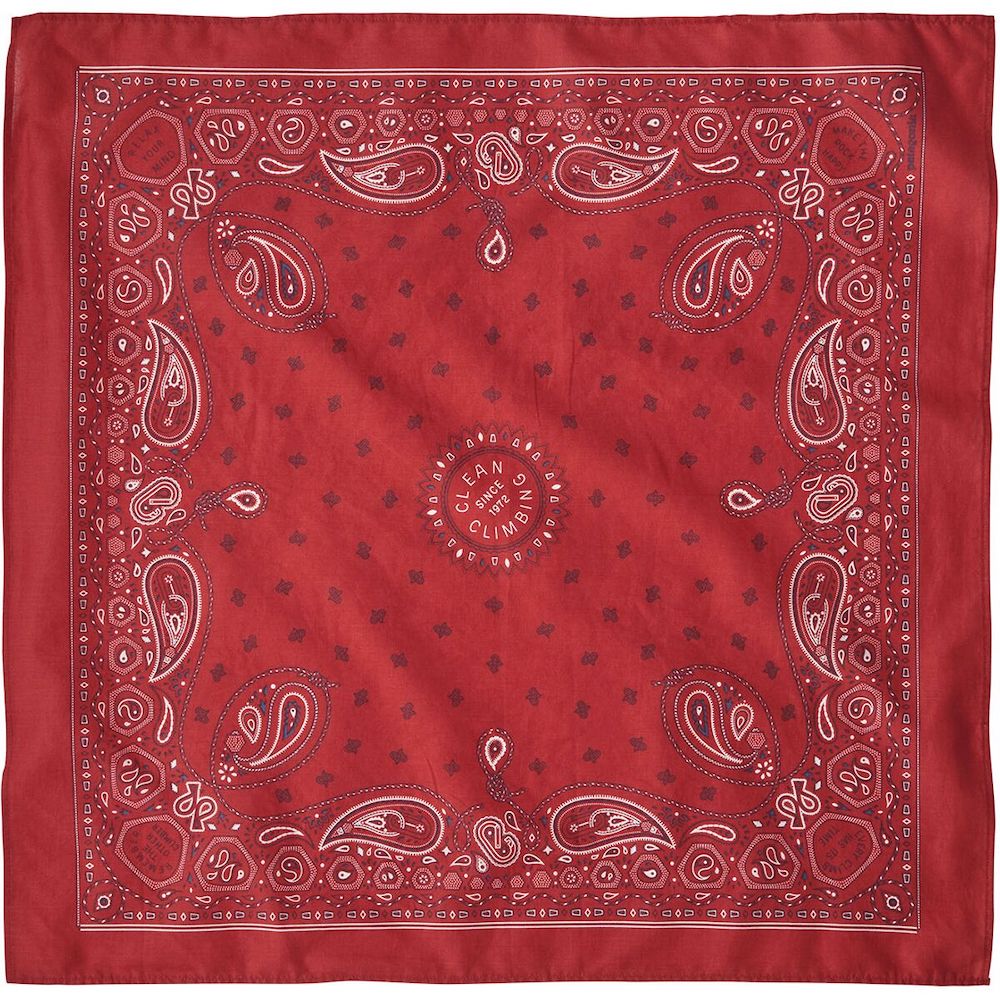
Keeping the sun off your skin helps you stay cool on hot, sunny day hikes. A lightweight neck gaiter is another great option to keep the sun off your neck. You can use the Outdoor Research Echo Ubertube Neck Gaiter as a headband to keep your hair out of your face, and even dunk it in water to cool you down on the extra hot days. Bandanas are a good option for sun protection too. Having sunglasses makes hiking a LOT more enjoyable on a sunny day (or even when it’s overcast with a lot of glare.) Polarized sunglasses will cute the reflections and glare on alpine lake (or snow on winter hikes!) My favorite sunglasses for day hikes are the Smith Cheetah Polarized Sunglasses, and the Goodr Circle Sunglasses are a good budget polarized option.
Trekking Poles
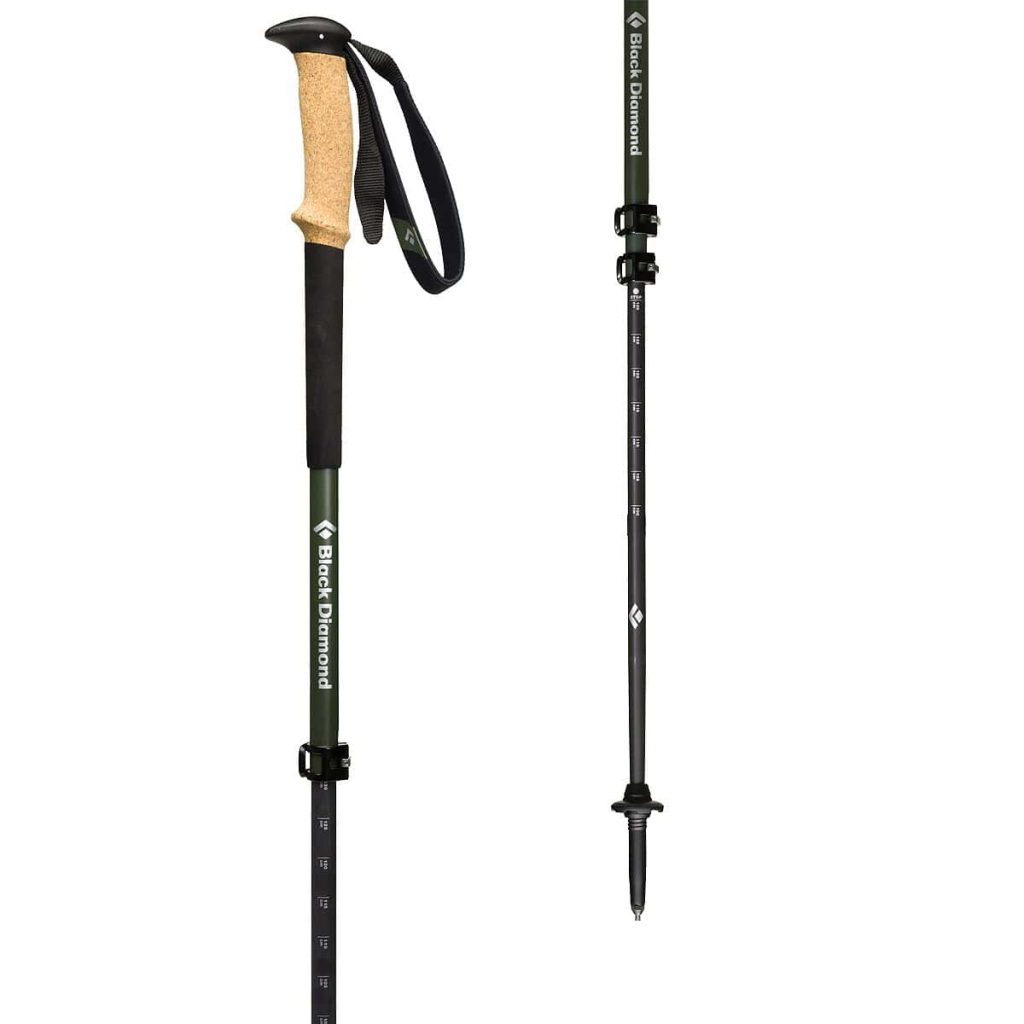
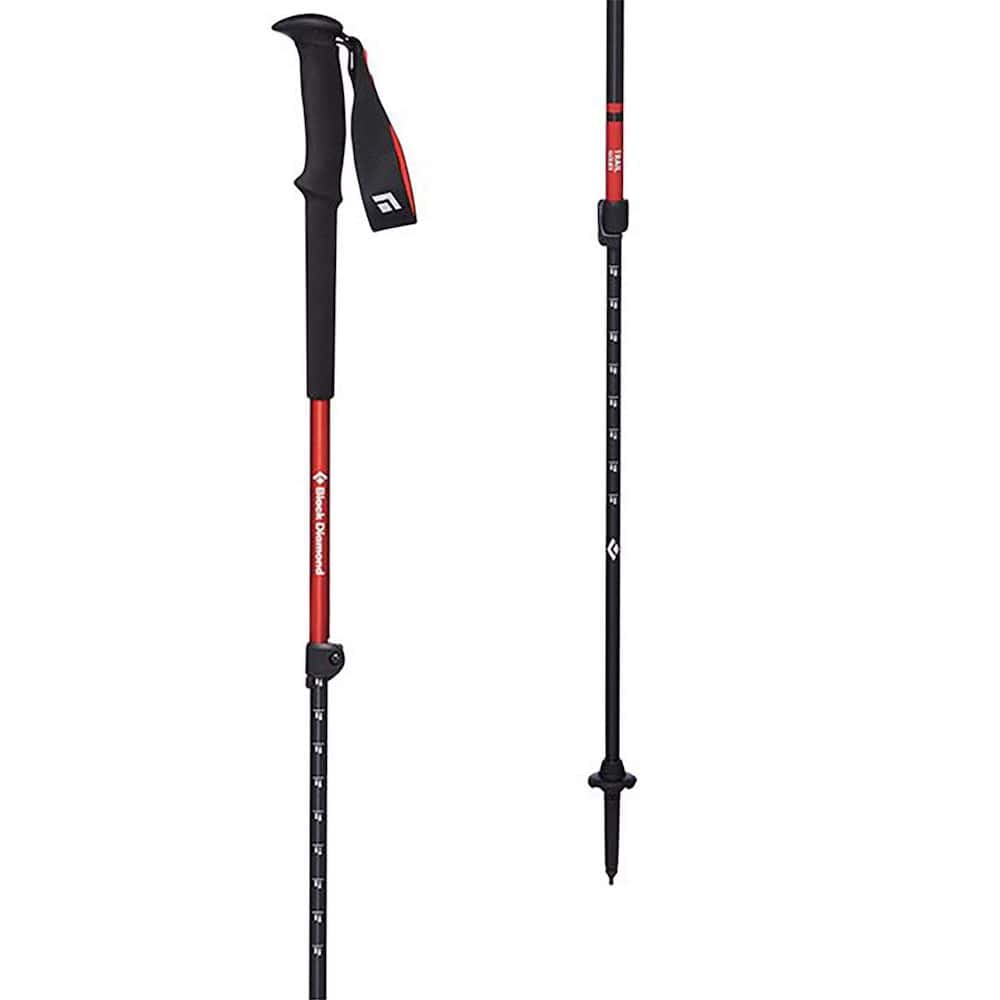
Not everyone enjoys using trekking poles but I personally find them helpful for hikes with considerable elevation gain, or if the terrain is unsteady. My go-to poles are the Black Diamond Alpine Carbon Trekking Poles as they are lightweight and comfortable to use. Some more affordable options are the Black Diamond Trail Trekking Poles and the Kelty Upslope 2.0 Trekking Pole.
Water & Snacks
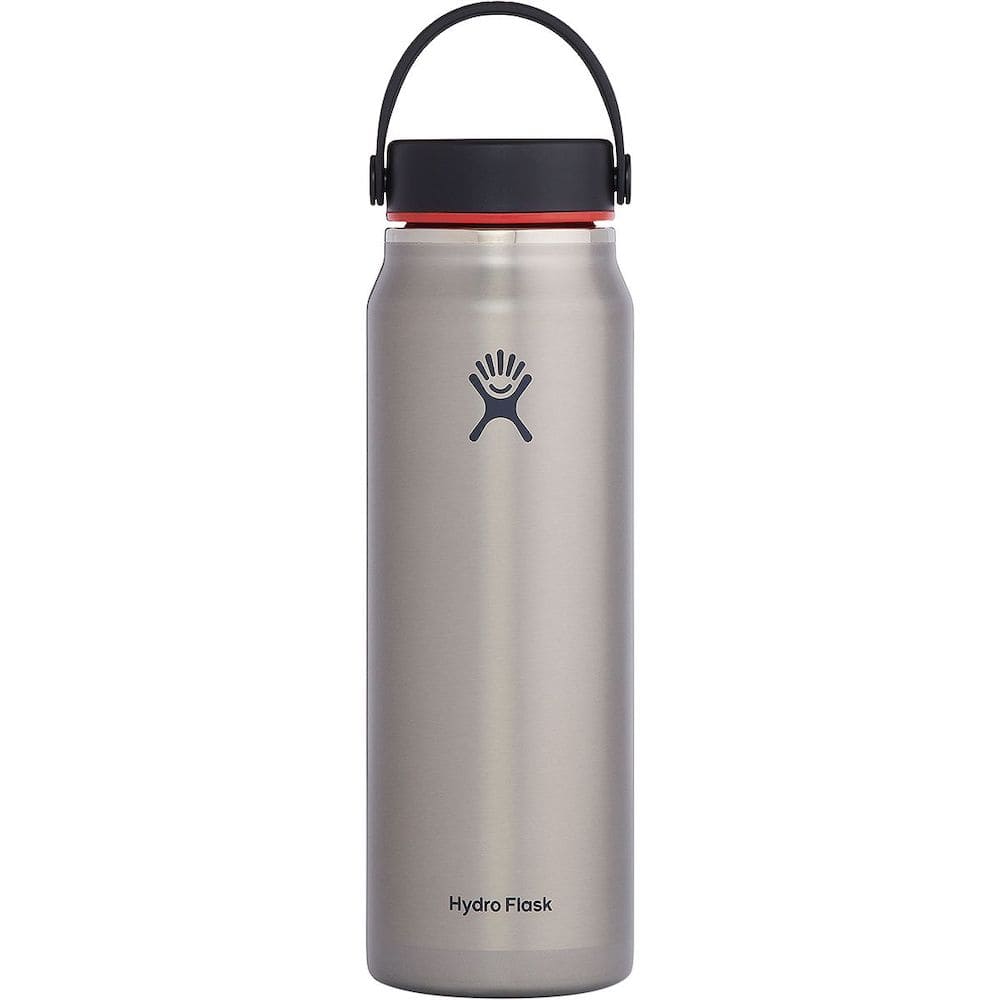
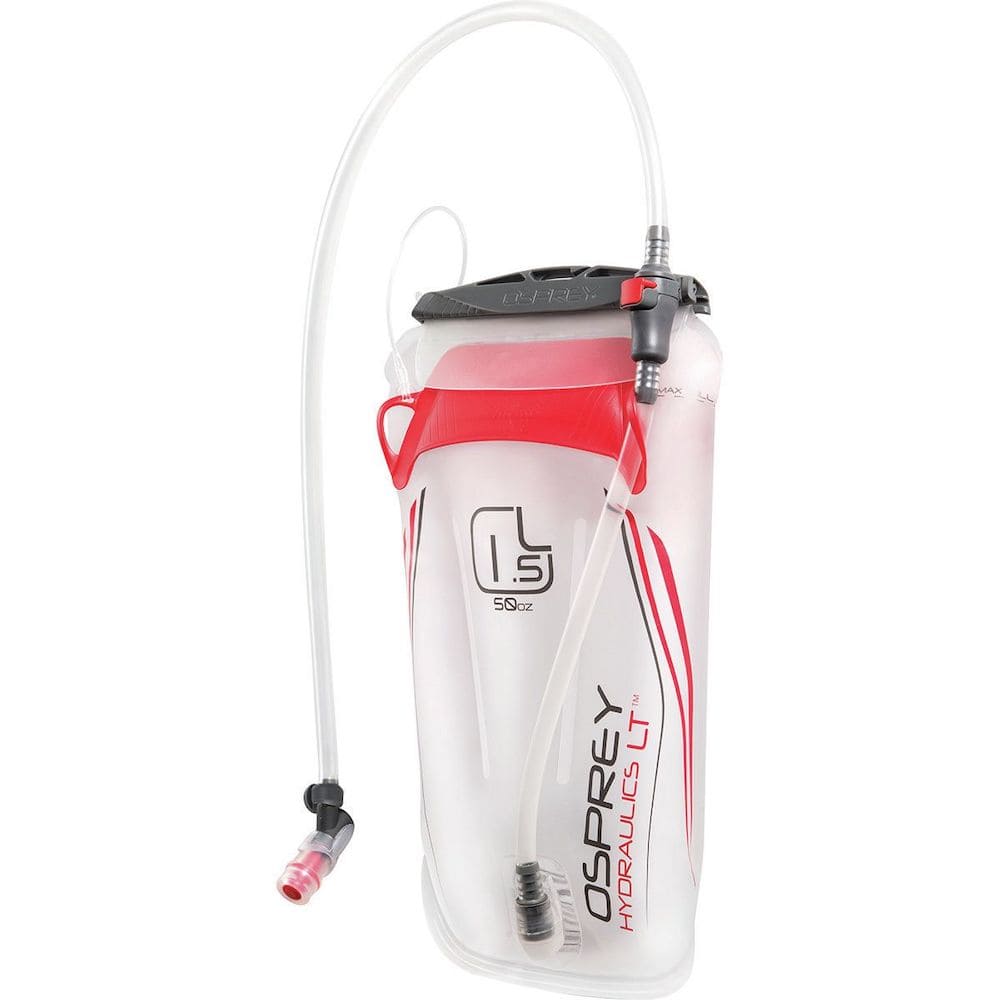
A water bottle or hydration bladder is an absolute must when hiking! Dehydration can be a killer, so it’s not something to skimp on. I normally stick with my trusted Hydroflask bottles, which keep your water nice and cold, or the Hydrapak Recon 1L Bottle which is a little lighter weight. On especially hot days or longer hikes, I’ll add Nuun tablets, Liquid IV, or Ultima for electrolytes. You can also pack a hydration bladder into your pack which can be easier to drink from while hiking. I recommend taking a couple liters of water to begin with. I also carry a water filter so I can fill up at streams.
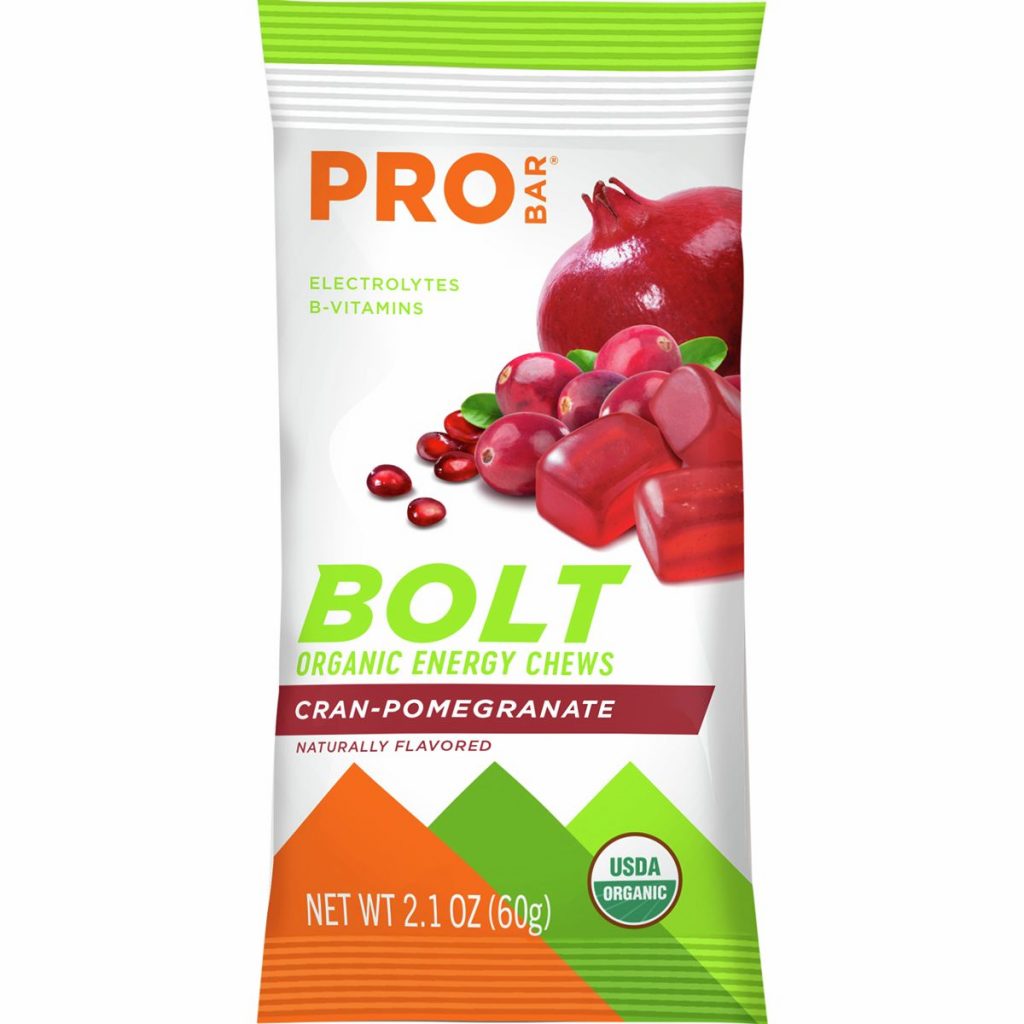
I love to snack on nut butter filled Clif Bars, Pro Bar Bolt Chews, GoMacro bars, Honey Stinger Waffles, and nut butters. Often I’ll prepare homemade trail mix or other snacks to pack in reusable Stasher Bags for day hikes.
Navigation
You should always have topographic map for the area you will be hiking (keep it inside a waterproof sleeve). You should also be familiar with map reading in order to use your map! It’s also a great idea to bring along a compass and have some basic skills to use it. In addition, it’s a good idea to save some offline maps to your phone. For instance, I use Gaia GPS to save offline maps for hiking and backcountry trips.
Emergency beacon
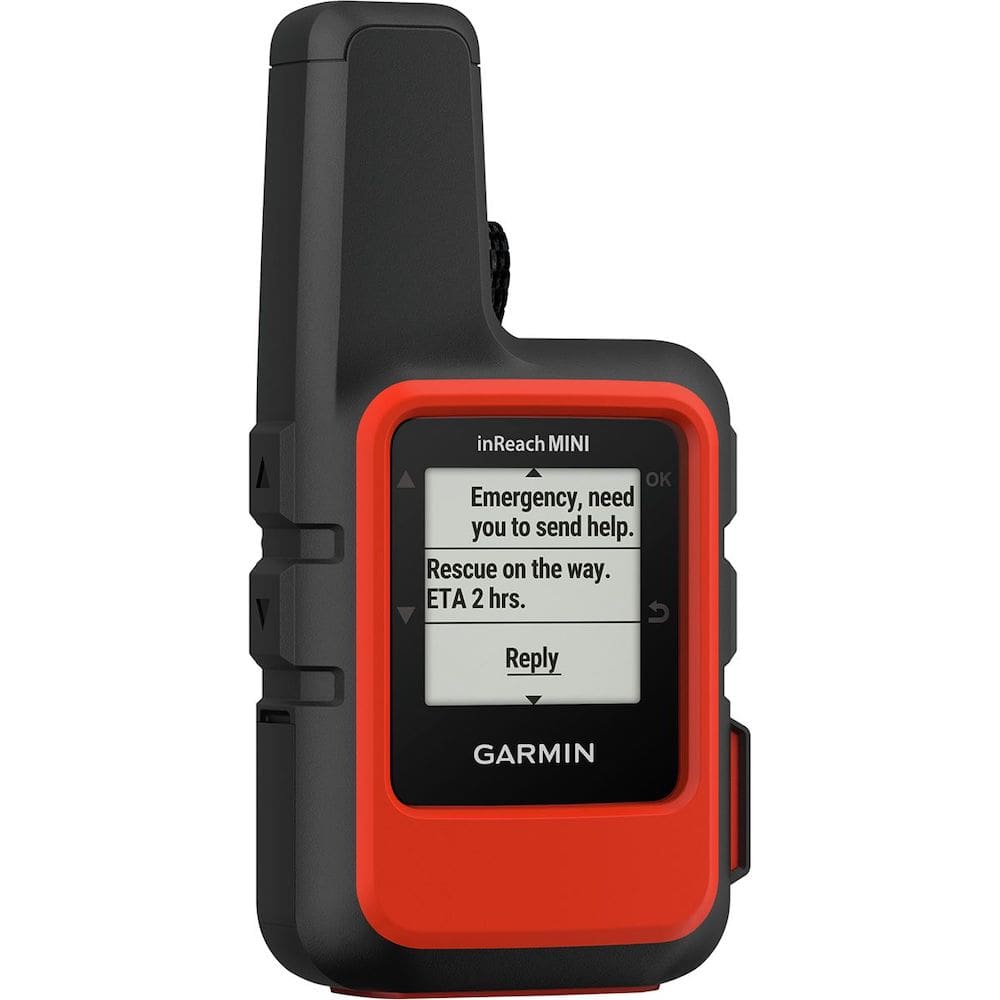
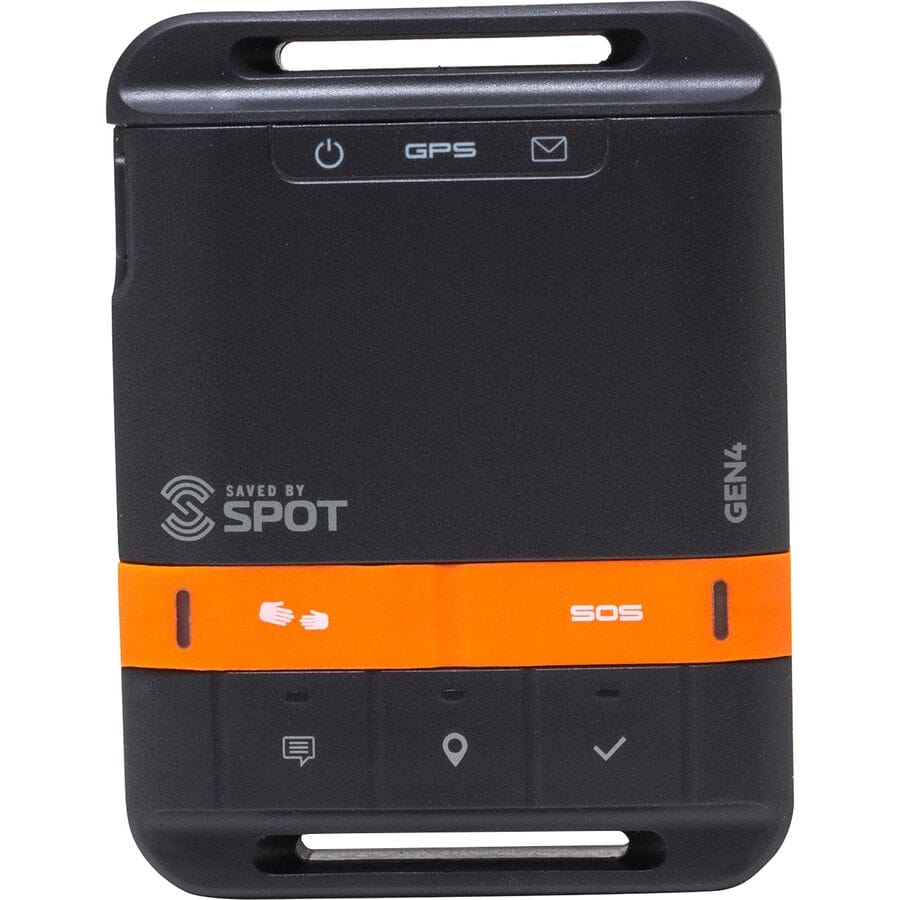
These are definitely optional, but are great to give you and your loved ones some peace of mind especially when you’re in the backcountry. I’ve used both the Garmin inReach Mini and the SPOT Gen4 Satellite GPS Messenger. The Garmin has more functions like two-way messaging, but both devices are great options to have in case of emergency.
Headlamp
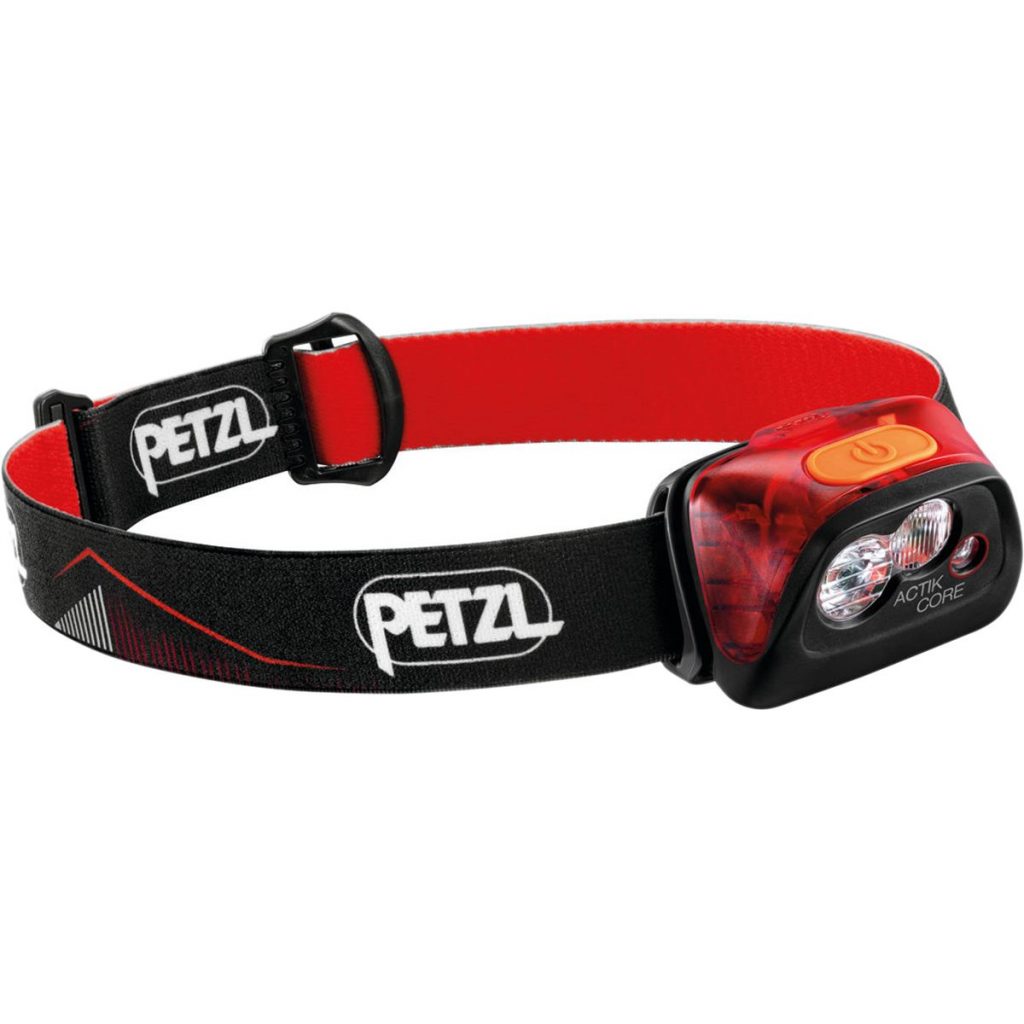
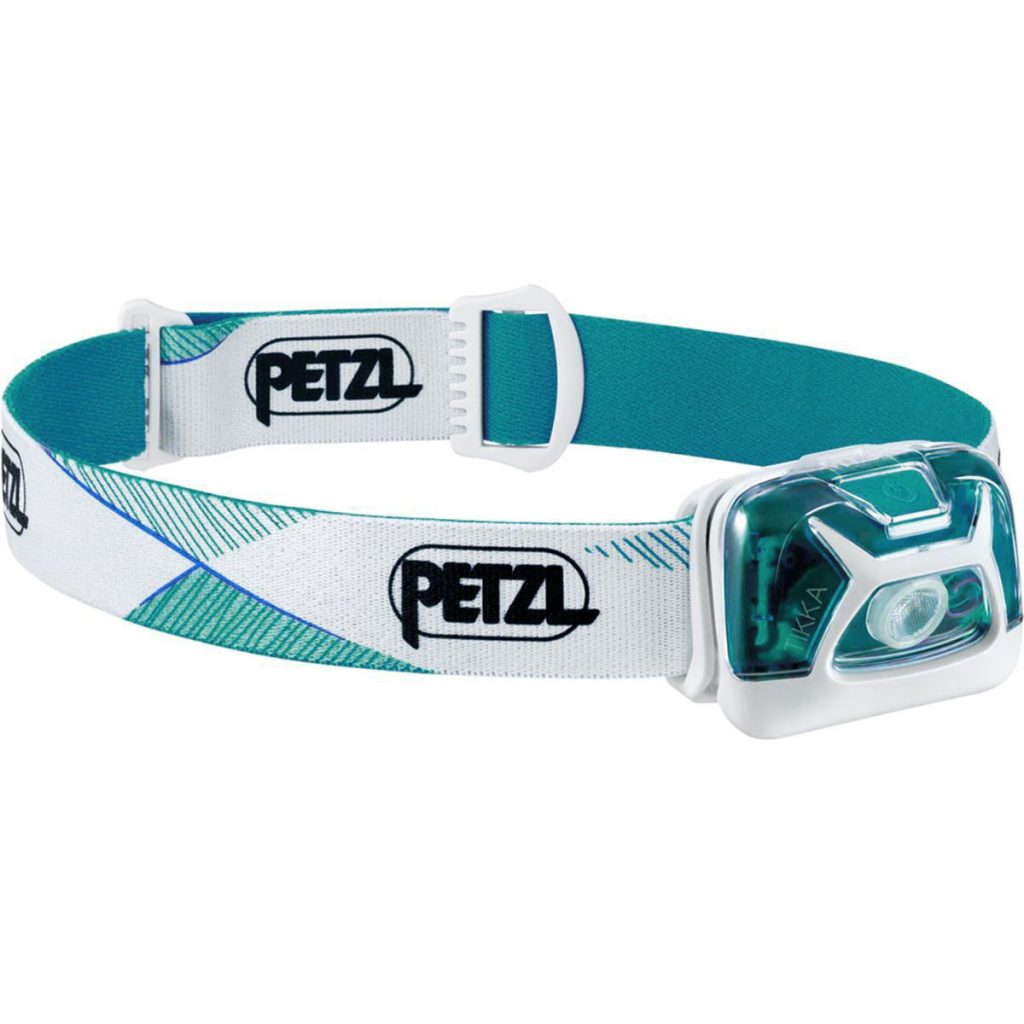
It’s a good idea to have a light source with you (outside of your phone flashlight 😉) in case of emergencies. I have used the Petzl Actik Core Headlamp for years and I love it. The Petzl Tikkina Headlamp is a more budget-friendly option that is also great!
Bathroom essentials
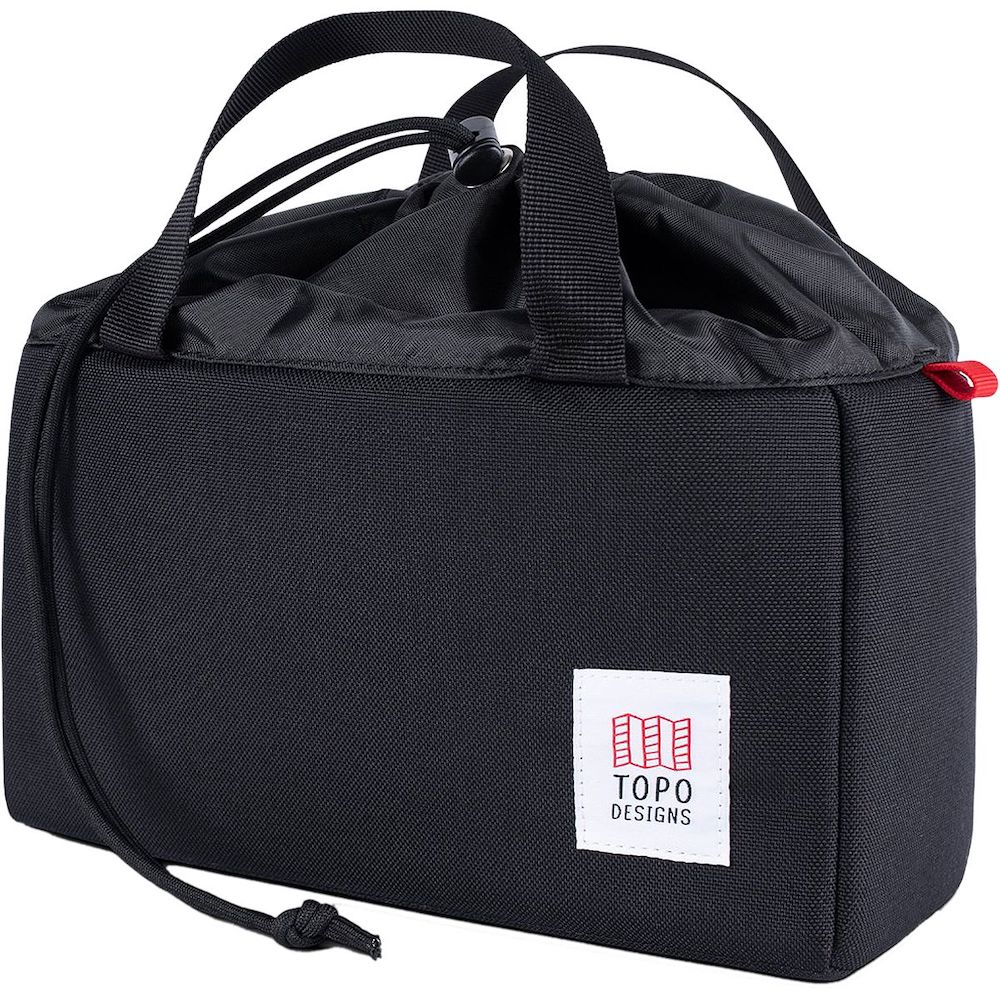
Don’t forget to pack sunscreen, lip sunscreen, and some cleaning wipes. If you’ve ever experience thigh chafing (it’s the WORST!), I recommend Mega Babe Thigh Rescue Cream. I keep all these organized in a small pouch, like this one from Topo Designs. For backcountry bathroom needs I pack a trowel, toilet paper, wipes, Kula Cloth, and a zip lock bag to pack out dirty toilet paper. Even on a day hike you’ll want to be prepared for bathroom breaks, and it’s important to dispose of human waste properly to keep our trails clean and safe for all visitors.
First aid & Emergency
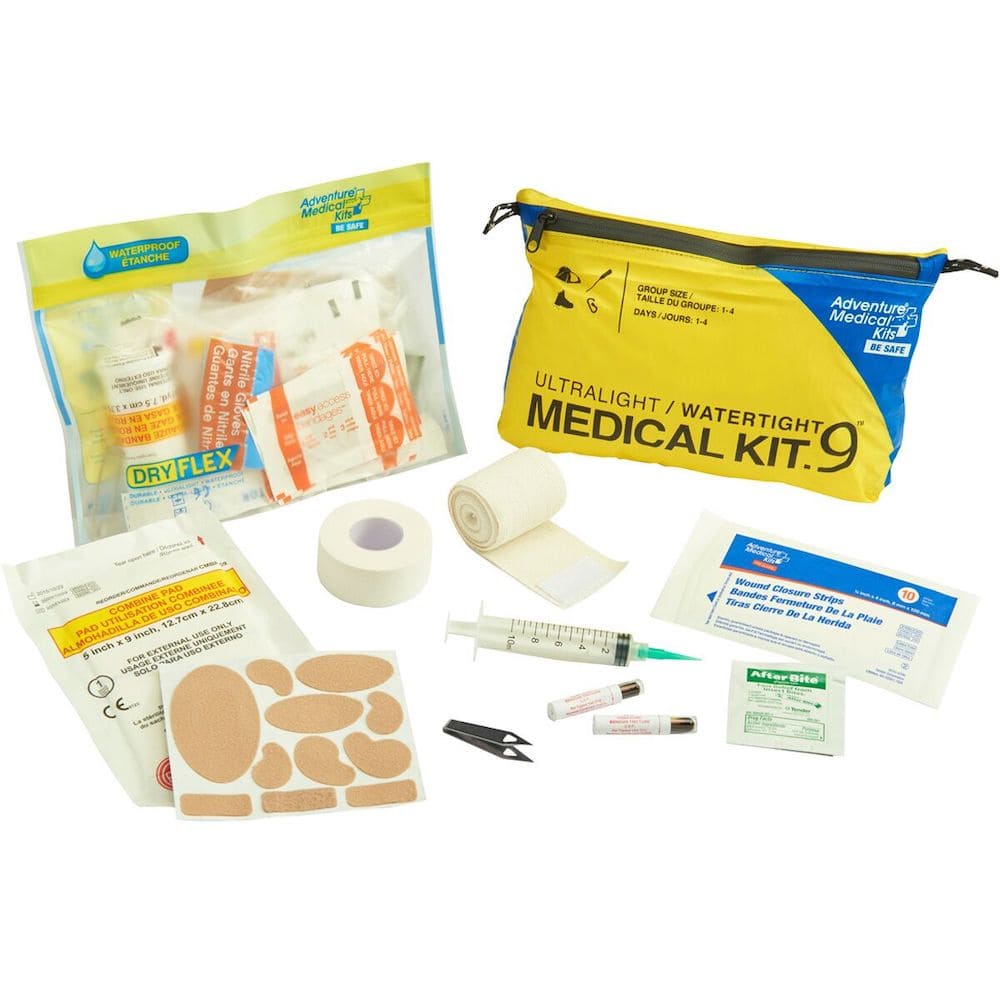
No matter how far I’m hiking, I always carry a small first aid kit with essential items like blister plasters and emergency supplies like a survival blanket. Here is my recommended lightweight first aid kit. If you’re lucky, you may never have to use this, but it’s best to be prepared. I typically carry a knife or multitool with me while hiking. It’s also wise to pack some bug protection, like bug spray. If I’m hiking somewhere that I know the mosquitos will be bad, I will pack my bug headnet too. You can also spray your clothes and gear with Permethrin which should help keep bugs away.
Bear Spray:
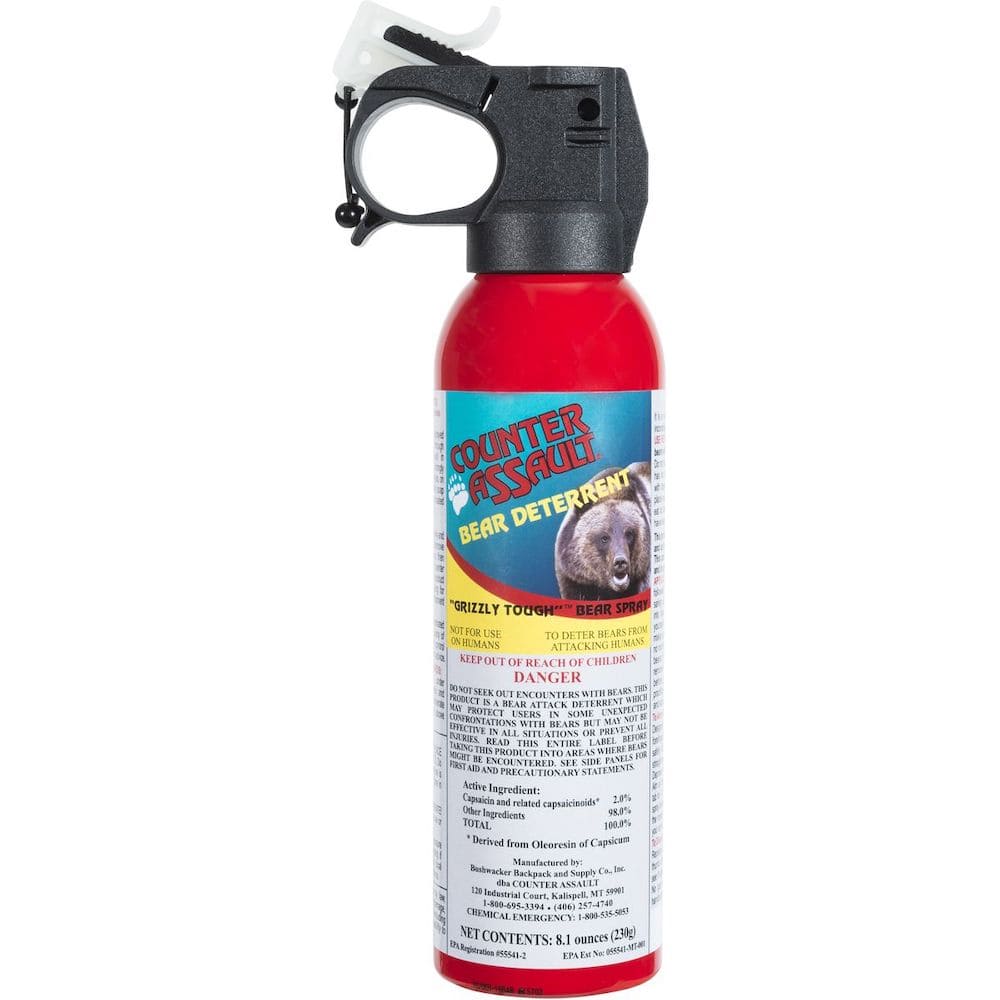
It’s wise to carry Bear Spray when in bear country. Typically trailheads and national parks will have lots of information posted when this is necessary. Note that it’s important to wear bear spray at your waist or shoulder strap, and not in your backpack out of reach. I often will carry pepper spray as a form of defense when not in bear country, especially if I am backpacking solo.
Camera Gear:
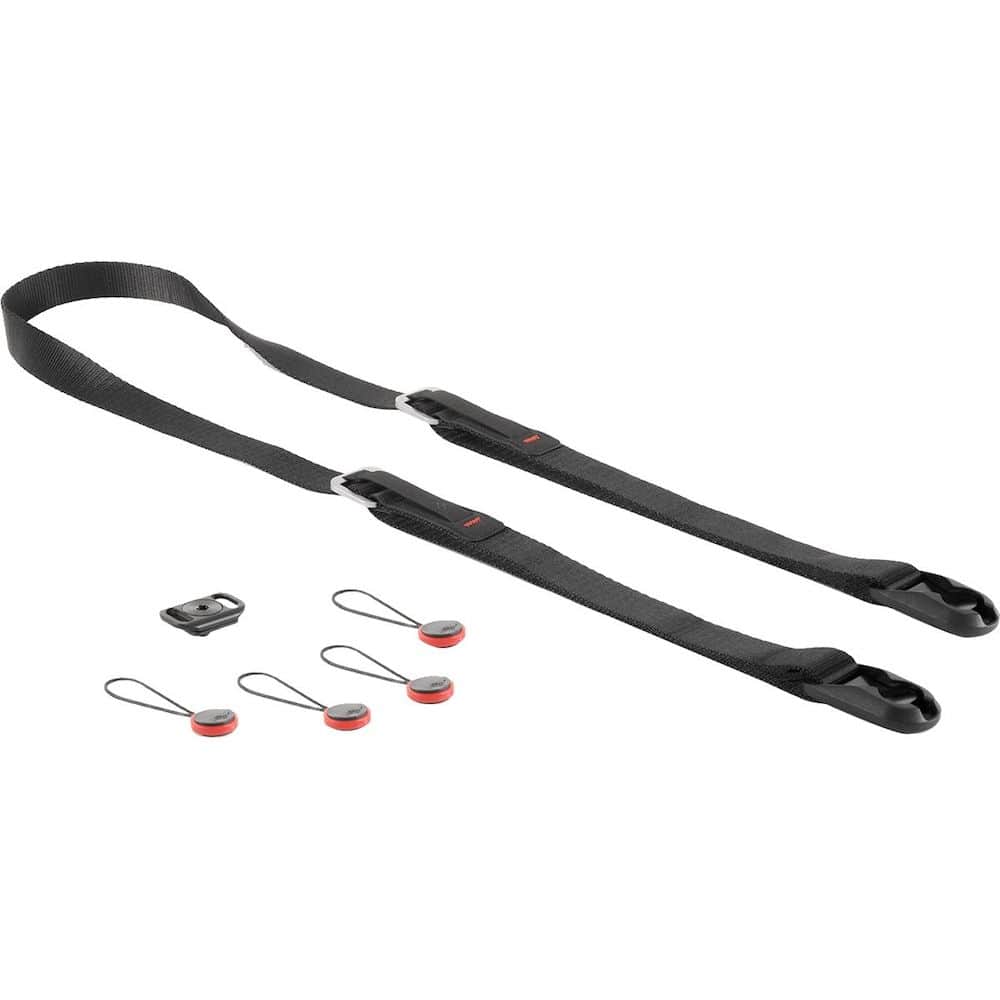
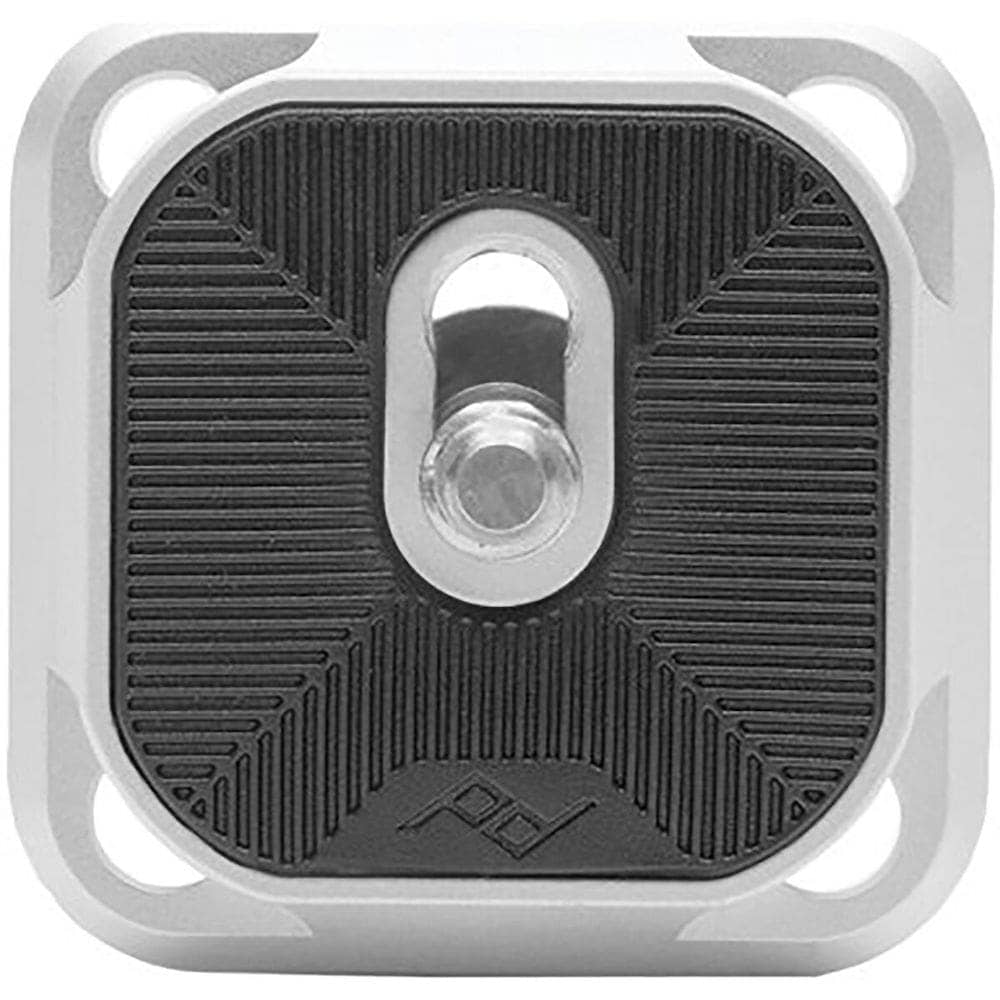
Everyone’s system for carrying their camera gear backpacking is a little different, so here’s what works for me! I pack my camera in a Topo Designs Camera Cube. When carrying my camera for easy access I use a Peak Design Leash Camera Strap and either the Moment Strohl Mountain Light Camera Loader or a Peak Design Capture Clip and Plate (I think this one is more comfortable on my pack waist strap.
Post Hike Kit:
Lastly, you might want to leave a small bag in your car with a few items to freshen up at the end of your hike. My go to items in my post-hike kit include a set of clean, comfy clothes, face/body wipes, hand sanitizer, deodorant, extra water, and snacks.
Want more packing & gear tips? Check out our guides on what to wear hiking, car camping gear essentials, how to plan a national parks trip, and the best hiking shoes.
More Things To Do In Washington State
Looking for more inspiration and things to do in Washington state? Check out some of our other guides to amazing activities in Washington!
- 7 Best Outdoor Things To Do During Fall In Washington
- 17 Breathtaking Hikes In Mount Rainier National Park
- 7 Best Hikes Near Seattle
- 18 Incredible Beginner Friendly Hikes In Washington
- Ultimate Mount Rainier National Park Guide
- Leavenworth Winter Travel Guide: The Coziest Getaway in Washington
- 24 Cozy Cabins And Tree Houses To Rent In Washington
PIN for Later!





North Cascades National Park is truly a hiker’s paradise! I am so excited about the list of trails you are going to share. Thanks for introducing these great places!
When you are at such a beautiful place, who would wish to come back? The North Cascades National Park is a hikers’ delight. The photos have increased my admiration for the place. Can’t wait to make plans!!!
Hi Renee! If it snows on the peaks in October and even possibly September, I’d suppose you’d just have to halt your climb and enjoy whatever fall foliage there was at lower elevations? At such elevations, I assume (I’ve never visited Washington) there are no designated campsites where there are dozens of tents, just a few campsites here and there? How cold does it get in the middle of the night at such elevations during, say, early October (is that generally the peak foliage time at the upper elevations?)? As for bathroom going, I have what I think is a unique idea. I bring along a tin can that, when full, held about a pound of food. It has a radius of five inches. Because I’m not a long-distance backpacker, I bring only a can or two. I’ve never brought toilet paper with me, a good idea, but a product like Tucks. In any case, when I get back to civilization (meaning there might be an outhouse), I empty the can(s) and then clean them out with a hose at home.