Is there anything better than a steaming hot cup of coffee after a crisp night sleeping outdoors? It’s one of my favorite parts about camping trips… crawling out of the tent and undergoing the ritual of coffee making while listening to the sounds of nature. Knowing how to make coffee while camping is one of the best outdoor hacks you can learn, and it’s not that difficult! In this blog post, I’m sharing the different methods of making camp coffee, including a run-through of my favorite brewing technique!
Disclaimer: This blog post is in partnership with Stanley. As always, all opinions are my own. This post does contain some affiliate links, which means if you buy something my blog will receive a small commission at no extra cost to you.
How To Make Coffee While Camping
In this blog post, I am specifically referring to making coffee while car camping. This is when you are camping at a drive-up destination where you can bring more supplies and gear with you, as opposed to camping in the backcountry where you hike all your gear in. Even though car camping allows you to bring more things, it’s still a limited amount to what you would have at home. In other words, you won’t be bringing along your 20 lb espresso machine for your morning cup of coffee!
Making coffee with limited supplies can seem challenging, but it’s really not! It’s all about choosing a method that works for you and remembering to pack all your supplies. Some methods will require a little more practice than others, but you’ll get the hang of it quickly! You can even practice making camp coffee at home before your camping trip.
Choose your brewing method
There are SO many ways to make coffee these days and it can be a little overwhelming to know which route to take. If you already have a portable method you use at home then I would recommend sticking to that for your camping trips. By “portable” I am referring to how easy it is to pack, assemble outdoors, clean, and whether or not it can endure the outdoor elements.
Some of the most common ways to make camp coffee are:
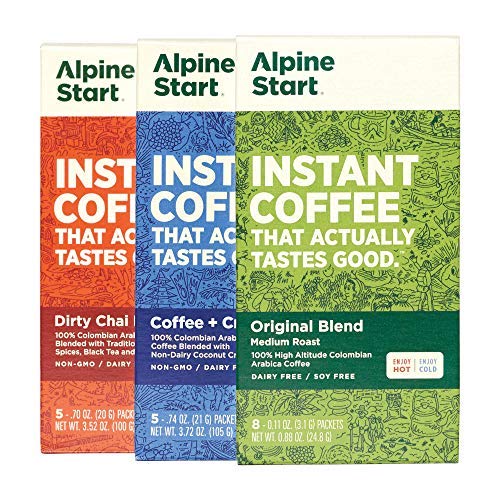
- Single serve instant coffee packet
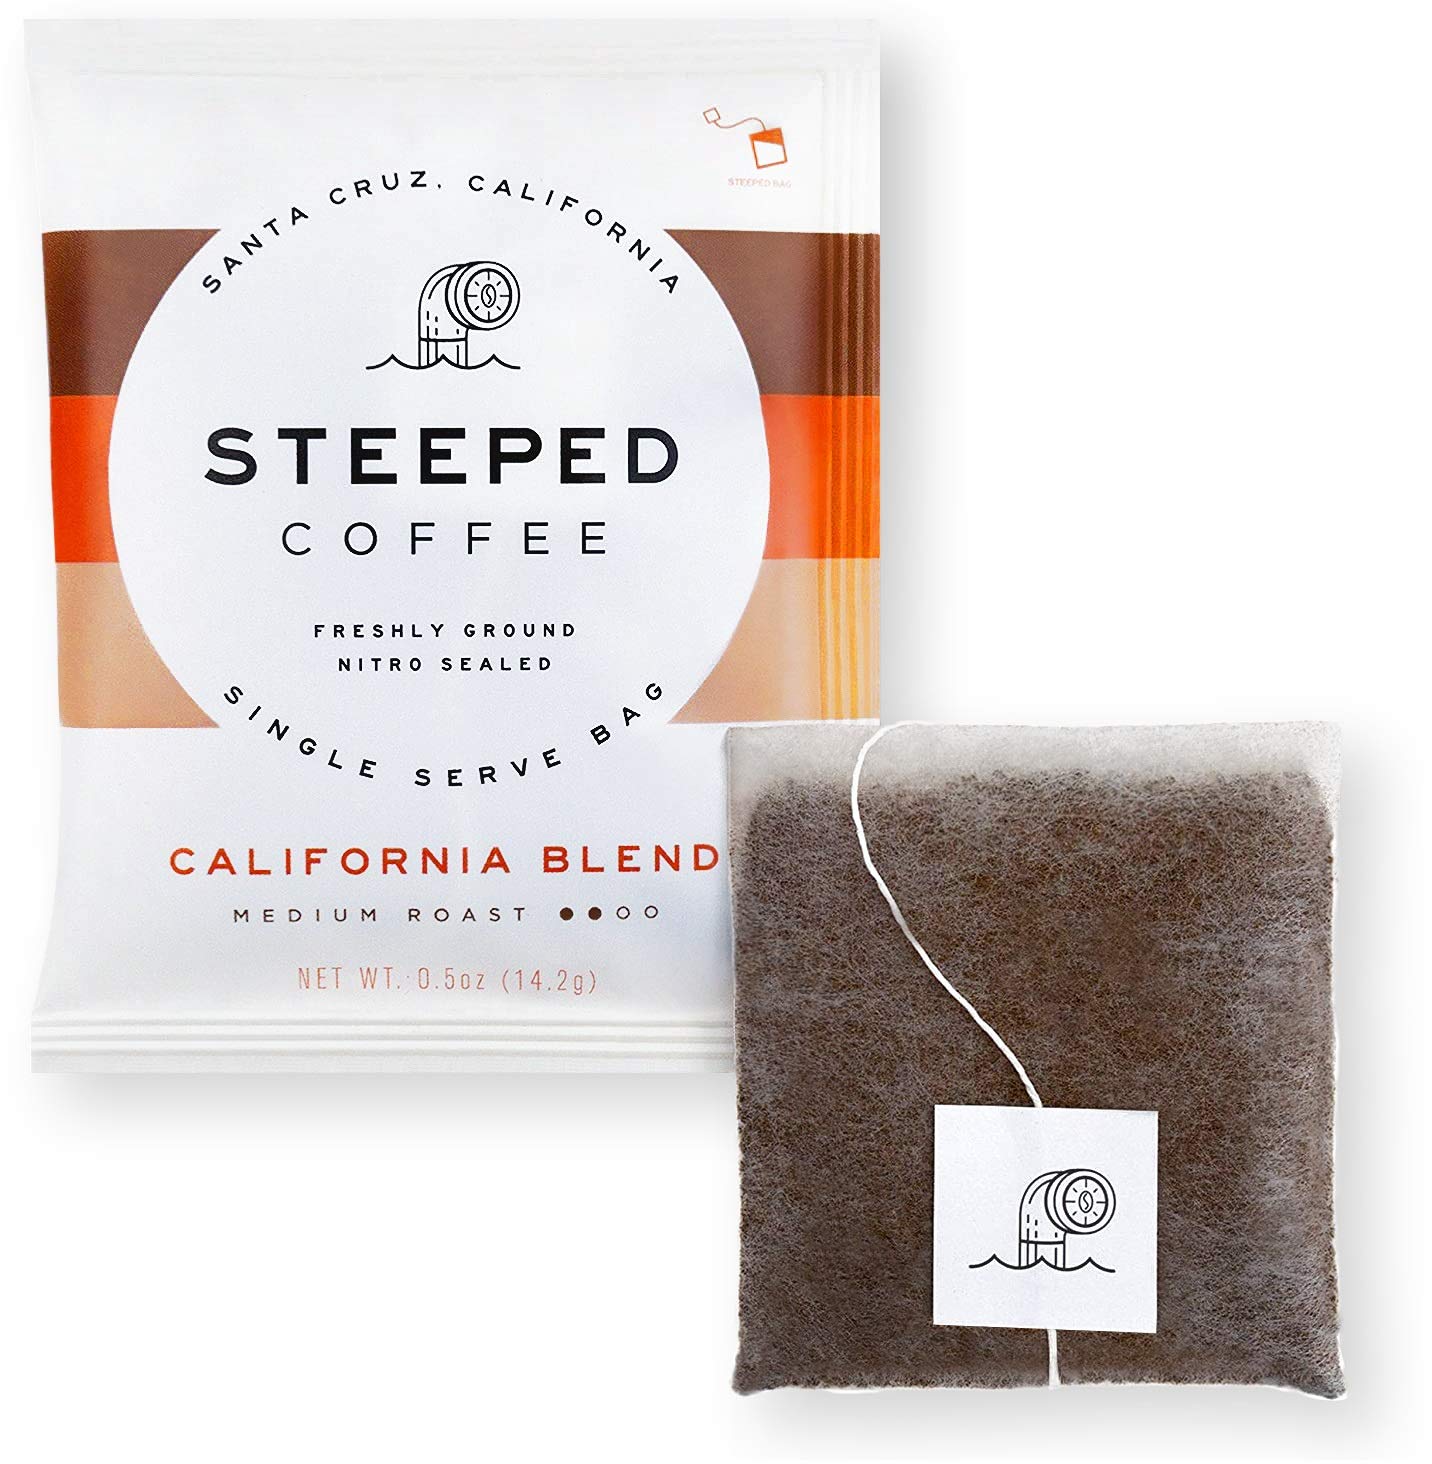
- Single serve coffee bag
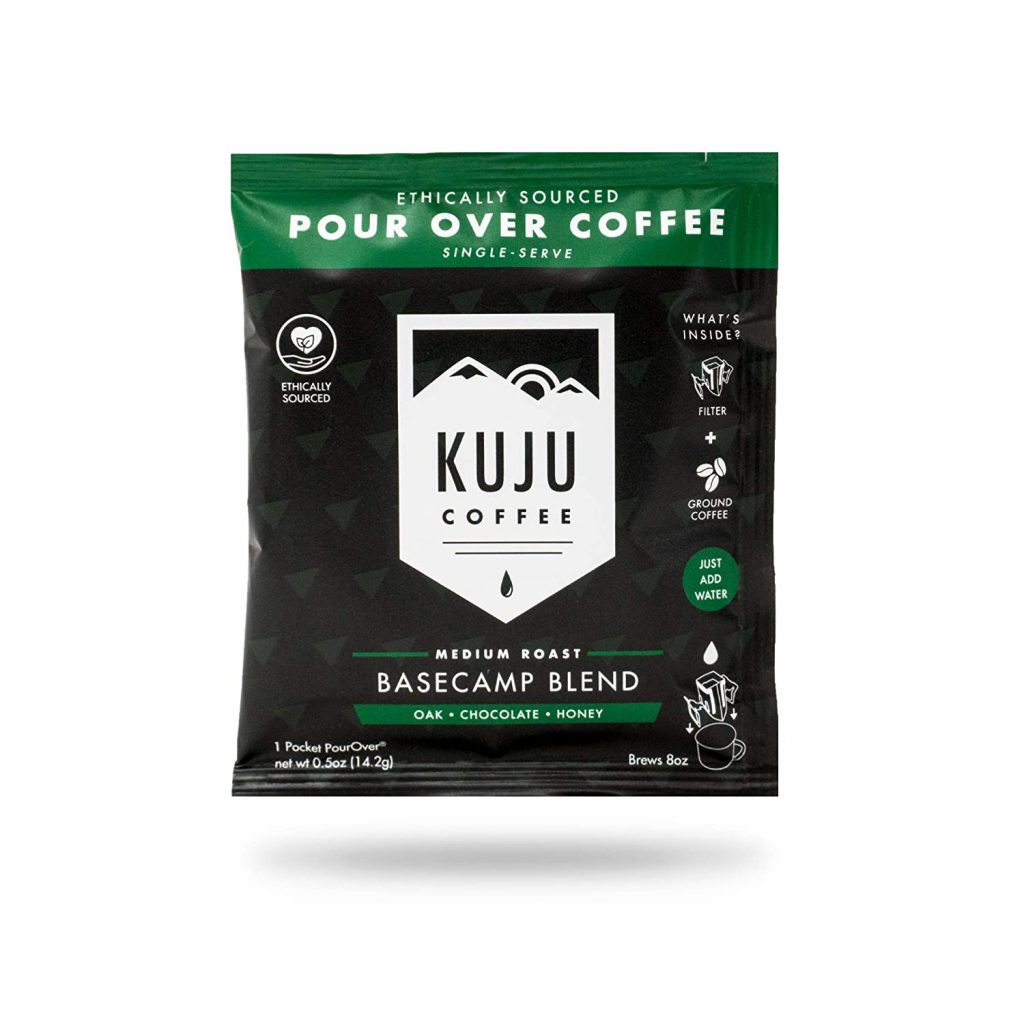
- Single serve pour over
- Pour over stand/dripper
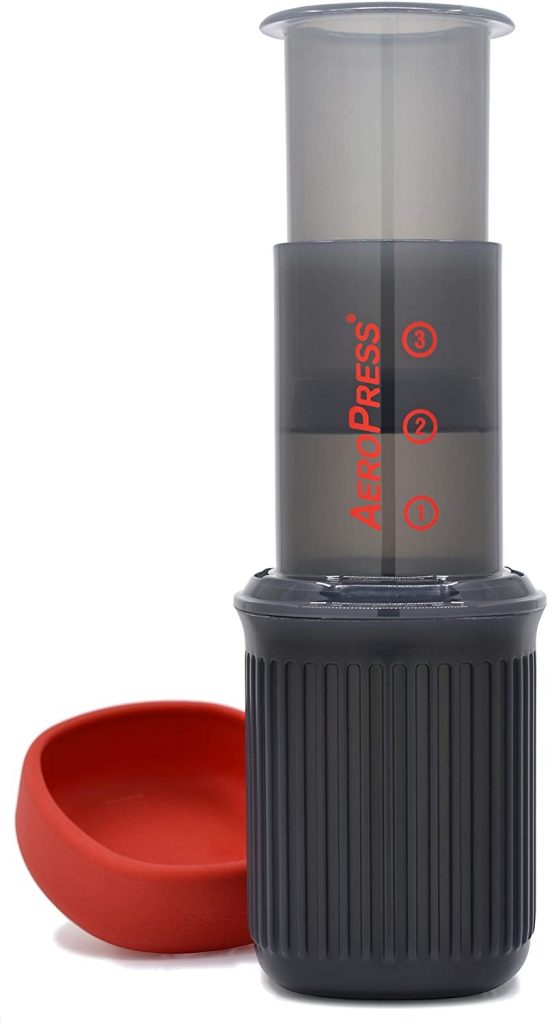
- Aeropress
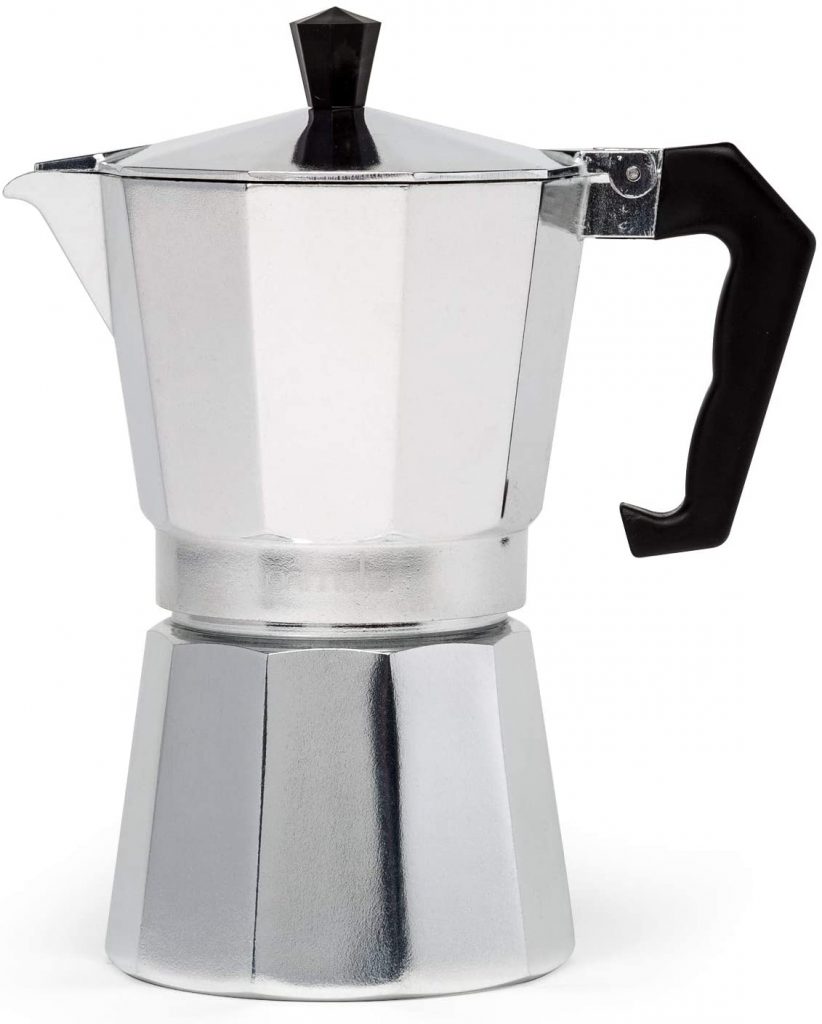
- Moka pot
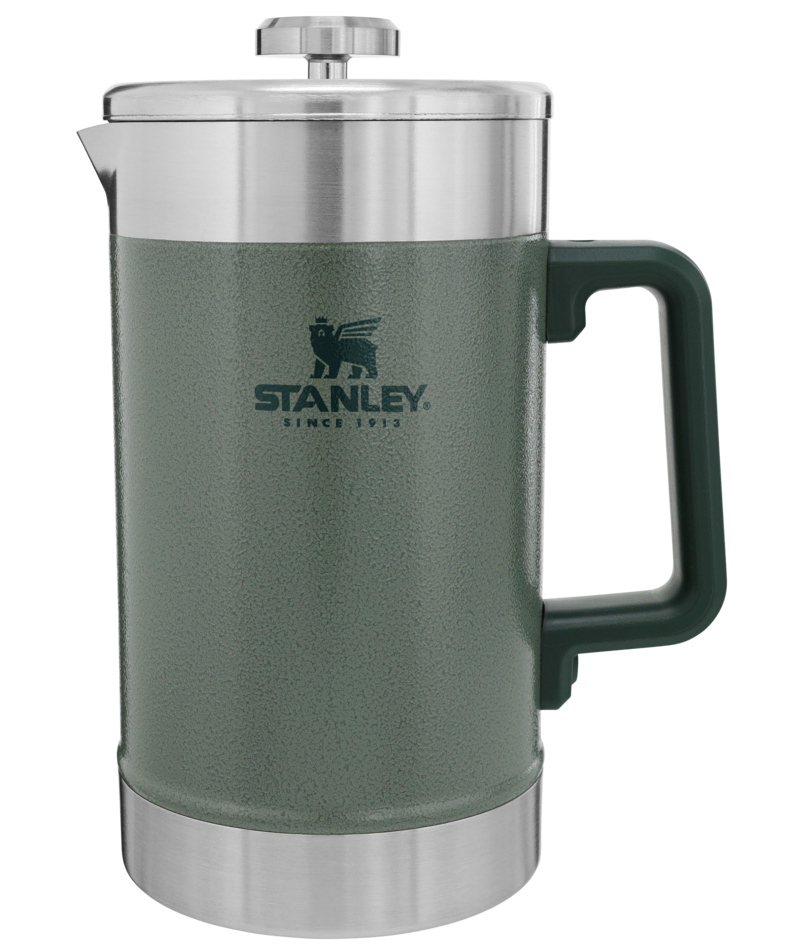
- French press
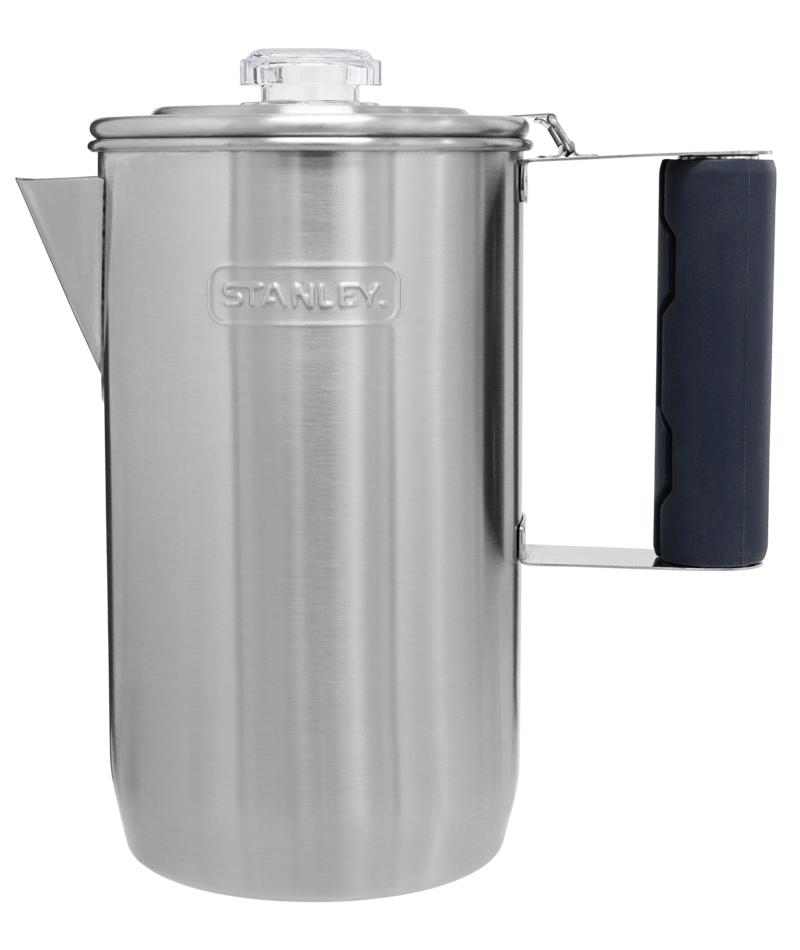
- Percolator
- Bripe
- Cowboy coffee
- Portable espresso maker
If you are in a rush, the quickest methods out of the above choices are single serve instant coffee, single serve coffee bag, single serve pour over, and aeropress. The other options will take a few more minutes but none of the choices will take very long at all.
So which brewing method should you choose?
I personally enjoy the ritual of brewing coffee on car camping trips. But I know some people just want to quickly drink their cup of joe and begin their day. For the absolute quickest (and usually least tasty) method, I would recommend instant coffee. If you have more time when I would recommend looking into some of the other options.
Pour over methods are great if you want to keep your packing to a bare minimum, as they don’t require as many additional items or pieces. A french press or percolator is ideal for serving larger groups of people. And a portable espresso maker is probably as close as you’re going to get to teleporting to a cafe.
My go-to coffee method for car camping is usually a pour over dripper, which I will go into more detail on further down this guide.
Source your coffee
Choosing coffee will be a personal preference in terms of flavor, boldness, and strength. You will also need to decide whether to source pre-ground coffee or to grind it yourself. I usually try to keep things fairly simple when car camping, so I opt for pre-ground coffee. I highly recommend sourcing coffee from somewhere local to your travels. That way the coffee will be recently roasted and you’ll also be supporting small businesses.
Some of my favorite coffee that I’ve sourced when traveling or have been gifted by friends. I now continue to buy them for at-home brews:
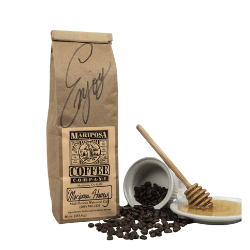
- Mariposa Honey by Mariposa Coffee Company (sourced when visiting Yosemite National Park, California) ***all time favorite
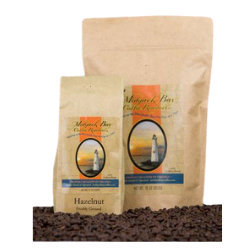
- Hazelnut Cream by Mobjack Bay Coffee Roasters (sourced when visiting Williamsburg and Shenandoah National Park, Virginia)
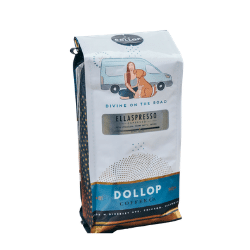
- Ellaspresso by Divine on the Road (my friend Sydney’s coffee brand, and she donates 20% to charity each month)
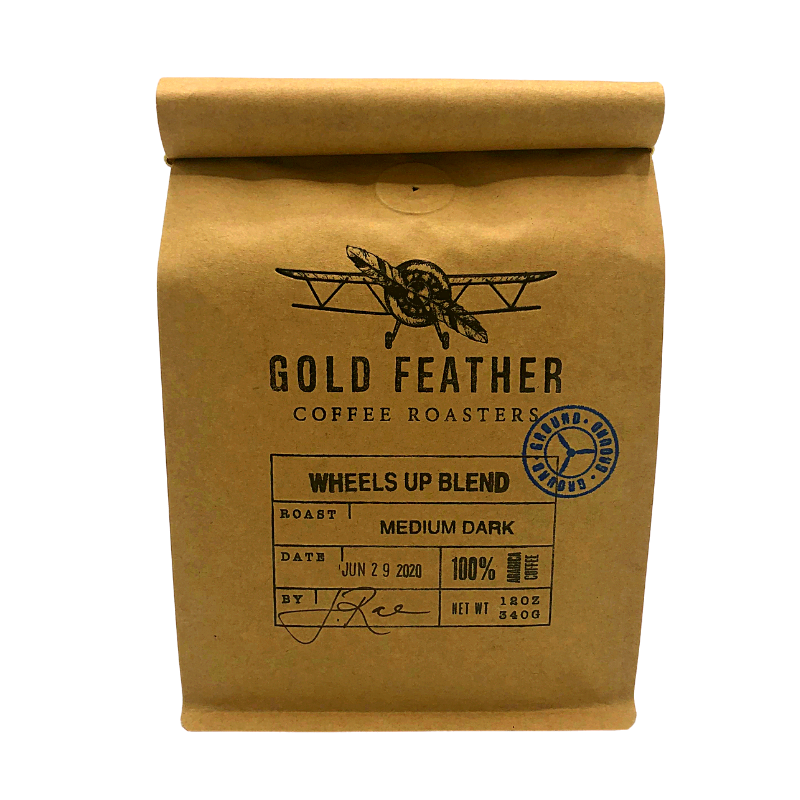
- Wheels Up Blend by Gold Feather Coffee Roasters (a local roaster in Port Angeles, Washington)
Pour over camp coffee
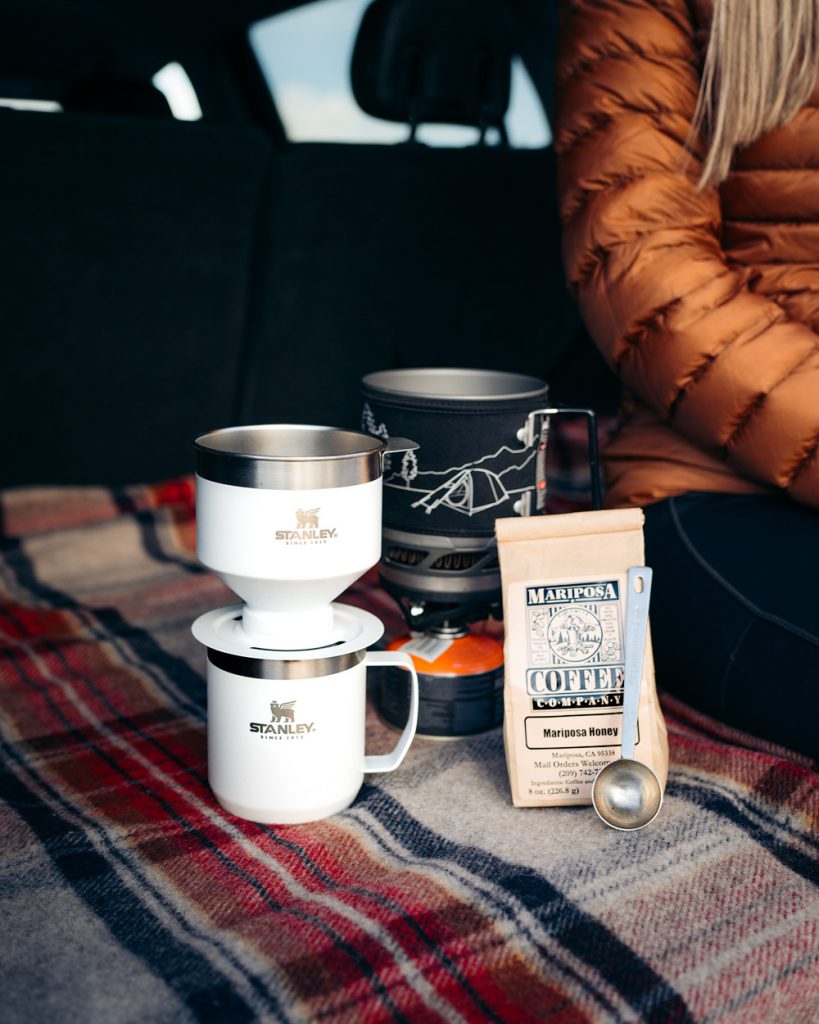
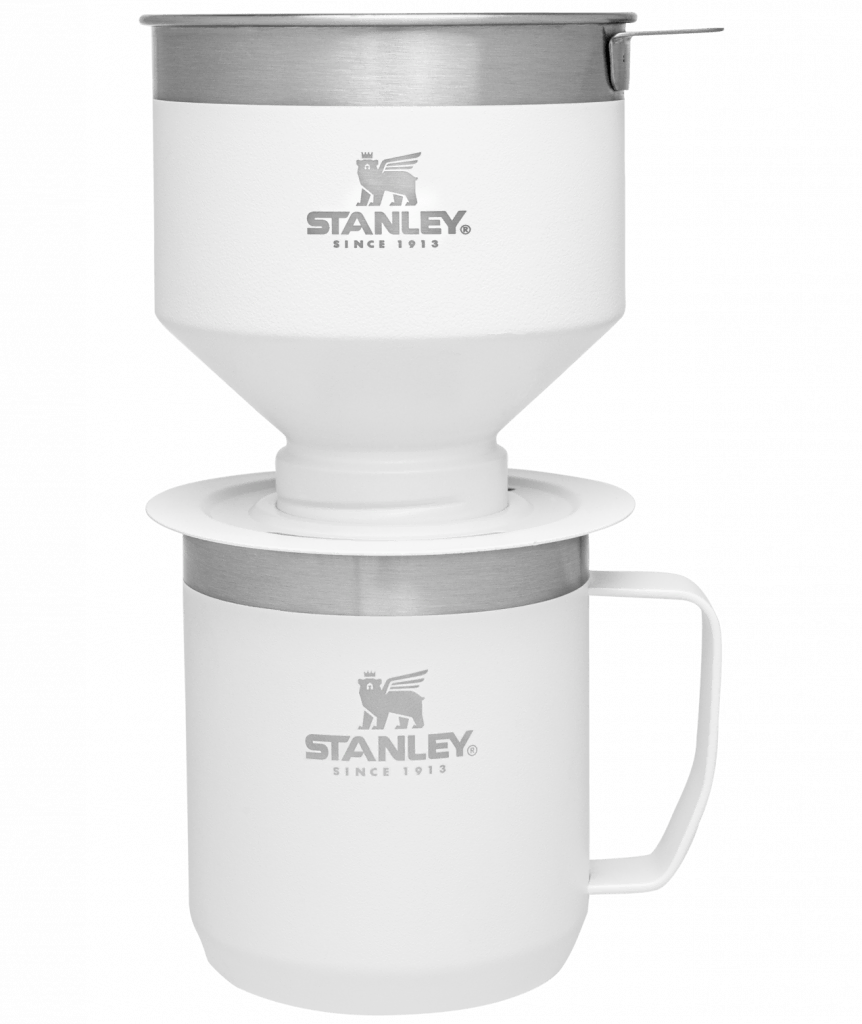
My favorite method of making camp coffee is with a pour over system, specifically the Stanley Classic Perfect-Brew Pour Over. The reason being is that it’s small and simple to travel with (won’t break in your bag), it’s sustainable and doesn’t require any single-use filters, and the clean-up is relatively mess-free. Another reason I like the pour over method is that it’s easy! You don’t need to be an expert to learn how to make amazing pour over coffee. Plus, the materials are affordable, at least compared to some other methods.
What you’ll need
For this pour over coffee method you will need the following supplies:
- Fine coffee grounds*
- Water (at least 12 oz, plus extra for cleaning)
- Stove. Suggested: Jetboil (+ propane)
- Pour over. Suggested: Stanley Classic Perfect-Brew Pour Over Set
- Coffee mug. Suggested: Stanley Camp Mug 12 oz (or use mug from set above)
- Coffee Scoop (optional). Suggested: Izelokay Scoop
* either pre-ground or beans with a grinder
The Stanley Classic Perfect-Brew Pour Over and Camp Mug can be purchased in a handy set – click here to check it out! I have it in Polar White.
Step 1: Boil water
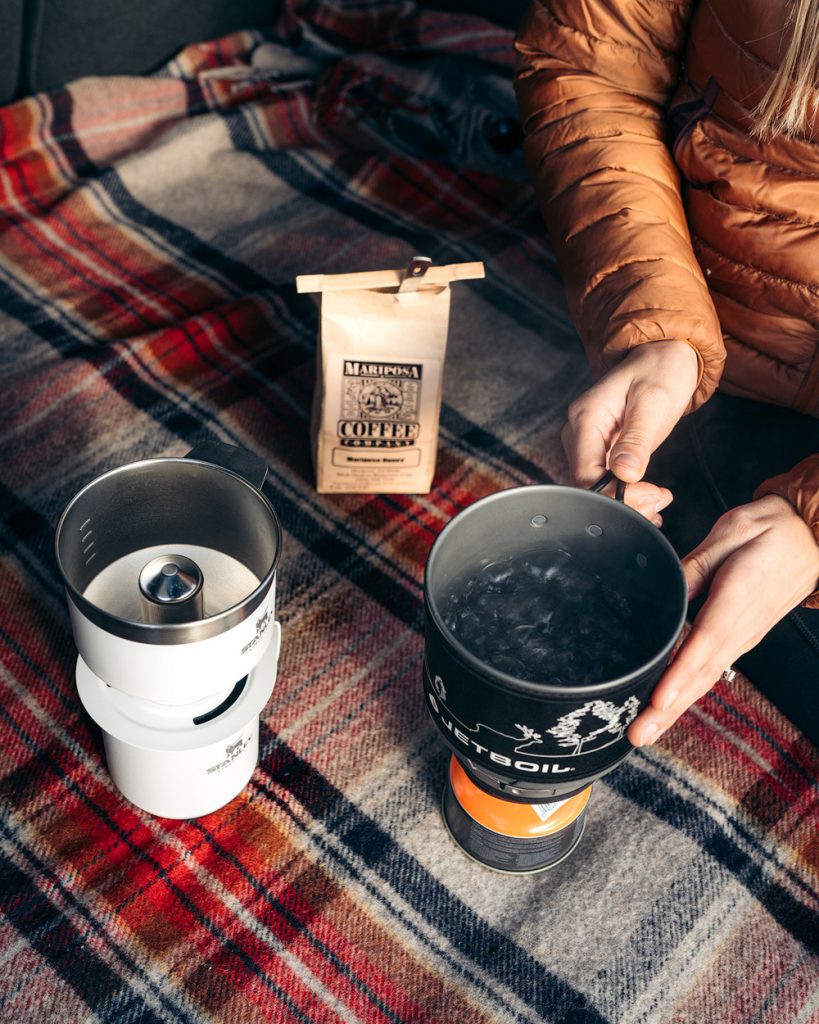
The first thing you will do is boil some water. A good way to measure how much you will need is to first pour cold water into your mug and then pour that cup of water directly into your pot. Boiling water can be achieved using any kind of camp stove or camp kettle. My preference is a Jetboil because it’s just so lightweight and small to travel with.
Step 2: Add coffee
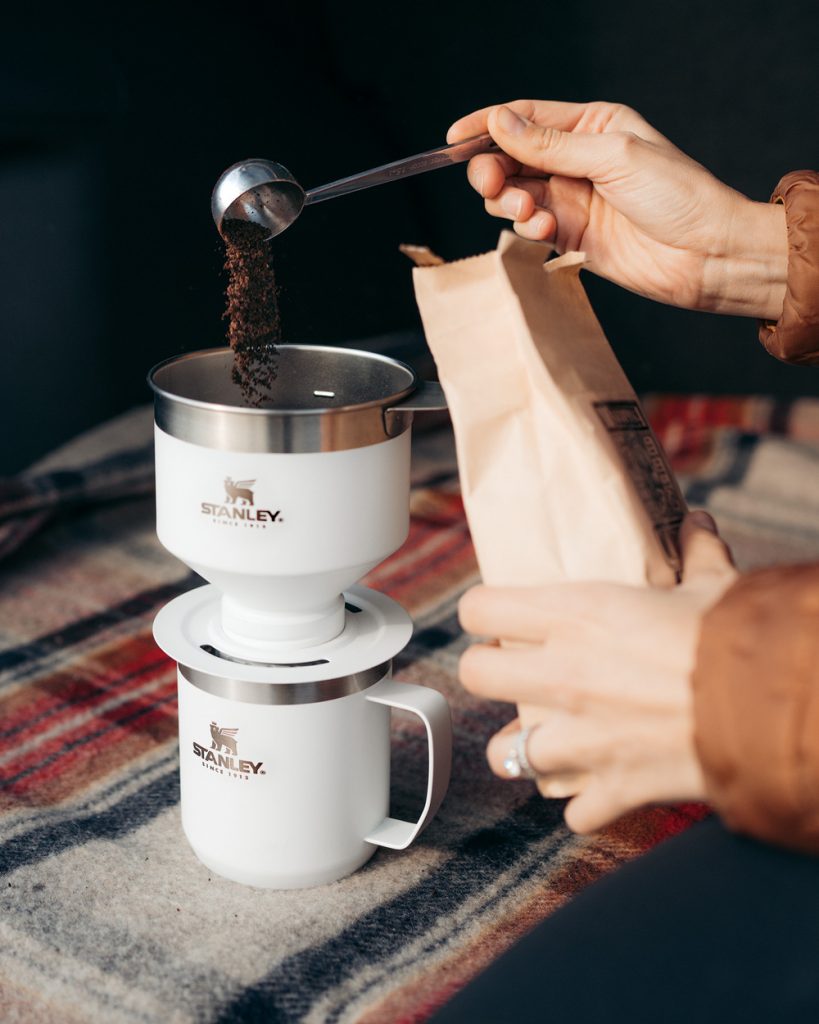
While your water is boiling, add your coffee grounds to the pour over. As a general rule of thumb, use two tablespoons of ground coffee for every 8 fluid ounces of water. The Stanley Camp Mug holds 12 ounces of fluid, so for those wanting a strong brew filled to the top, use 3 tablespoons of ground coffee. If you don’t like your coffee too strong, you can use 1 – 1 1/2 tablespoons of coffee grounds, it’s very much your preference! I recommend using a coffee scoop so you can measure it more accurately. Using scales isn’t really an option when car camping (unless you are super hardcore haha).
Tip: If you plan to grind your coffee beans then make sure to do it right before brewing. This will extract the freshest and most consistent flavor. I recommend the Hario Ceramic Coffee Mill-Original (budget) or the Porlex Mini Stainless Steel Coffee Grinder (luxury).
Step 3: Pour in water
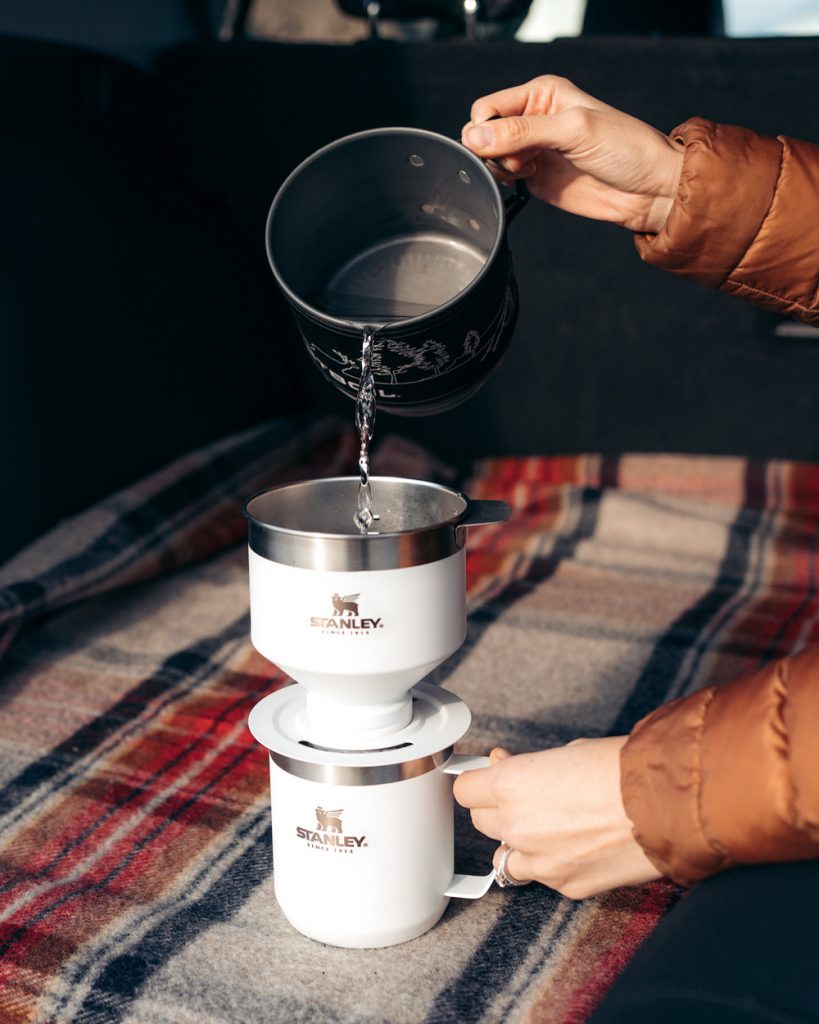
Now before you pour in the water, the trick to getting the perfect brewing temperature is this: wait for the water to boil, then remove from heat and wait 30 seconds before brewing. Then there are two steps to the pour:
- Bloom: pour a small amount of the hot water (just enough to wet the coffee grounds) and let that soak up. You will see the grounds rise, bubble, and swell. Allow 30 seconds for the blooming process.
- Main pour: now slowly pour the remaining water over the grounds.
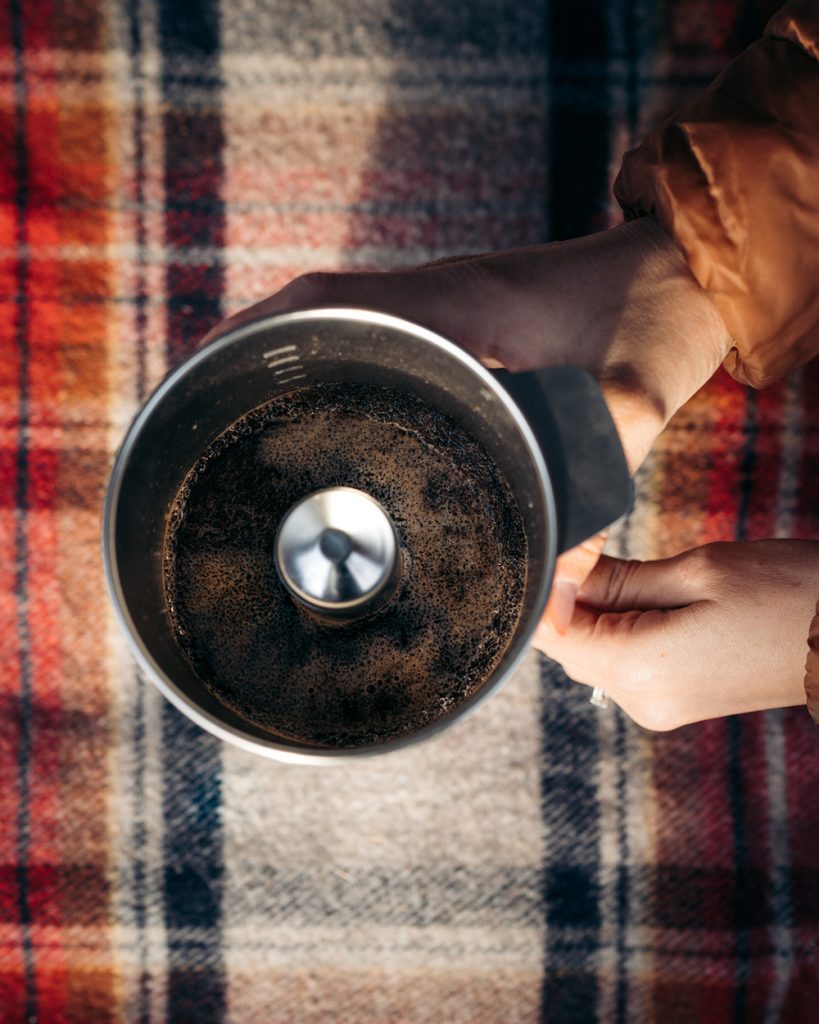
Step 4: Let it brew
Now you wait for the water to strain through the grounds! It will slowly drip into your mug and take a few minutes until fully done. I’ve never actually timed the process but I usually start packing up the jet boil and by the time I finish that it’s well and truly done.
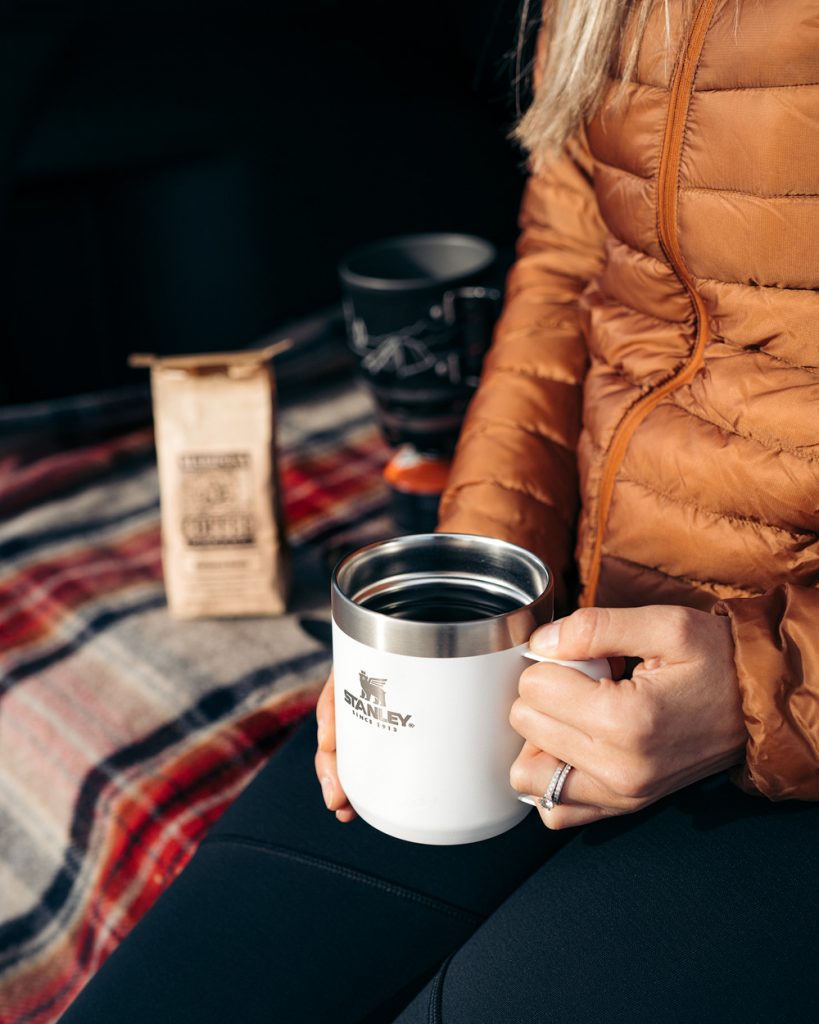
Step 5: Add in any extras
Now is the time to add any extras, if you’d like. I typically like adding in some coffee creamer, either in liquid form if I have my cooler with me, or in powder form. I highly recommend using a small handheld milk frother for a more luxurious experience!
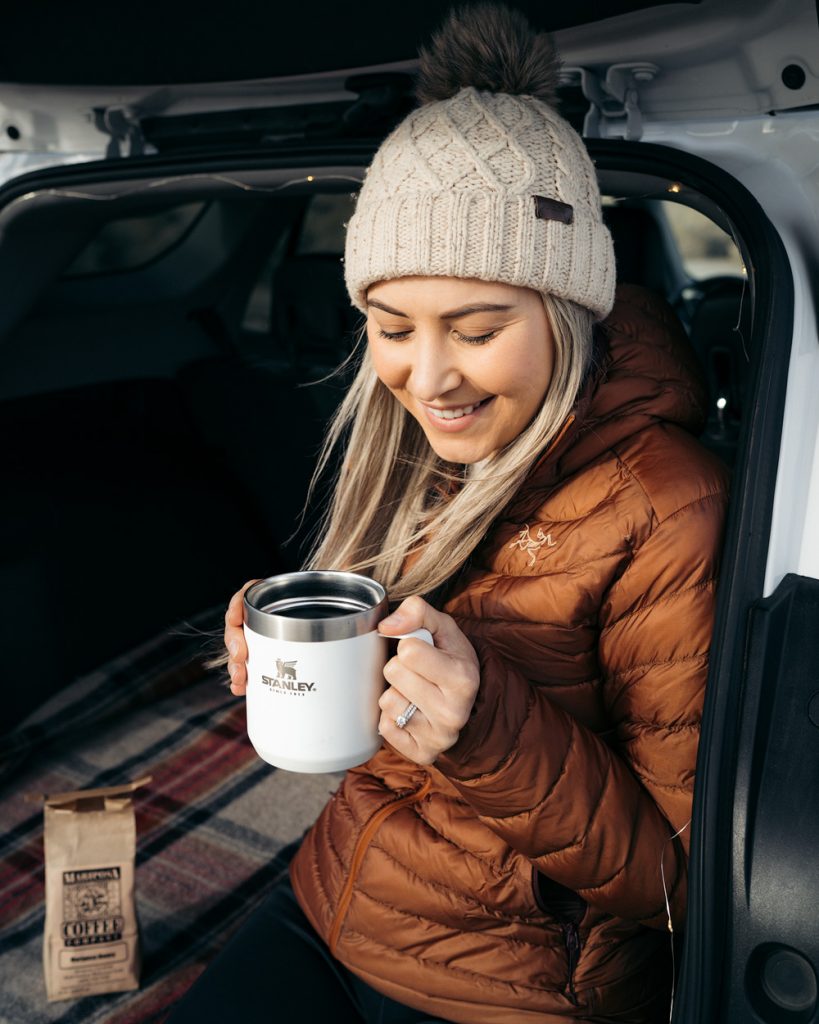
Step 6: Enjoy!
Now enjoy your cup of joe! I love how warm the Stanley Camp Mug keeps my coffee, even if the temperatures outside are chilly. I always pack it for camping trips, even if I opt for another method of coffee brewing (like an instant packet).
The Stanley Classic Perfect-Brew Pour Over is super easy to clean. Just dump out the grounds (whilst following leave no trace guidelines), rinse it with water, or wipe it out with a cloth/paper towel. If you’re heading home then just pop it in the dishwasher!
very helpful! thank you for sharing this. camping essential would definitely be for coffee stuff
Great writing!! Keep sharing the good stuff. Wish you all the best.