An Olympic National Park getaway is the perfect 24 hour or weekend adventure from Seattle. This park has it all! I’m talking a beautiful coastline, lust rain forests, and soaring mountains. You will have a hard time choosing what to do with your time… and that’s where this post comes in!
My husband and I have visited the Olympic Peninsula on many occasions but haven’t actually spent much time there since relocating to Seattle. We figured we better change that and decided to take a short Olympic National Park getaway this past week.
In this blog post I’m sharing how to get from Seattle to the park, some must-do hikes, and other suggestions for your Olympic Peninsula adventure!
Olympic National Park Adventure – 24 Hour Getaway from Seattle
In collaboration with Backcountry.com
There are many ways you can take an Olympic National Park getaway. Some people choose to just see the beautiful coastline, others are more interested in exploring the rain forest, and many just want to get out in the mountains. I would recommend ALL these things, but you will have to be choosy if you only have a spare 24 hours to see the park.
I made a mini guide to exploring Olympic National Park during our road trip to all 59 National Parks in 2017. The mini guide has a brief summary of all the things to do in the park. In contrast, this blog post is a suggested itinerary for those traveling from Seattle and want to have a quick (and awesome!) 24 hour adventure.
Catch the Ferry from Seattle
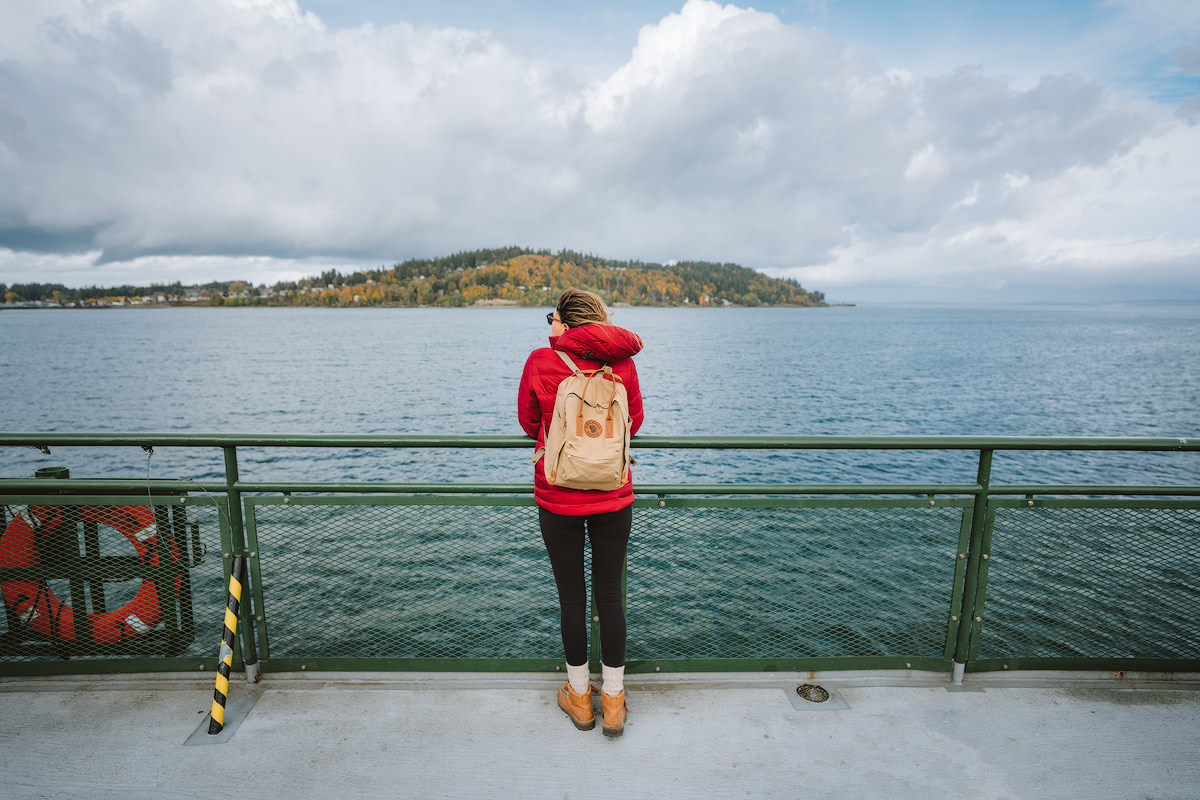
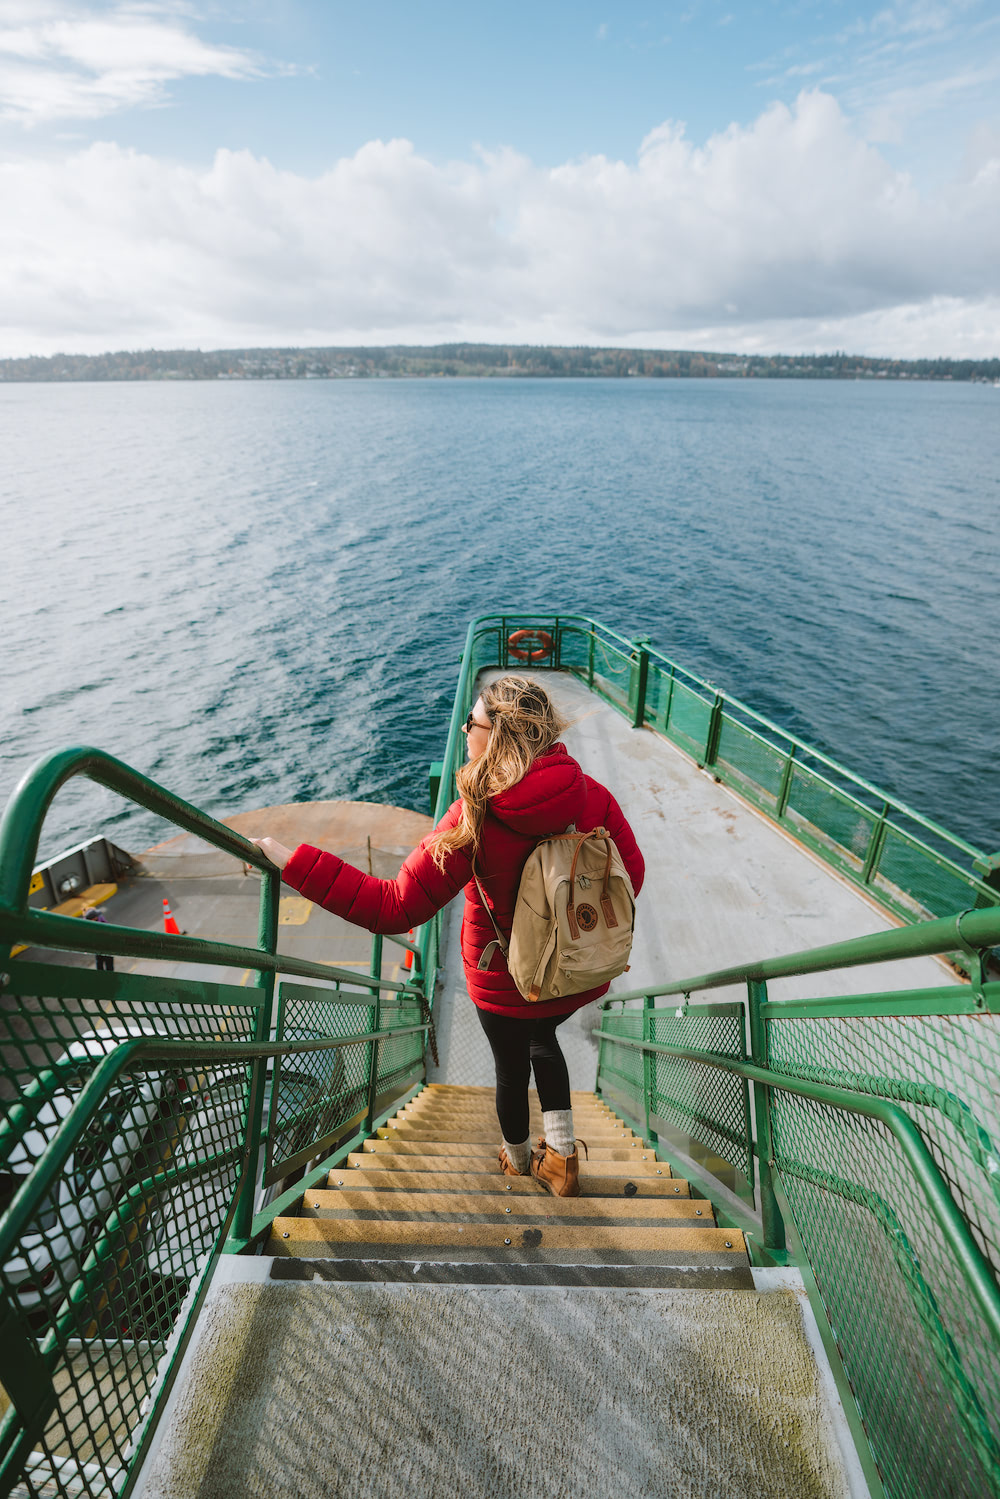
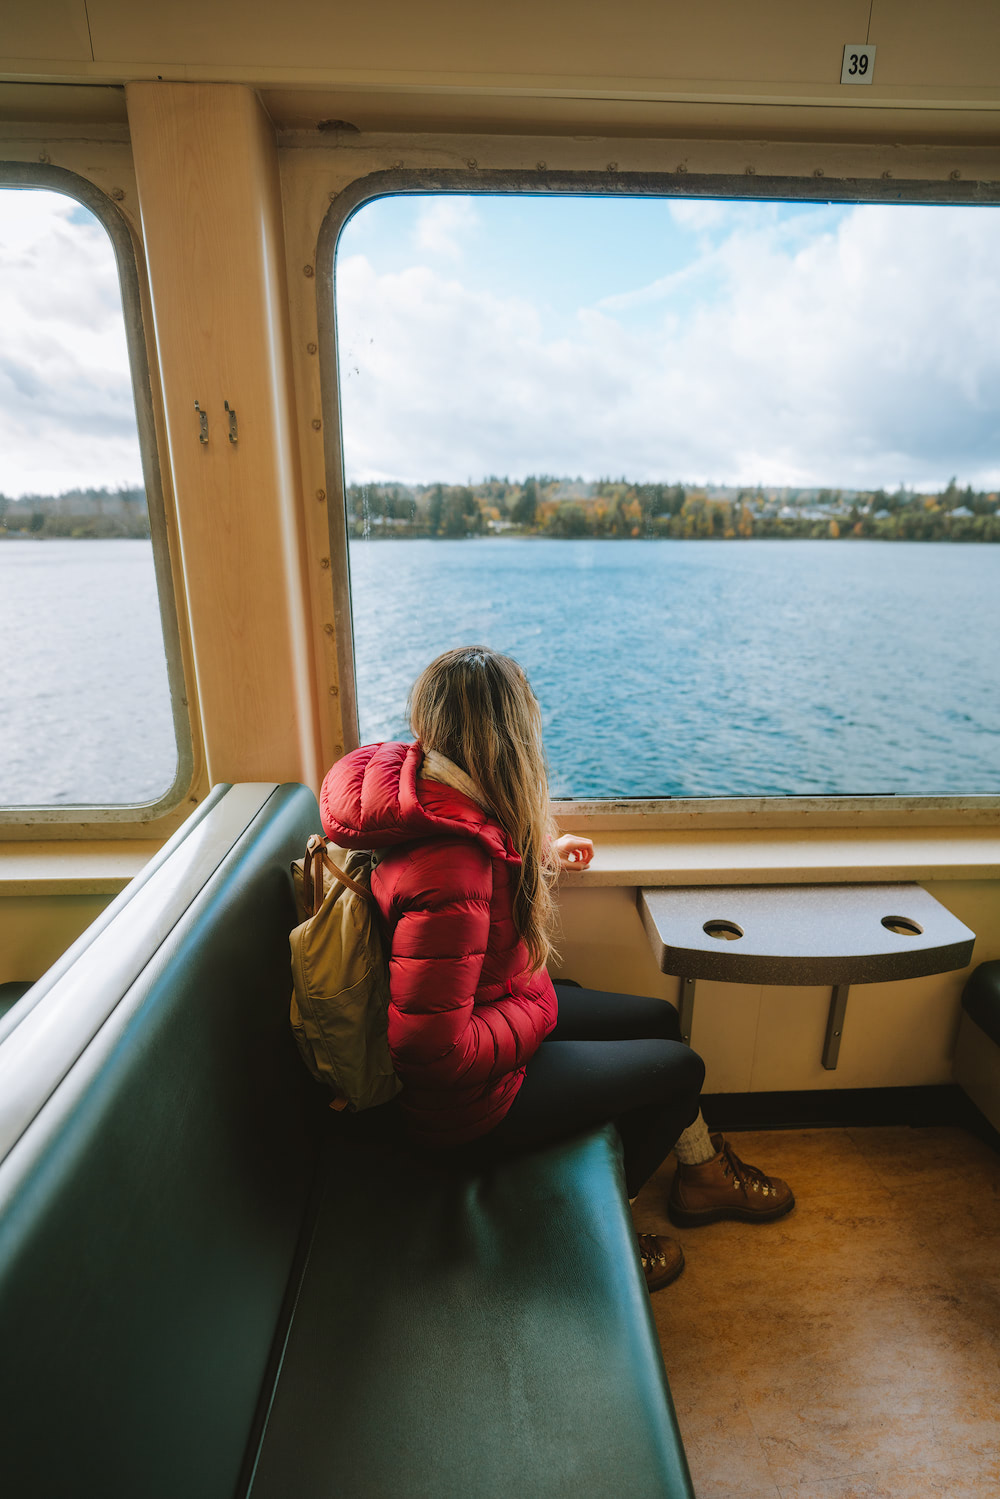
Getting from Seattle to Olympic National Park is easy. You can either drive the entire way (about 3 hours) or cut down driving time by catching a ferry. We opted to take the Edmonds to Kingston ferry as we live in Lynnwood and that’s the most convenient and shortest route.
Edmonds itself is a really pretty coastal town and the ferry was a fun experience. On a clear day you can even see Mount Baker and the Olympics in the distance. Once arriving in Kingston we opted to have a quick a bite to eat at The Grub Hub.
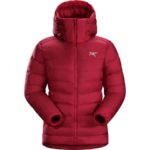
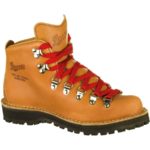
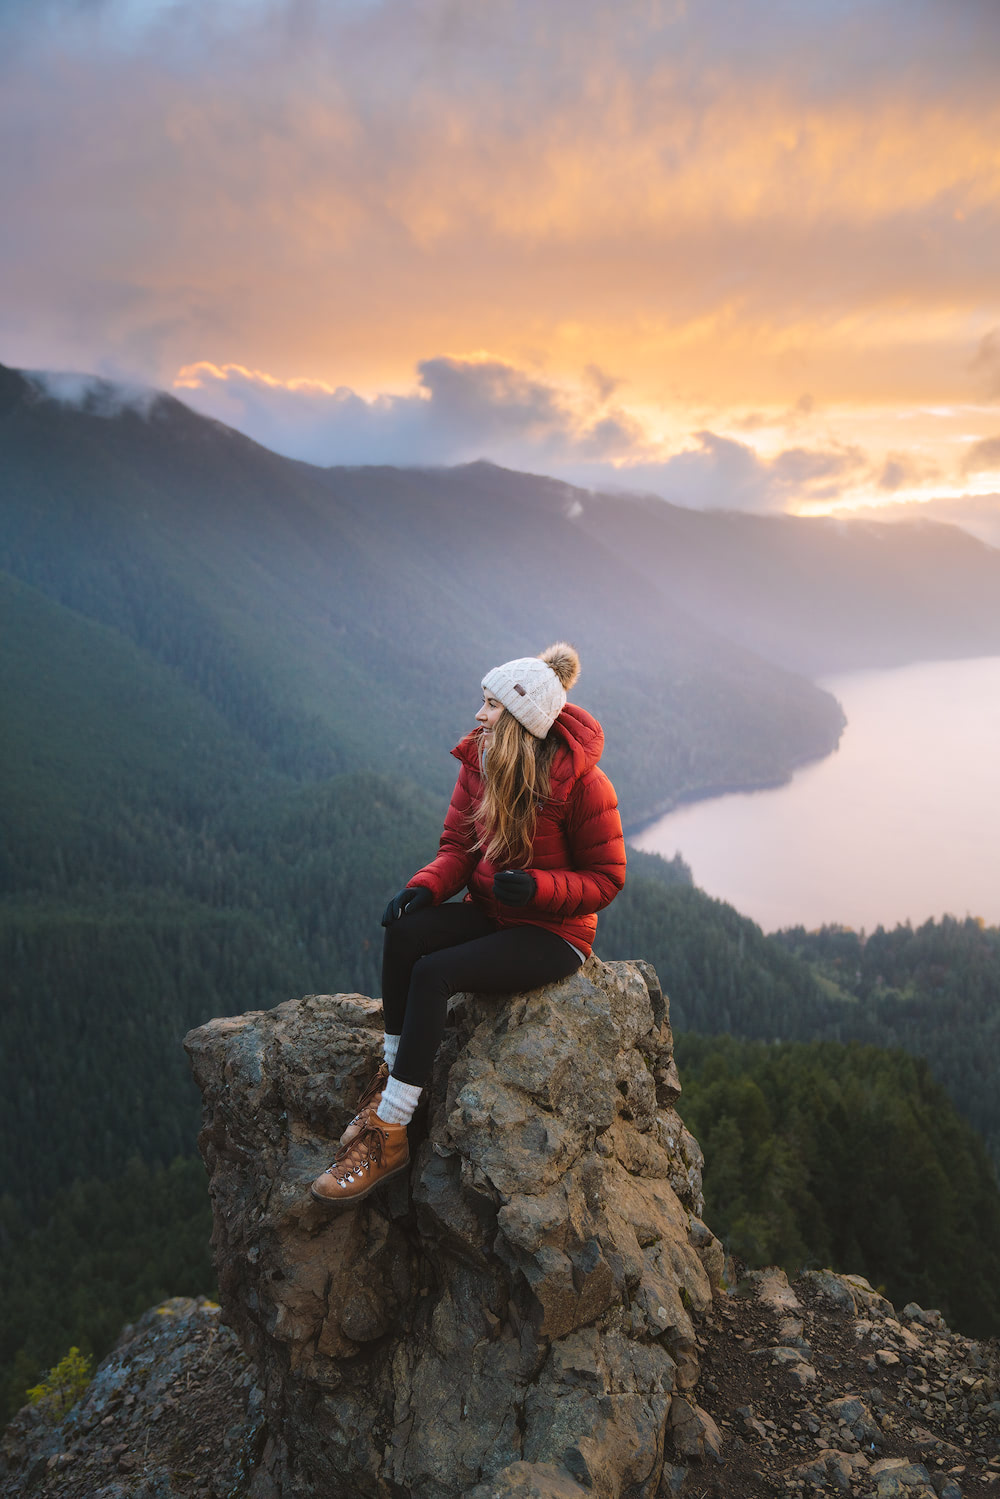
Pictured above: Arc’teryx Cerium SV Down Jacket, Danner Mountain Light Boot, Prana Pillar Legging, Fjallraven Kanken Backpack
Hike Mount Storm King
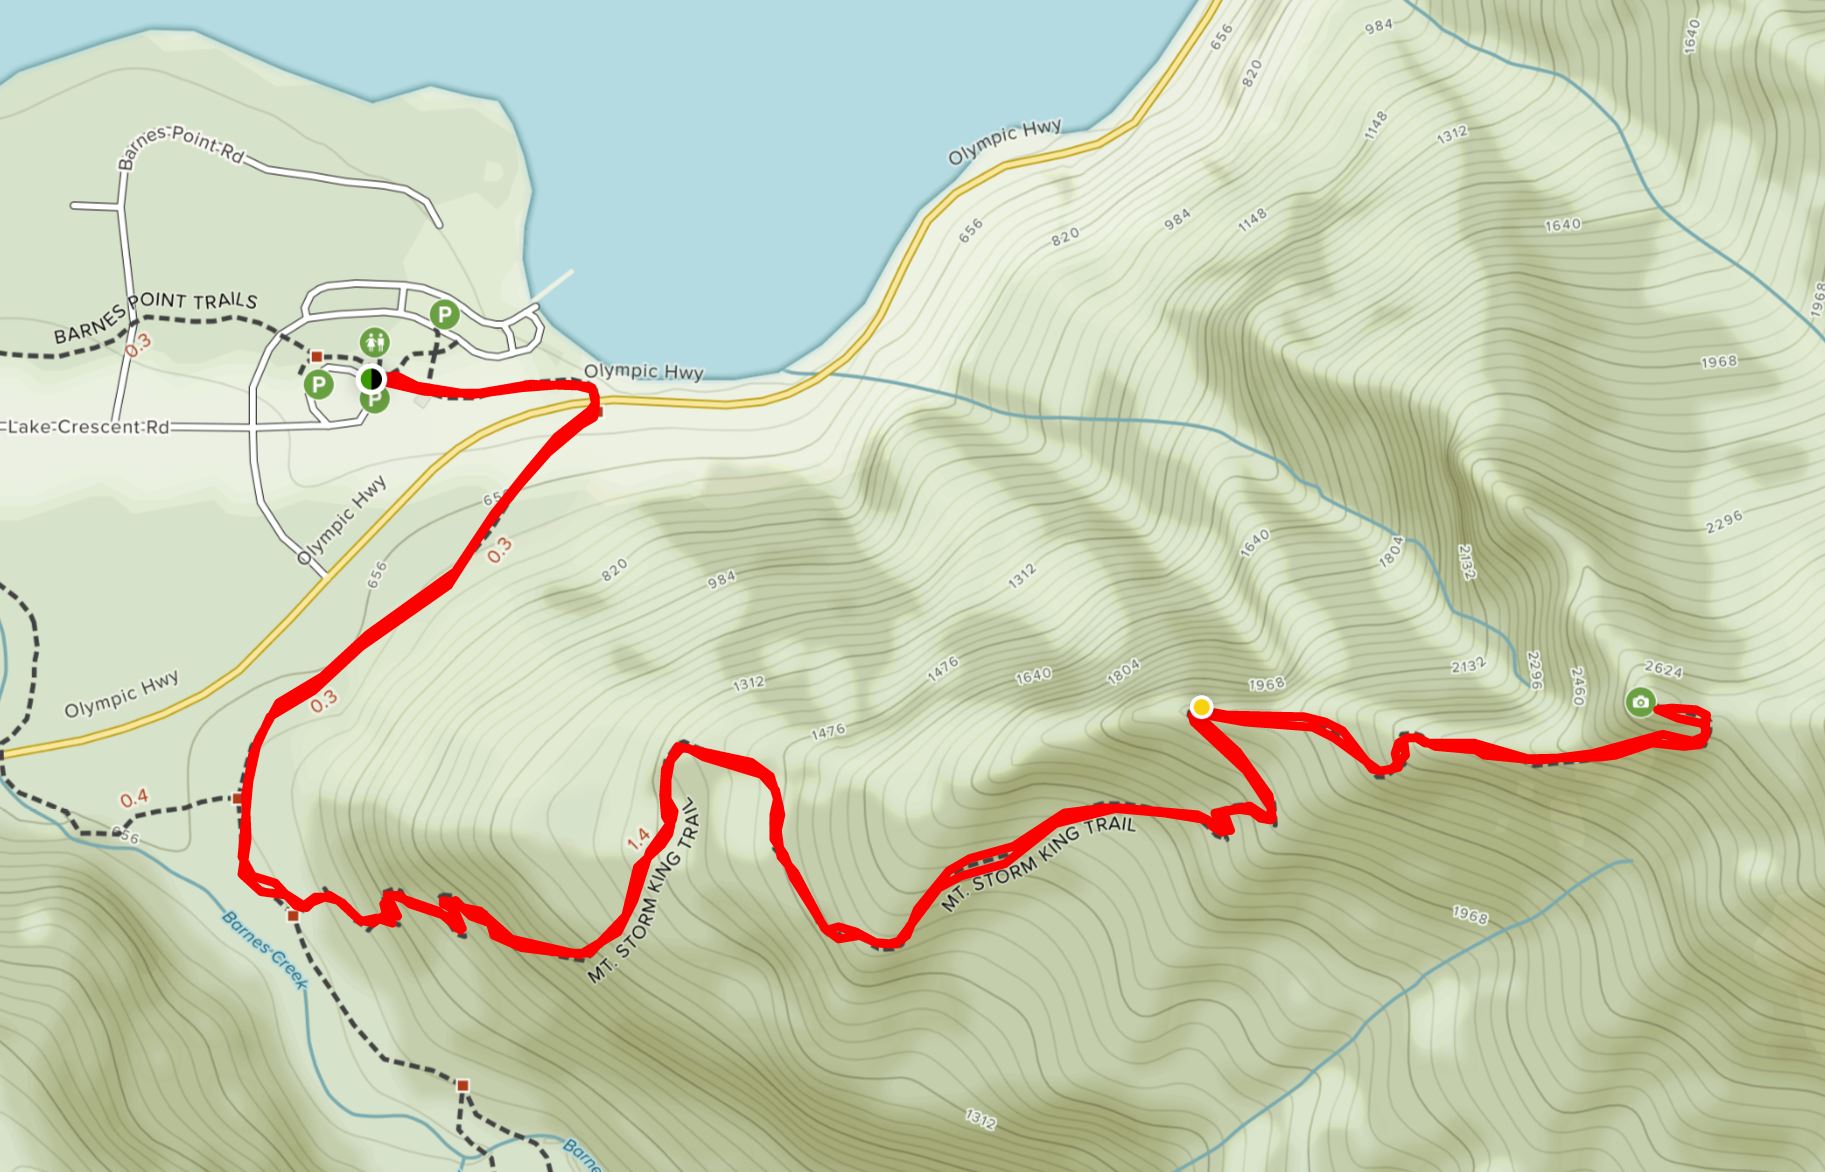
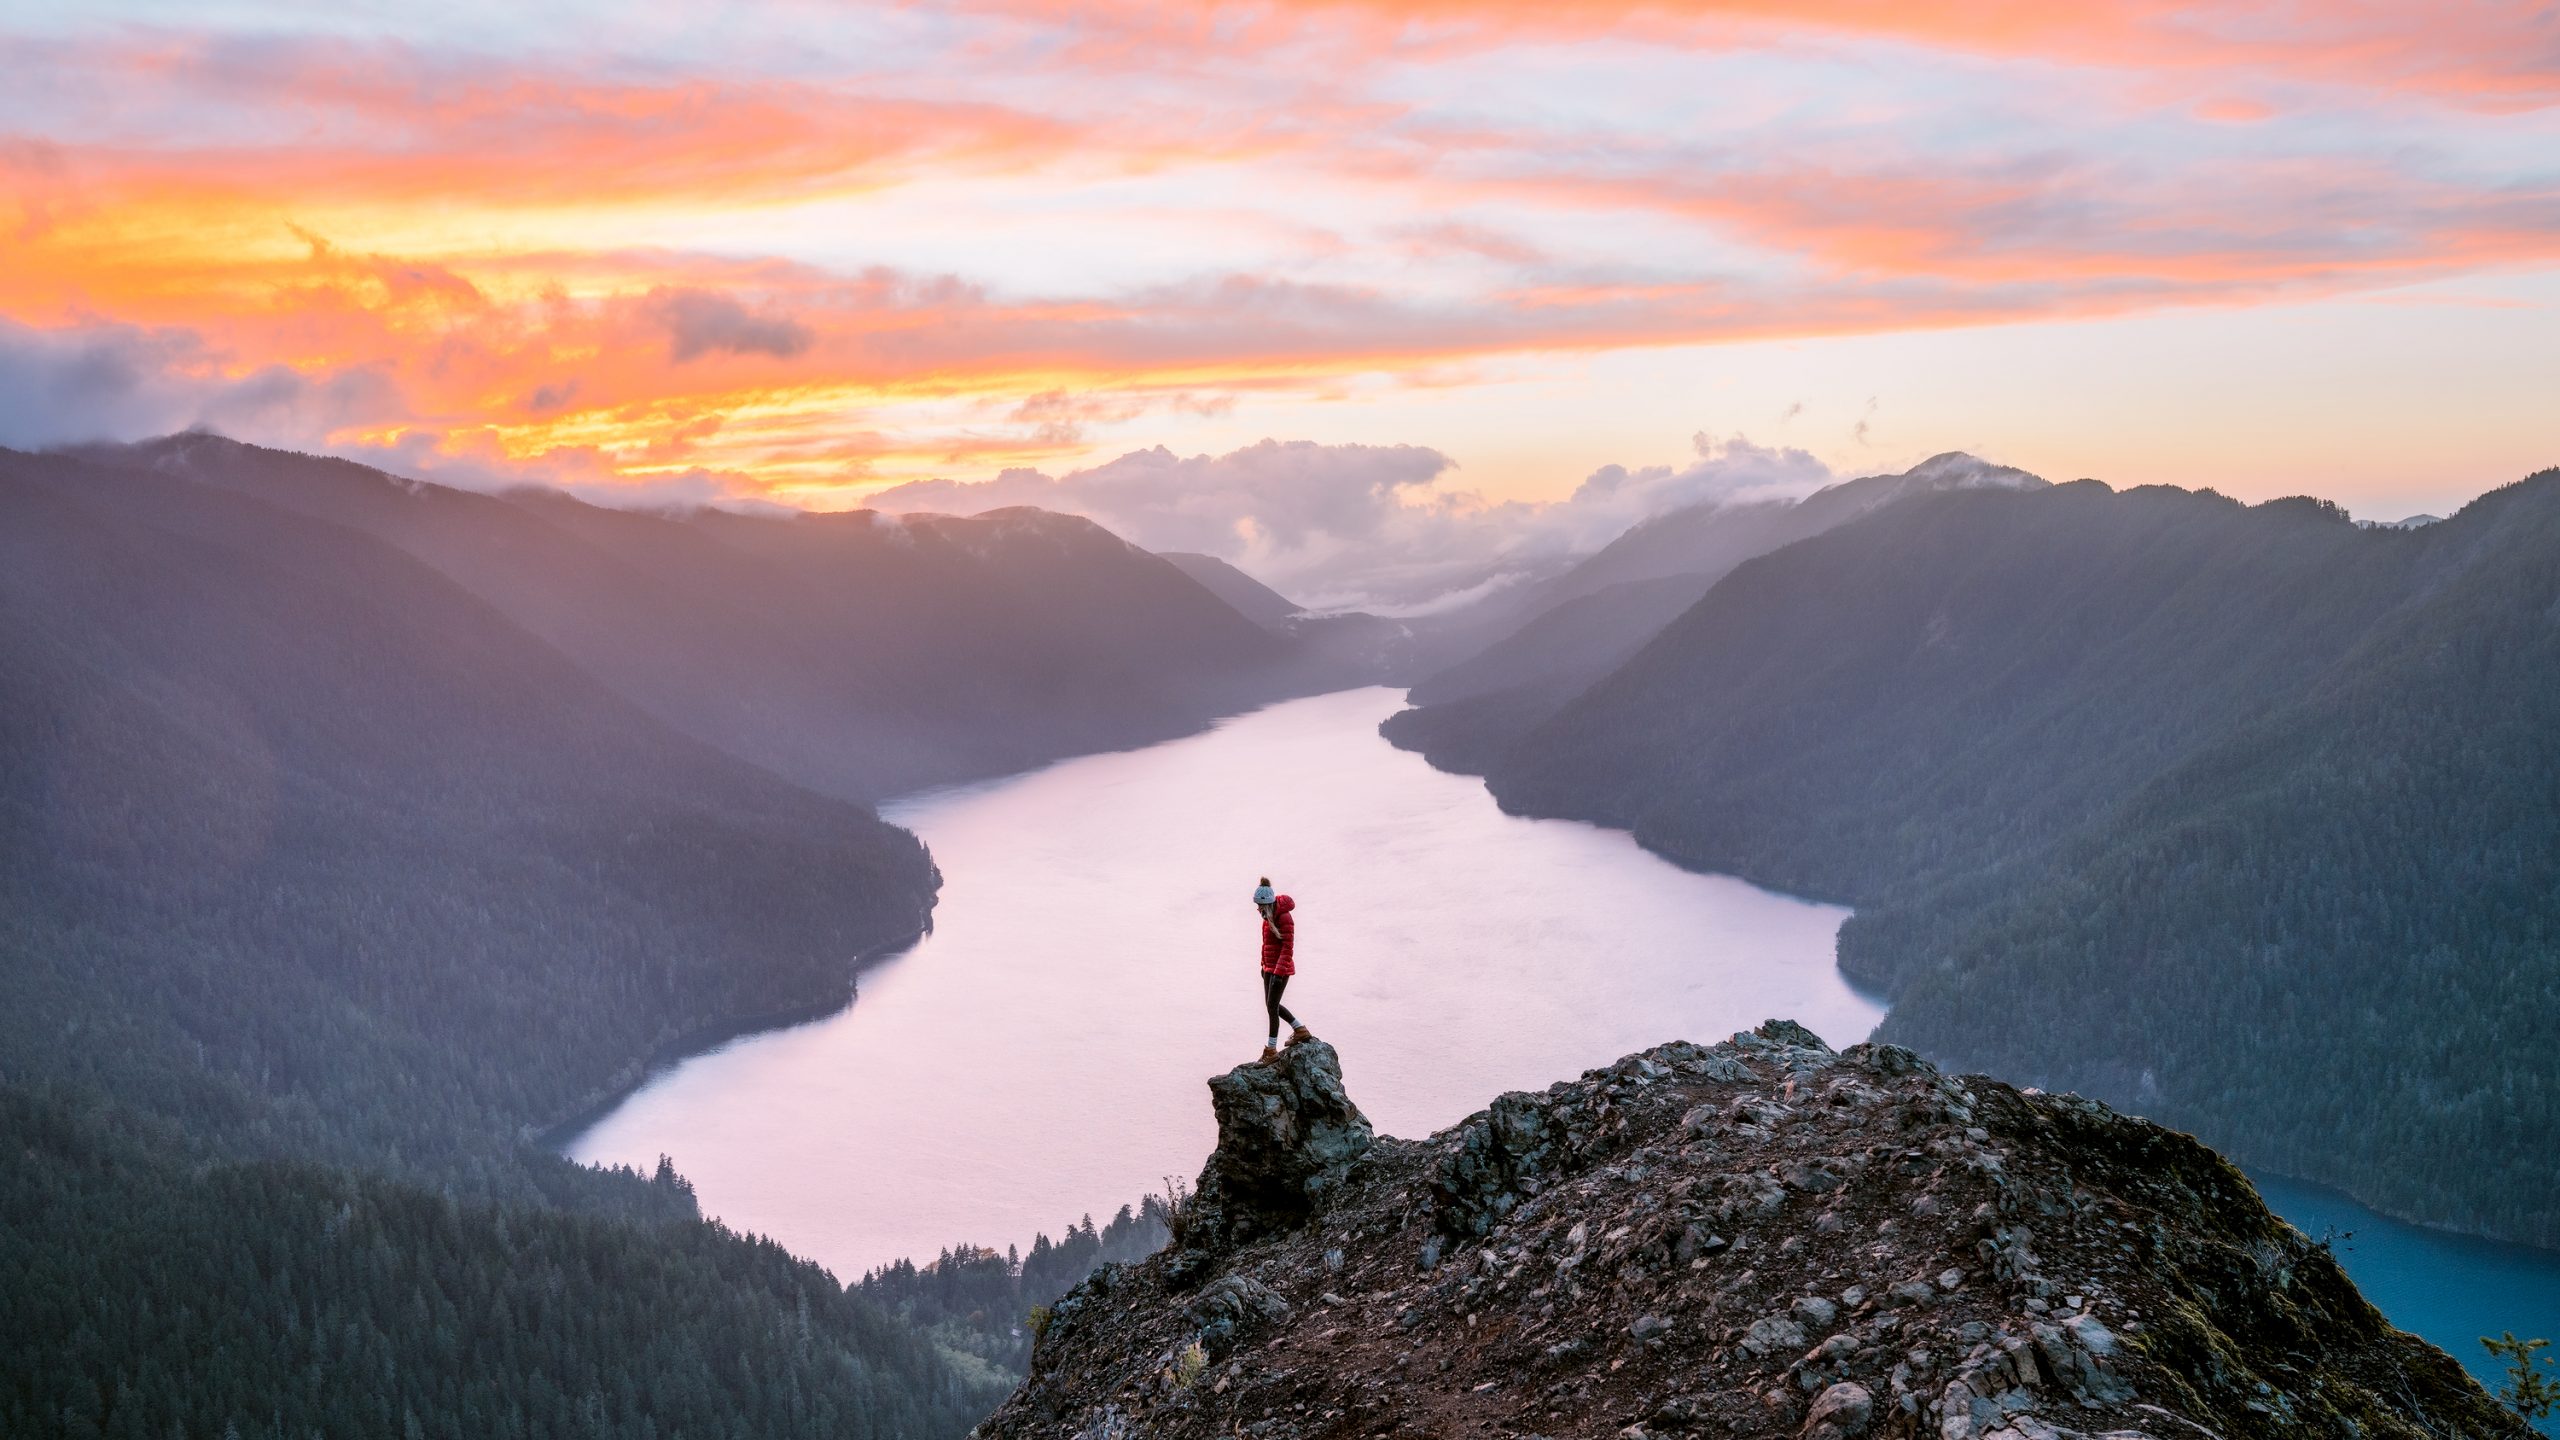
From Kingston we opted to drive straight to the parking lot nearby Lake Crescent and the Mount Storm King Ranger Station. From here you can explore beautiful Lake Crescent, take a short stroll to Marymere Falls, or do what we did – hike up Mount Storm King.
We chose to take a sunset hike as we love photographing places in the best light possible, but you could take this hike any time of day. If you do decide to take a sunset hike, be sure to pack a head lamp or flash light (more packing information listed at the end of this blog post!)
Location: Park at the Mount Storm King Ranger Station parking lot, then begin down the Marymere Falls Trail. After 10 minutes or so you will see a trail sign on the left marking the beginning of the Mount Storm King hike.
Distance: 4 miles round trip
Elevation gain: 2065 feet
Rating: moderate – difficult
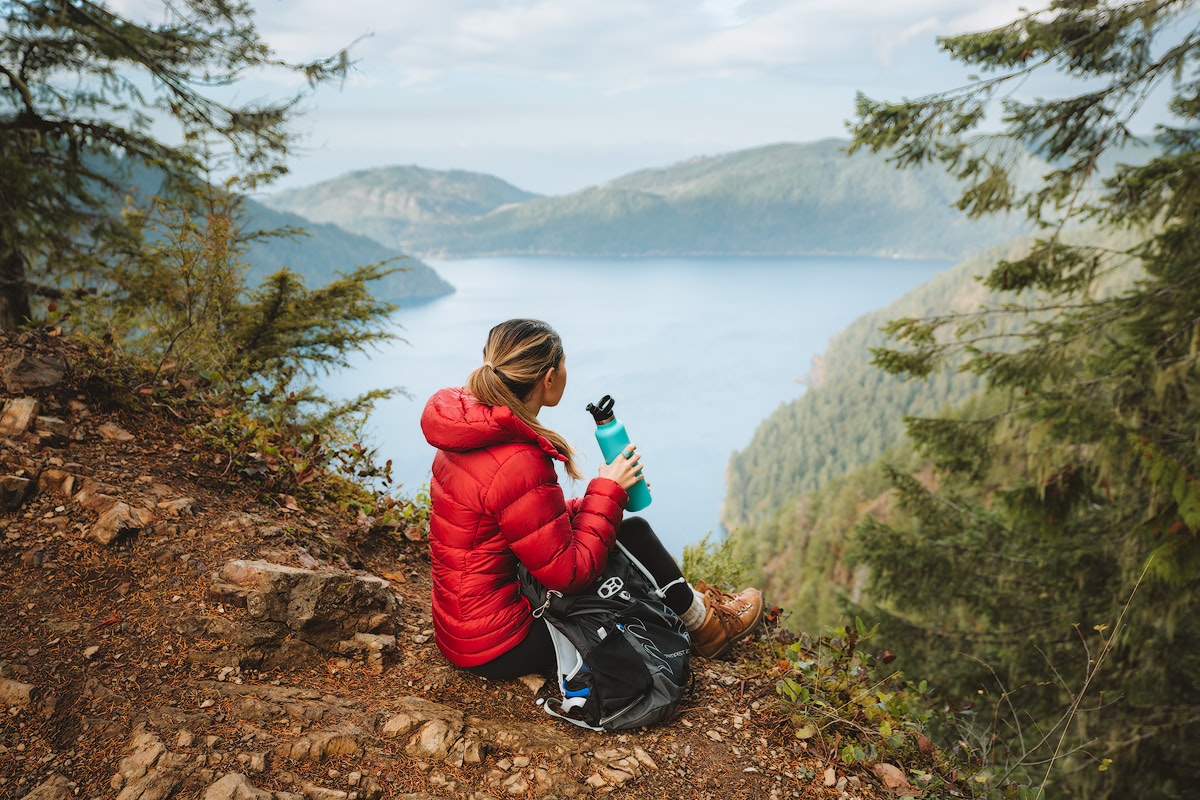
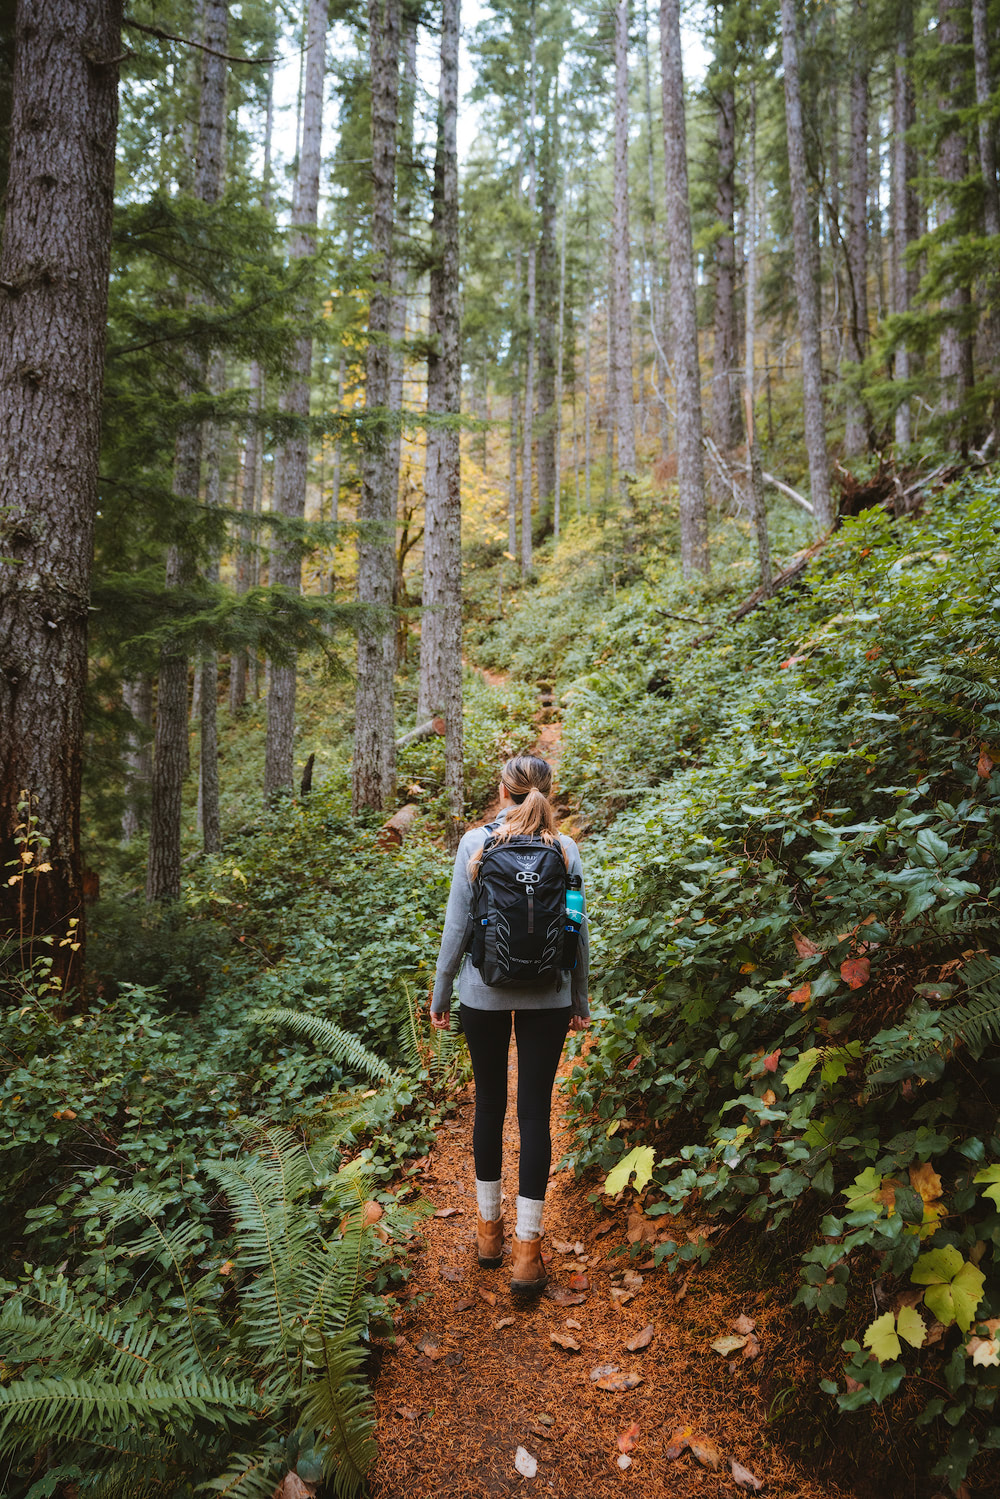
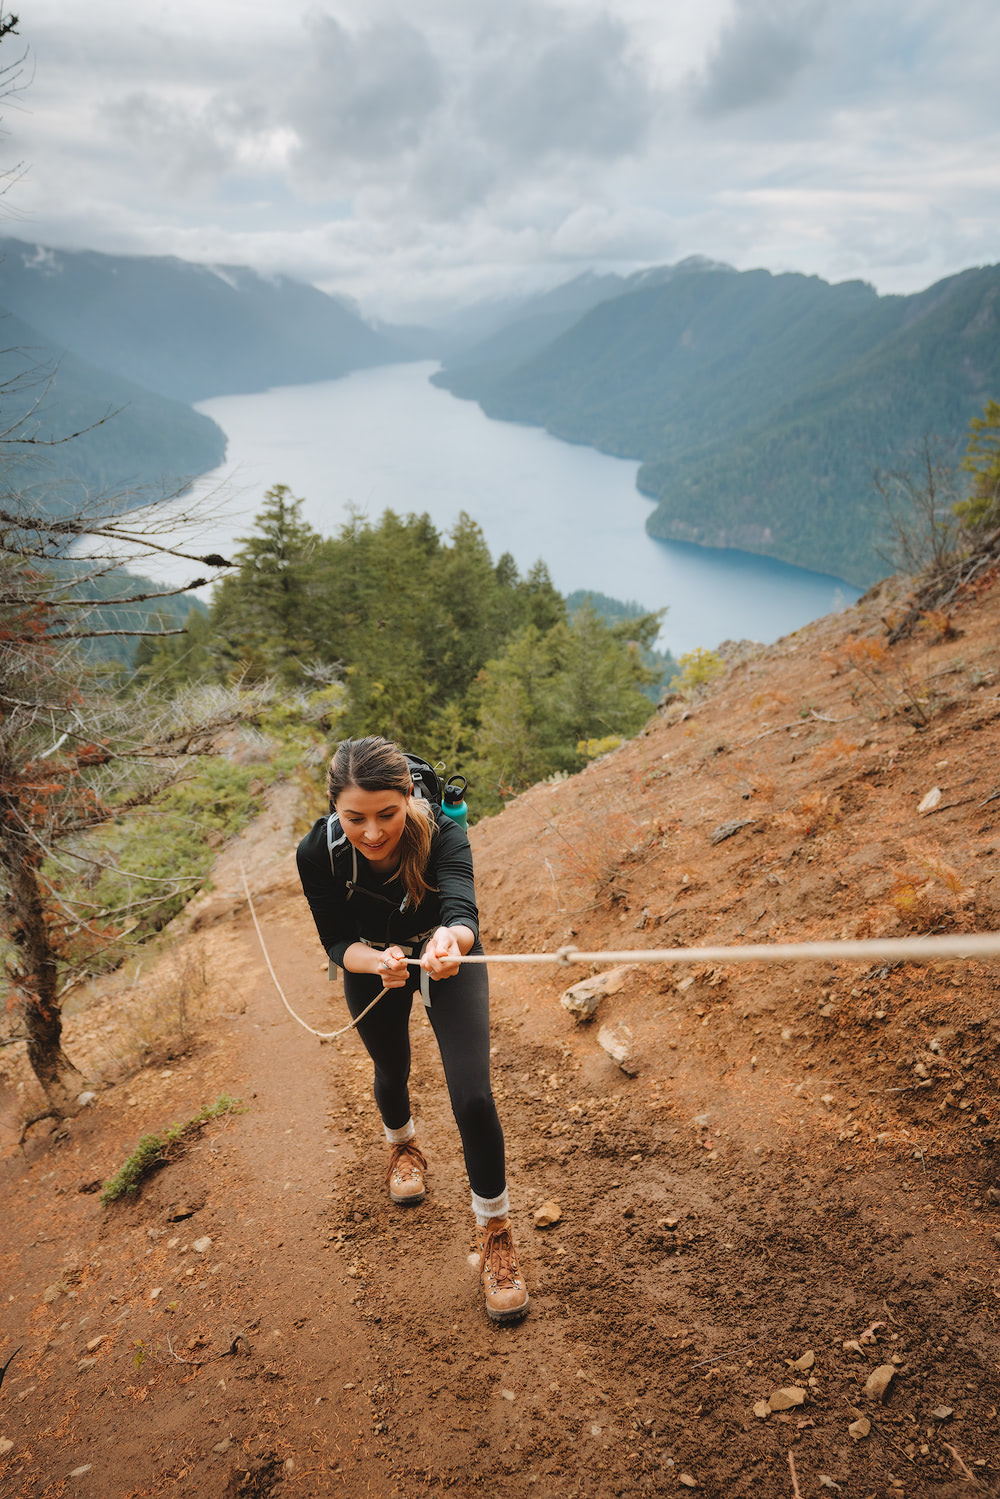
Pictured above: Backcountry Mt. Aire Sweatshirt, Danner Mountain Light Boot, Prana Pillar Legging, Patagonia Capilene Midweight Crew, Osprey Tempest 20L Pack, Hydroflask Water Bottle
I hike on a regular basis, so didn’t find this trail to be too challenging.
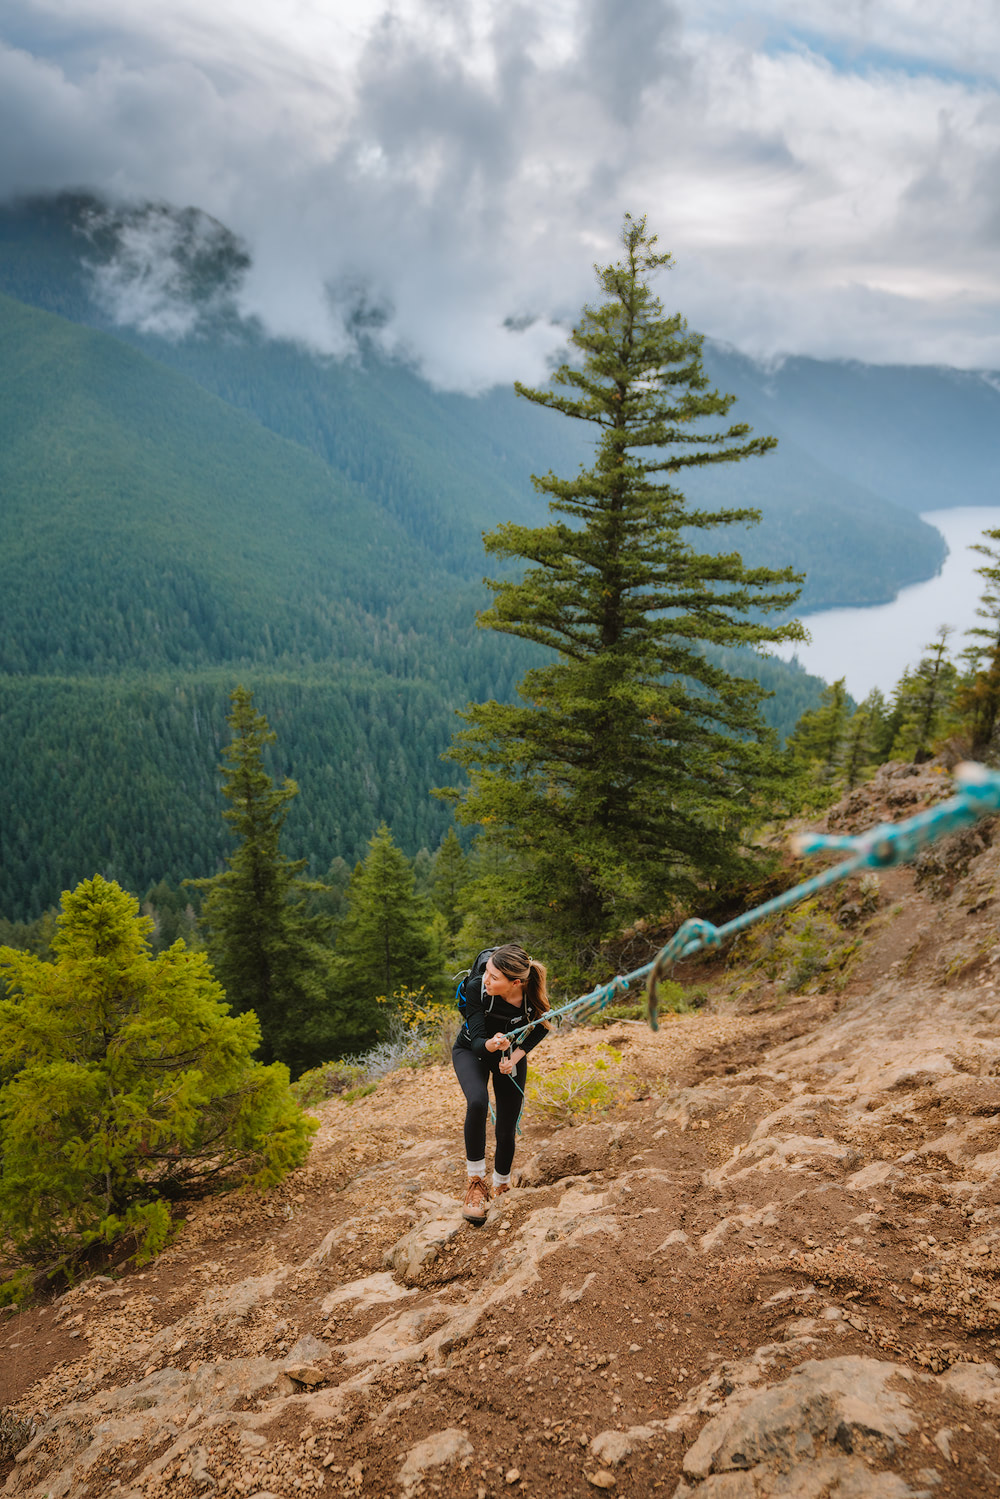
In saying that, it is very steep in parts, has sections of exposure, and areas where a rope is required due to slippery ground.
You can hike 2/3rds of the way and stop before the ropes section, which still provides gorgeous views. I would personally avoid hiking the last section of this trail in snowy or super rainy conditions.
The views from the summit are absolutely beautiful and we happened to luck out with an incredible sunset. It was breathtaking!
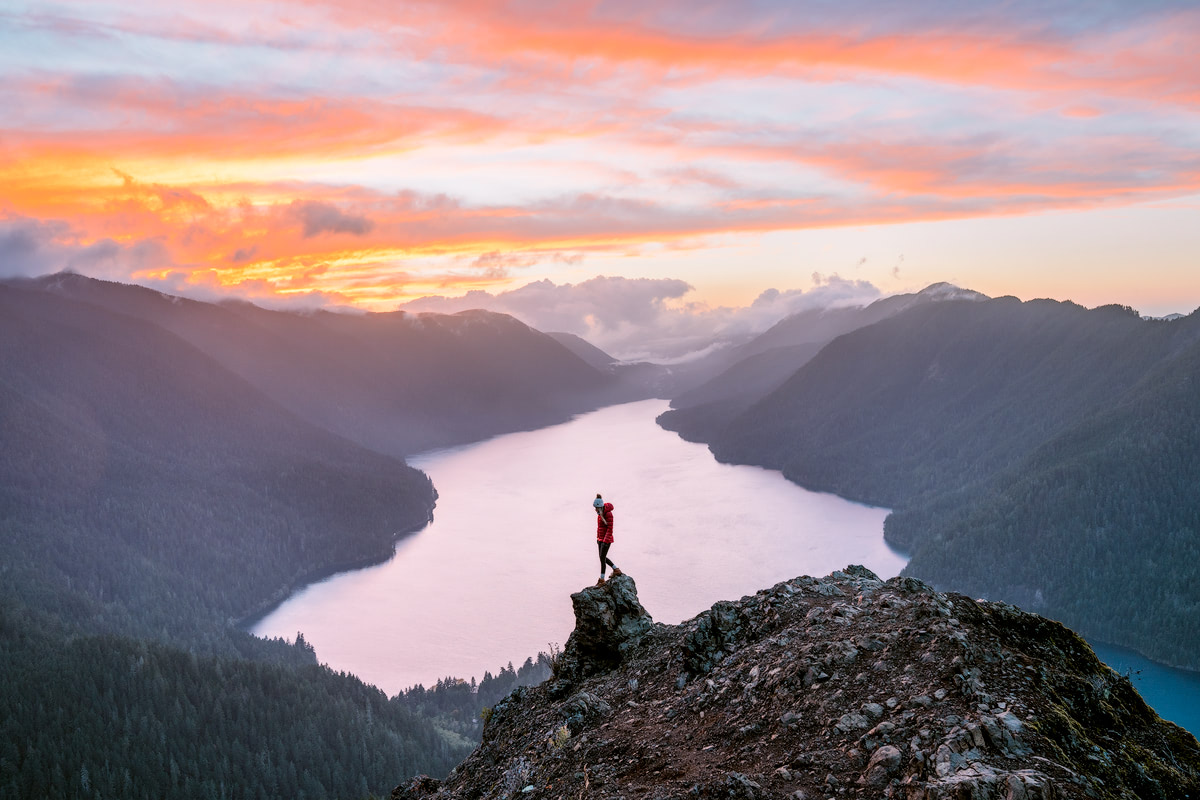
As mentioned above, we opted to hike down in the dark (using headlamps) and found this to be completely doable. We did get down the ropes section during blue hour, which I think is the safest option.
For accommodation that night we chose to stay at an affordable hotel in Port Angeles. For other options, Olympic National Park has numerous established camping spots such as Fairholm Campground. There are also some back-roads nearby the park that we have used to discreetly sleep in our car during past trips.
For Thai food lovers – we had a delicious post-hike dinner at Sabai Thai and would highly recommend you visit.
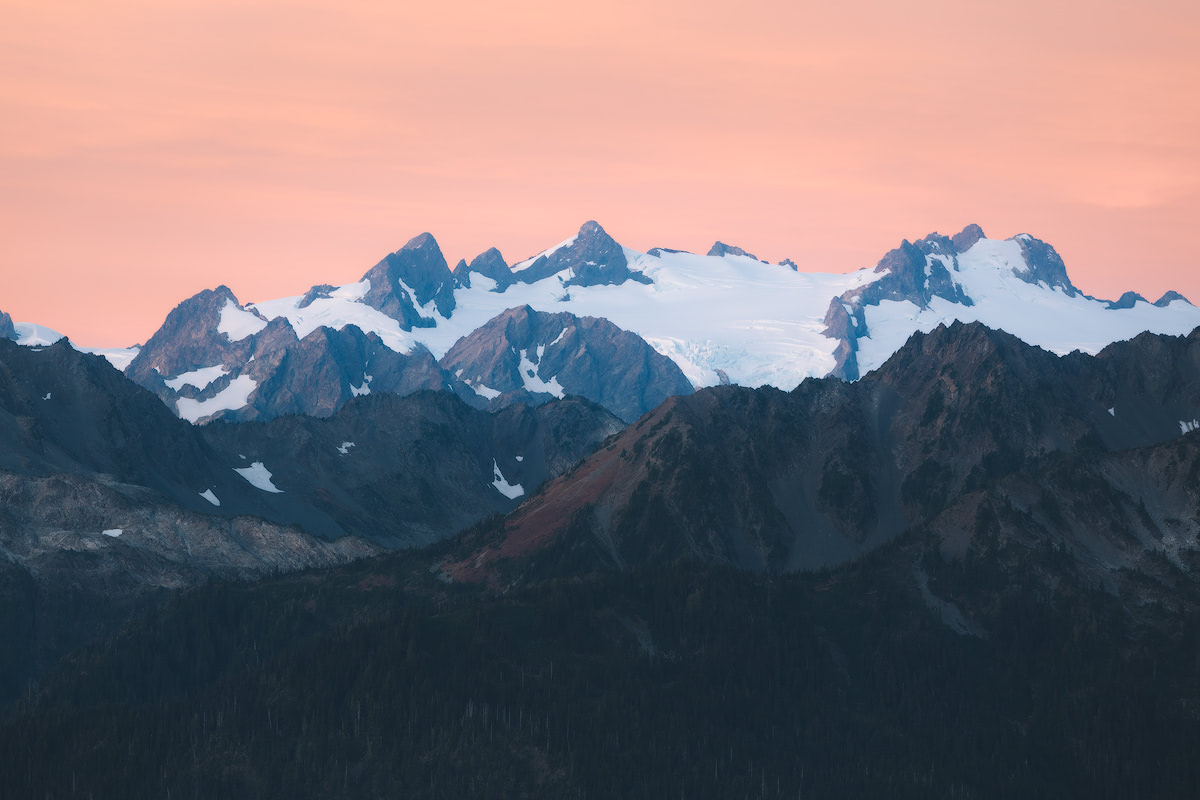
Sunrise at Hurricane Ridge
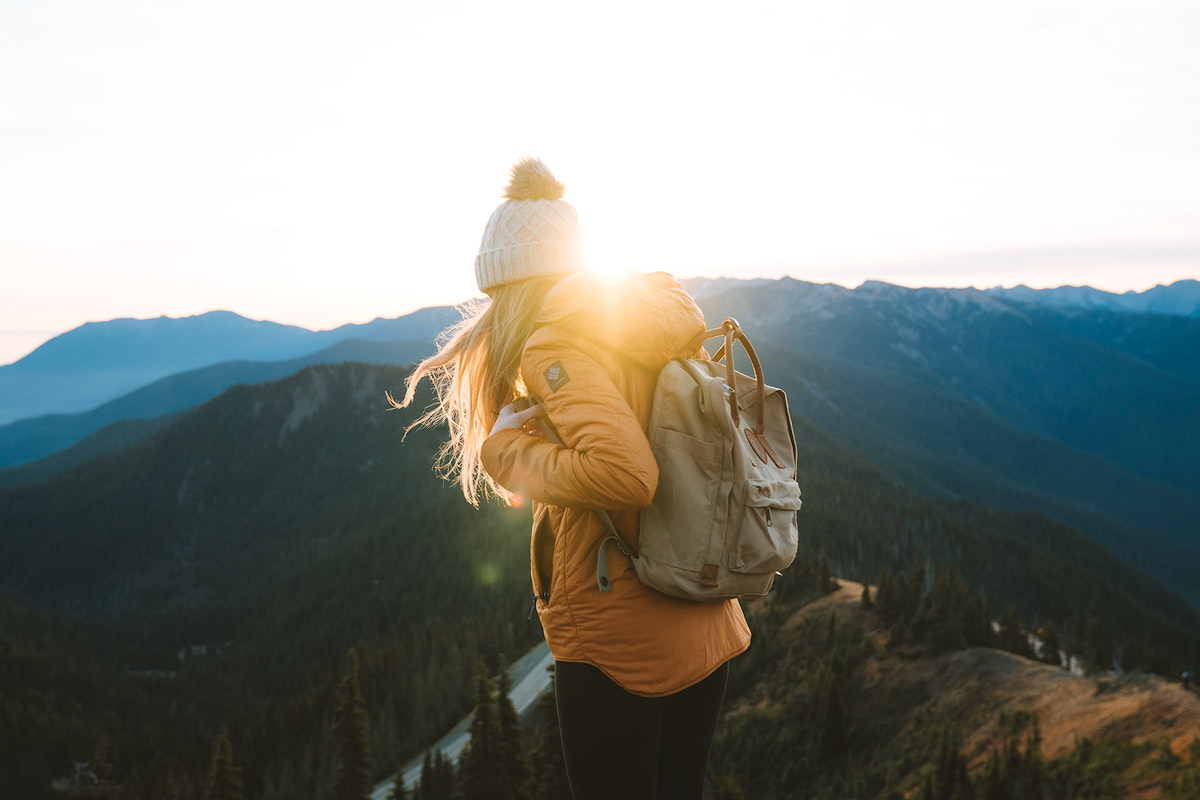
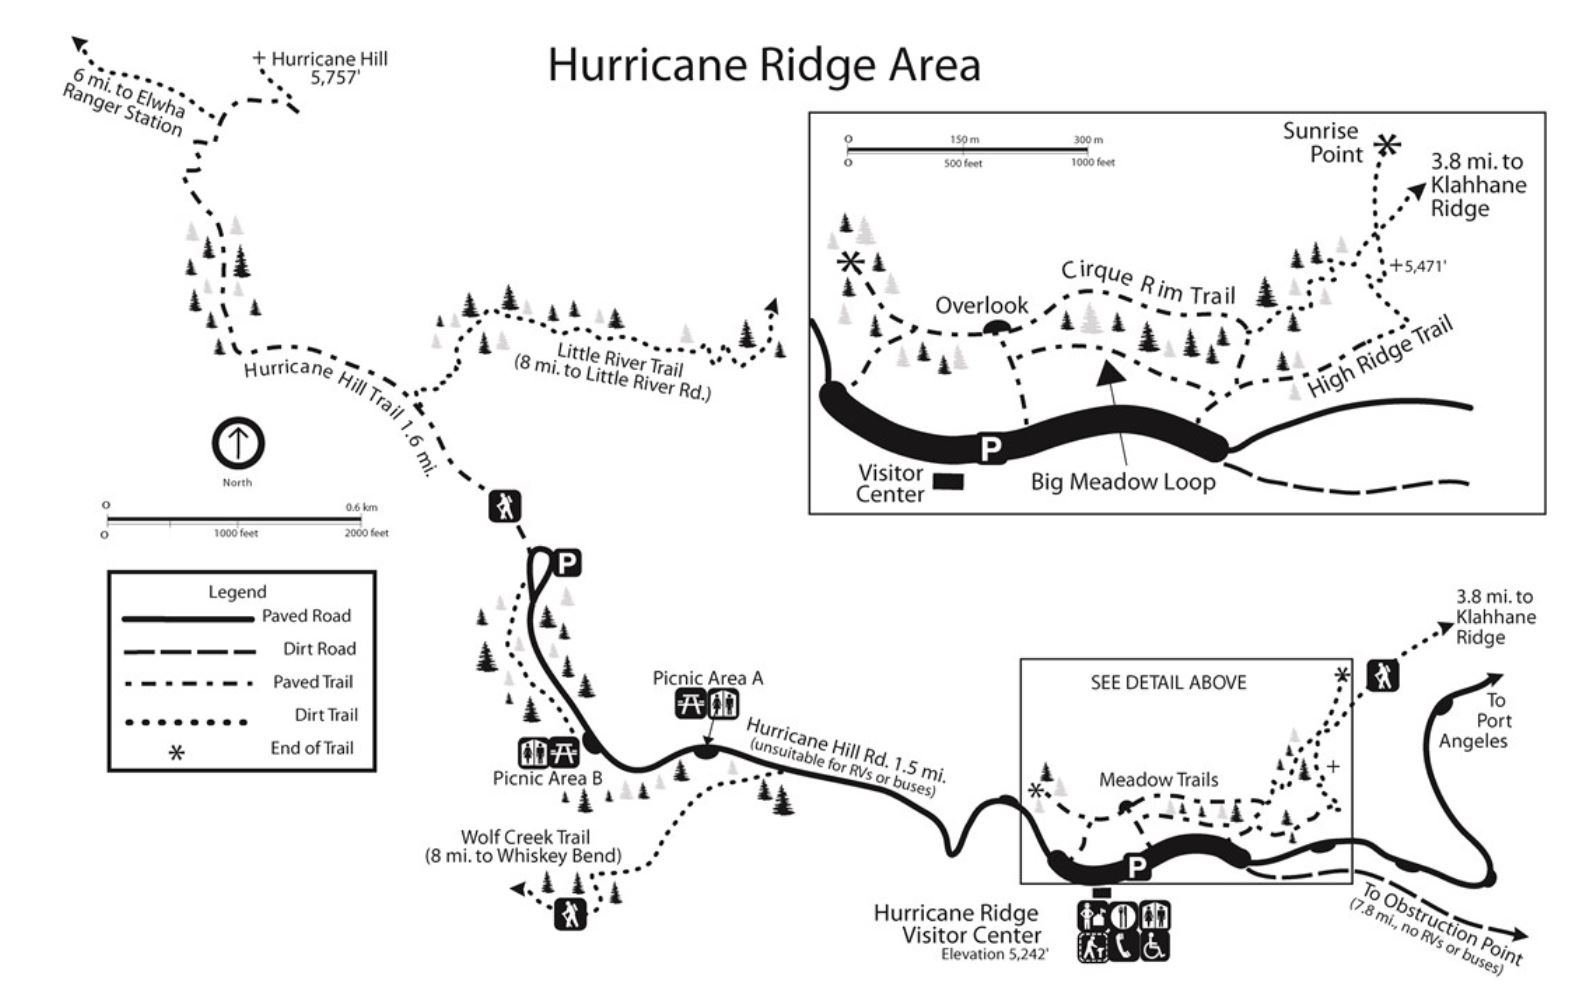
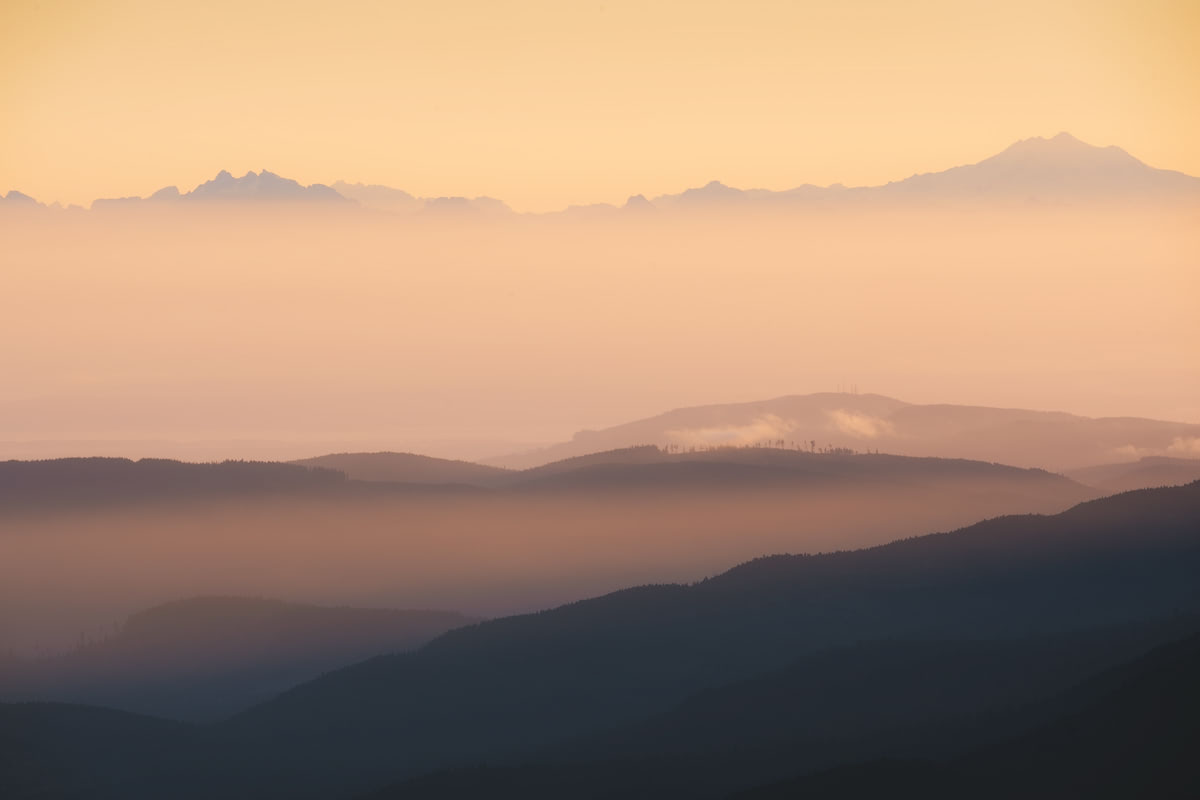
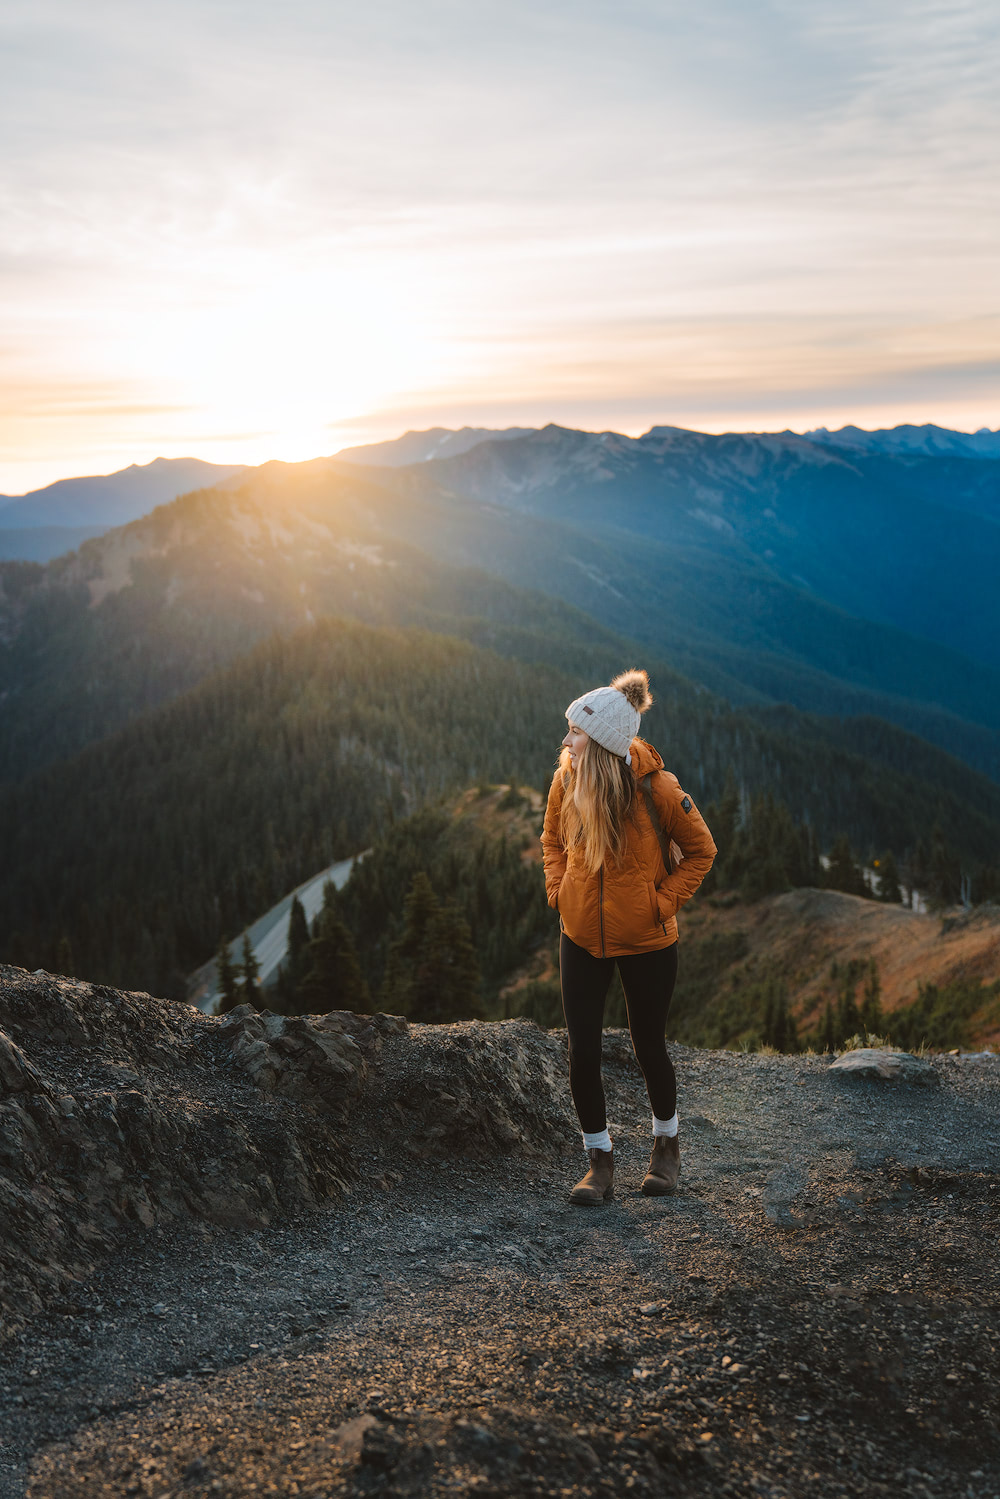
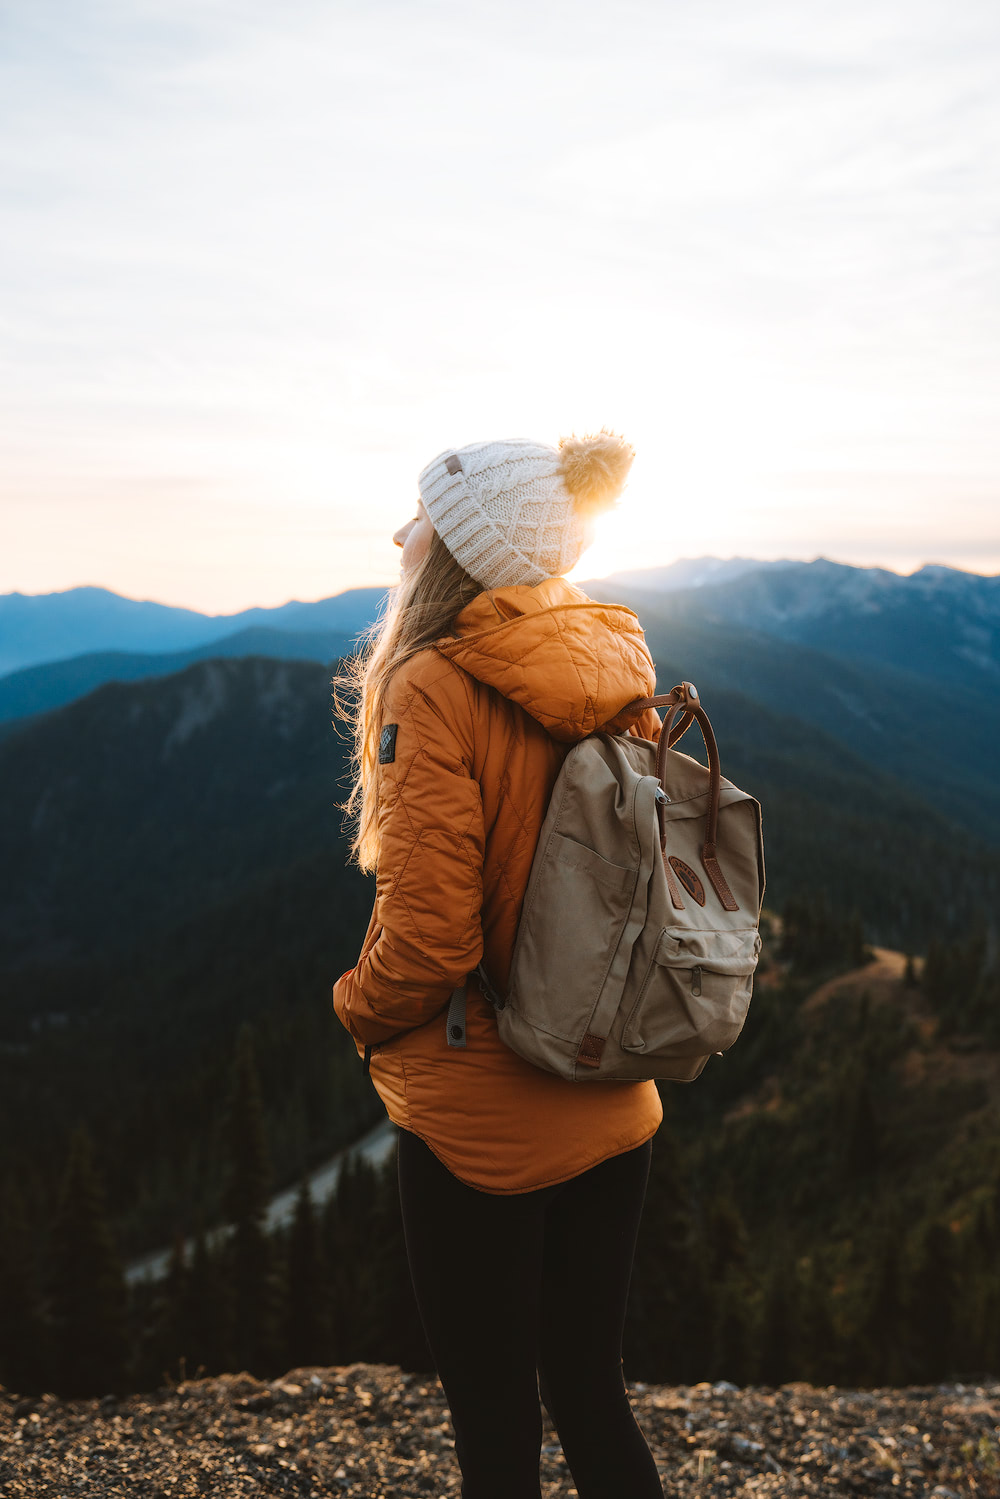
We chose to make the most of our Olympic National Park getaway and start the day early at Hurricane Ridge. It took us about 45 minutes to drive from Port Angeles and we arrived just in time for sunrise. After parking at the beginning of the lot (not at the Visitor Center), we took a short stroll up the Hurricane Ridge Trail to Sunrise Point. The mountain and ocean views were absolutely gorgeous! There were longer trails in the area, such as Klahhane Ridge, but we were pretty chilly and opted to end our morning adventure there.
Pictured above: Columbia Jacket, Prana Pillar Legging, Fjallraven Kanken Backpack, similar beanie, Blundstone Boots
Sample Port Angeles’ Doughnuts
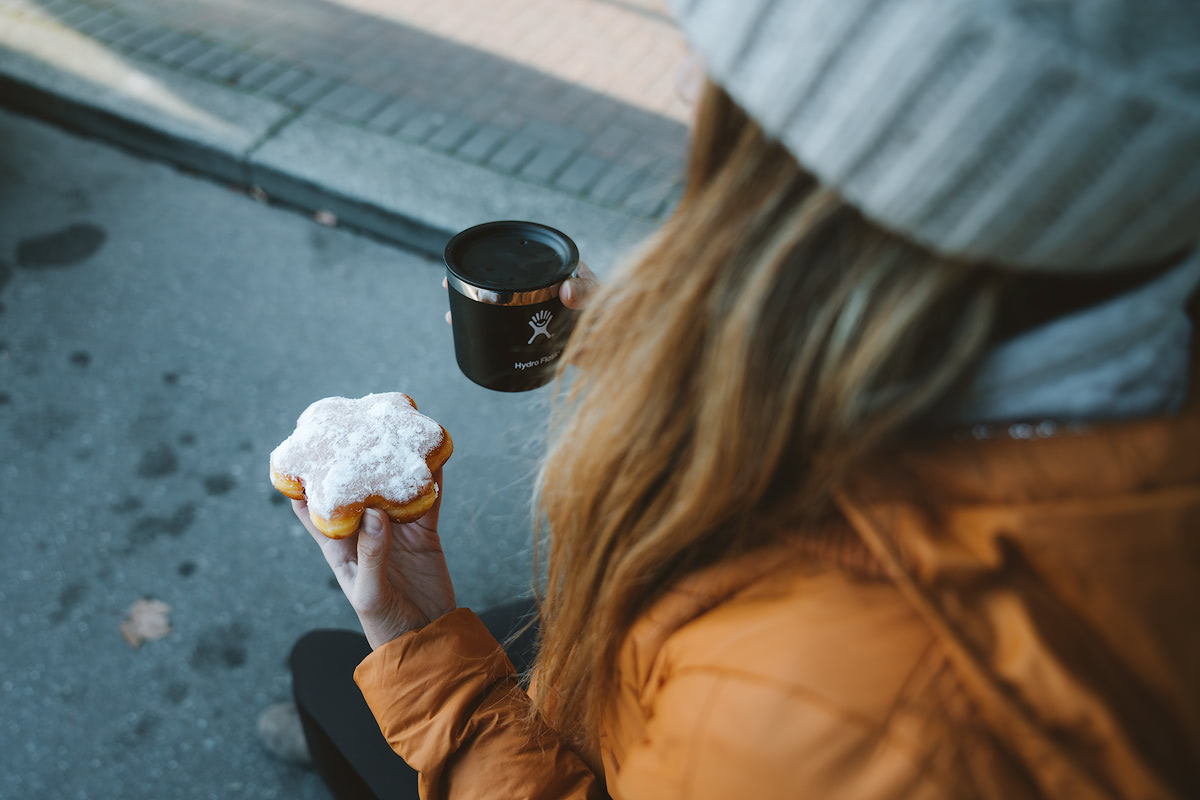
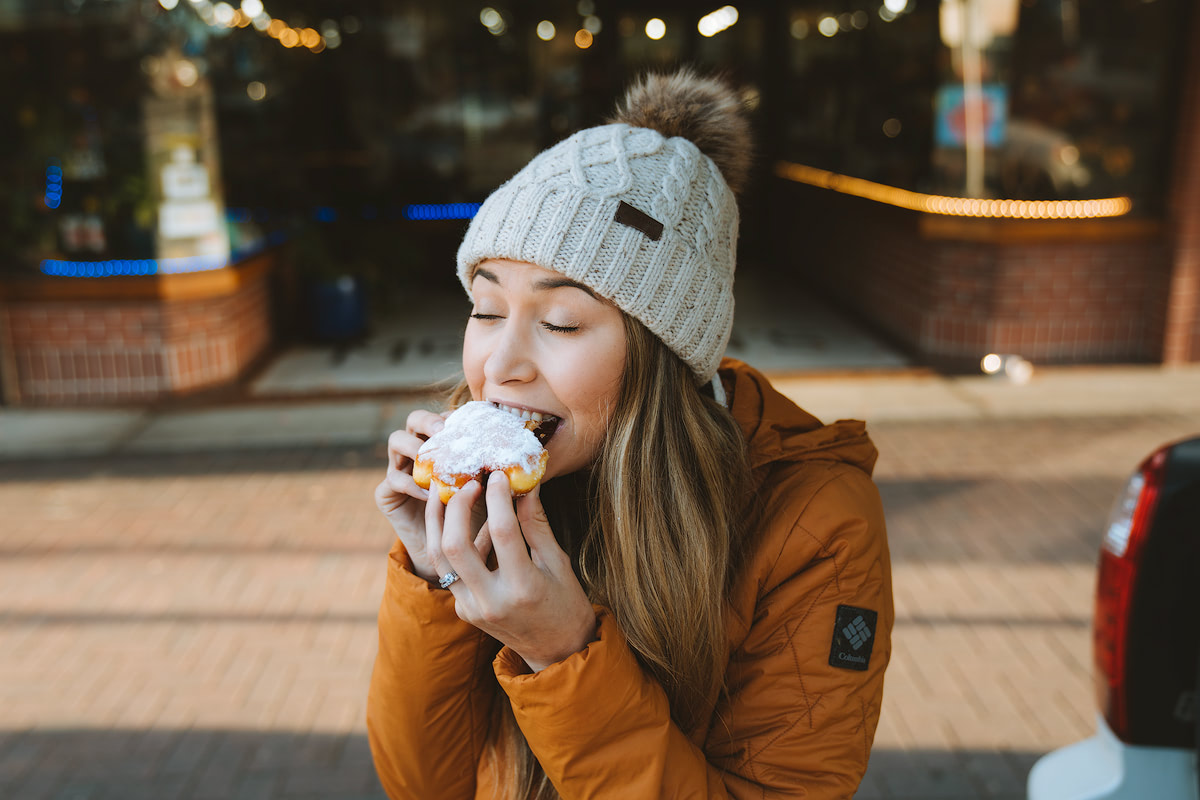
Before heading back to the ferry we had to try some of Port Angeles’ famed doughnuts! We can report that both Num Num Donuts and Cock-a-Doodle Doughnuts were delicious!
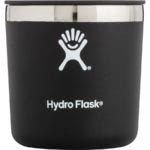
I always opt to bring my Hydroflask reusable cup when traveling, so that I can reduce waste whilst still enjoying hot drinks. Their cups (and drink bottles) are awesome and I would recommend you try them out for your next trip.
Optional Trip Additions
Want to extend your Olympic National Park getaway? I would suggest checking out the following iconic spots:
- Marymere Falls and/or Sol Dul Falls
- Hoh Rain Forest (particularly the Hall of Moses Trail)
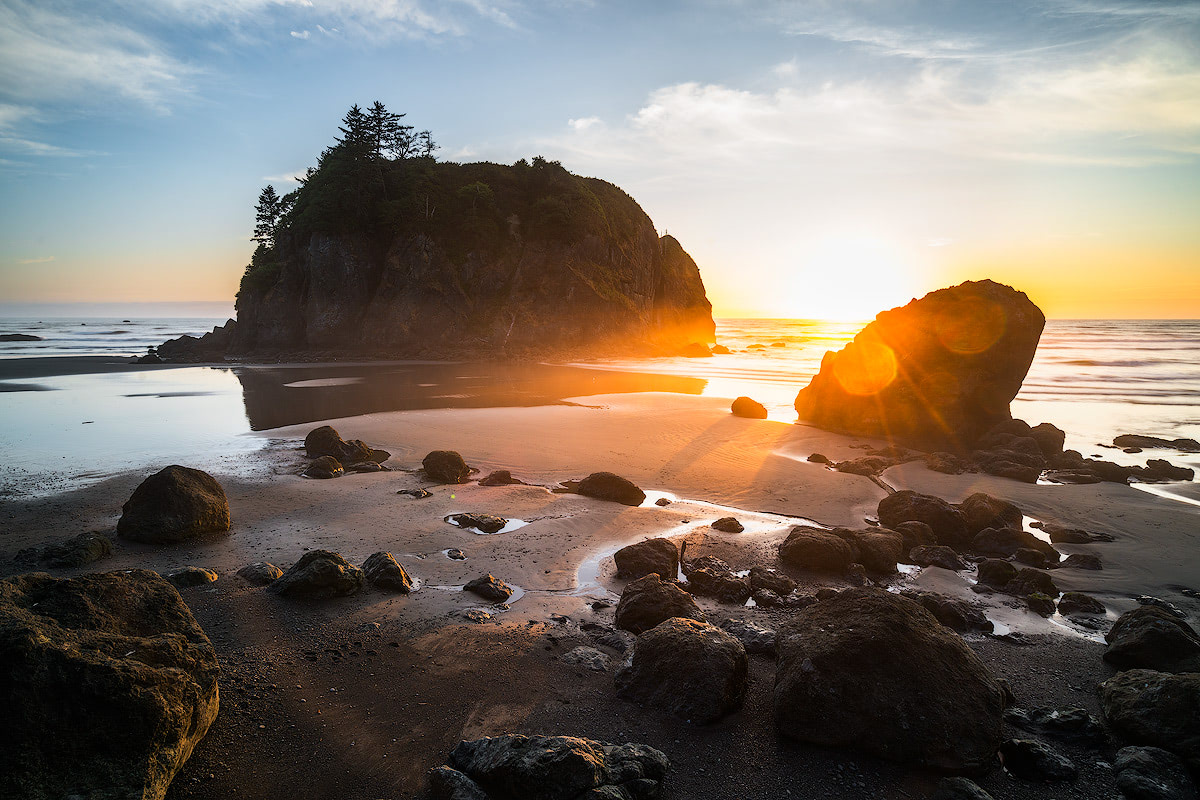
- Ruby Beach and Second Beach
Again, here is the link to my Olympic National Park mini guide.
What To Pack
Packing for your Olympic National Park getaway will depend on the time of year you visit. In saying that though, I’ve experienced rain and sunshine during every season in the park. So it’s probably a good idea to pack for a range of conditions!
Some must pack items for this style of trip are:
- Rain jacket, such as the Patagonia Torrentshell
- Warm insulated jacket, such as the Arc’teryx Cerium SV Down Jacket or the Patagonia Down Sweater
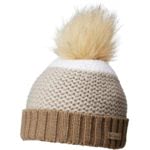
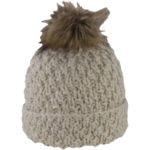
- Beanie or head covering, such as the Columbia Holy Peak Pom Pom Beanie or the Pistil Diva Pom Beanie
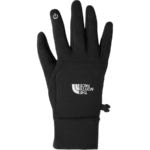
- Gloves, such as The North Face Etip Gloves or the Icebreaker Sierra Glove
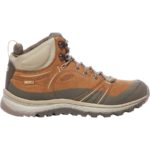
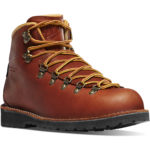
- Hiking boots (preferably waterproof), such as the KEEN Leather Terradora’s or the Danner Mountain Light Boot
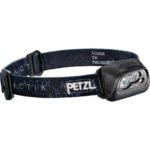
- Head lamp (if you plan to hike for sunrise/sunset), such as the Petzl Actik headlamp
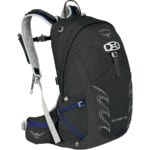
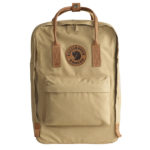
- Hiking day pack, such as the Osprey Tempest 20L or the Fjallraven Kånken bag
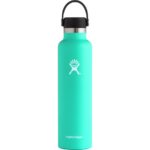
- Water bottle, such as a Hydroflask or Nalgene
Need to gear up? Backcountry.com are currently offering my readers 15% off their first order, using code RENEE15 (offer expires December 31, 2018) *some exclusions apply*
You can find a full list of my hiking apparel and gear recommendations here.
Pictured above: Arc’teryx Cerium SV Down Jacket, Danner Mountain Light Boot, Prana Pillar Legging, similar beanie, Patagonia Capilene Midweight Crew, Osprey Tempest 20L Pack, Hydroflask Water Bottle
More Adventure Ideas
Guide to Olympic National Park: 59 Parks Road Trip
America’s National Parks – Ranked Best to Worst
15 Least Crowded National Parks & Why You Need to Visit Them
The 15 Most Underrated National Parks in America
Guide to Great Smoky Mountains National Park: 59 Parks Road Trip
Guide to Gates of the Arctic National Park: 59 Parks Road Trip
PIN for later planning!
Disclaimer: Thank you to Backcountry for collaborating on this Olympic National Park getaway. As always, all opinions are my own. The offer of 15% off does not apply on top of any other offer or discount, and it’s one use per customer. This post does contain some affiliate links, which means if you buy something my blog will receive a small commission at no extra cost to you.
Do you bring your car over in the ferry or do you rent one there?
I appreciate you giving such useful information. Your website is really awesome. The amount of information on your website is impressive.
nice
This place looks magical! But you manage to make every place look amazing with your photography ?
I appreciate you giving such useful information. Your website is really awesome. The amount of information on your website is impressive.
The thematic narrative you craft dances on the precipice of epiphany, swaying to the rhythm of discovery in a choreography of thought that transcends the conventions of insight.
Noise !! Suggest to make some noise w/ bell or otherwise so one does NOT surprise Black Bears, especially a sow w/ cubs. Bears and other wildlife generally avoid humans. A group is safer in Cougar Country, but this is no guarantee. Two fatal incidents recently resulted. Both involved two mtn bikers, one killed in each incident – in Oregon and near Issaquah, WA. [“Issaquah Alps” regional park]
I don’t believe bells are recommended by rangers. I always make noise by shouting and sometimes clapping and that’s what I recommend to others
This place looks magical! But you manage to make every place look amazing with your photography ?
Aw thanks so much Diana!
Wow that is a great overview- I wanna go there !
Thanks guys!