Whether you are a pro or hobbyist, photo editing when traveling can often feel quite different compared to in the comforts of your own home. I have found a system that works perfect for my lifestyle as a travel blogger and photographer. Keep reading to find out my set-up and tips for editing amazing images at home and on-the-go!
My Photo Editing Set-Up When Home VS Traveling
In collaboration with Dell
Essential Gear For Every Setting
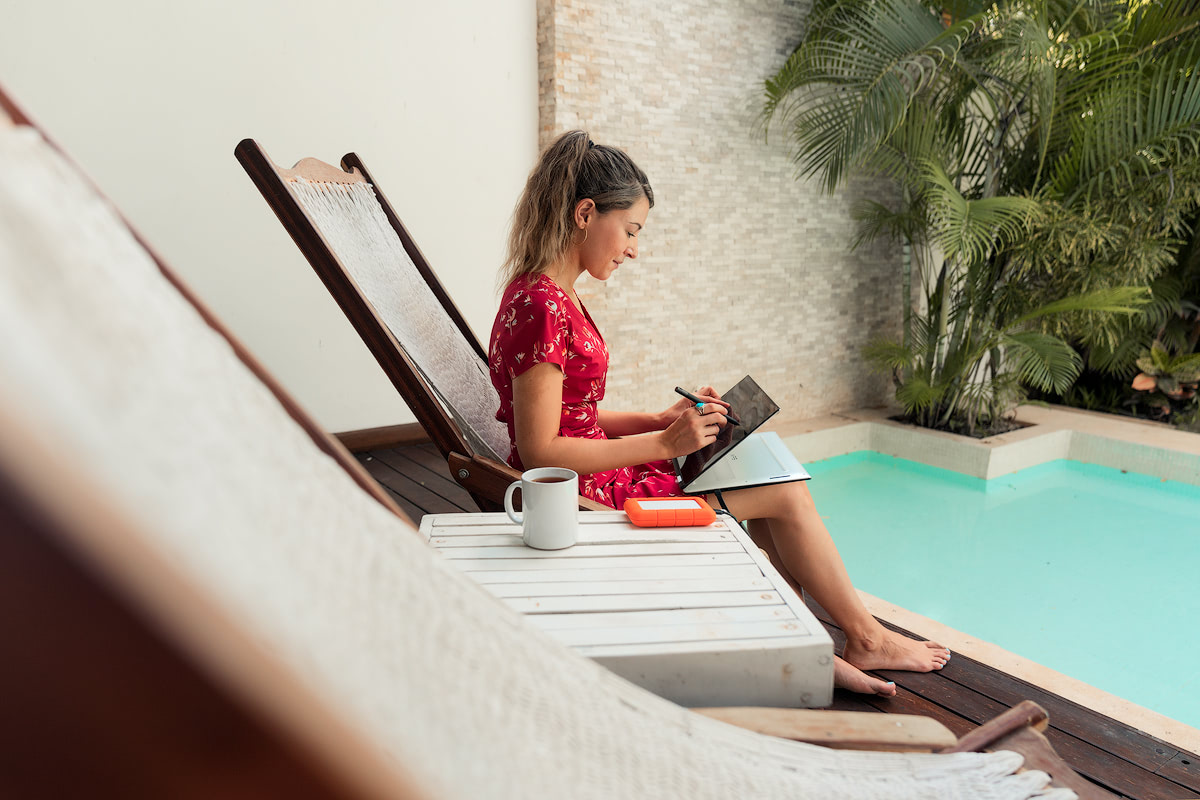
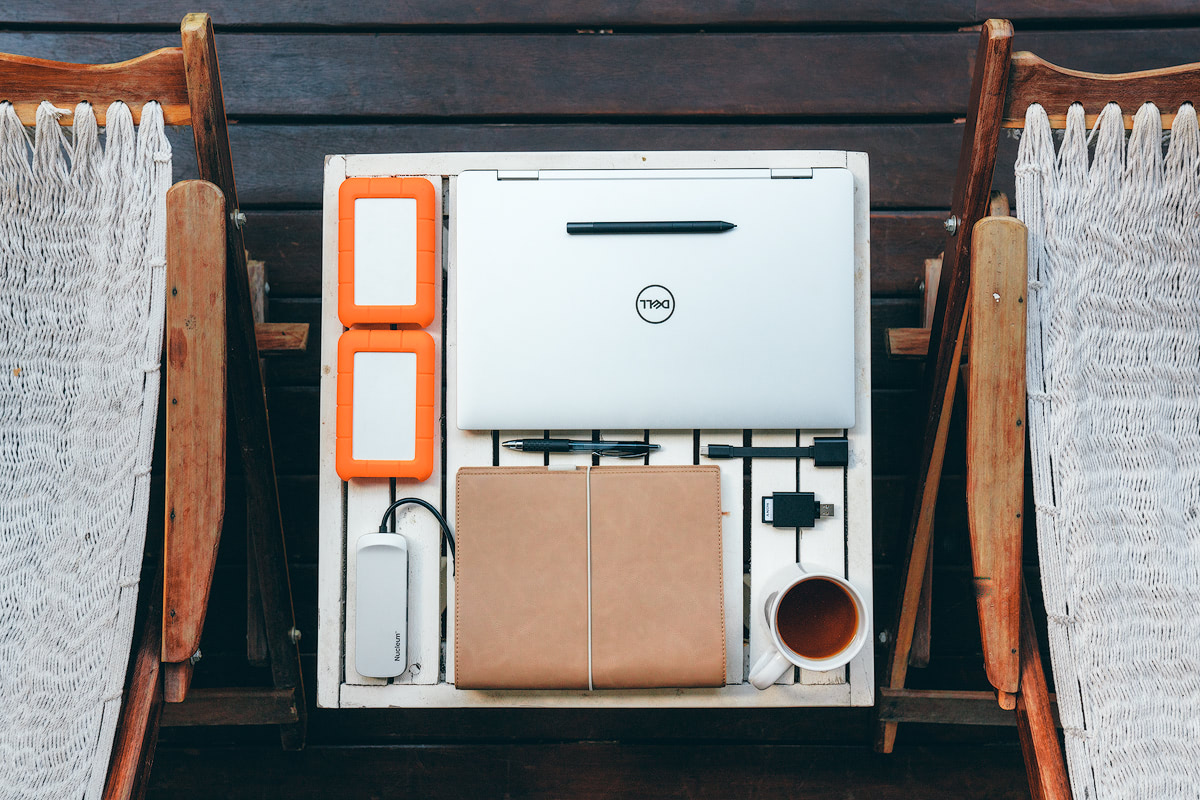
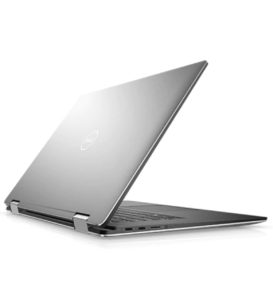
There are numerous gear items that are essential to my editing process, regardless of whether I am traveling or at home. The first being my laptop – the Dell XPS 15 2-in-1 with the Intel Core i7 processor. This laptop comes everywhere me with and I love how versatile, portable, and powerful it is. I have a whole blog post on why I love it – check it out!
My second essential item for photo editing is a subscription to Adobe Lightroom Classic CC and Photoshop CC. These are my preferred editing programs and can be bought together with the Adobe Photography Plan.
Another piece of equipment that goes with me everywhere is an SD card reader, which I use via a USB to USB-C adapter with a Sony SD card reader attachment, or my Kingston Nucleum USB-C Hub. I can insert micro SD cards directly into my XPS 15 2-in-1, which I use for my drone and GoPro.
Last but certainly not least, I store all my photos on external hard drives and nearly always edit directly off these, whether at home or on the road. My current go-to is the LaCie 4TB Rugged Mini Hard Drive and I have used these for years without any problems (touch wood!) I have back-ups of these just in case one does fail on me.
Travel Photo Editing Set-Up
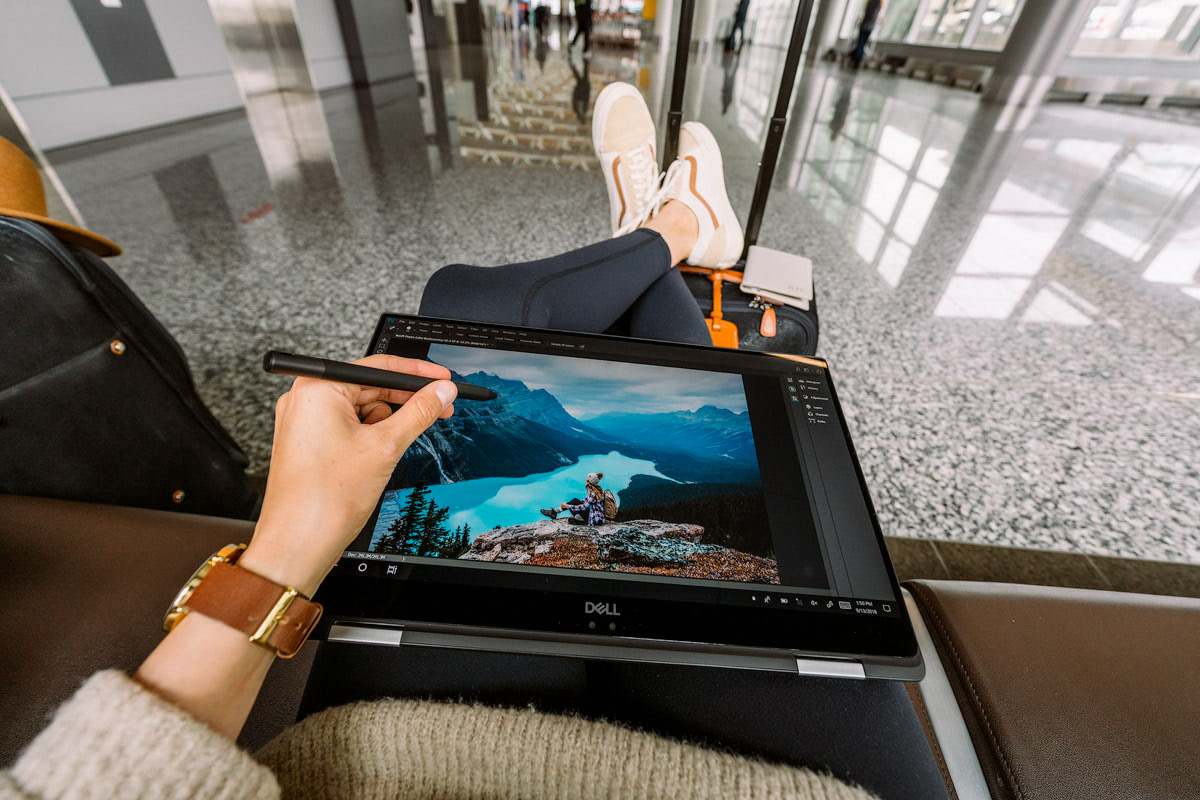
When it comes to photo editing on-the-go, it’s important to me that I have a laptop that can work in any situation. The Dell XPS 15 2-in-1 can be used whether I am sitting at a desk, on a plane, by the pool, in bed, at the airport etc. And the reason being is that it can easily and quickly convert from a regular laptop to a tablet, allowing me to edit in tight spaces.
The 4K touch display works in all modes (regular, tablet or tent) and can be navigated with fingers or with the Dell Premium Active Pen, thus making the overall set-up super convenient for traveling. Tent mode is also really handy for watching movies or Netflix when on-the-go!
I travel with all the accessories listed in the last section of this blog post – hard drive, SD card reader, and USB-C hub. And I also travel with the Active Pen and a small zip-up bag to store everything in. I don’t usually pack the XPS 15 2-in-1 in an extra carry case as I find the laptop section of my camera bag is more than adequate for protection.
Tips For Editing On-The-Go
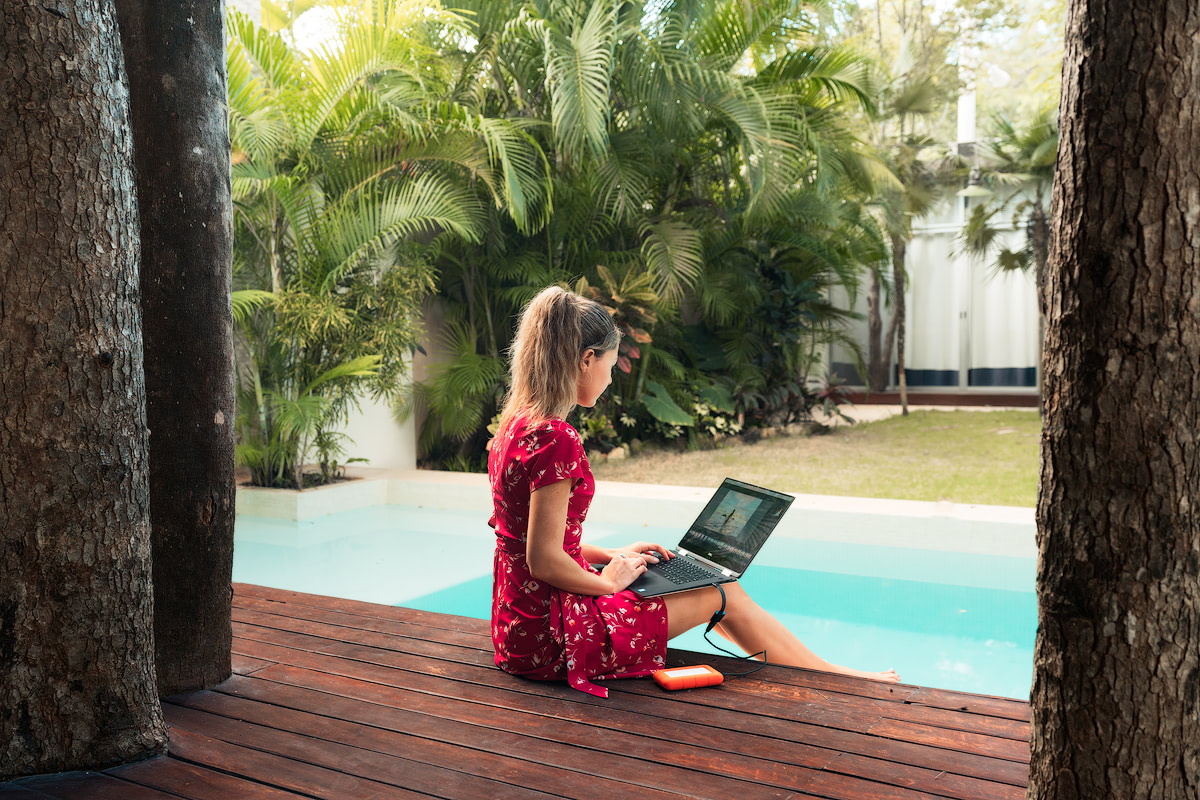
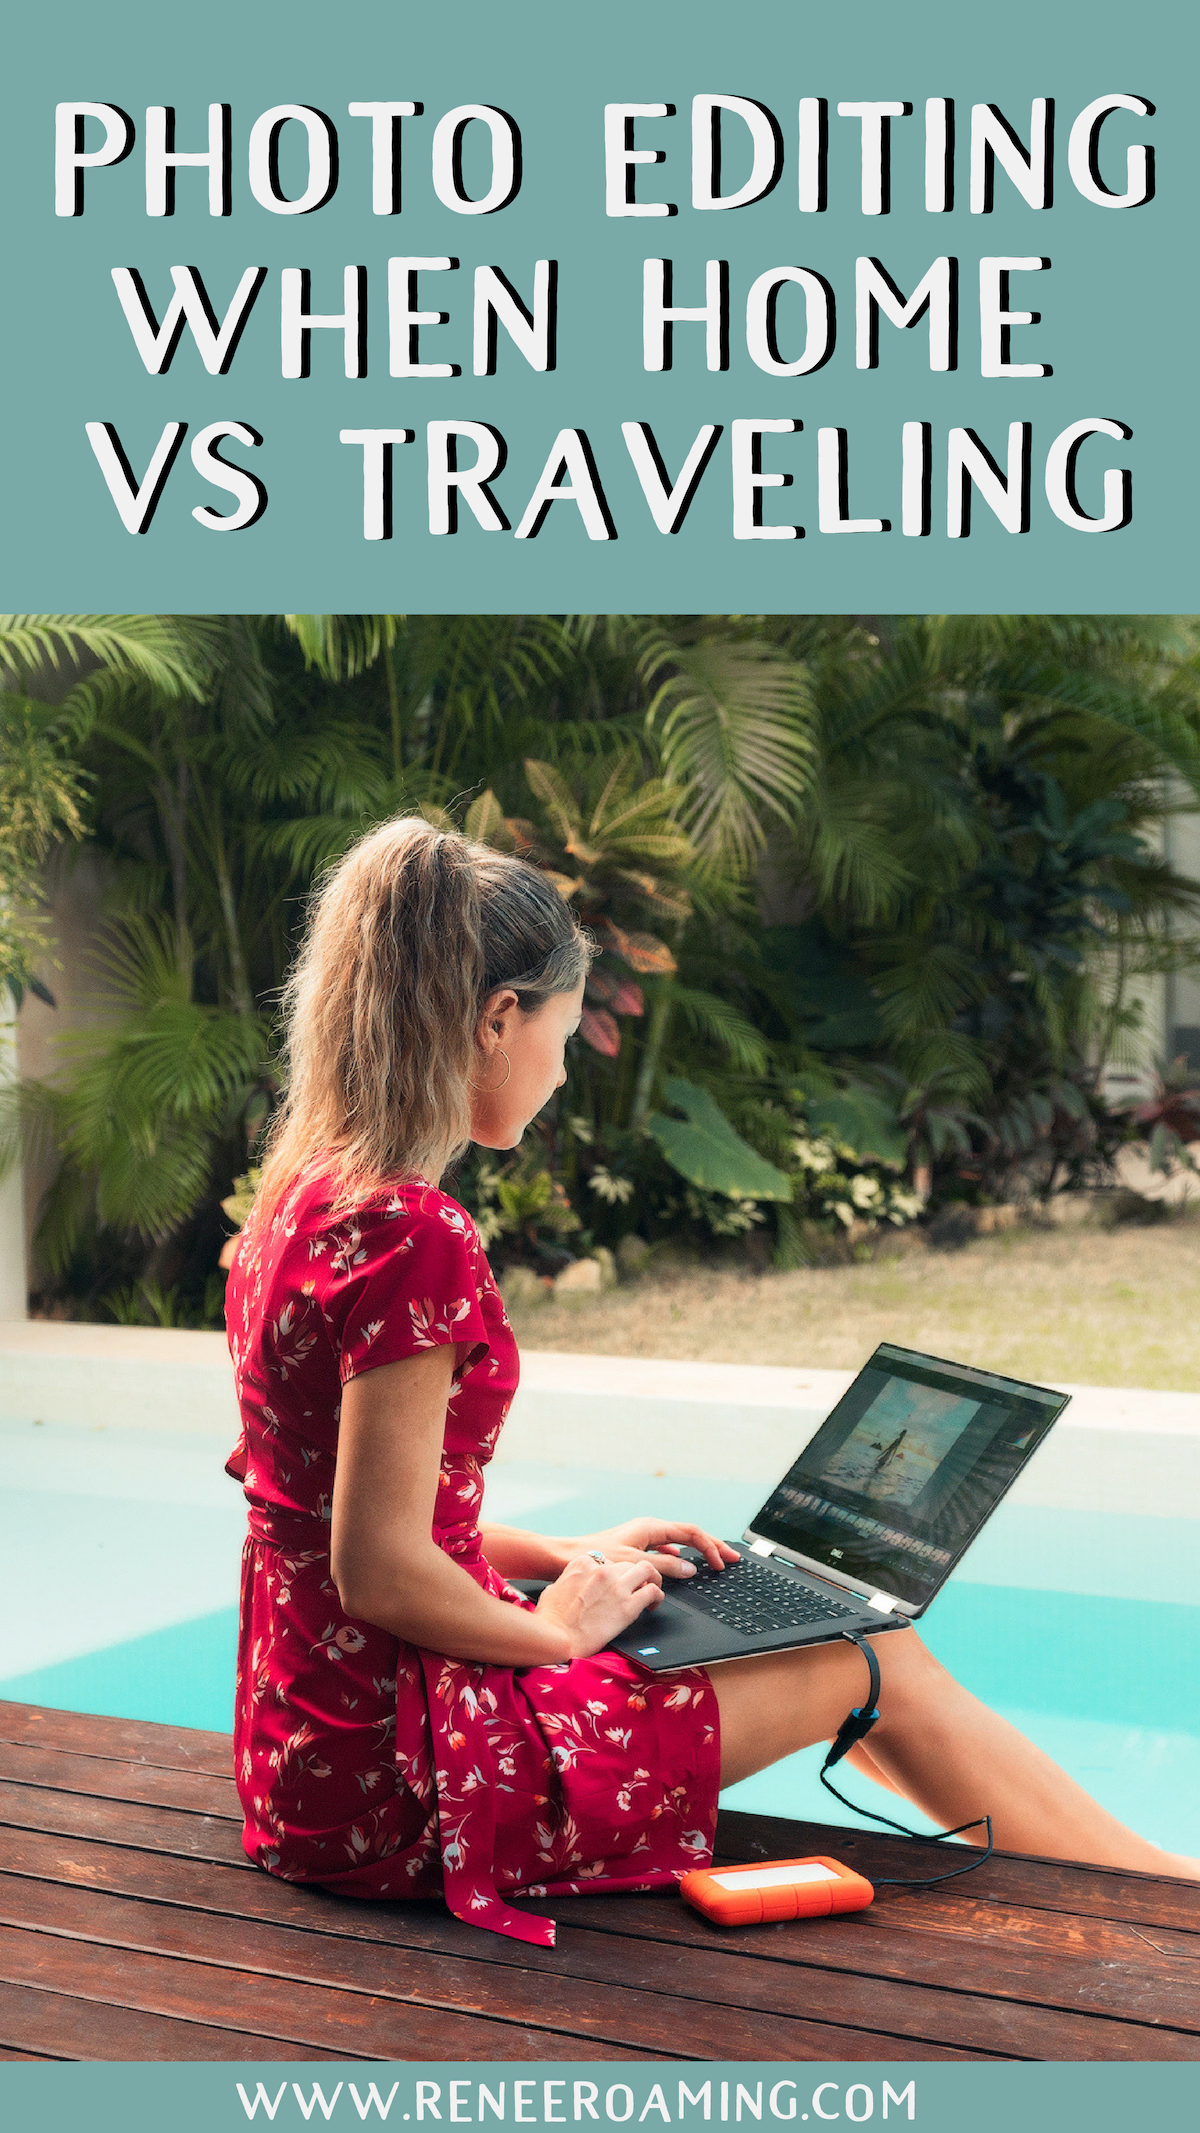
I am not going to pretend that I always spend my time editing by the pool like in the above photo haha. The reality is that I usually lock myself indoors, find a table and comfy chair, close the blinds and get to editing. I know plenty of people who can edit the entire day in bed, by the pool, or sitting on a couch, but I personally prefer to keep things as routine as possible. We always choose an AirBNB or hotel that has a table and chairs to work at.
As discussed above, my tips for editing on the plane (or in any tight space) would be to switch over to tablet mode. This frees up a ton of space and allows you to use your laptop even when the person in front of you reclines their seat… which nearly always happens to me!
Photo editing can really drain a laptop’s battery. I find the XPS 15 2-in-1 performs fairly well on battery life. In my experience, laptops will only last a few hours or less when running programs like Adobe Lightroom and Photoshop and using an external hard drive. An option for extending battery life is the Dell Power Bank Plus.
Another tip I have for photo editing when away from home is to always ensure you have multiple backups of your images. One way I do this is to back up my photos to a hard drive whilst also keeping them on my SD cards until I get home. This does mean you need to own extra SD cards but it allows you to have a second backup option. You could also backup to a cloud based service, but I find that I rarely have fast enough WiFi to do that.
At Home Photo Editing Set-Up
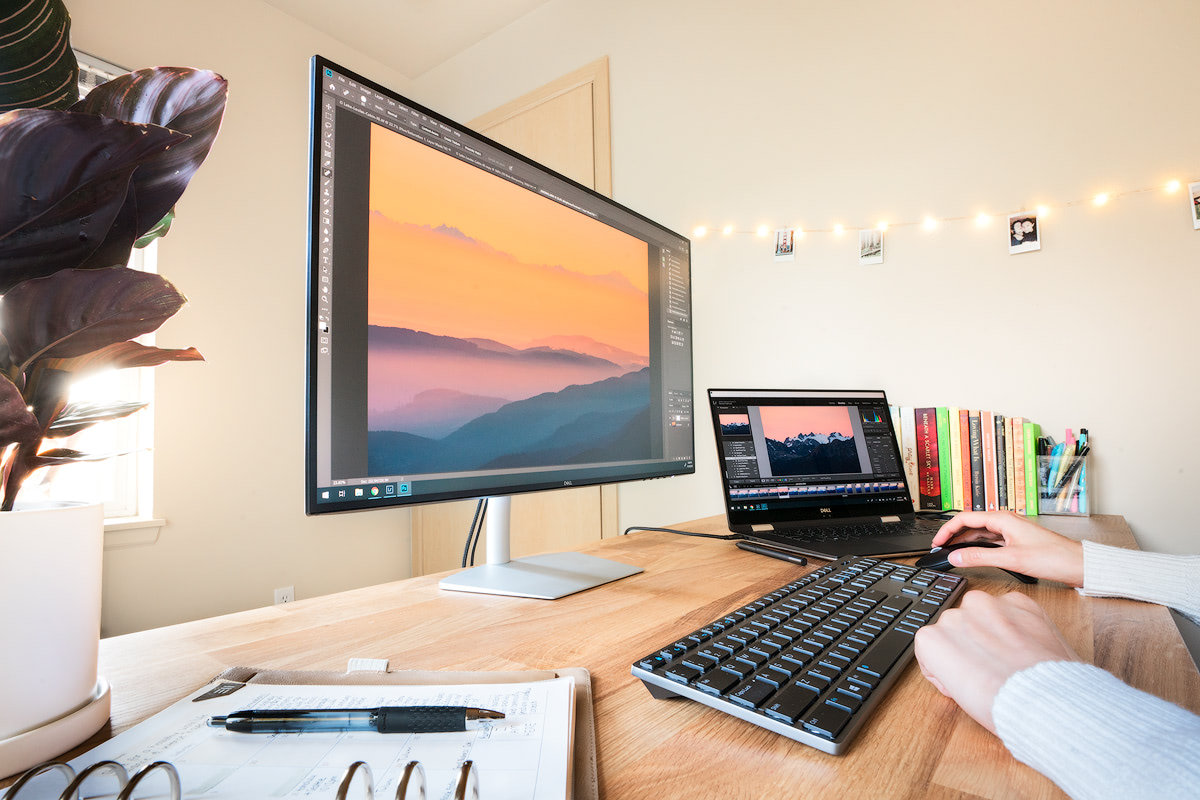
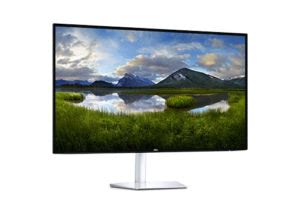
My at-home photo editing set-up is pretty similar to when I travel. The main difference is that I connect my XPS 15 2-in-1 to an external monitor so that I have two screens and a larger surface to view my images on. I use the Dell 27 inch Ultrathin Monitor (S2719DC) and love overall design and incredible visuals.
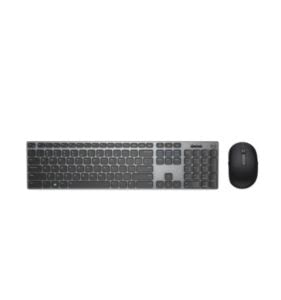
I also use a wireless mouse and keyboard at home when my laptop is connected to the external monitor. The Wacom Intuos Pro (or similar) is an option for those wanting to continue editing with a stylus in this situation.
I do plan to build a customized PC for my office eventually. Desktop computers can be designed for more powerful 4K video editing, gaming etc. For what I do (travel blogging, photo editing, browsing the web), I would choose a laptop over desktop if made to select just one.
Tips For Editing At Home
I really love photo editing when home. One of the main reasons is that I have put effort into creating a personalized space that motivates me to be productive, inspires my creativity, and promotes high quality work.
For me this means ensuring I have equipment that I enjoy using and a quiet area with reduced distractions. I also surround myself with books, photos, artwork, and plants that inspire my creativity. Plus, I use an Agendio Planner and phone apps like Focus Keeper to help me stay on track with my photo editing and other tasks.
Another tip would be to set aside larger projects and more intricate photo edits for when you are home and can use your external monitor. Having a more controlled environment and larger screen often allows me to get more precise with my photo editing.
Lastly, I would again focus on having adequate photo storage. This could look like multiple external hard drives, cloud based and/or a RAID system.
Always ensure you have at least one offsite back-up option in case of theft or damage to your home.
Related Posts
The Best Laptop For Photo Editing & Travel Blogging
Travel Photography Gear – What’s In My Camera Bag
How To Take Stunning Travel Photos As A Couple
Wild Iceland: 15 Day Photography Road Trip
Night Photography Tips and Tricks
PIN For Later
Disclaimer – A massive thank you to Dell for partnering with me on this blog post. When hearing how much I love the XPS 15 2-in-1 they asked me to share my photo editing set-up. All opinions, thoughts, and experiences are completely my own and truthful. I would never deliver you guys a dishonest review! Thanks for reading, I hope you found it to be helpful.


Thanks for sharing!
Thanks for sharing your setup and valuable advice. It’s given me some great ideas for refining my workflow!
Yes, CapCut APK is free and provides a vast range of features without any subscription fee.
I have also seen a great article. It’s also informative for users
Who needs cable when you’ve got the ultimate Xtream IPTV codes list? Unlock a world of free live TV channels and never miss your favorite shows again. Streaming just got a whole lot easier!
This is a great article i also seen. It’s also informative for users.
Thanks for this blog!!! Please also keep uploading.
Really helpful info! Thanks for shairng!
Thank you so much Renee!! So helpful (as always!) and I loved the images you chose for this post! Great visual and text instructional here!
What do you use for color calibration on your monitor? ColorMunki?
So much helpful info Renee. Thanks for sharing.
Thank you!!
This was great info, thanks! If you edit directly off your hard drive, does that mean you don’t use Adobe’s cloud storage? What do you recommend for your offsite backup? Thanks, love your work!
Great question Lara! I personally use hard drives for all my backups and store some off site in case of theft or damage to our home. The reason I don’t use cloud backup is that I haven’t found an option that can upload my large files sizes efficiently and especially with slow wifi when I travel. I know other people that use cloud backup but I just haven’t had success doing that myself. If you are looking for places to store your offsite backups I would suggest a bank safety deposit box or keeping them at a friend or family members home. Good luck!