Winter hiking and camping can be absolutely magical… but it can also be downright miserable. It all comes down to being prepared, ensuring you have adequate gear, and researching the conditions. I’ve spent some very cold nights out winter camping and over the years have dialed in my gear and tricks to staying warm. This guide shares with you all the essentials for getting out winter hiking and camping, including how to research, plan ahead, and what gear to use.
Disclaimer: This blog post may feature some affiliate links, which means I get a small commission if you make a purchase (at no extra cost to you). It’s one of the ways I can keep producing free guides and resources for my readers. Learn more about my affiliate policy here. Thank you for the support!
Ultimate Guide to Winter Hiking and Camping
Winter hiking and camping can be incredibly rewarding. A snowy, winter wonderland is beautiful and it comes with the bonus of fewer crowds compared to summer. Anyone can do it with the right practice and preparation. With all of that being said, it can also be incredibly dangerous.
There is far less room for error when hiking and camping in the winter compared to in the summer months. If you have never done any winter camping or hiking before, please start slow. Stick to trails that are shorter and have quicker access back to the safety of a structure or car. This way, if you make a mistake and end up wet and cold, the consequences are minimal.
Also, stick to trails with minimal avalanche danger and be sure to check the local weather to make sure you will not be expecting blizzard conditions in which you may get lost. Once you are comfortable with your gear and how to stay warm, as well as have some more experience with the new challenges that winter presents, you can upgrade to longer and more challenging trails.
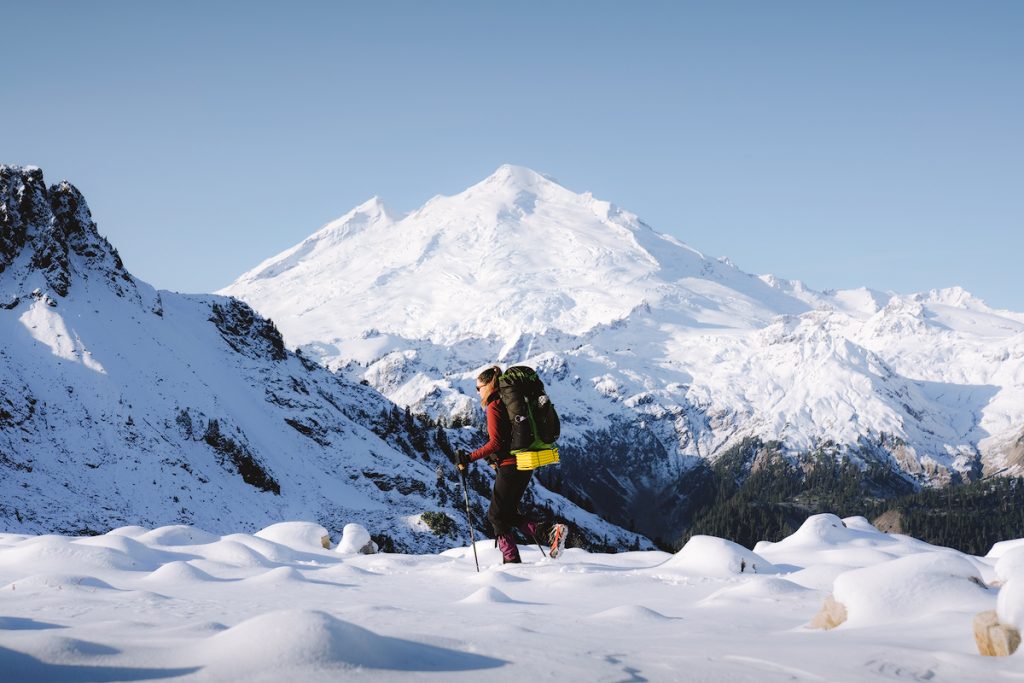
Planning a Winter Hiking and Camping Adventure
It’s important to have done your research and planned accordingly before heading out into the great outdoors. I go into detail about this in my guides to beginner hiking and beginner backpacking – I would recommend checking them out. In general, it’s vital to know where you are going, to have a solid plan, directions, adequate gear, and to have researched leave no trace principles. It’s always good practice to also let someone know where you are going and when you will be back.
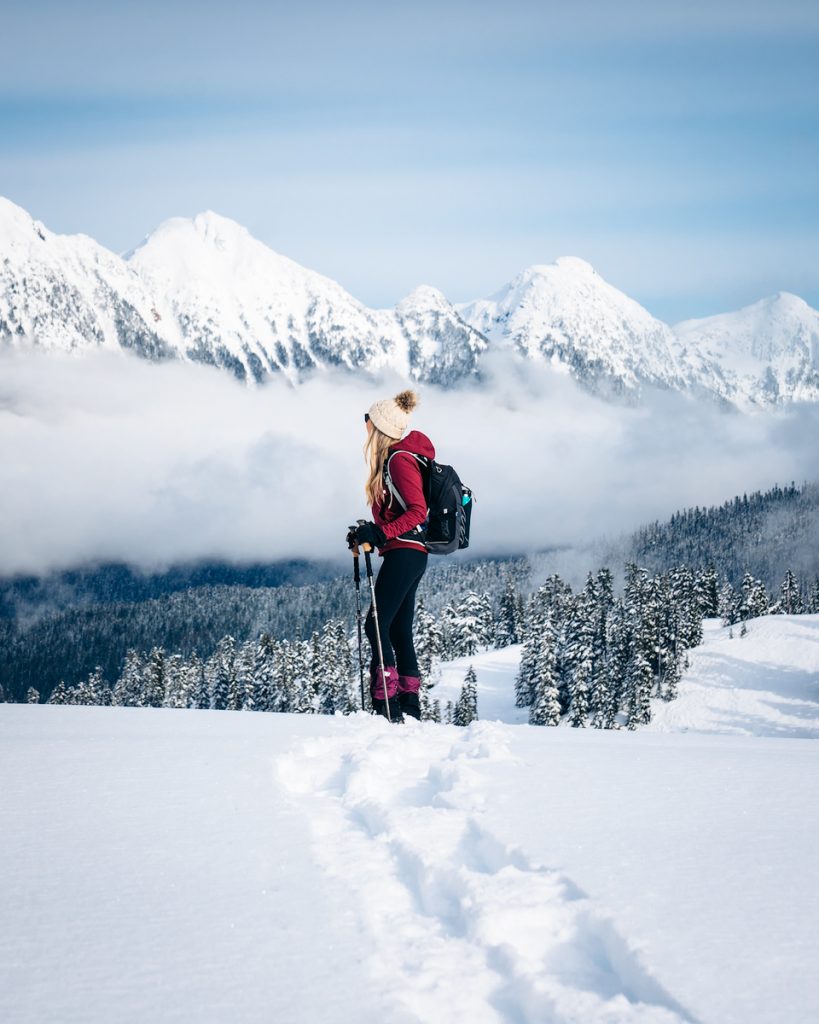
Winter Gear Essentials
If you have read my beginners hiking and backcountry camping guides then you know there are quite a few items you need to ensure you stay safe out in the wild. Every hiker and camper is different, but I personally find that I need specific gear for during the winter time and most of my summer items just don’t cut it in the extra chilly temps. Like many women, I get super cold when hiking and camping in the snow, and definitely rely on my winter specific gear to stay safe and warm when in the backcountry.
Generally winter gear can get fairly heavy and bulky, especially if you can’t invest in the lightest options. In saying that, there are ways to reduce pack weight when backcountry camping and day hiking. The easiest way is to go on trips with friends so that you can share a tent, stove/cook system, first aid kit, sunscreen, water filter, emergency device, etc.
Below I have listed the items I personally would recommend for winter hiking and camping, though you may find that some things aren’t necessary for your own kit. I also prefer to invest in lightweight gear so that my overall pack weight is as light as possible. These lightweight items are usually more pricey and you may decide to start with heavier/more affordable gear to begin with.
Don’t forget to use code RENEE15 to get 15% off your first Backcountry.com order! (some exclusions apply)
Traction
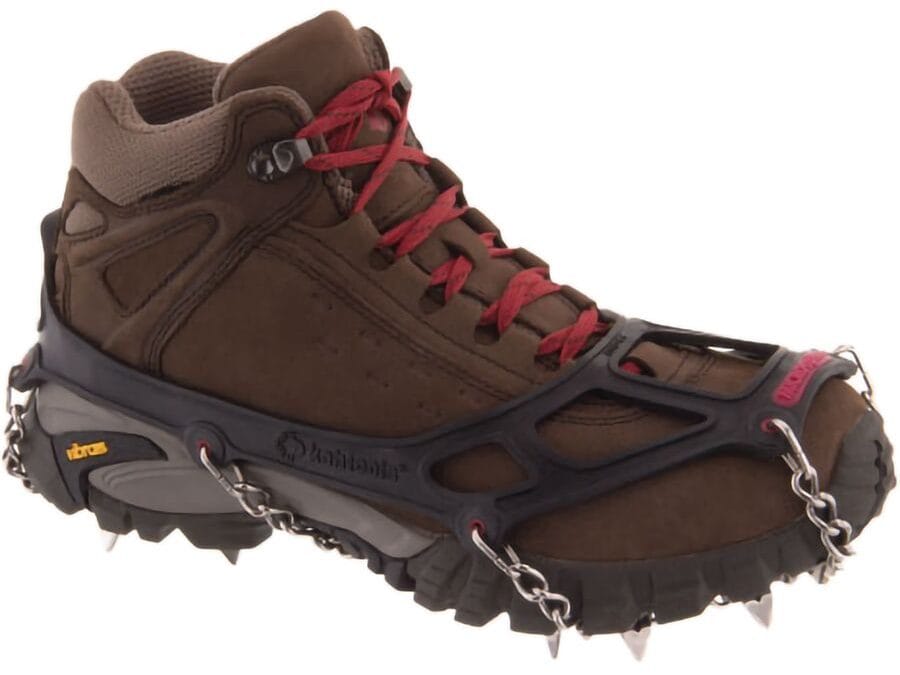
A tool to add traction to your feet is essential in proper winter conditions. Trails get snowy, and icy and can be incredibly dangerous or just down-right hard to navigate without them, especially when having to go up or down mountains. I find a pair of Kahtoola Microspikes to be incredibly helpful in winter. These are great for popular trails that are often already tracked out (someone has flattened the snow in front of you already) and also for icy conditions.
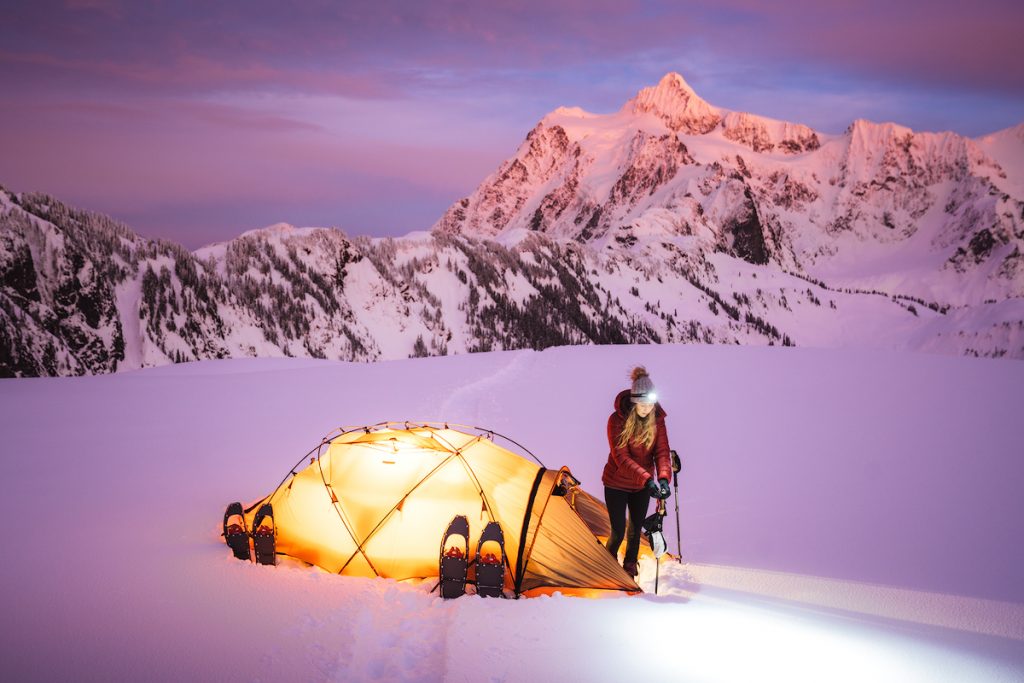
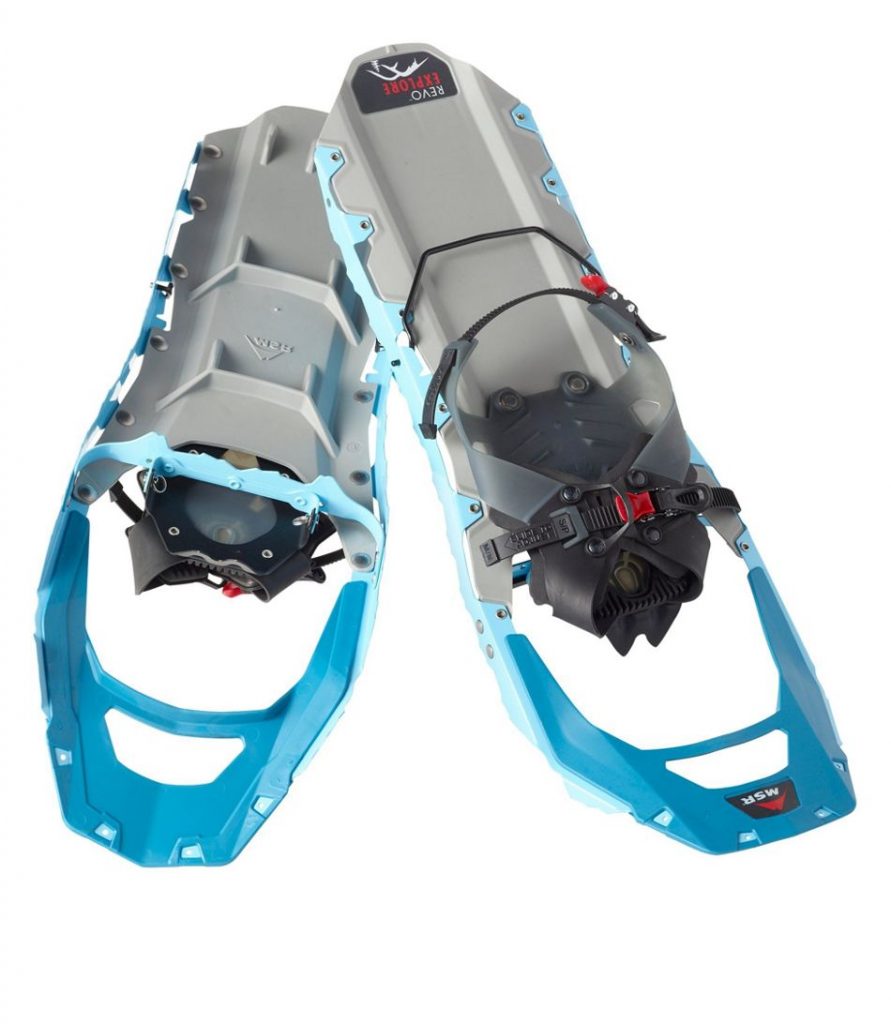
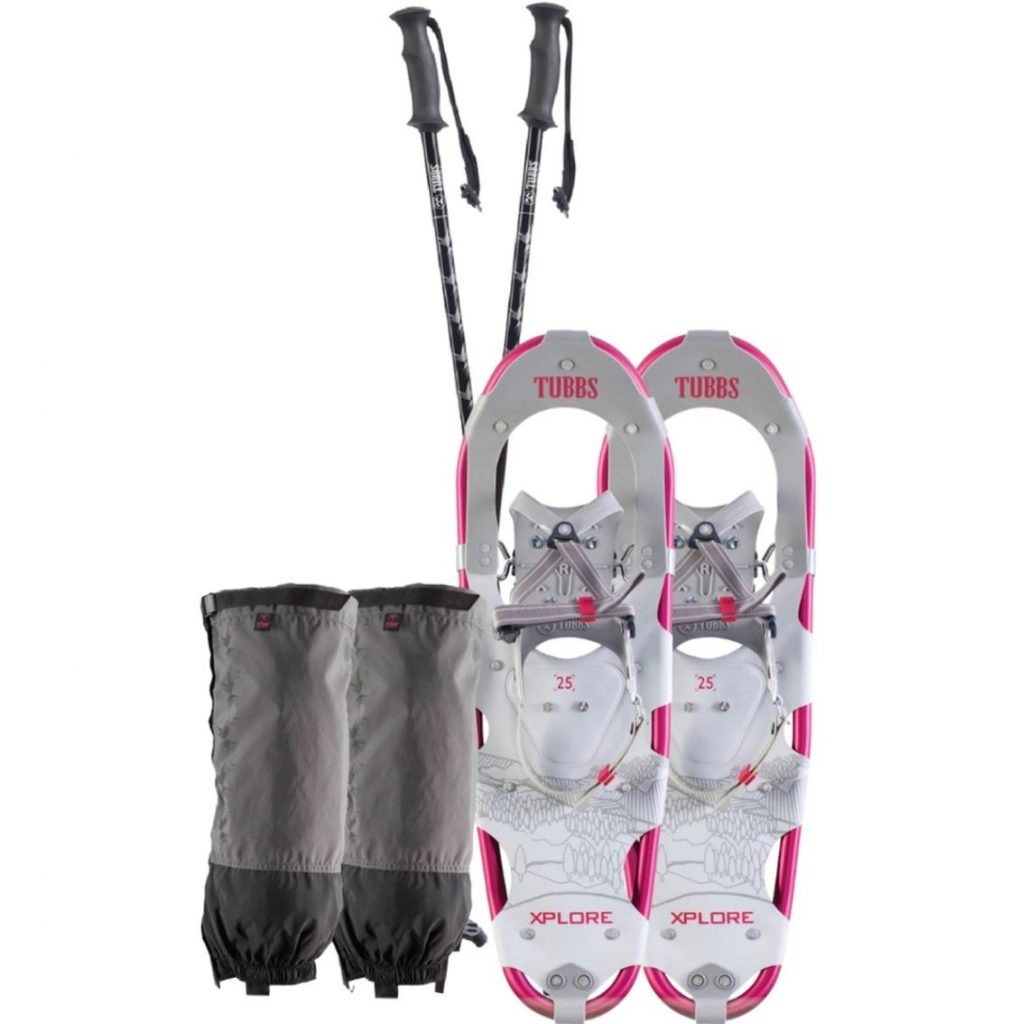
If you’re hitting less visited trails or heading off-trail into deep snow, I recommend a pair of snowshoes to keep you from sinking too far. My favorite pair of snowshoes are the MSR Revo Explore Snowshoe because they are long, keep you above fresh powder and have great traction. A cheaper option for less powdery conditions are the Tubbs Xplore Snowshoe, which comes in a convenient kit with gaiters and poles. This is a great option for beginners!
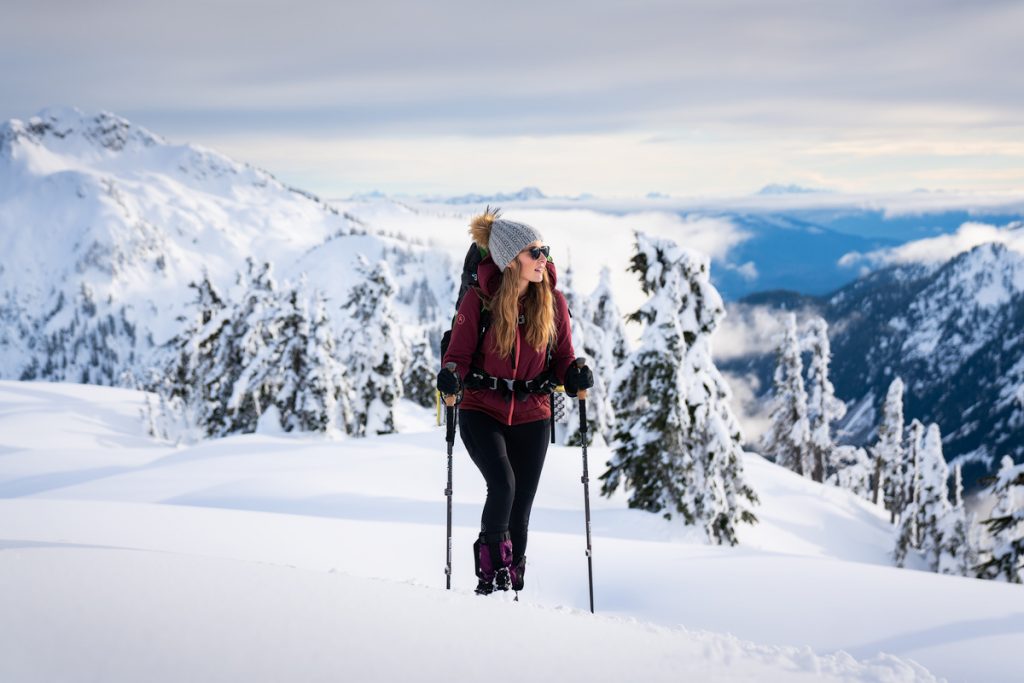
Trekking Poles
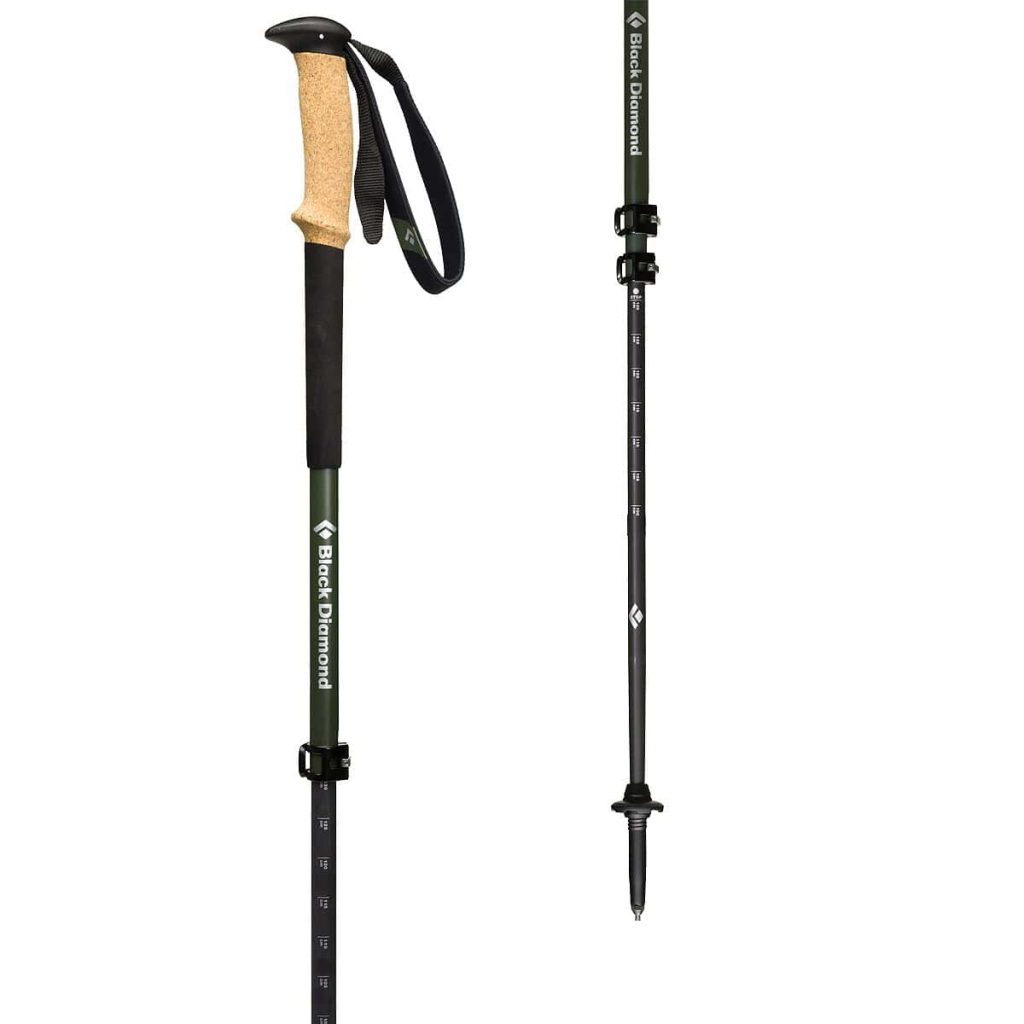
Trekking poles are incredibly useful in the winter, especially when hiking across deep snow which can put you off-balance quite easily. My go-to poles are the Black Diamond Alpine Carbon Trekking Poles as they are lightweight and comfortable to use. The Stoic Powerlock Cork Poles are a good budget alternative. Be sure to use the winter attachments that come with the poles!
Waterproof Hiking Boots
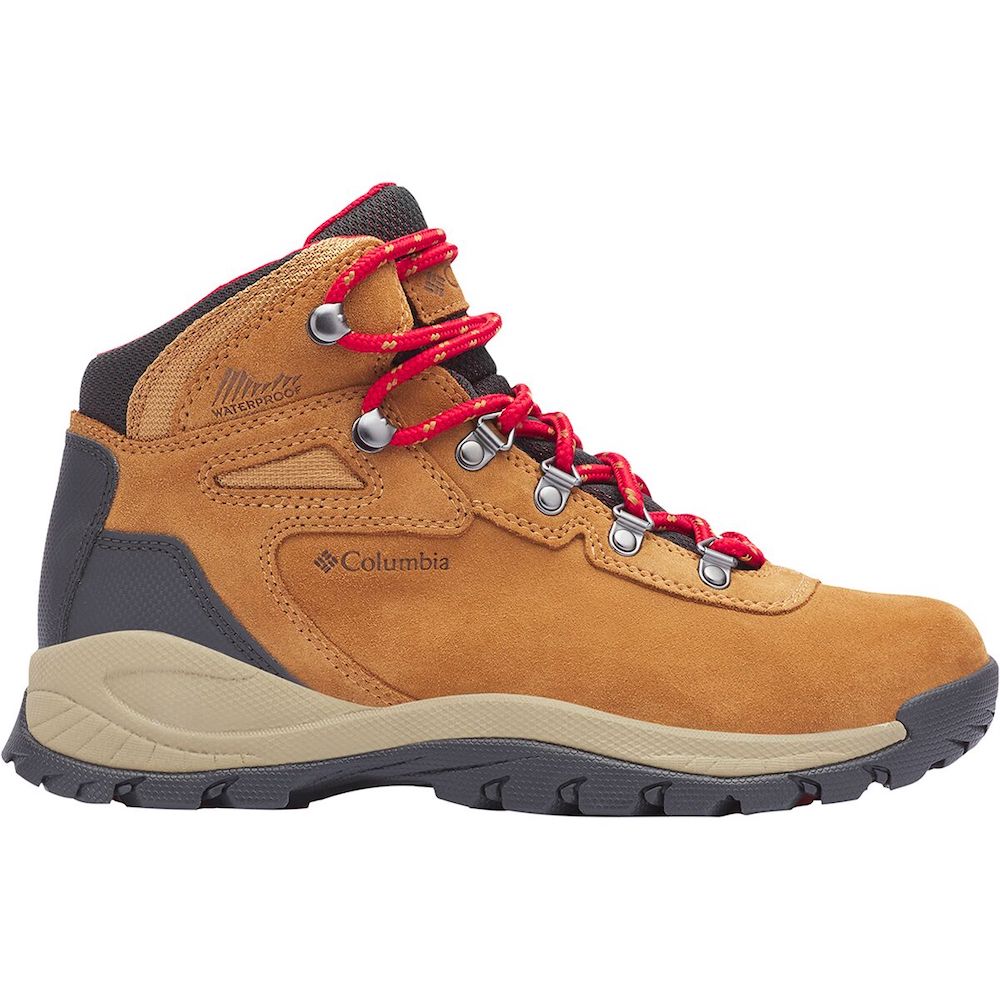
Waterproof hiking boots are essential for winter hiking and camping, unless you want wet and cold feet! Hiking boots are a very personal thing and you really need to find what kind of style, width, height, etc. suit your feet. I personally love the Columbia Newton Ridge Waterproof Boots for winter time. Some other good options are the Salomon X Ultra Mid GTX Hiking Boots. I have an entire blog post on the best hiking boots for men and women – check it out!
Gaiters
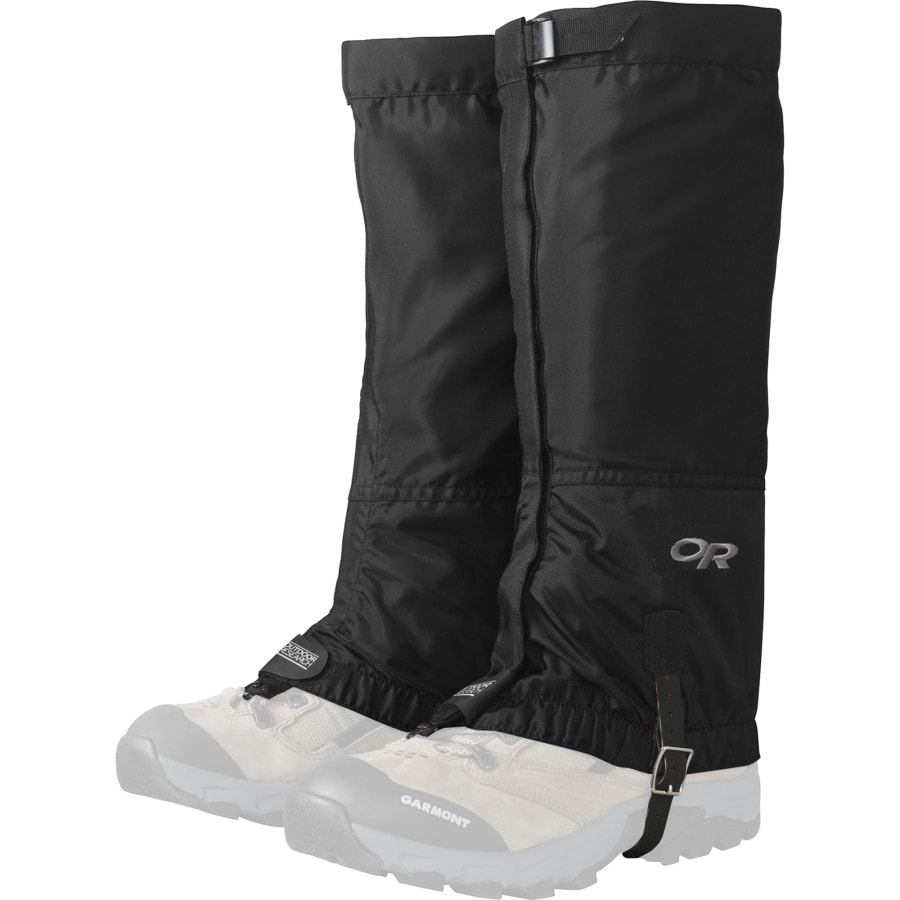
Gaiters are great for keeping snow from going down your boots, melting, and freezing your feet. I have used the Outdoor Research Rocky Mountain High Gaiters for a while now. They have lasted me 3-4 winters now so I can recommend these with confidence.
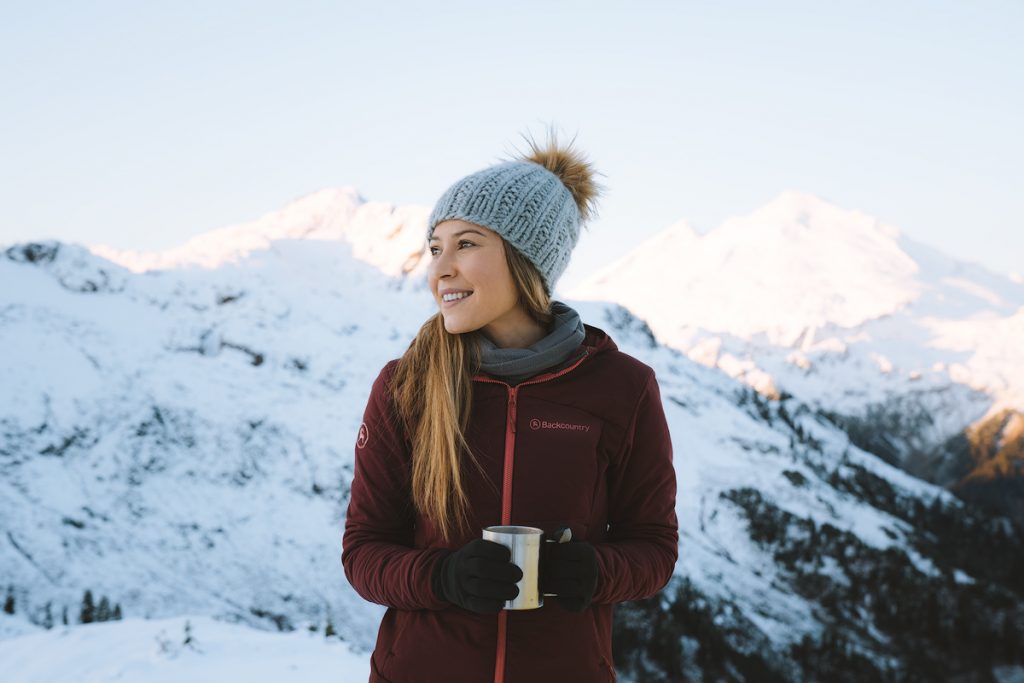
Winter Hiking Clothes
My winter hiking clothes are relatively similar to what I wear hiking in summer, as I typically like to wear long sleeves regardless of the season. In saying that, in winter I usually wear more layers and items that are more durable and wind-blocking. I personally cannot hike in a down jacket or insulated layers or I will get way too hot.
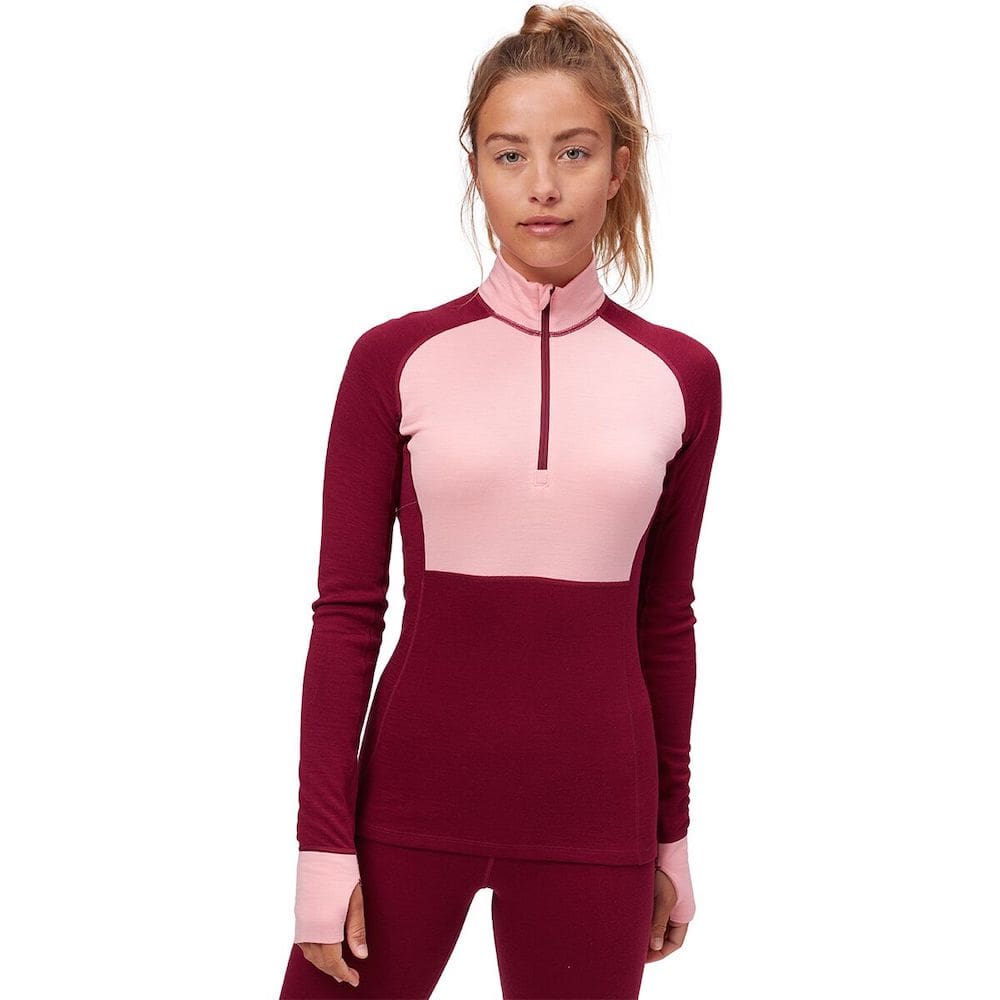
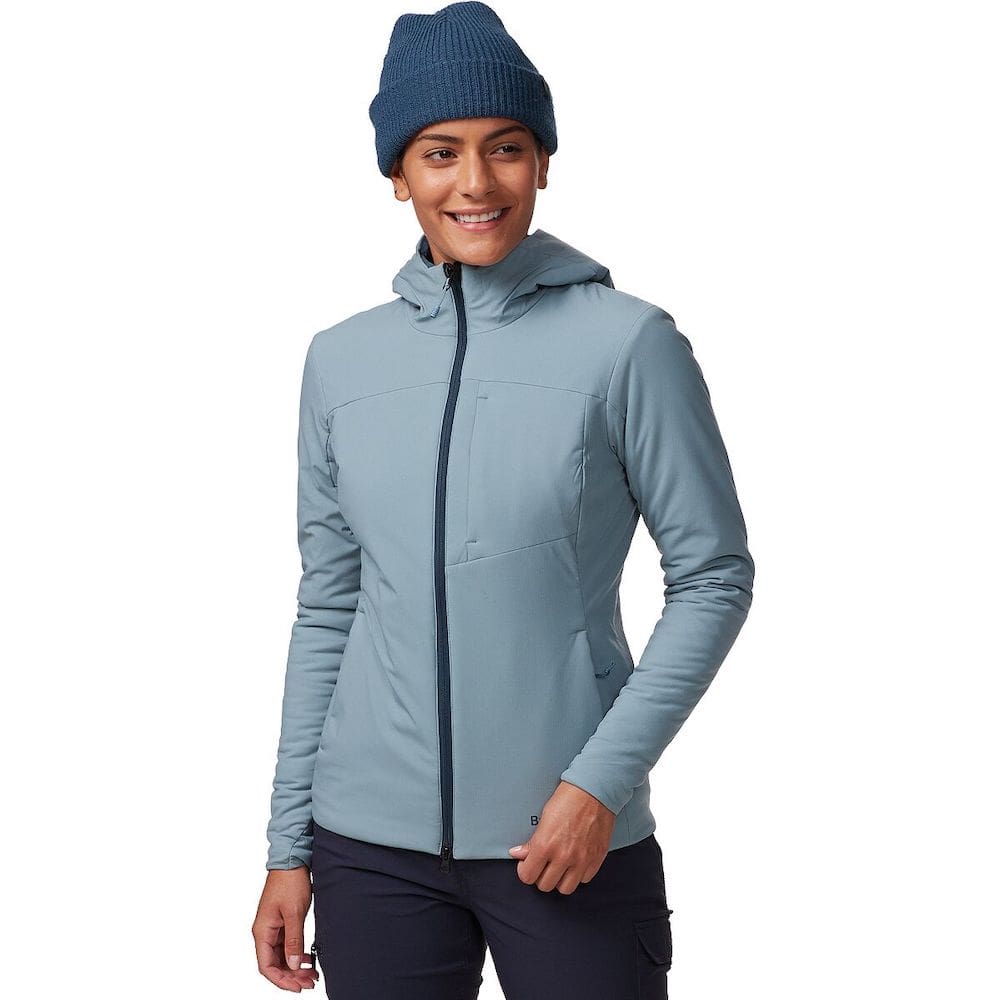
My go-to winter hiking base layer top is the Backcountry Spruces Merino Baselayer 1/4-Zip Top. If it’s extra chilly I will add a layer on top such as the Patagonia R1 Fleece. I also enjoy wearing the Backcountry Synthetic Insulated Jacket. as a breathable yet warm mid-layer.
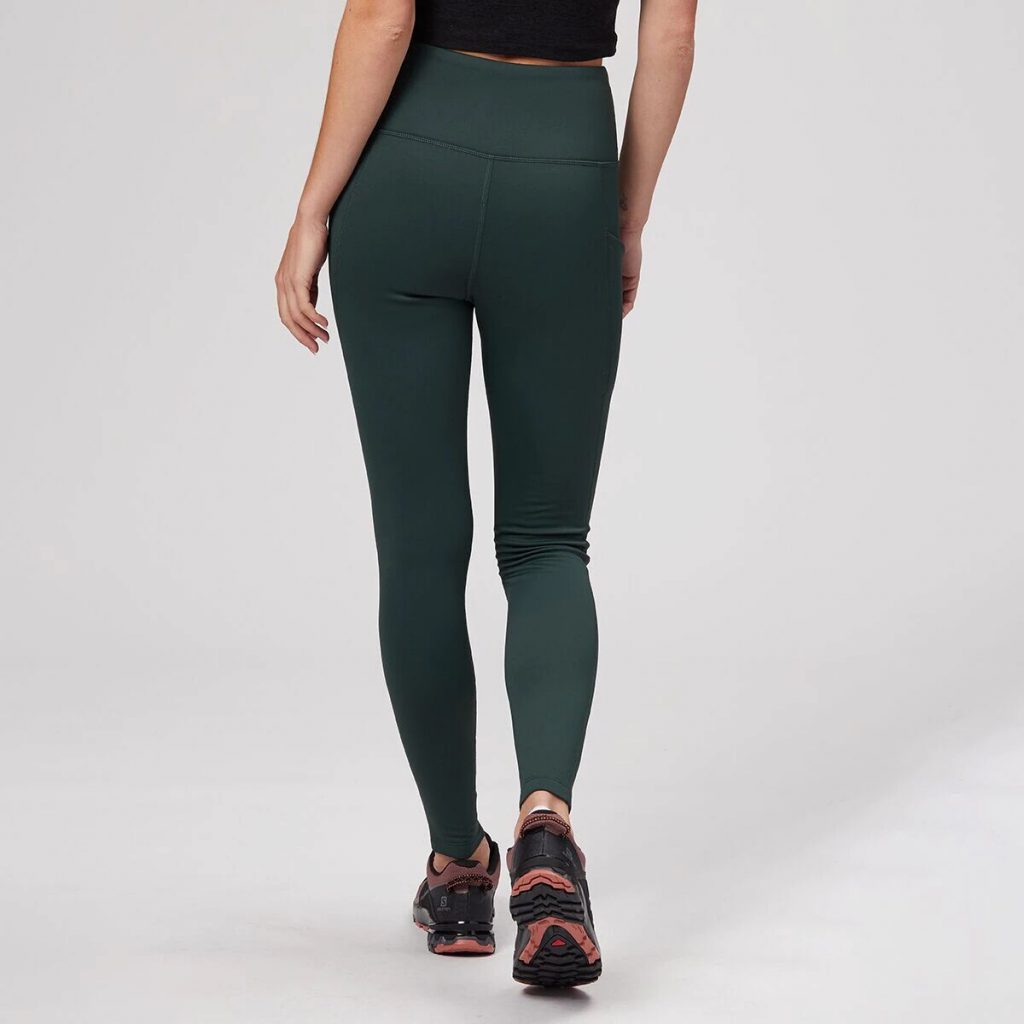
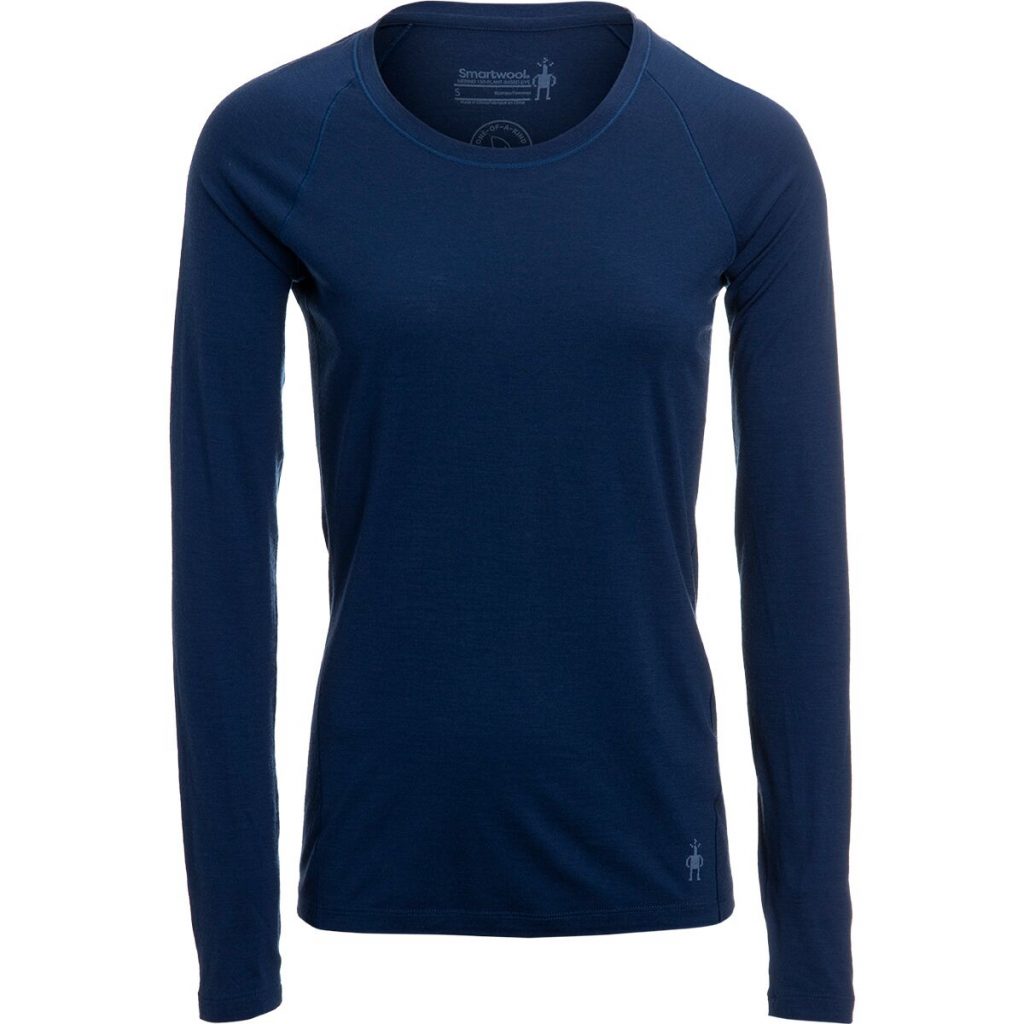
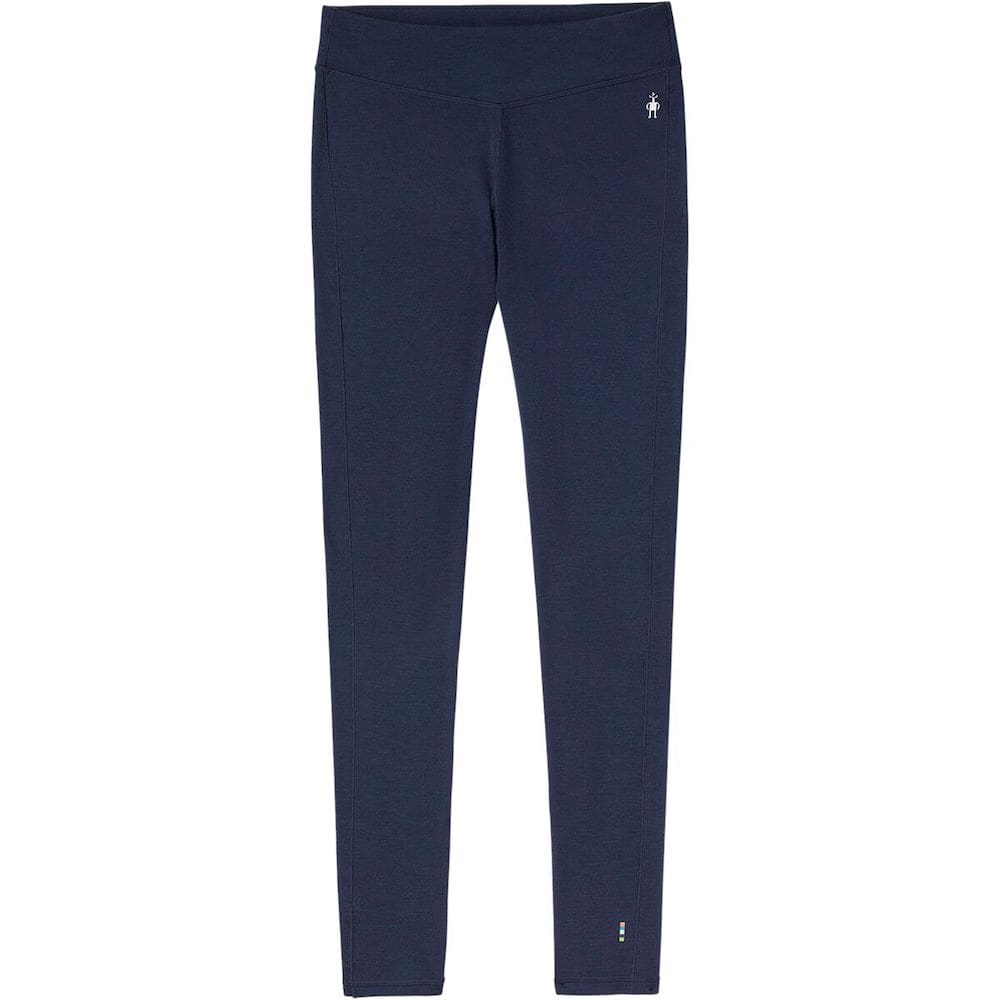
For lower body, I typically hike in the Stoic Fleece Legging as I find them warm yet breathable. If it’s super cold I will wear my Outdoor Research Ferrosi Pant and layer thermals underneath like the Smartwool Merino Baselayer.
Insulation and Rain Protection
During winter hiking and camping trips I most typically reach for three types of jackets: down jacket, rain jacket, and wind jacket. You certainly don’t need to own all three of these but I would always recommend having some sort of insulation/protection layer that is suited to your destination.
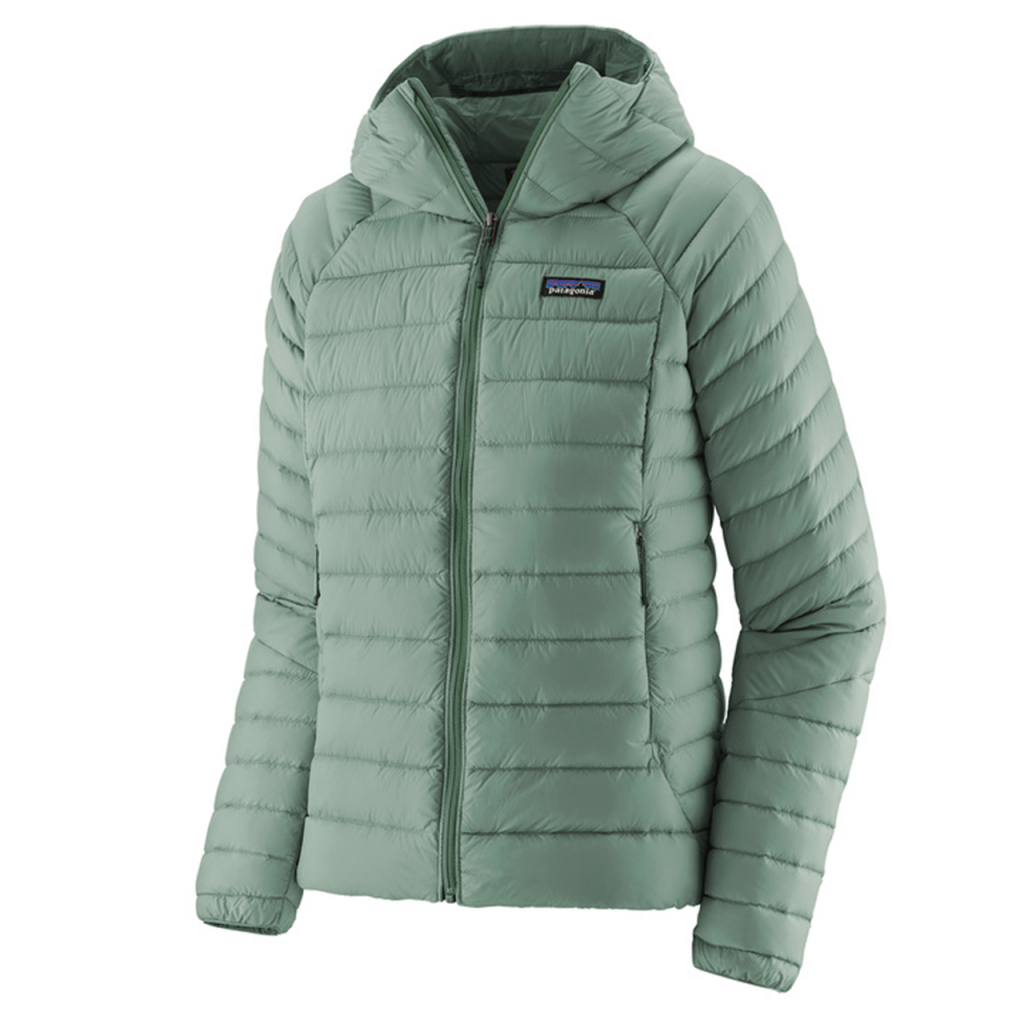
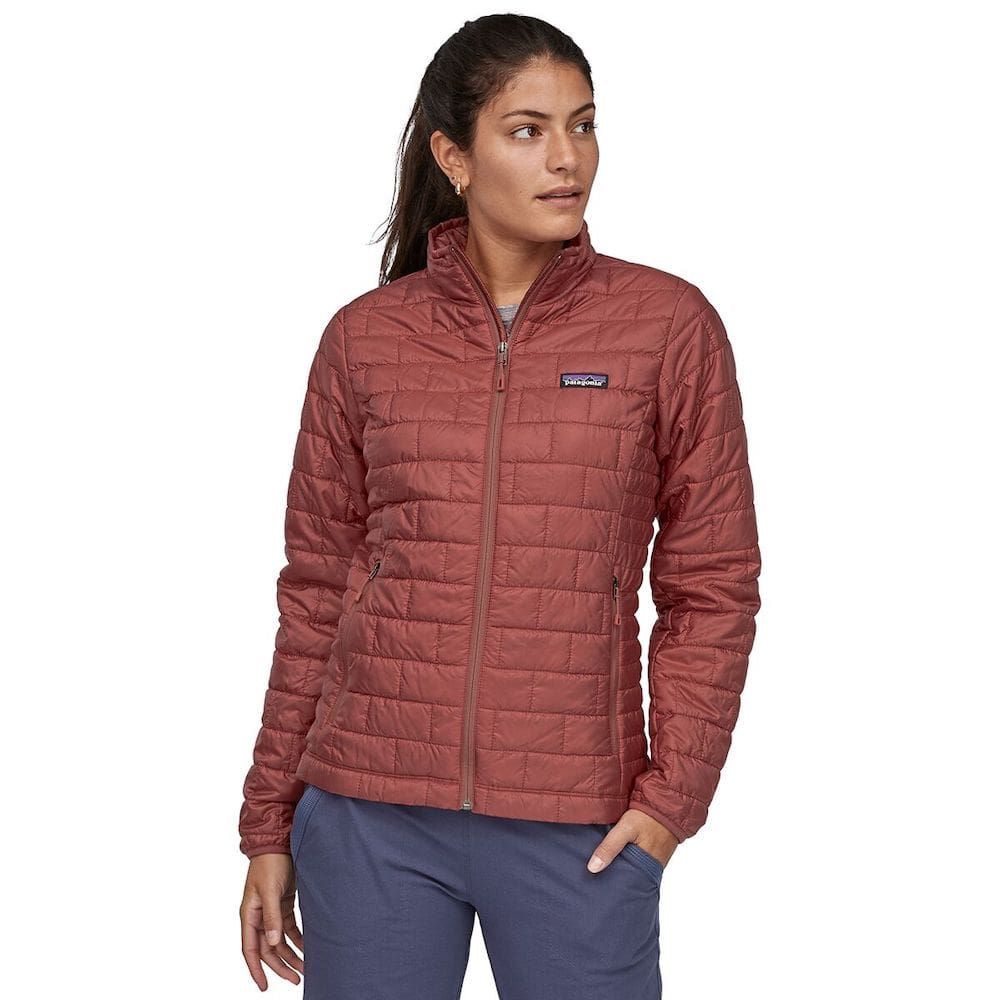
My favorite super warm down jacket for winter is the Patagonia Down Sweater. It’s pricey, but a worthwhile investment for such a feather-light warm jacket, in my opinion. I love the Patagonia Nano Puff Insulated Jacket for warmer months, like summer and fall. A waterproof shell, like the Marmot Precip Eco Jacket is a good layer to have handy, too.
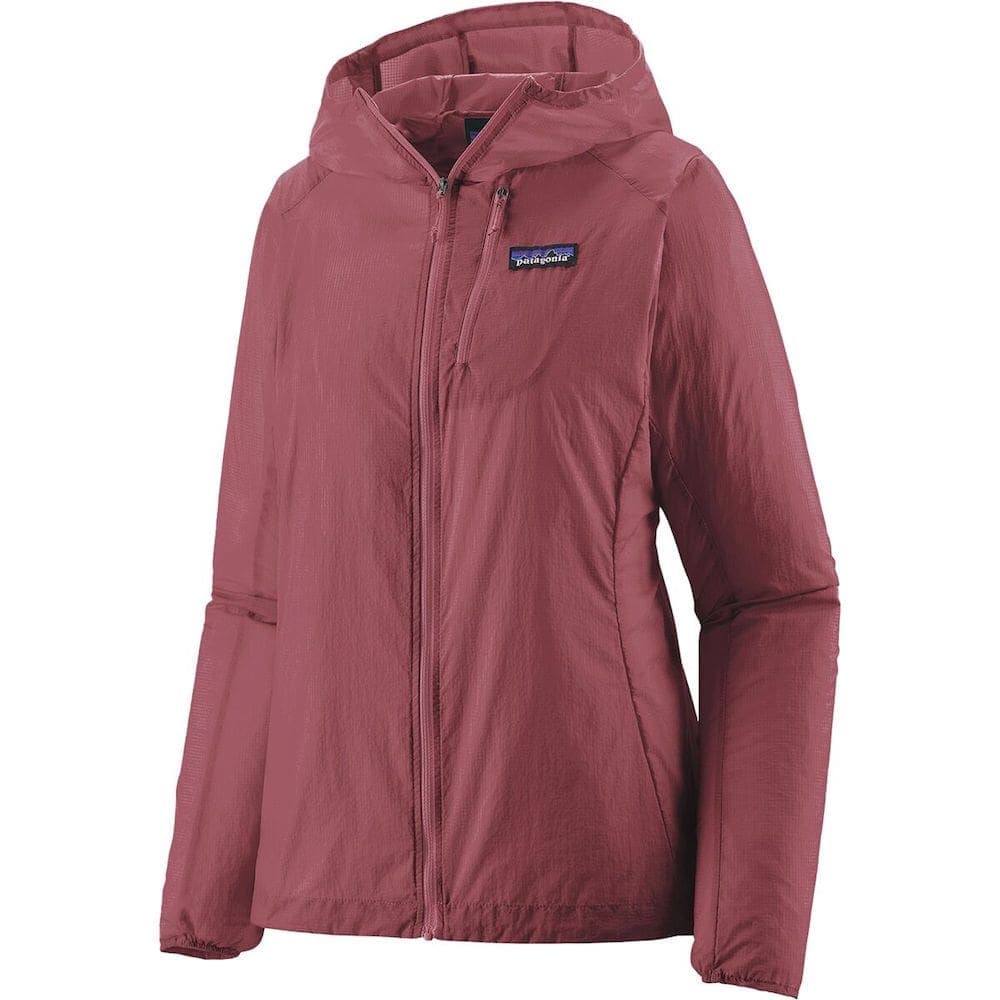
For those times that it’s a little too warm to hike in an insulation layer (yes, the sun can still get hot when hiking in winter!) but it’s too cold for just a base layer, I often opt for my Patagonia Houdini wind jacket. I also always take along some warm head protection, such as a Buff or beanie.
Gloves
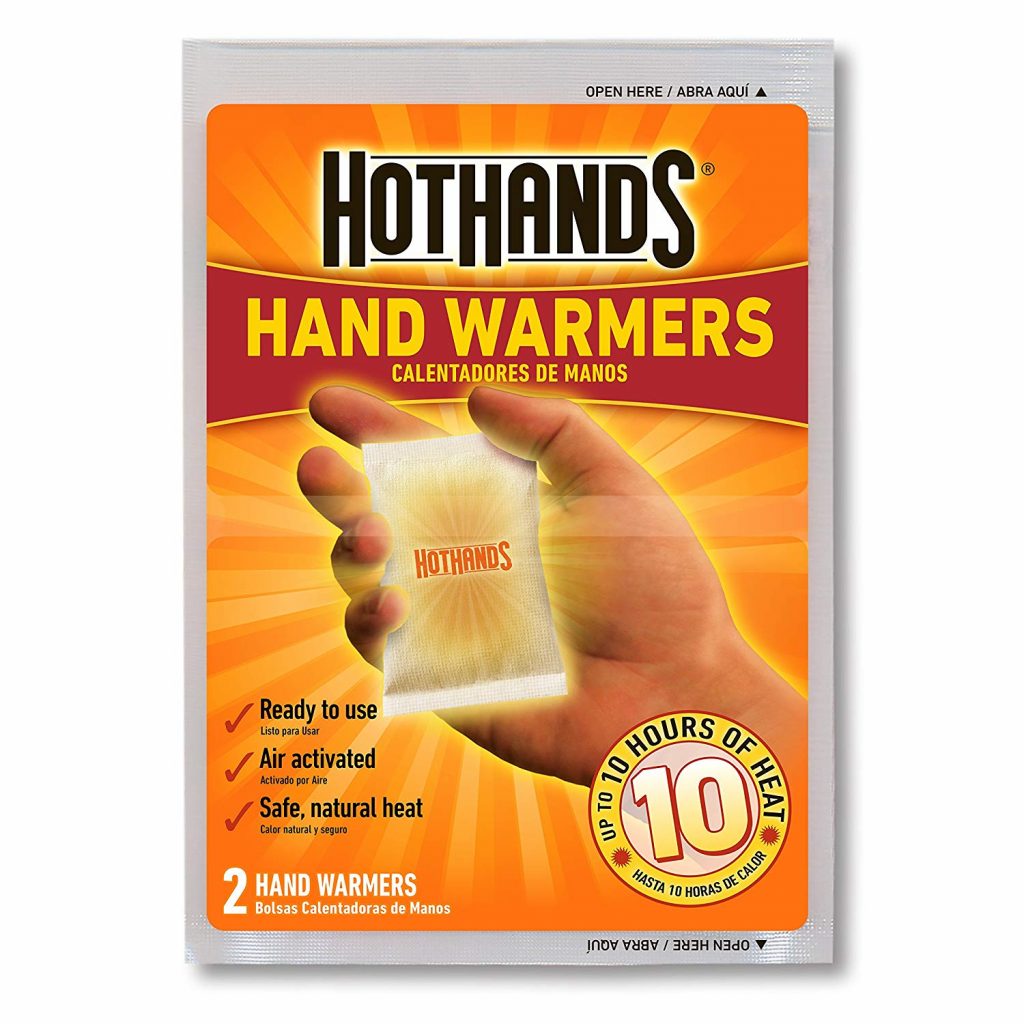
Frostbite is no joke. Adequate hand protection is vital when winter hiking and camping. I usually take two pairs with me, a lightweight option for hiking, sleeping, and when I need increased dexterity, and a heavier waterproof option for when the temperature really drops or it starts snowing. I would also suggest taking along some hand warmers to put inside your gloves for those extra cold mornings.
Socks
Don’t overlook the importance of having socks that fit correctly, are comfortable to wear for a long time, and are warm enough for the conditions. In my opinion, merino wool is the best option for hiking socks. They are breathable, moisture wicking, odor-resistant, and will be less likely to cause blisters. My favorite hiking sock brands are Darn Tough, Smartwool, and Icebreaker.
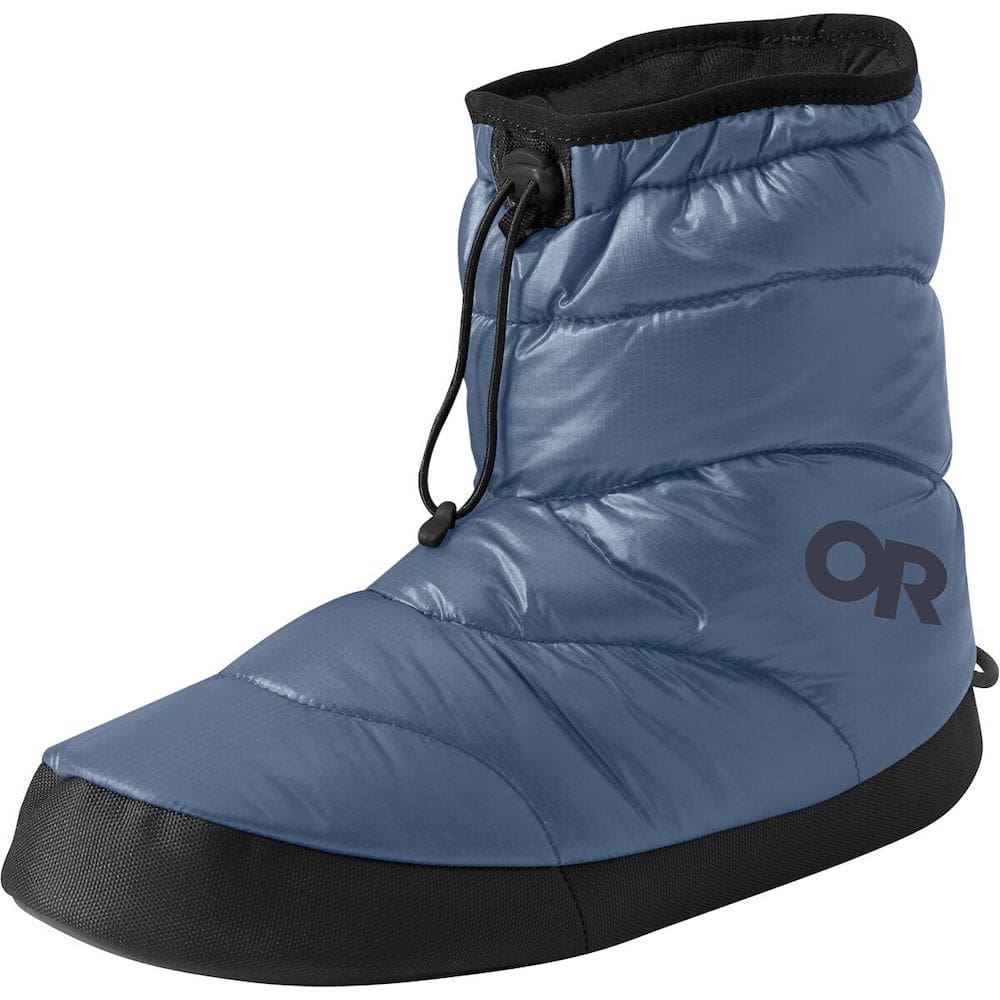
For day hikes I will typically wear one pair of socks all day and maybe pack an additional pair if I am worried about getting wet feet. For winter backpacking, I typically take 2-3 pairs of socks with me – 1 pair to wear hiking, 1 pair for sleeping, and 1 back-up. I hate having wet/gross feet so taking a third pair is often worth the weight in my opinion (especially if your wet hiking socks froze overnight…) My winter camping sleeping pair are usually a heavy weight option. I also have a pair of down booties that I am obsessed with and toe warmers also help.
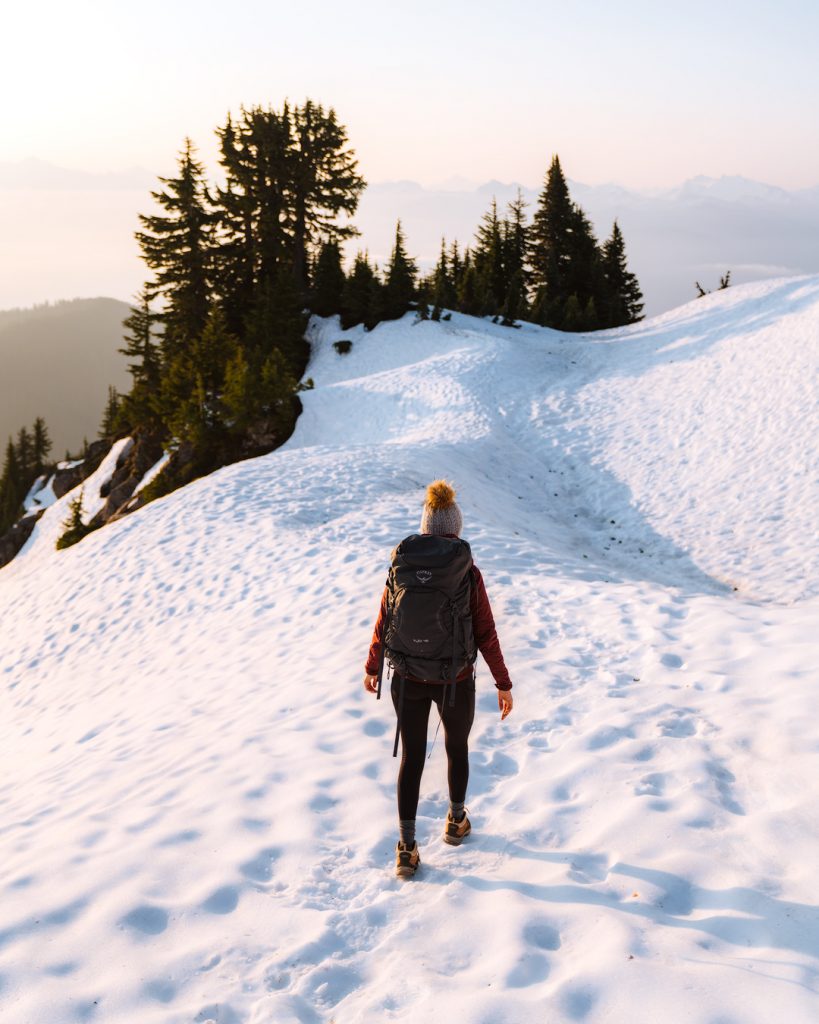
Backpack
Hiking backpacks are very personal in terms of size, fit and overall functions. Some people prefer ultra-lightweight with minimal pockets, zips and padding. I personally prefer a light pack that has a few of those features (especially the hip padding) but doesn’t go overboard with the weight. Also note that I typically carry a slightly larger pack than necessary as my camera gear takes up a lot of room!
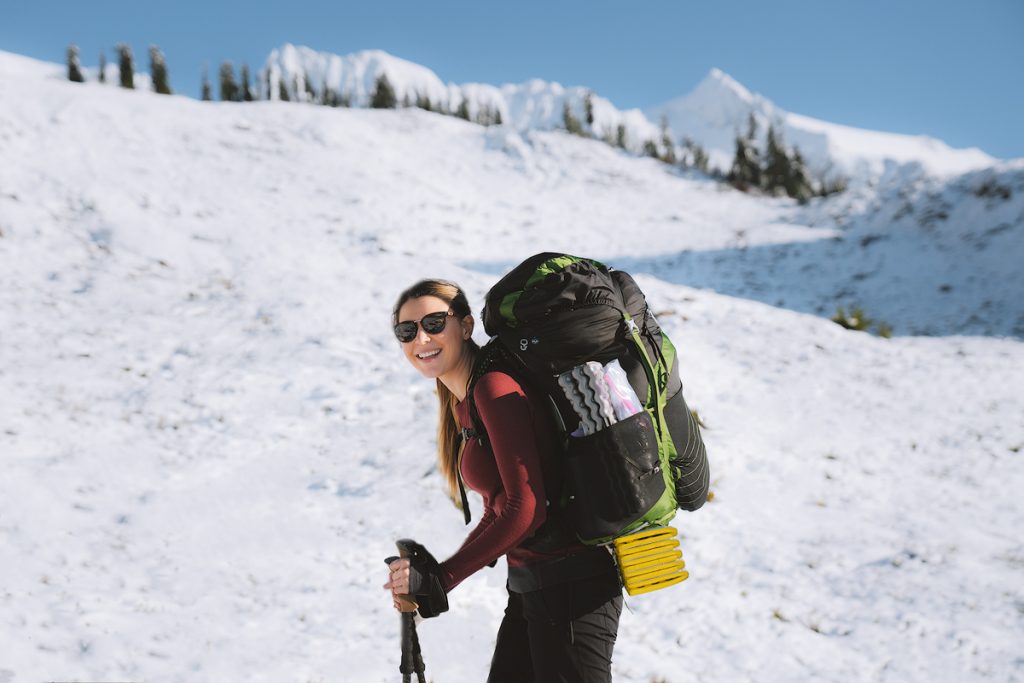
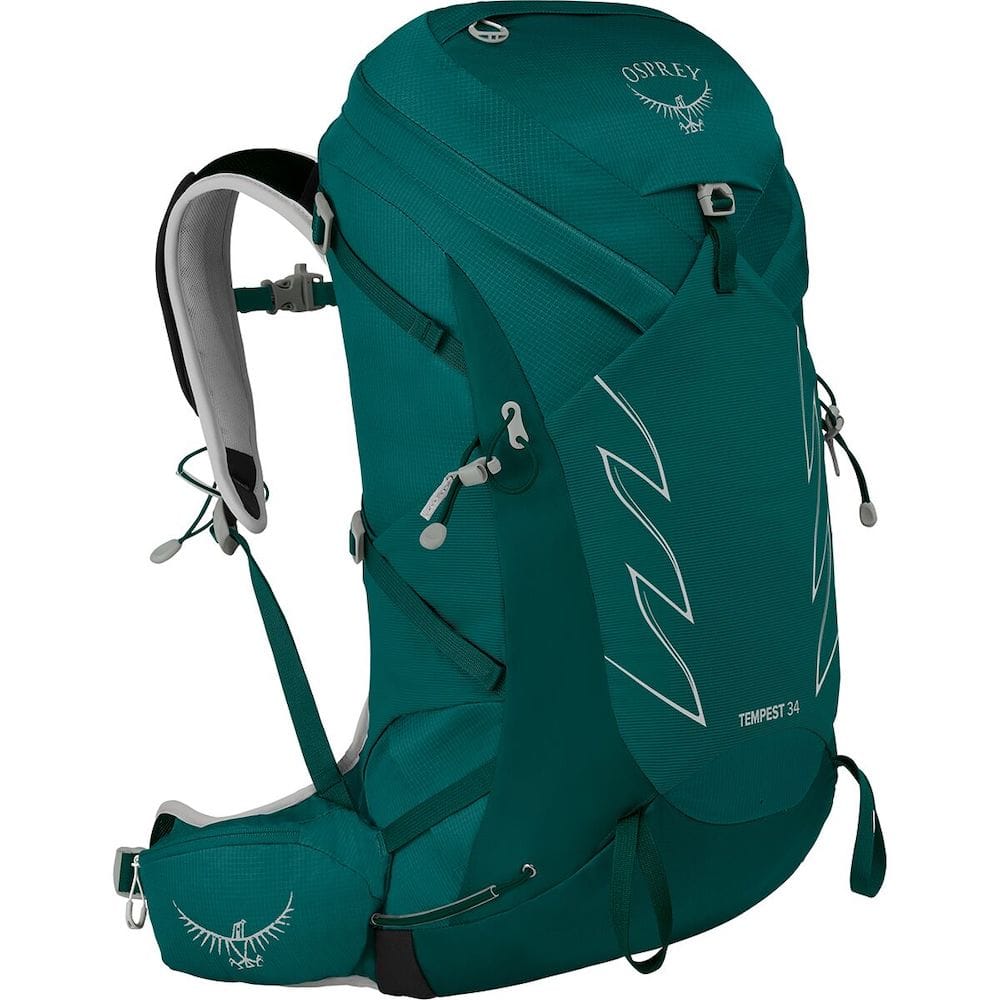
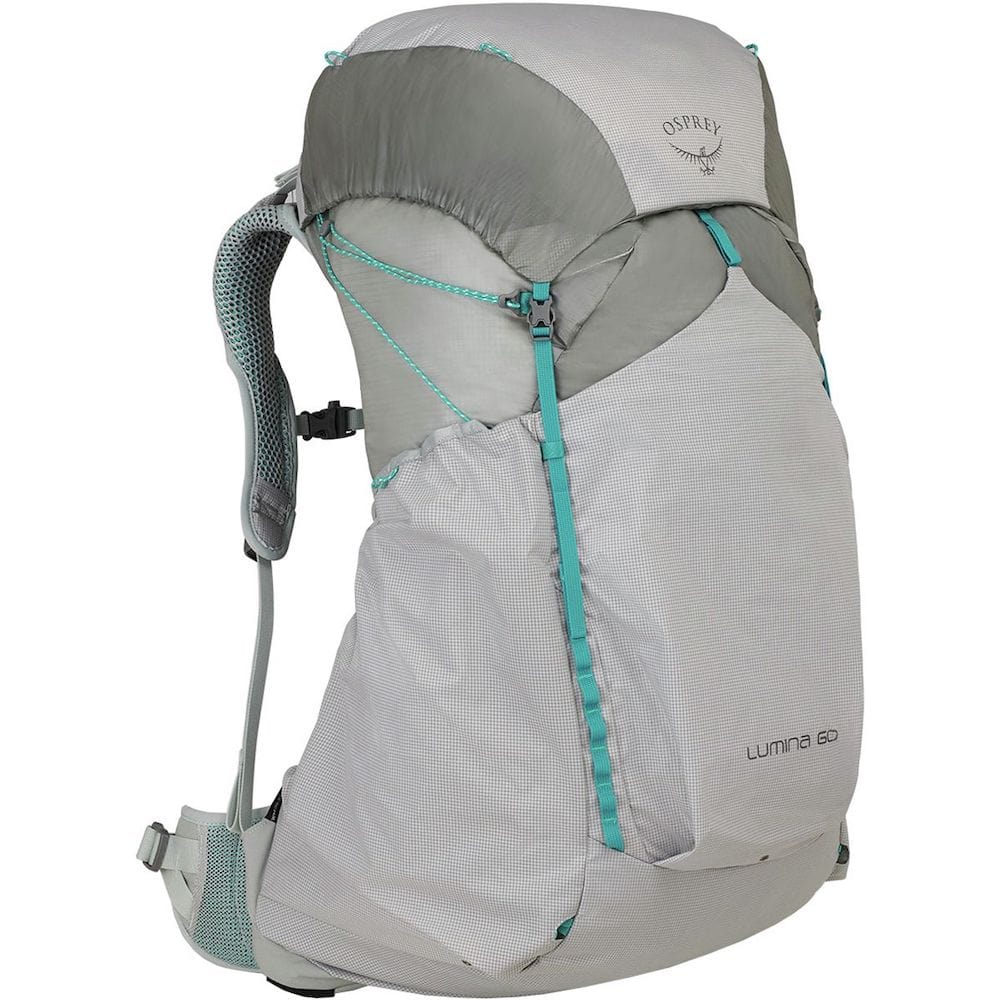
For day hikes I recommend the Osprey Tempest 34L Pack or similar. For backpacking in winter you may need a slightly larger pack than you would use in summer. This is because winter gear takes up more space. I recommend the Osprey Lumina 60L Backpack for 1-2 night backpacking trips. I also use the Osprey Pack Cover for rainy/snowy situations.
Hydration
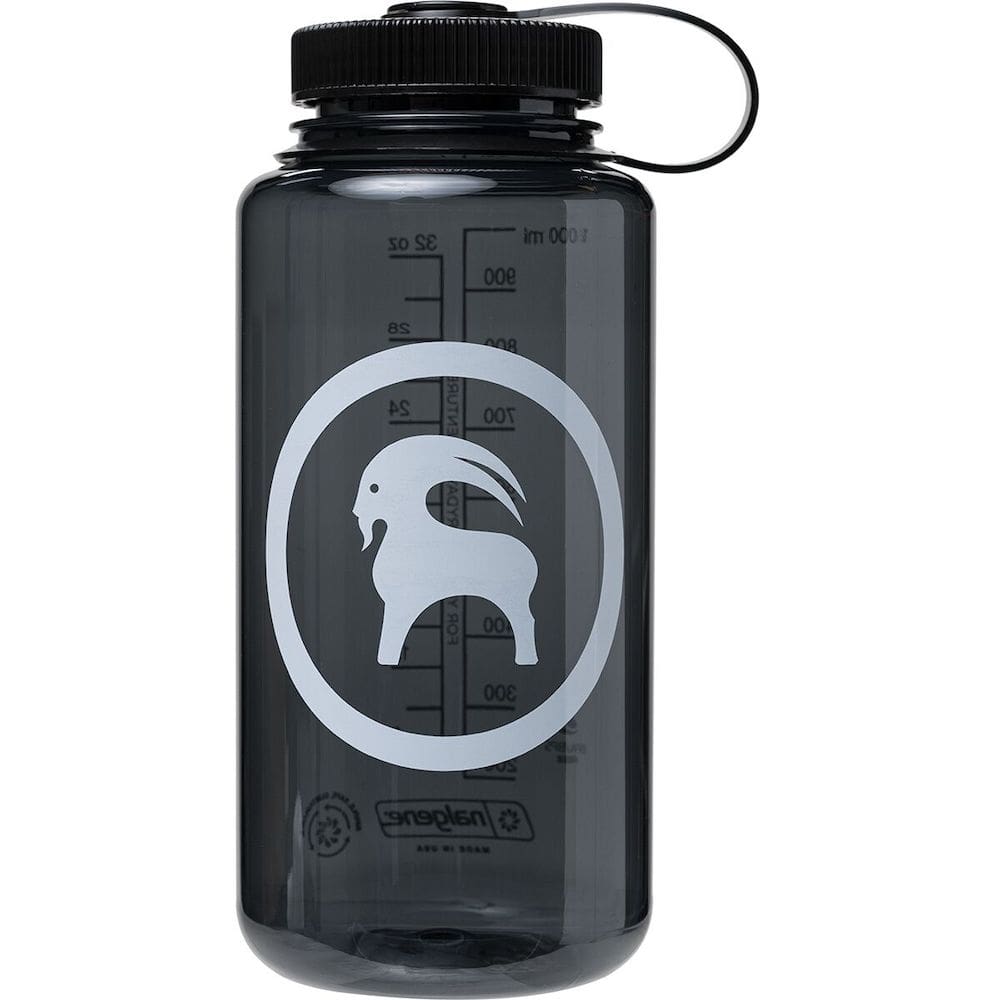
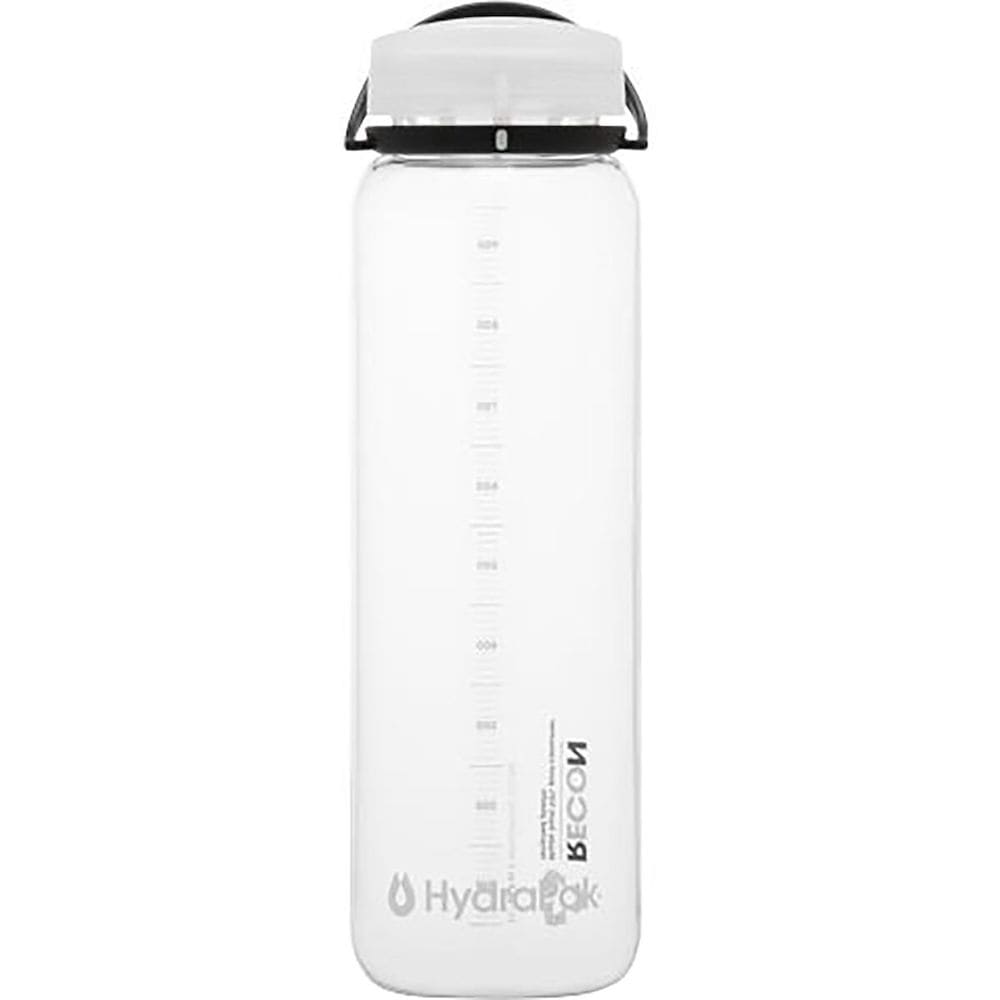
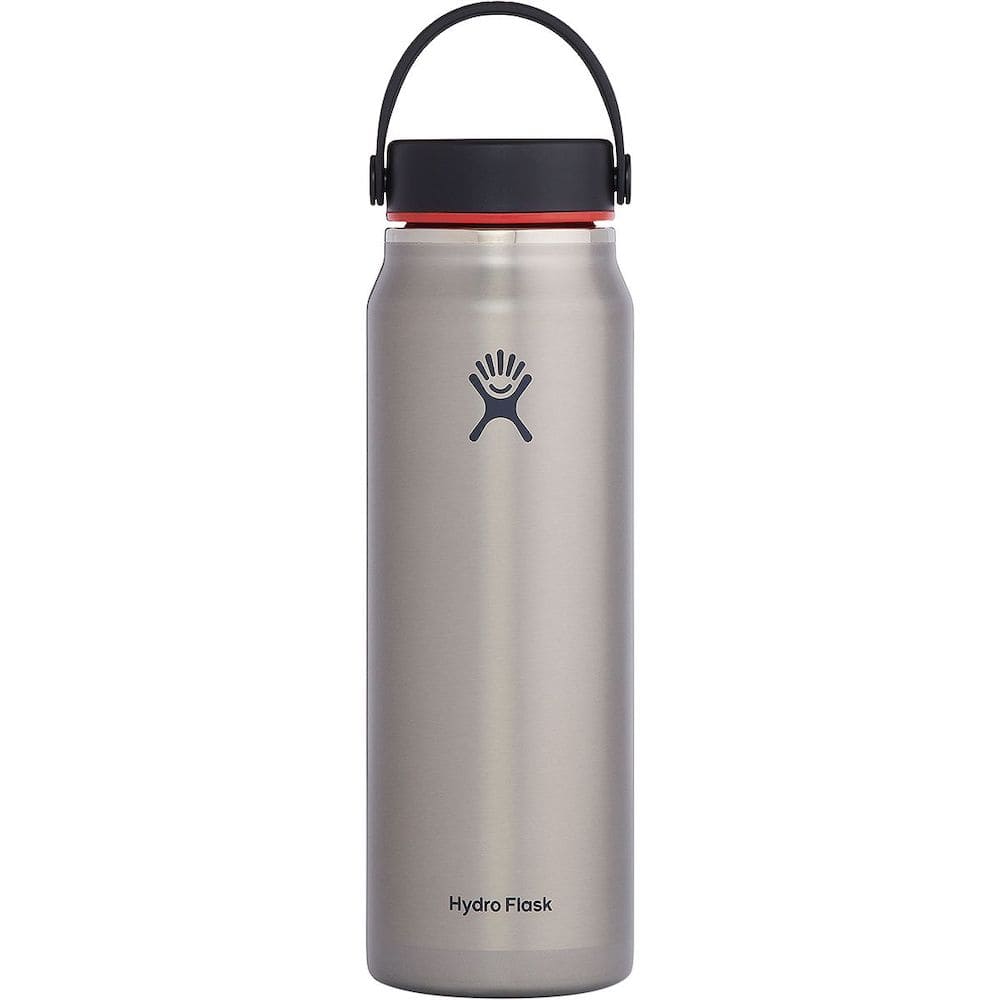
Dehydration can be a killer so it’s not something to skimp on, even when the temperatures are lower and you are less likely to sweat. I always carry Nalgene water bottles with me when winter camping. They are reasonably lightweight and can function as hot water bottles when winter camping (read more tips for sleeping in the backcountry in this post!). If you want something super lightweight then I recommend the Hydrapak Recon 1L Bottle. For an insulated bottle I love the Hydro Flask 32oz Trail Lightweight Water Bottle.
Water Filtration / Purification
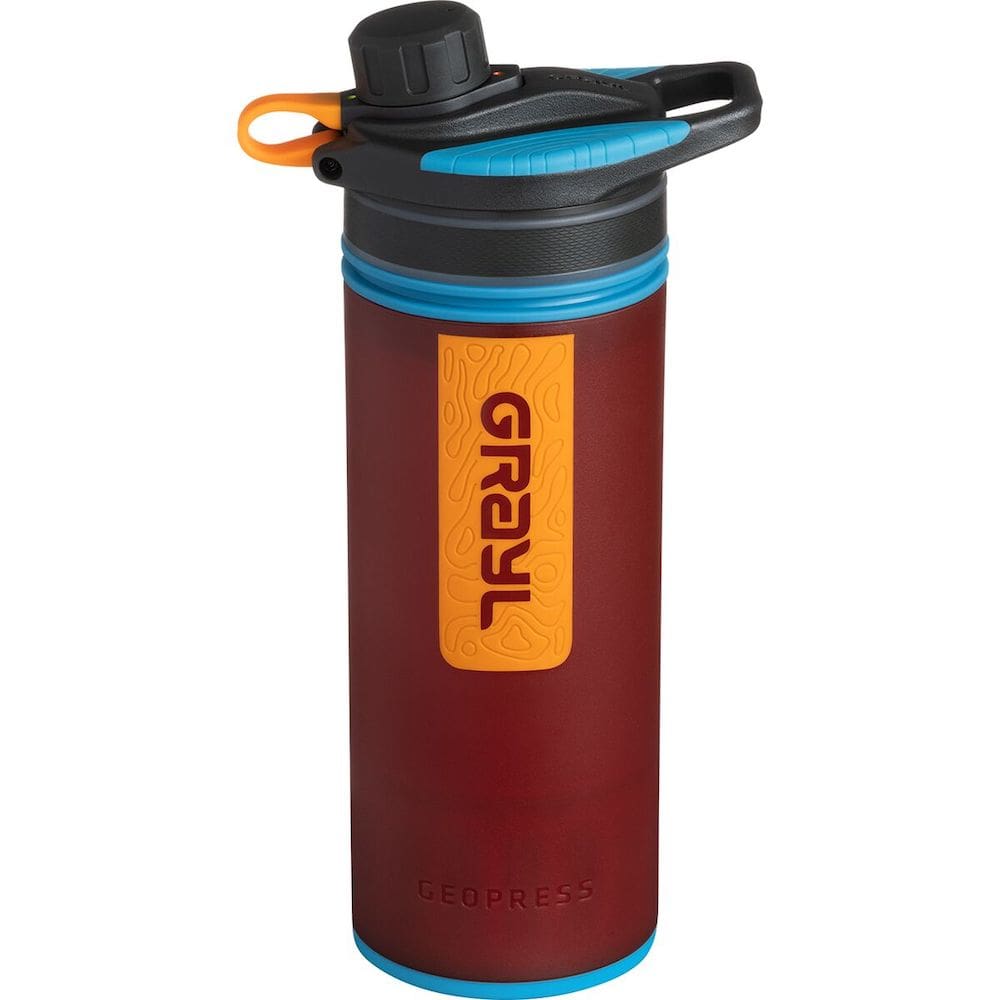
I always opt to filter/purify my water in the backcountry. In my opinion it’s just not worth the risk of getting giardia or something else nasty. There are numerous options to filter/purify your water. The easiest is probably using purification tablets like the Katadyn Micropur Tablets, though they can sometimes leave a taste to the water. Some other options are using a Grayl Geopress Water Purifier Bottle or a Katadyn BeFree 1L Water Filter. Lastly, note that melting and boiling snow is sometimes an option for water in winter months.
Sun Protection
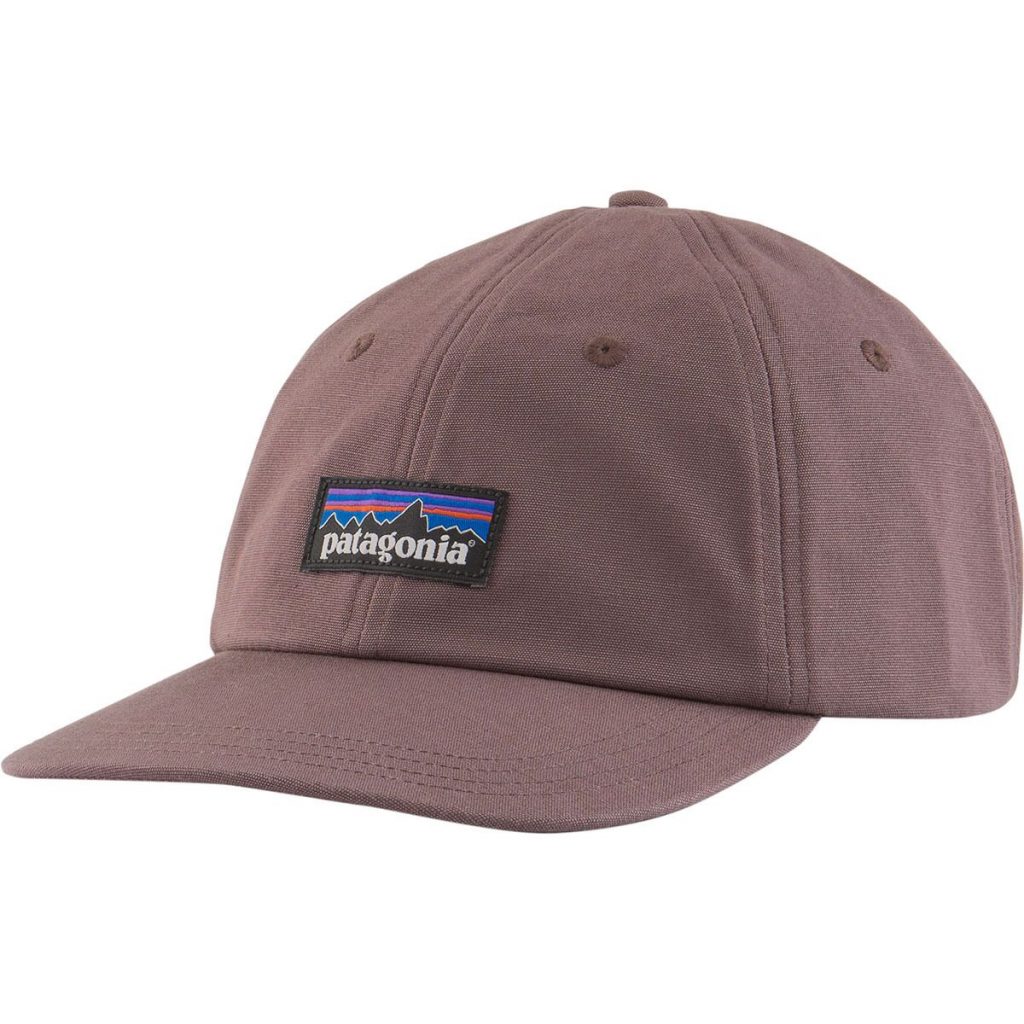
I am a little intense when it comes to sun protection haha. The older I get the more I realize the importance of protecting against skin cancer and aging. I typically bring a hat on hiking trips to protect my face from the sun (even in winter!) I will also sometimes use a Buff or bandana for neck protection. Sunscreen, lip balm and sunglasses are also a packing must. Always protect yourself when hiking on the snow, as the glare can be quite intense for your skin and eyes.
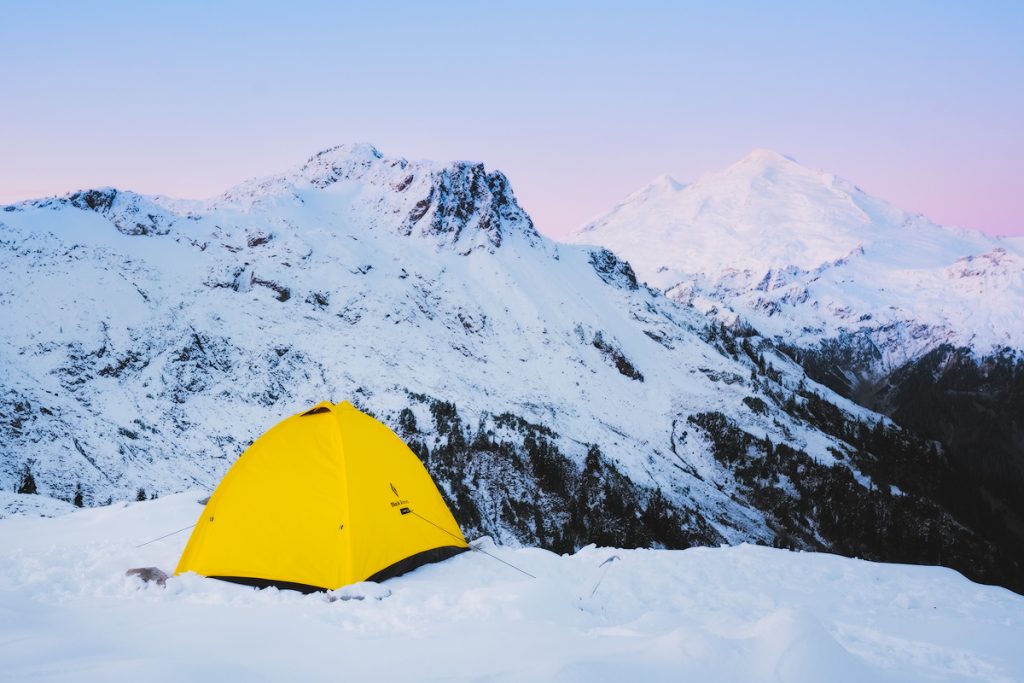
Winter Tent
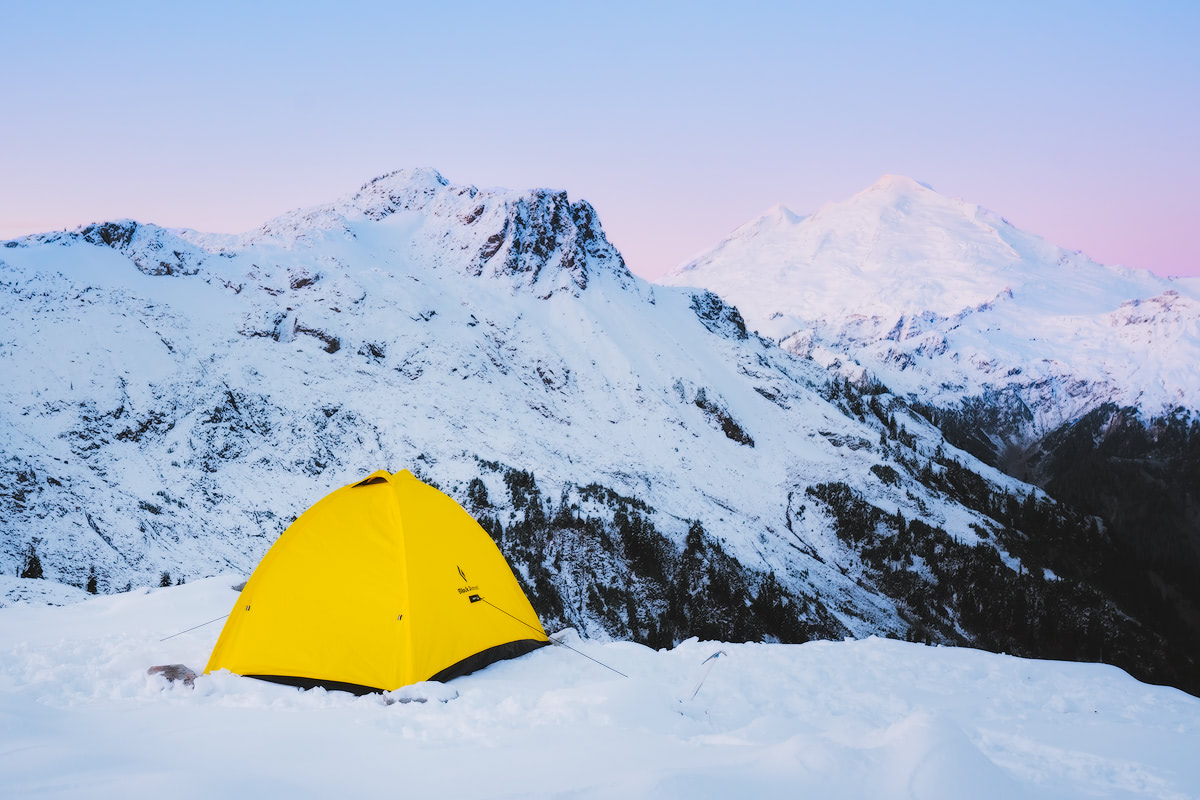
There are important things to think about when it comes to purchasing a tent for winter camping. You need a strong, four-season shelter if you want it to stand up to proper winter conditions. It needs to be able to withstand heavy snow-load and also the wild winds that often blow through the mountains in winter.
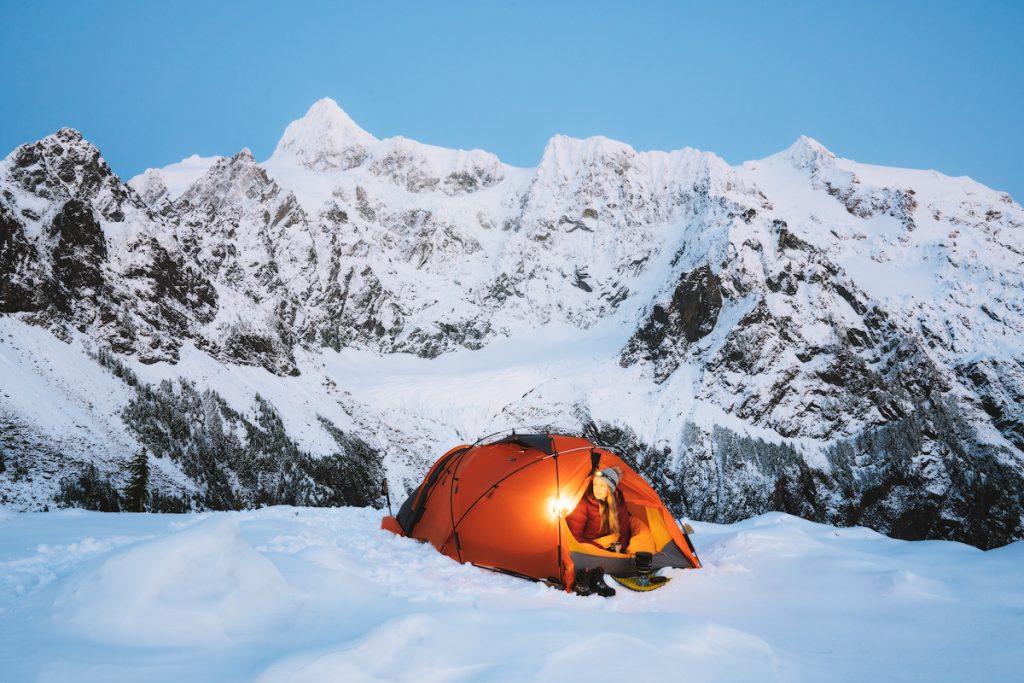
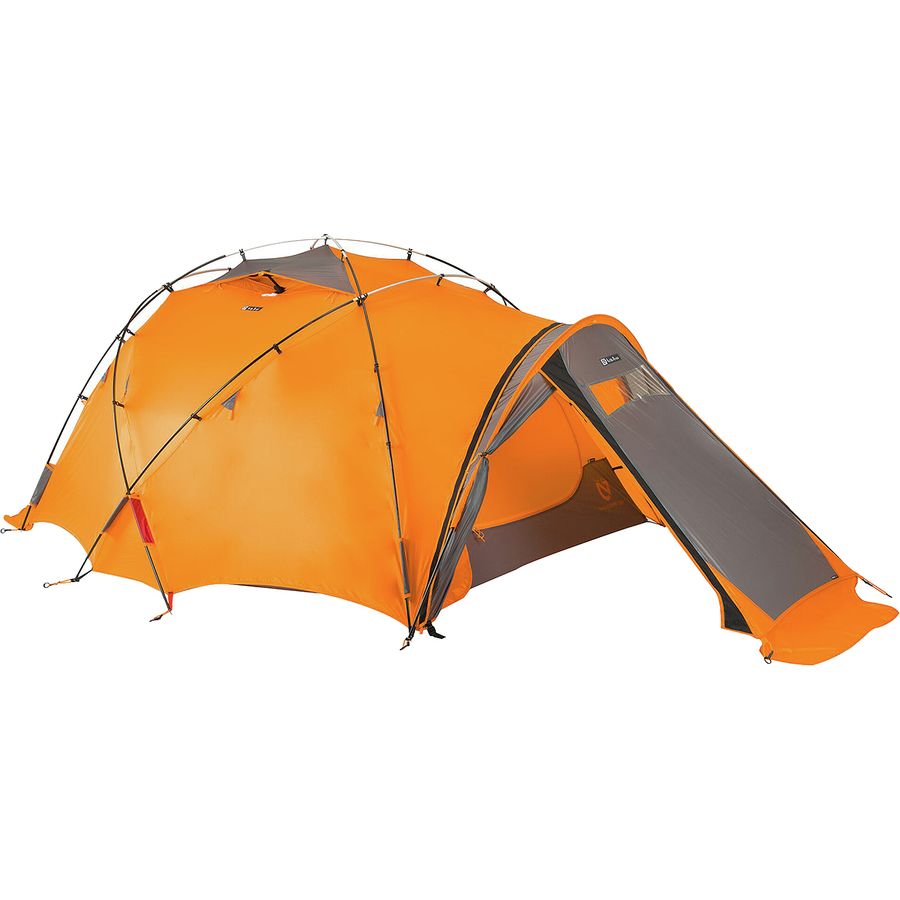
My husband and I personally use and love the NEMO Kunai 4 Season Winter Tent. It has two entrances, a huge vestibule, plenty of room for two, and lots of ventilation. It will also withstand high snow-loads and extreme winds. Keep in mind that these recommendations are for winter conditions such as snow. If you are winter camping in a warmer climate (e.g. Florida) then obviously a 3-season tent is more than sufficient.
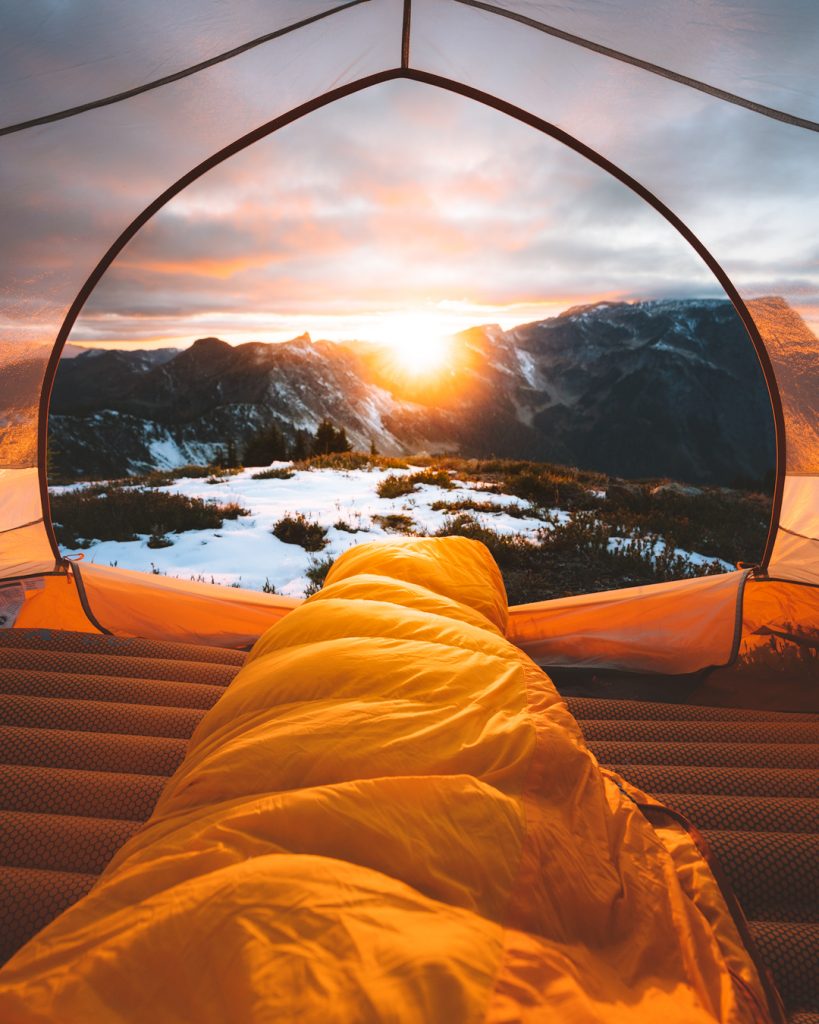
Winter Sleeping Bag
Winter in the mountains or other colder climates can be brutal for sleeping outside in a tent. Your choice of sleeping gear becomes infinitely more important, because in summer the worst case scenario is you are chilly and uncomfortable. In winter, you can freeze to death – literally! You MUST have a good sleeping bag capable of keeping you warm.
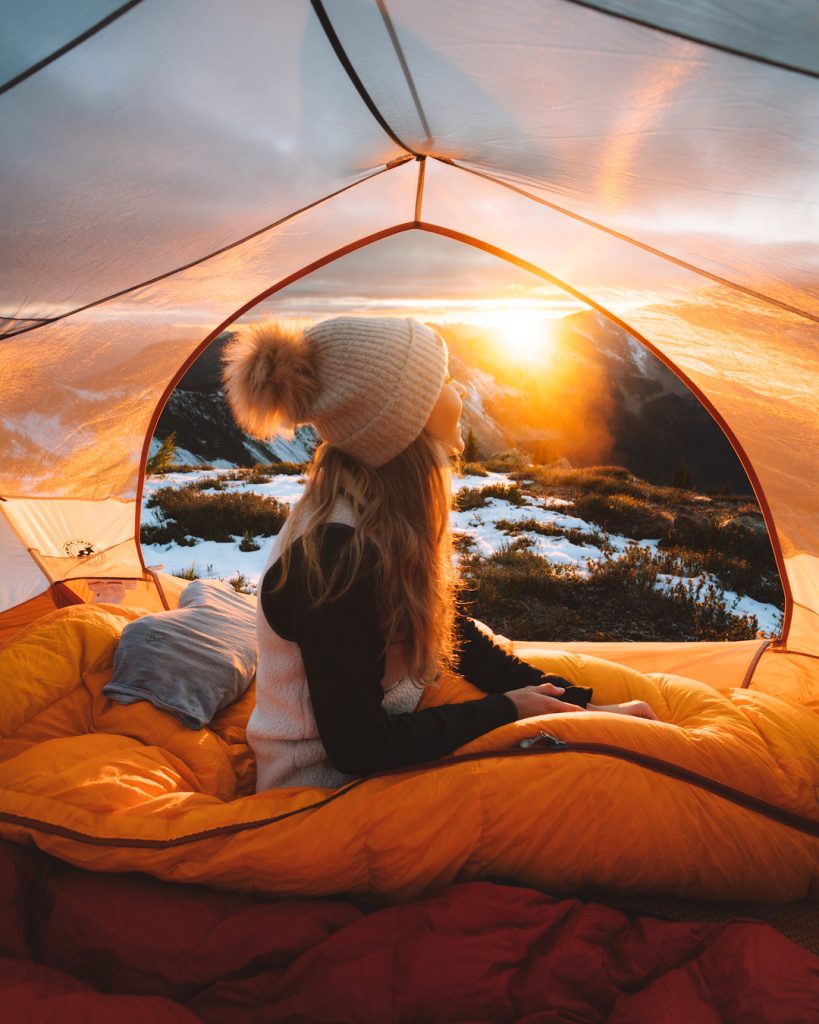
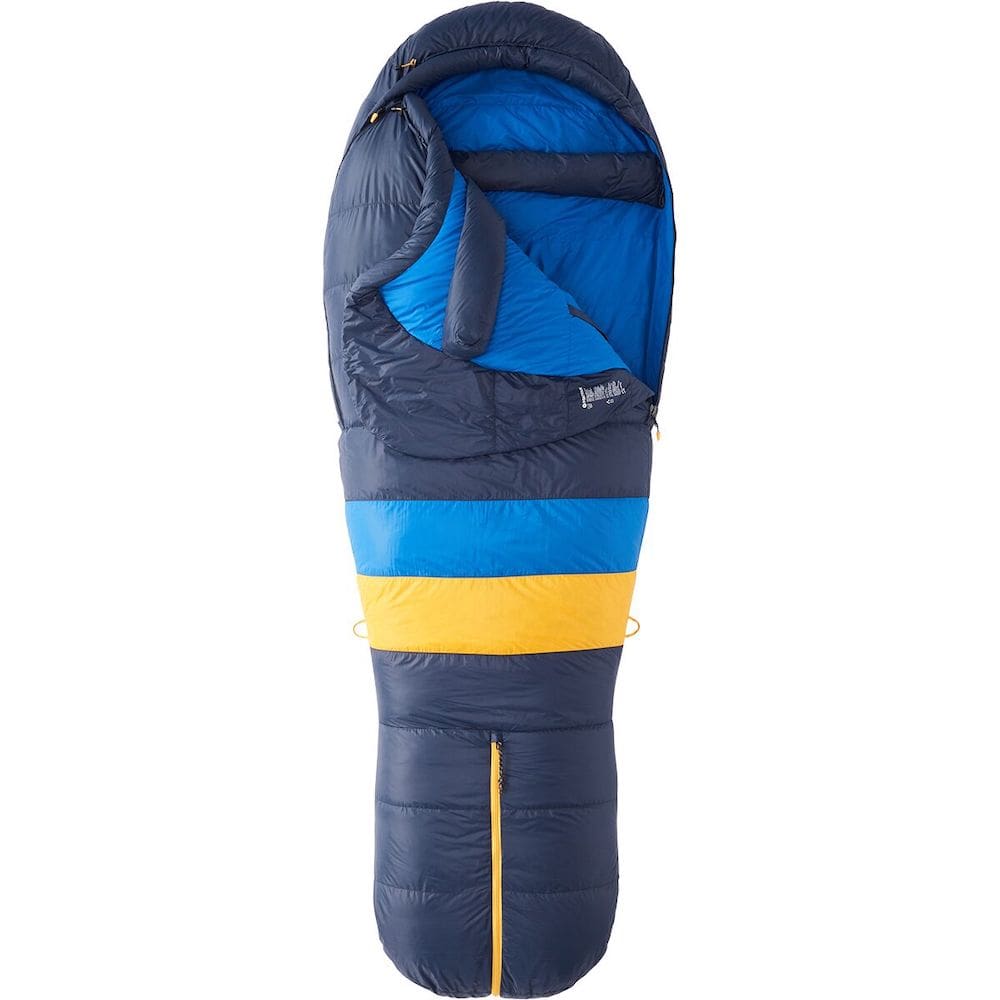
The winter sleeping bag that I own is the Marmot Ouray 0 Degree Sleeping Bag. It’s warm, SUPER cozy, not too heavy, and fairly affordable compared to other options. I also use a compression sack to keep my bag as compact in my backpack as possible. Alternatively, if you are happy to spend more, you can get the unisex Western Mountaineering Antelope MF which is probably the bag (or something similar) that I will upgrade to next. It’s just as warm, but much lighter and packs down smaller.
Sleeping Pad
Sleeping pads are also crucial to warmth and survival in winter camping scenarios. Due to the ground being covered in snow, you are going to be incredibly cold without the appropriate sleeping pad to protect you from that. I use the Sea to Summit Ether Extreme which has the necessary insulation to protect me from the snow and a women’s specific shape.
In addition to this, I also carry a super lightweight Therm-a-rest Z Lite Sleeping Pad (size small) for extra protection as I found myself still getting cold sometimes with just the one pad. This is personal preference… you can start with just the Sea to Summit Ether Extreme and purchase a Z Lite Sleeping Pad later if you found you were still getting cold from beneath.
Pillow
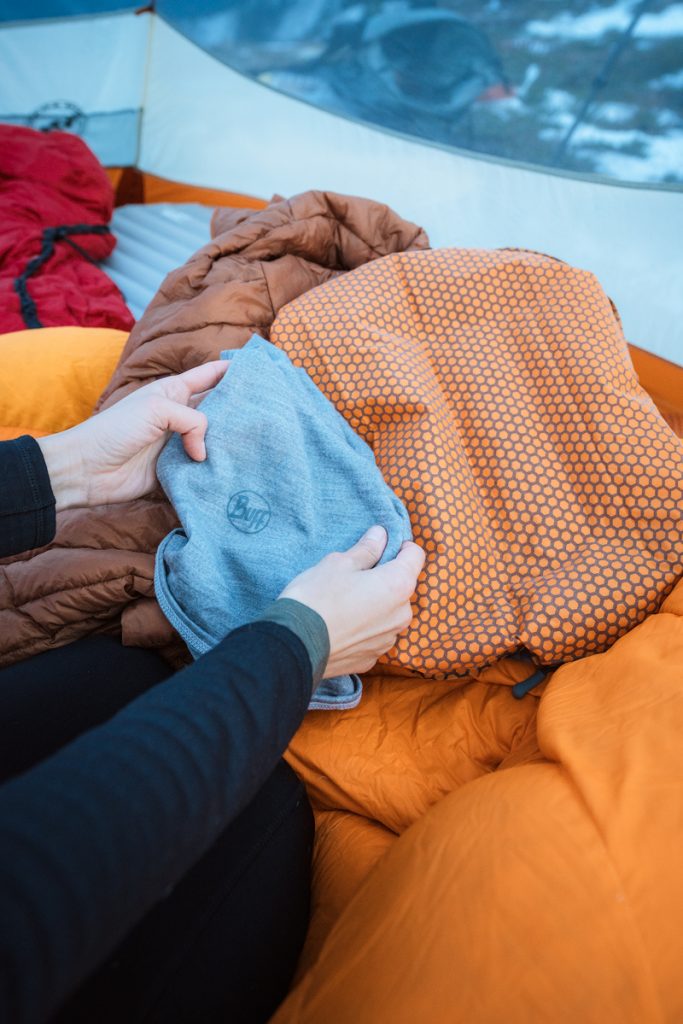
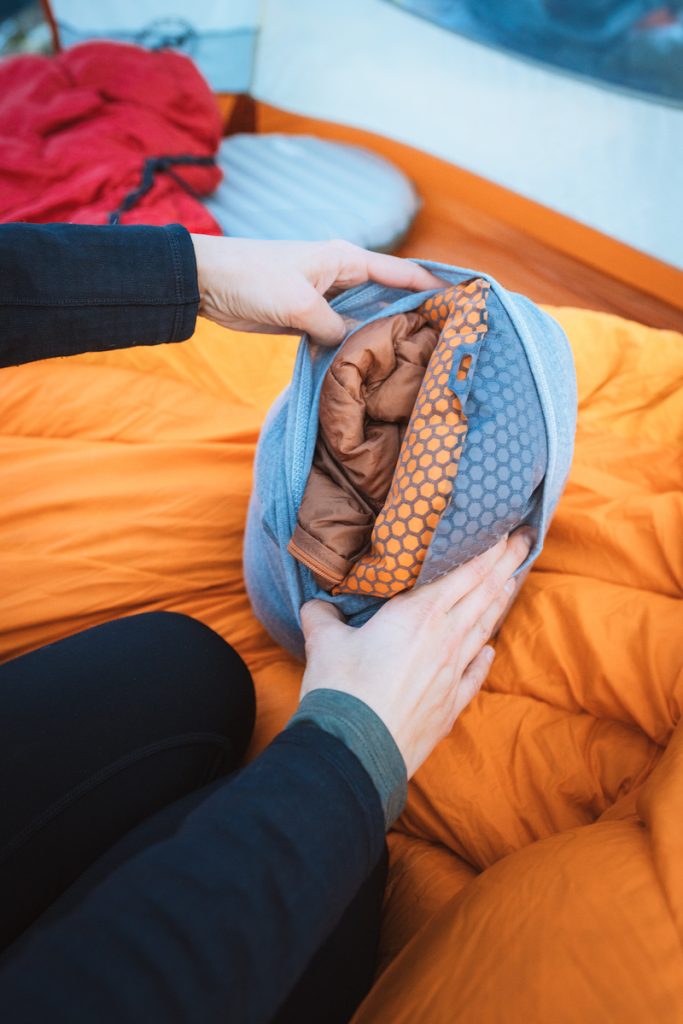
Some people prefer to skimp on a camping pillow and instead use their down jacket or nothing at all… but I’m a comfort queen when it comes to this category. I typically use the Exped Air Pillow with a Buff over the top AND my down jacket stuffed in between… so comfy! (see a photo example below). A slightly more luxurious option if you don’t want to bother with this method would be the Nemo Fillo Luxury Pillow.
Sleeping Clothes
I love the feeling of changing into clean, dry clothes when arriving at camp. My go-to camp and sleeping clothes are basic thermals, fleeces and insulated jackets. I always keep my sleeping clothes in an ultra-lightweight dry sack just in case rain/snow was to get into my bag.
My favorite thermal pants for winter are the Smartwool Classic Thermal Merino Leggings. Similarly, my go-to sleeping thermal top is the Smartwool Merino Long Sleeve. I love the Patagonia R1 fleece for a mid-layer if I need something warmer. I will often jump into my sleeping bag with my down jacket on and then slowly remove layers as I start to warm up.
Headlamp + Lantern:
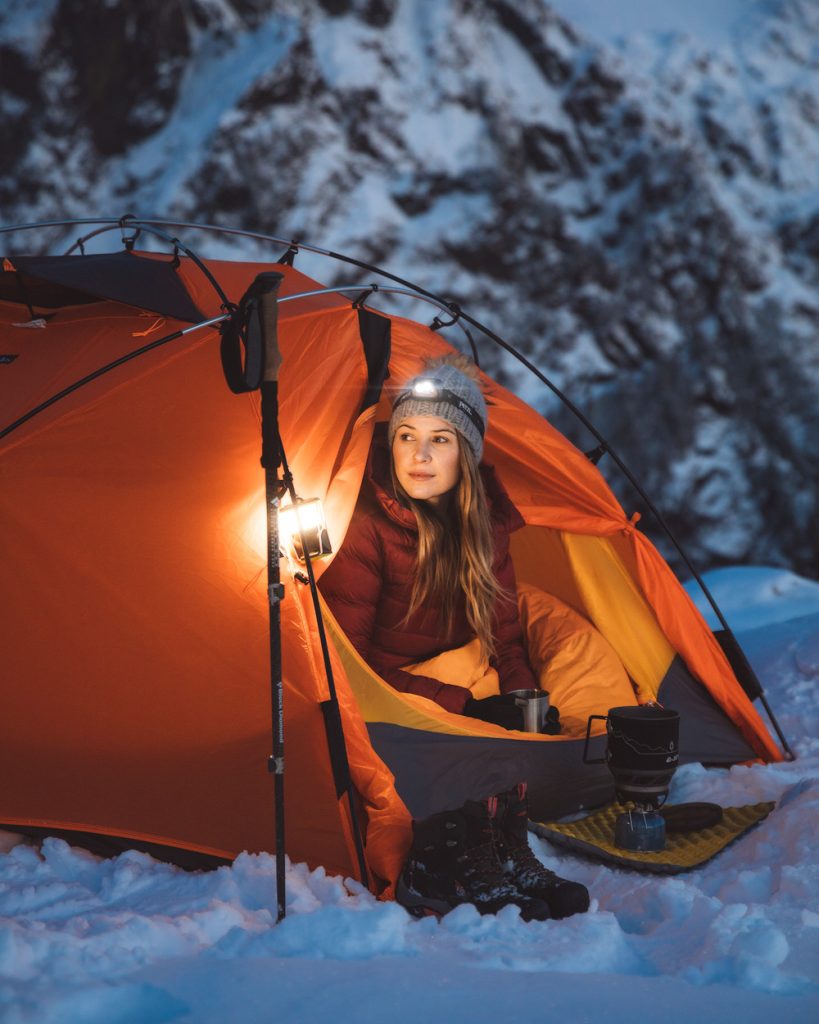
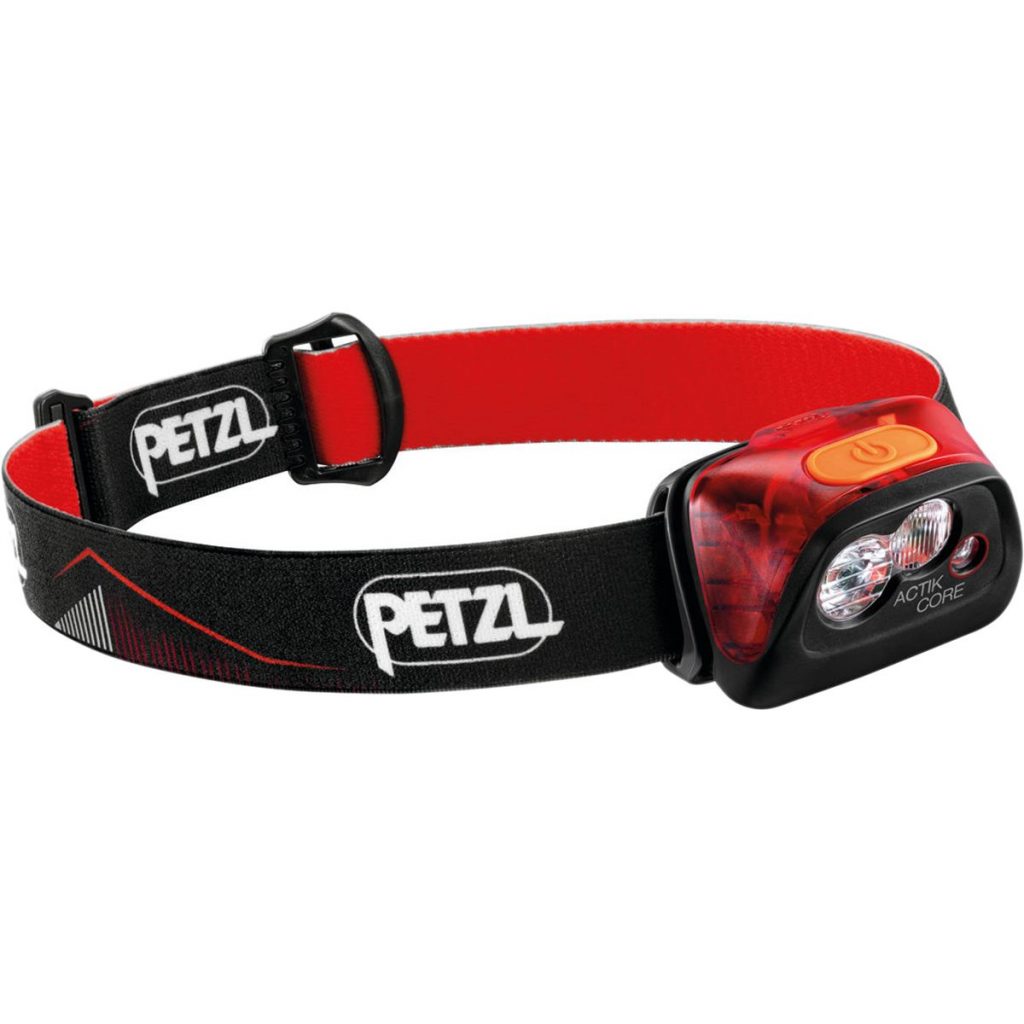
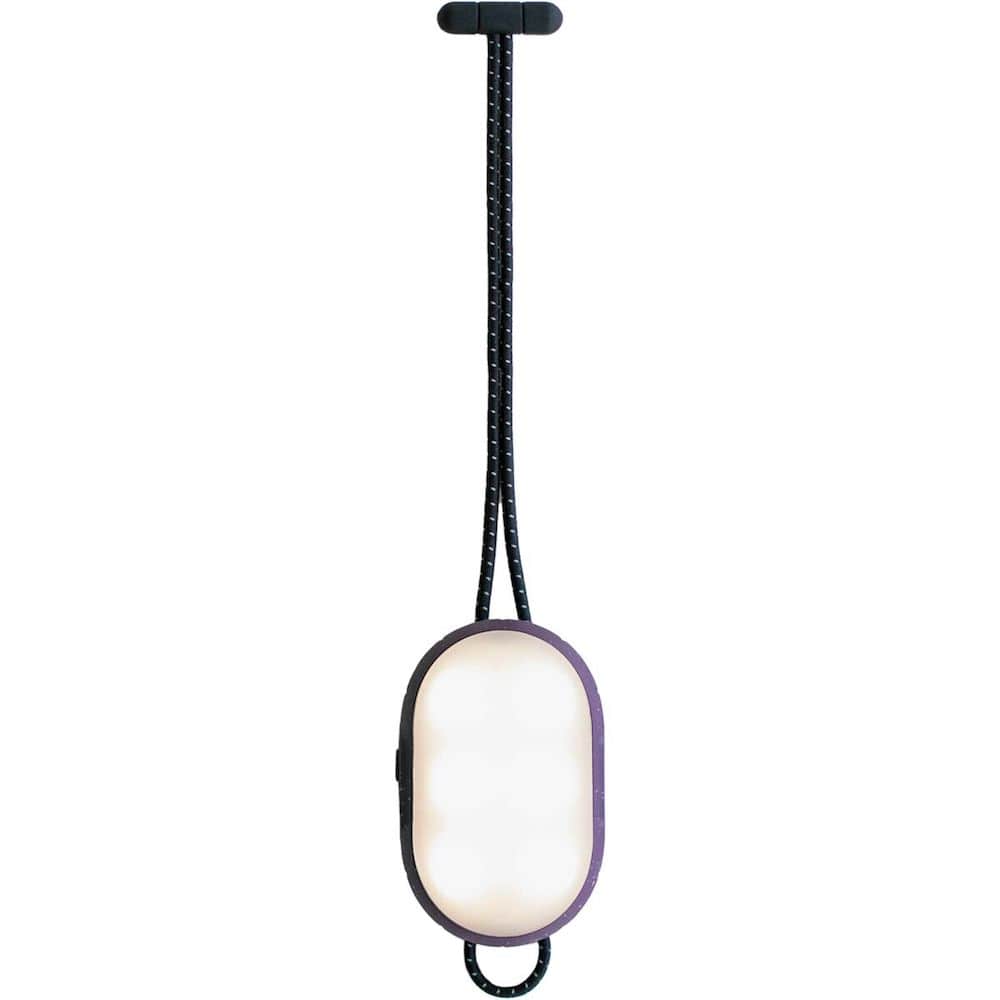
You’ll need a headlamp once the sun goes down! I have used the Petzl Actik Core Headlamp for years, and I love it. The Petzl Tikkina Headlamp is a more budget-friendly option that works great. I also like to bring a lantern that I can hang in my tent or campsite for extra light, especially during the winter months when daylight is much shorter. I like the Lander Cairn Mini Lantern and Goal Zero Crush Light.
Navigation
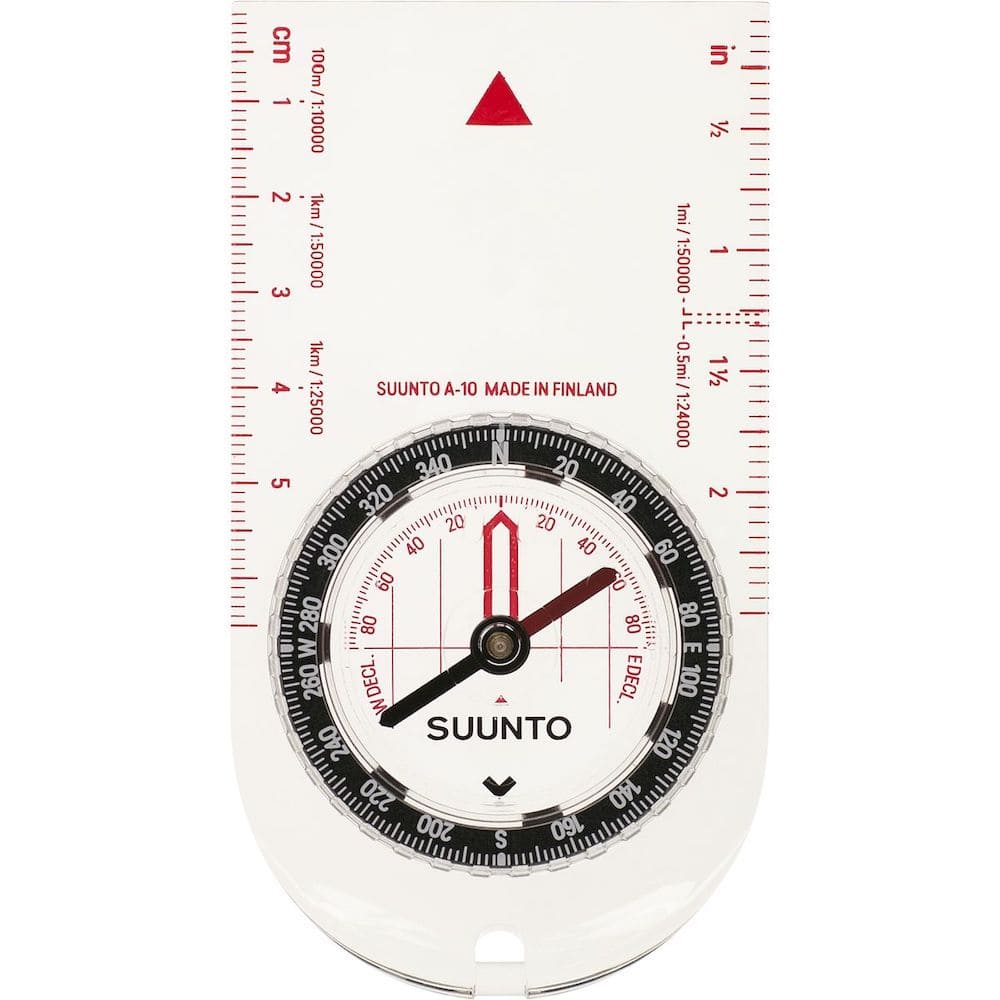
Trail navigation is very important, for obvious reasons. A great starting place is purchasing or printing a map for the area you will be hiking and camping (keep it inside a protective/waterproof sleeve). It’s also a great idea to bring along a compass and have some basic skills to use it. In addition, there are phone apps that allow for offline navigation/maps, such as Gaia.
Emergency Device
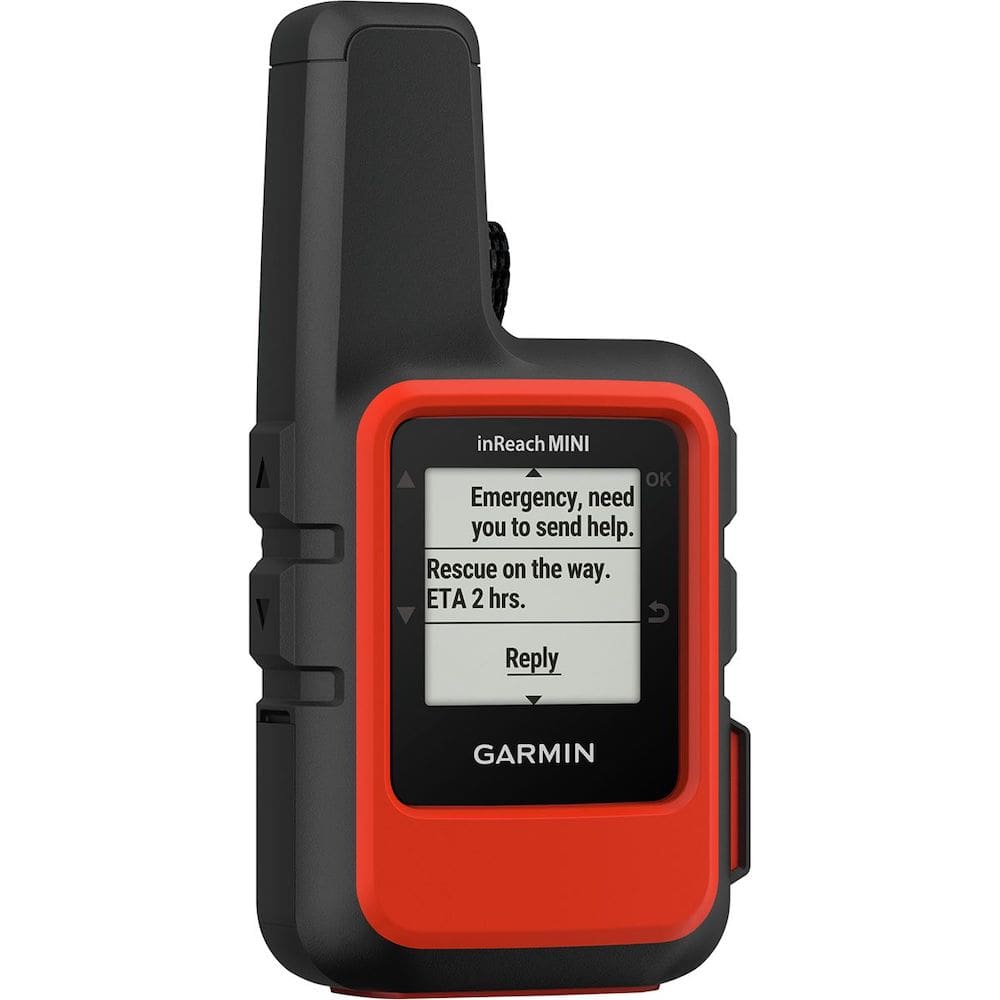
Having an emergency device is a personal decision. They are generally expensive but can also save your life in a precarious situation when out hiking and camping. My husband and I have invested in the Garmin InReach Mini. We didn’t make this purchase for quite some time after we got into hiking and backcountry camping, but it now gives us peace of mind on longer treks and more risky hikes.
First Aid Kit
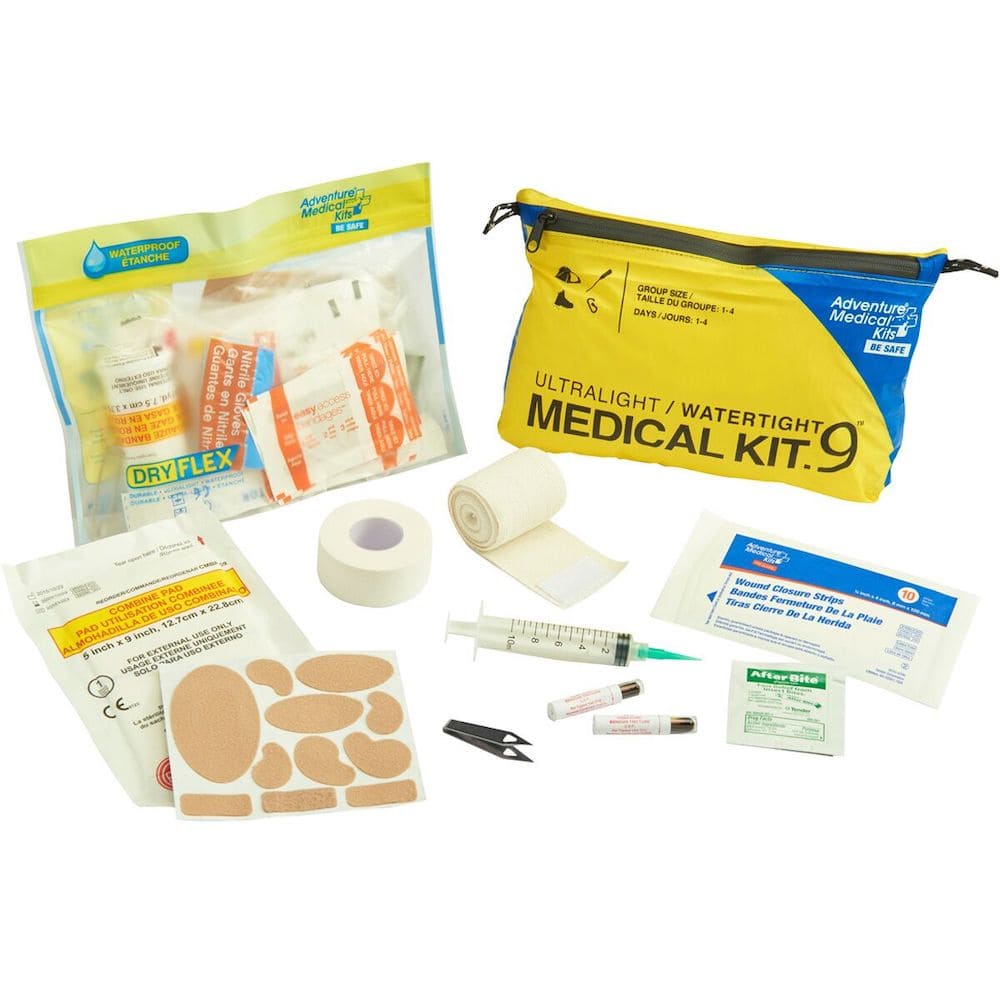
I always take a lightweight first aid kit on backcountry camping trips and for most hiking day trips. You just never know when it will come in handy for yourself or your hiking partner. I really like the range by Adventure Medical Kits as they are ultralight and come in a waterproof bag. I always throw in a couple of extra blister-pads, just in case!
Cooking Gear
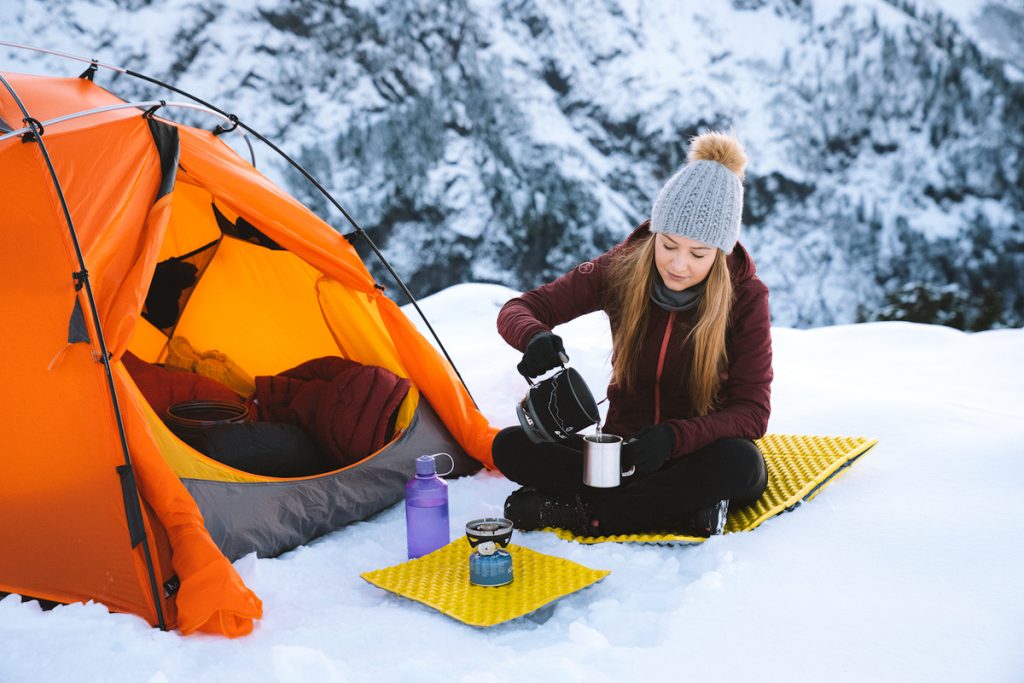
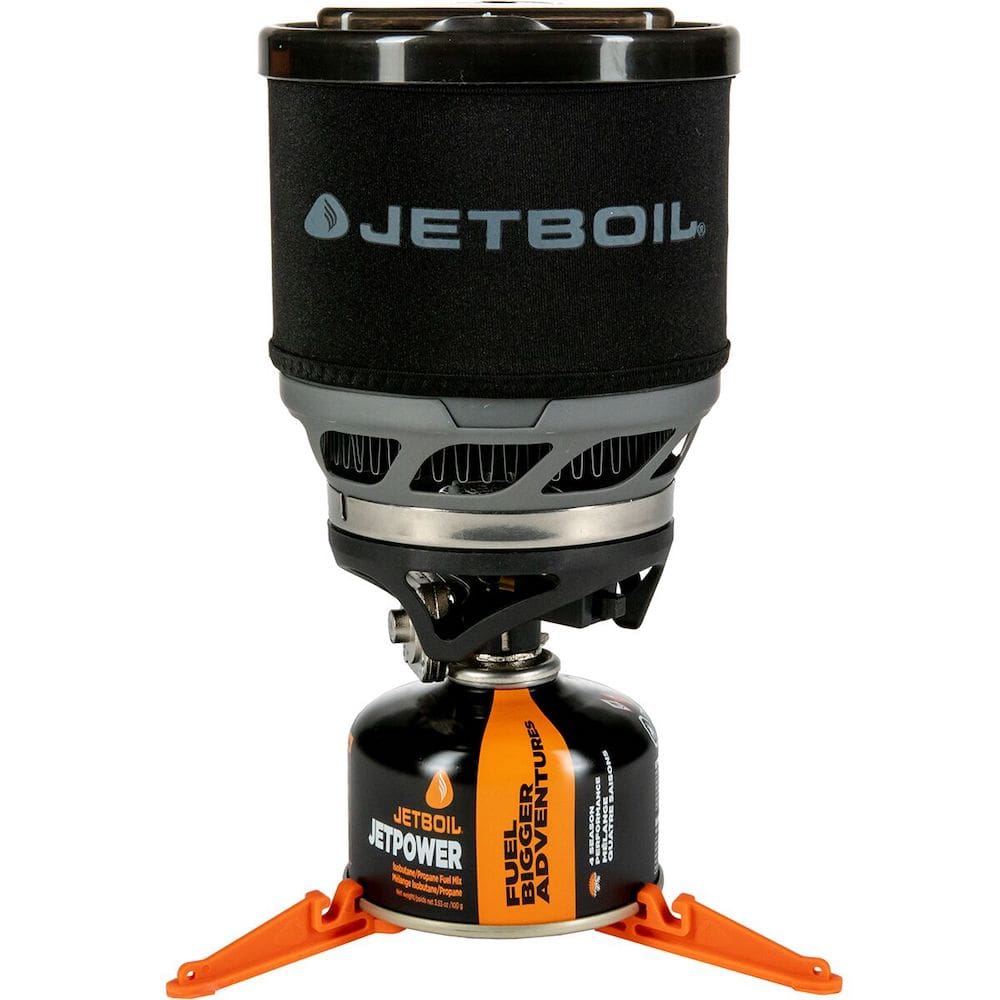
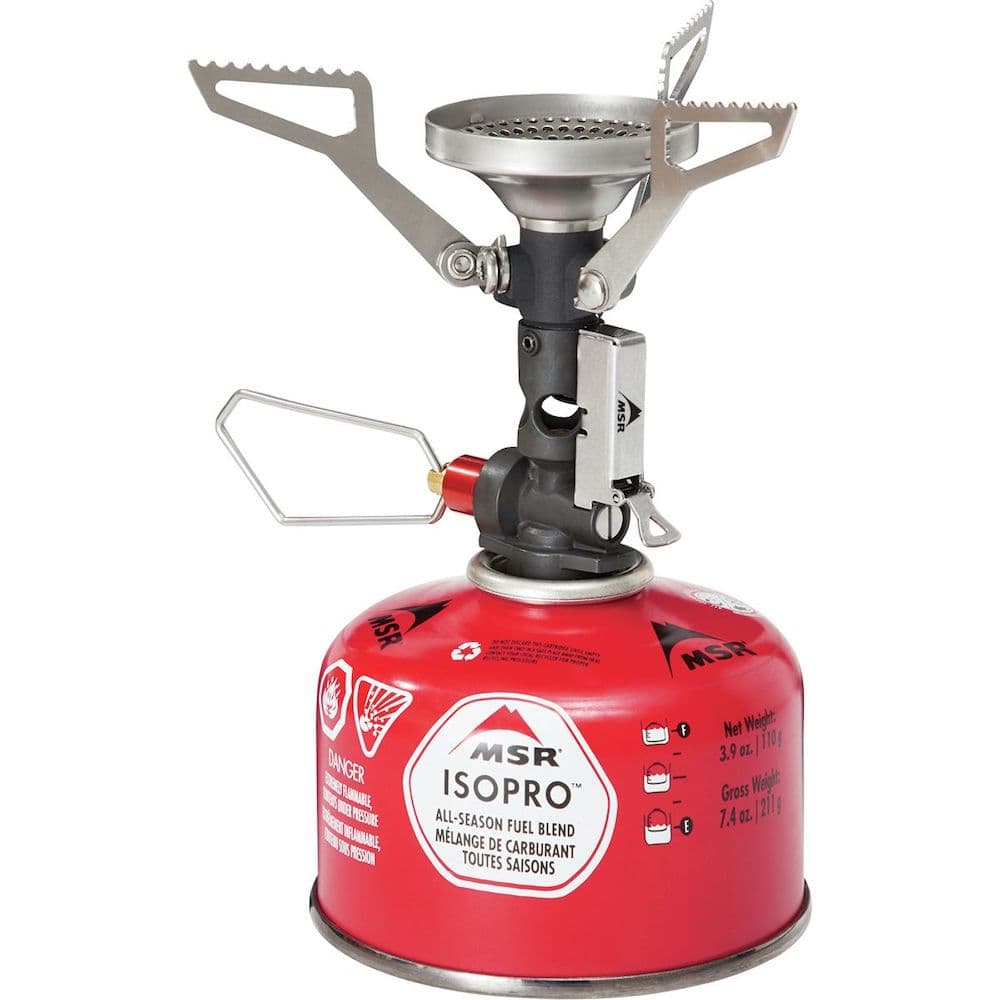
My favorite for fast and easy cooking while on the trail is the Jetboil MiniMo Cooking System. It’s perfect for dehydrated meals and boils water so quickly for tea or coffee when you need to warm up on a chilly morning. It’s particularly great on a cold winter morning when you need a hot cup of cocoa or coffee ASAP. The Jetboil Stash is another lightweight option great for one-pot meals. For an ultralight option, the MSR Pocket Rocket is a popular choice, and it comes in a kit option as well.
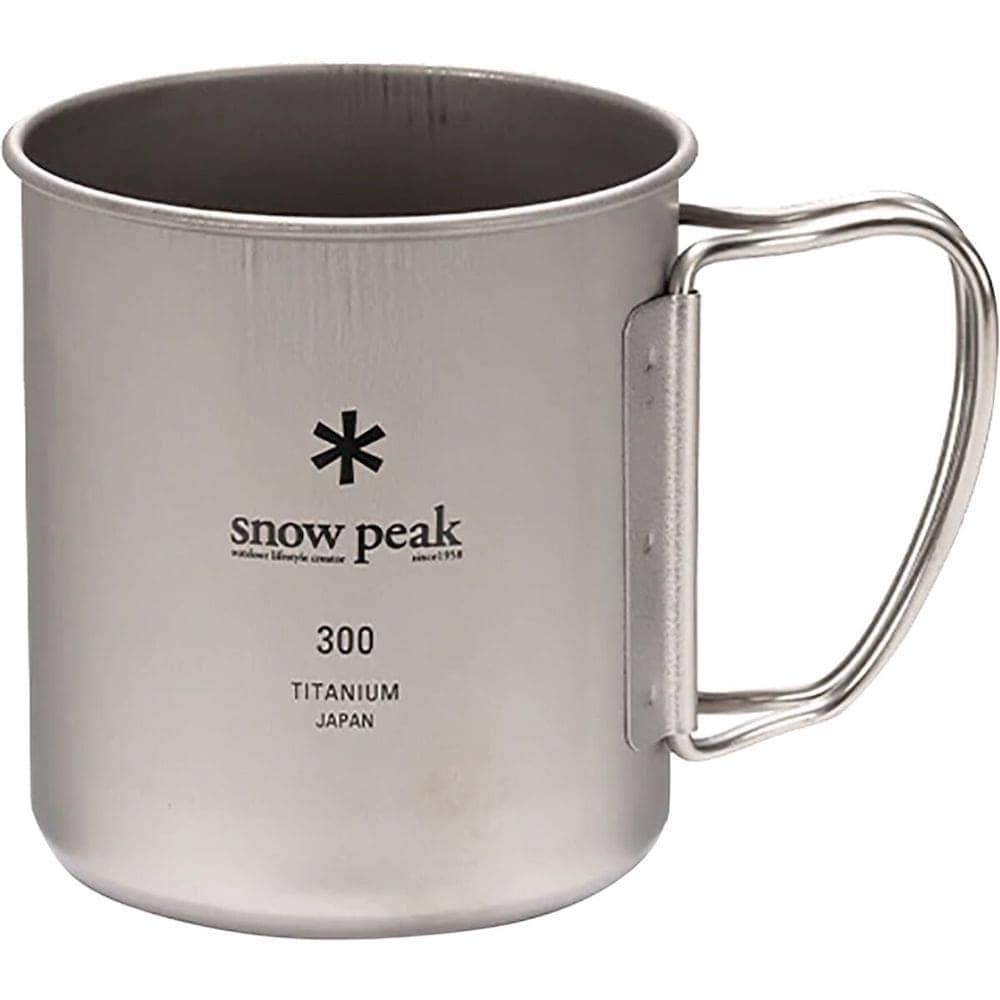
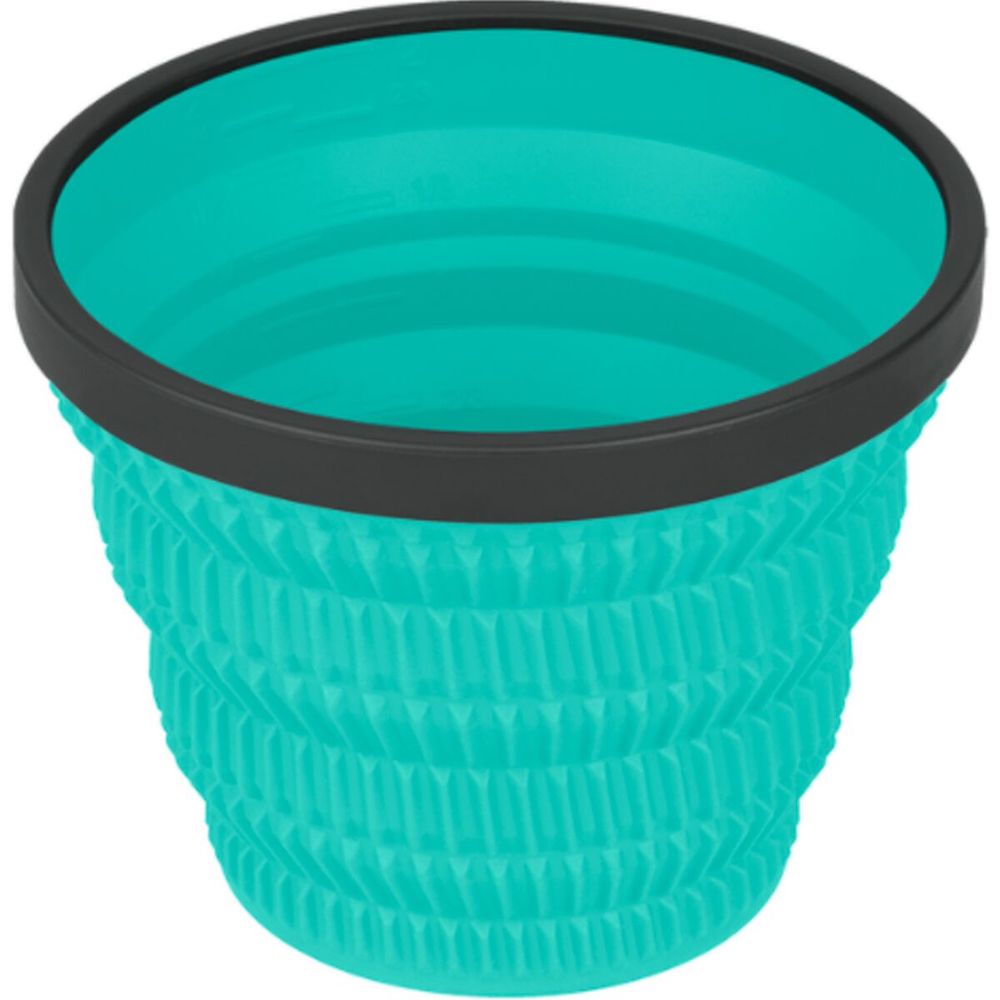
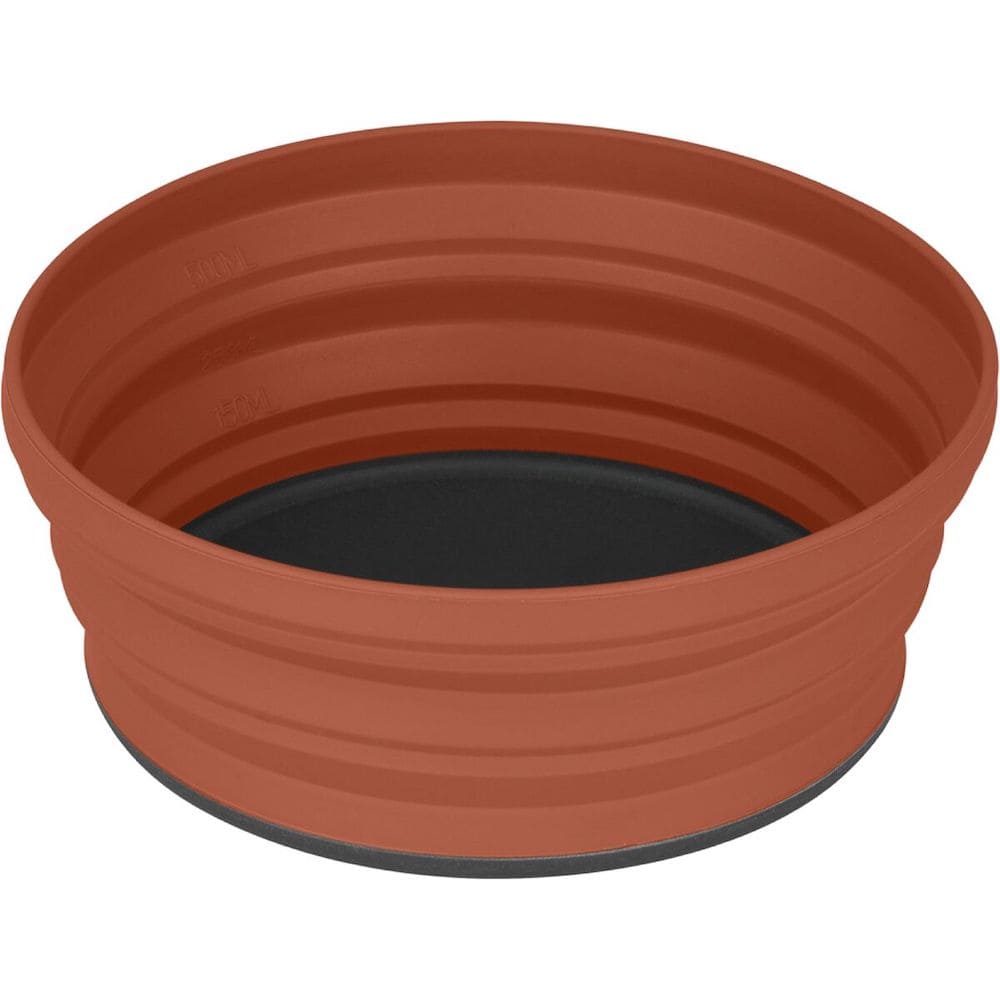
An ultralight mug is essential, and there are a lot of options out there. I personally love the Snow Peak Titanium Single Wall Mug, but the GSI Outdoors Infinity Mug and Sea to Summit Cool Grip Collapsible Mug are both great options as well. I always pack a spork, I love the Snow Peak Titanium Spork or Sea to Summit Spork and Knife for lightweight options. The Sea to Summit Collapsible Bowl is perfect for chowing down on some easy backpacking meals and then packing away.
Food
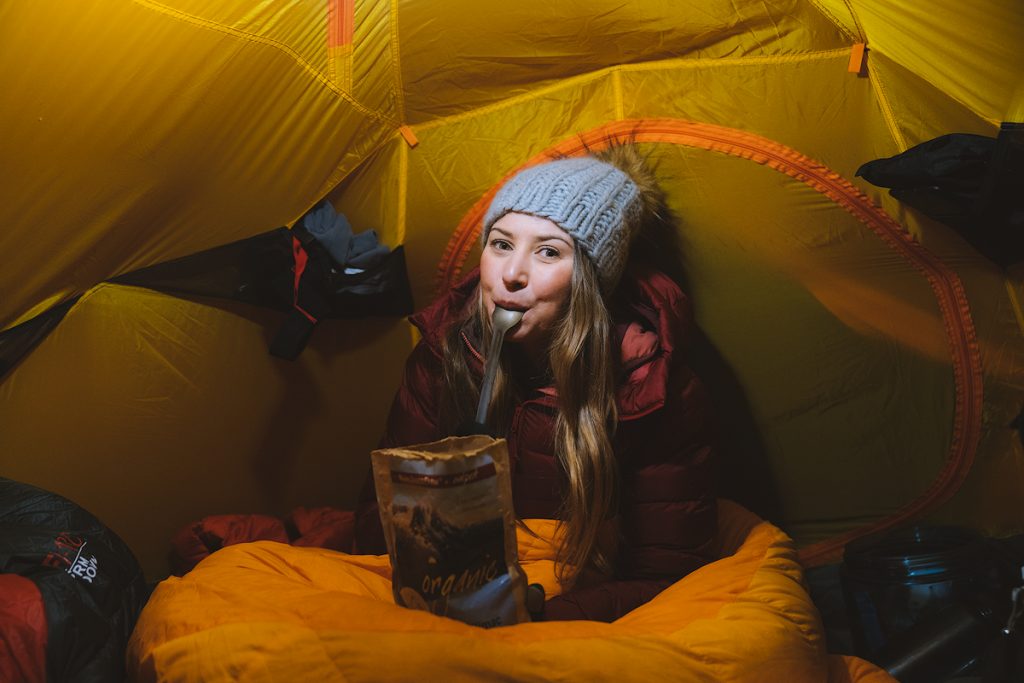
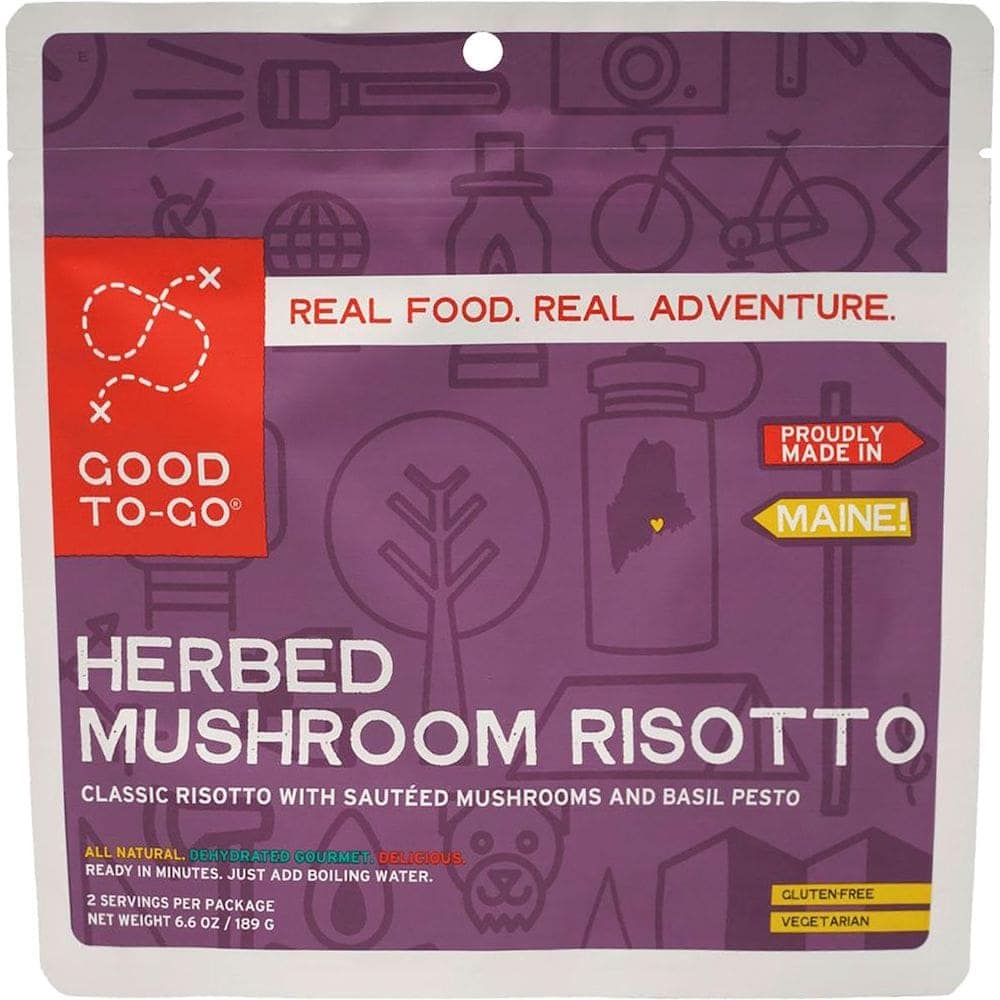
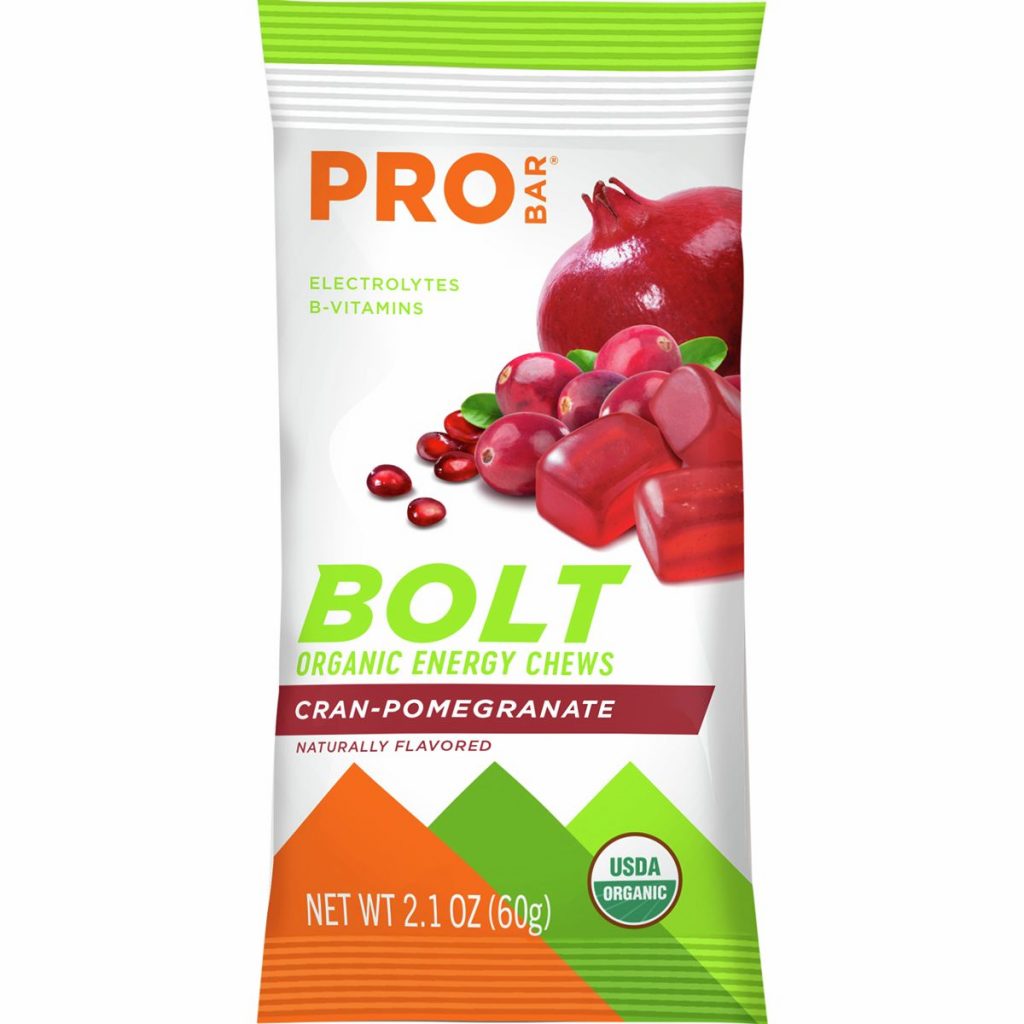
Dehydrated meals are a great option for lightweight, quick dinners when you’re in the backcountry. I really love Mary Jane’s Farm Outpost meals because they don’t have a lot of added ingredients that some other brands do, and they don’t leave you feeling bloated and gassy (no fun!). Good to Go meals are another good option with simple ingredients. Hiking snacks are super important to help you stay fueled and energized throughout the day. I love to snack on nut butter filled Clif Bars, Pro Bar Bolt Chews, GoMacro bars, Honey Stinger Waffles, and nut butters. I always use an Ursack for food storage, although there are some areas that require bear canisters. When I backpack in those areas I use a Medium Bear Vault.
Hiking Hygiene
If you haven’t read it yet, I have an entire blog post on outdoor hygiene tips for hiking and camping. These items are all optional, but I personally prefer to take some extra things along to freshen up. For going to the bathroom I find a trowel to be really convenient, especially when the ground is hard. If there is so much snow that you can’t dig a cathole, then you will have to pack out your waste. I also take along some toilet paper, toothbrush, hand sanitizer, and face/body wipes.
Extra Considerations
These are some extra things that you may need to stay safe in more demanding terrain/conditions. These are generally more relevant to the extra adventurous out there who are getting into mountaineering, though a couple are important to most winter users.
Avalanche 1 Training – If you plan on hiking or traveling in avalanche terrain, this is a must. Being able to assess potential dangers and perform rescues is necessary, please don’t skimp on this. Courses are offered all around the country, here is some more information. At minimum, I recommend taking a free, 90-minute Avalanche Awareness course.
Avalanche Beacon – Assuming you have taken the Avalanche 1 Training, you will know how to use a beacon to rescue someone in the case of an avalanche burial. It’s important to have proper training when traveling in avalanche terrain and when using beacons, shovels, and probes.
How To Stay Warm
I have a blog post about how to get a good nights sleep when backcountry camping. In that guide I share my number one tip for staying warm – the Nalgene hot water bottle trick! Boil some water, fill up your Nalgene, slip it into your sleeping bag, and voila, warmth. Just be sure to ensure the lid is done up extra tight!
Leave No Trace
If you’re going to be out in nature, it’s important that you strive to protect it and follow Leave No Trace (LNT) principles. Please be sure to educate yourself on proper winter hiking and camping etiquette before heading out. Listed below are some winter-specific guidelines taken directly from the Leave No Trace Center for Outdoor Ethics:
Plan Ahead and Prepare
- Know the area and what to expect; ALWAYS check avalanche and weather reports prior to departure. Consult maps and local authorities about high danger areas, safety information, and regulations for the area you plan to visit.
- Prepare for extreme weather, hazards and emergencies.
- Monitor snow conditions frequently. Carry and use an avalanche beacon, probe and shovel in areas that require it.
- Educate yourself by taking a winter backcountry travel course.
- Visit the backcountry in small groups, but never alone. Leave your itinerary with family or friends.
- Repackage food into reusable containers.
- Use a map and compass to eliminate the need for tree markings, rock cairns or flagging.
Travel and Camp on Durable Surfaces
- Stay on deep snow cover whenever possible; in muddy spring conditions, stay on snow or walk in the middle of the trail to avoid creating new trails and damaging trailside plants.
- Travel and camp away from avalanche paths, cornices, steep slopes and unstable snow.
- Choose a campsite on durable surfaces- snow, rock or mineral soil- not tundra or other fragile vegetation.
- Camp at a safe, stable site out of view of heavily-traveled routes and trails.
- Keep pollutants out of water sources by camping at least 200 feet (70 adult steps) from recognizable lakes and streams- consult your map.
Dispose of Waste Properly
- Pack It In, Pack It Out. Pack out everything you bring with you. Burying trash and litter in the snow or ground is unacceptable.
- Pick up all food scraps, wax shavings and pieces of litter. Pack out all trash: yours and others.
- Pack out solid human waste. In lieu of packing it out, cover and disguise human waste deep in snow away from travel routes and at least 200 feet (70 adult steps) from water sources.
- Use toilet paper or wipes sparingly. Pack them out.
- If necessary, use small amounts of biodegradable soaps for dishes. Strain dishwater into a sump hole.
- Inspect your campsite for trash and evidence of your stay. Dismantle all snow shelters, igloos or wind breaks. Naturalize the area before you leave.
Leave What you Find
- Leave all plants, rocks, animals and historical or cultural artifacts as you find them.
- Let nature’s sounds prevail. Keep loud voices and noises to a minimum.
Minimize Campfire Impacts
- Campfires cause lasting impacts in the backcountry. Always carry a lightweight camp stove for cooking.
- Use dead downed wood if you can find it. Put out all fires completely. Widely scatter cool ashes.
- Do not cut or break limbs off live, dead or downed trees.
Respect Wildlife
- Winter is an especially vulnerable time for animals. Observe wildlife from a distance. Do not follow or approach them.
- Never feed wildlife or leave food behind to be eaten.
- Protect wildlife and your food by storing rations and trash securely.
Be Considerate of Other Visitors
- Be respectful of other users. Share the trail and be courteous.
- Yield to downhill and faster traffic. Prepare for blind corners.
- When stopped, move off the trail.
- Separate ski and snowshoe tracks where possible. Avoid hiking on ski or snowshoe tracks.
- Learn and follow local regulations regarding pets. Control dogs. Pack out or bury all dog feces.
Have Fun!
Most of all – have fun! Getting out into the backcountry is a special experience and one you will be drawn back to time and time again (I hope!) I personally love the feeling of getting from A to B with everything I need to survive, sleeping out under the stars, waking up with the sun, and being completely off-the-grid. Be safe out there and have a blast 🙂
Pin for Later!


Omg, thank you for this post Renee!! This was so insightful and SO helpful!
Queen! Thanks for the super helpful info!
Thanks for everyone’s interesting and useful sharing, I will visit often to find the necessary information.
Ultimate guide to winter hiking and camping is amazing, and it is good for us to have these amazing updates about winter hiking. We can learn a lot here to get the best solutions that are helpful to get updates
I appreciate reading your essay. Please post soon; I want to read it. I hope the next update goes smoothly. Very interesting and useful article.
An ultralight mug is essential, and there are a lot of options out there.
This essay is excellent and really helpful. I’ve been silently practicing this, and I’m becoming better at it! Enjoy yourself, work harder, and develop your impressiveness
How can I research the regulations and safety information for the specific area I plan to visit?
Excellent job! This post was very informative and helpful.
I appreciate all the work you must have done to write and conduct the research for this. Continue your fantastic work.
Perhaps fast food is what is needed while traveling in such harsh places!
hi, Renee Love your good work, you’re such a productive girl
Stick to trails that are shorter and have quicker access back to the safety of a structure or car.
Those icy and snowy trails can be a real challenge without proper traction. That’s where those nifty Kahtoola Microspikes come into play. They’re like your secret weapon against slipping and sliding, especially on well-trodden trails or icy surface.
I appreciate the effort you took into writing this lengthy response. Please continue the excellent work.
Renee! Thank you so much for this helpful post! I’ve been searching for the right snowshoes, so now I know which ones to get (probably for next winter!). Appreciate all of the super detailed posts that you provide to us!
Hi Renee, I really enjoyed reading this — and the photos are always incredible! I would however give some different advice regards to sleeping bags and gas stoves. Choosing between a down or synthetic sleeping bag can be crucial depending on how many days one will be using it in freezing temperatures for. A down bag tends to collapse if condensation occurs in the tent (which usually happens in extremely cold conditions). If the hike is any longer than 3-4 days-ish, I would recommend a synthetic sleeping bag. Also, I would sleep with as little clothes as possible, as the sleeping bag absorbs your body heat. This would take longer if you’re wearing lots of different layers. It’s better running around camp for a bit, pee before bed-time (the body uses a lot of energy keeping it warm), take most clothes off, then jump straight into the sleeping bag. It’s also smart choosing a bag that’s right for your body size, so there won’t be much empty space between the body and the bag.
When it comes to stoves, I’ve experienced that gas often doesn’t function very well in, again, very cold temperatures. Fuel would definitely be more reliable.
Hi Renee,
This is a very informative post; complete and very detailed! 🙂 Thank you for putting this all together. I can not wait for my very first winter hiking-camping soon (if time permits) crossing my fingers. I am definitely saving this for my reference 🙂
Cheers,
Jessica
Thanks for reading Jessica! So happy you liked it! Good luck with your first winter hiking/camping adventure 🙂
Thank you for the tips, this is so helpful! Can’t wait to get out on our first winter trip 🙂
Glad you found it helpful! Enjoy your trip Stevena 🙂
Excellent – thank you for this! New subscriber 🙂
Welcome! Thank you Jeff 🙂
Wow so many great tips in your blog Renee. Thank you for all the effort you must have put into researching and writing this. Keep up the great work.
Thank you!!
Hi Renee !
Lately I’ve been enjoying a lot your posts. This one is super useful and full of tips for amateurs like myself.
One thing I’d like to see is a video or photos on how you pack all those things in your backpack and how much it weights.
I’m a photographer too and when I pack the camera and a small tripod I always end up thinking I carry too much weight.
Keep posting !
Regards from Barcelona !
Thank you Marc! and great suggestion, I will keep that in mind for future posts or videos 🙂