
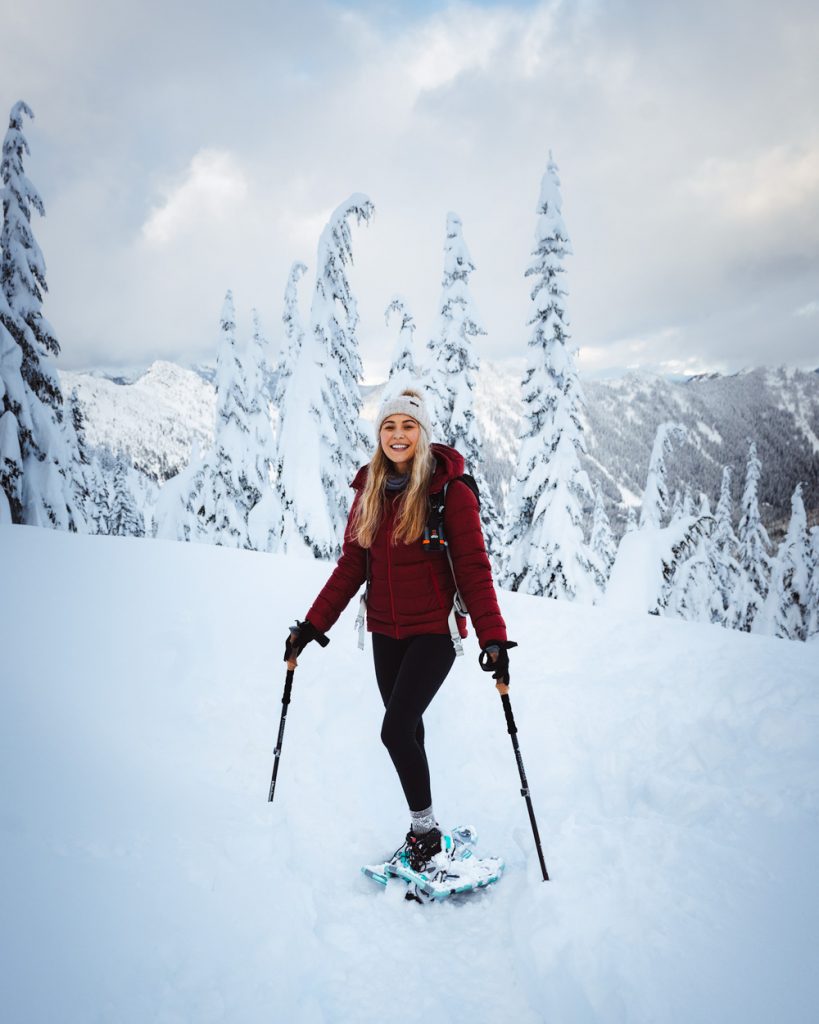
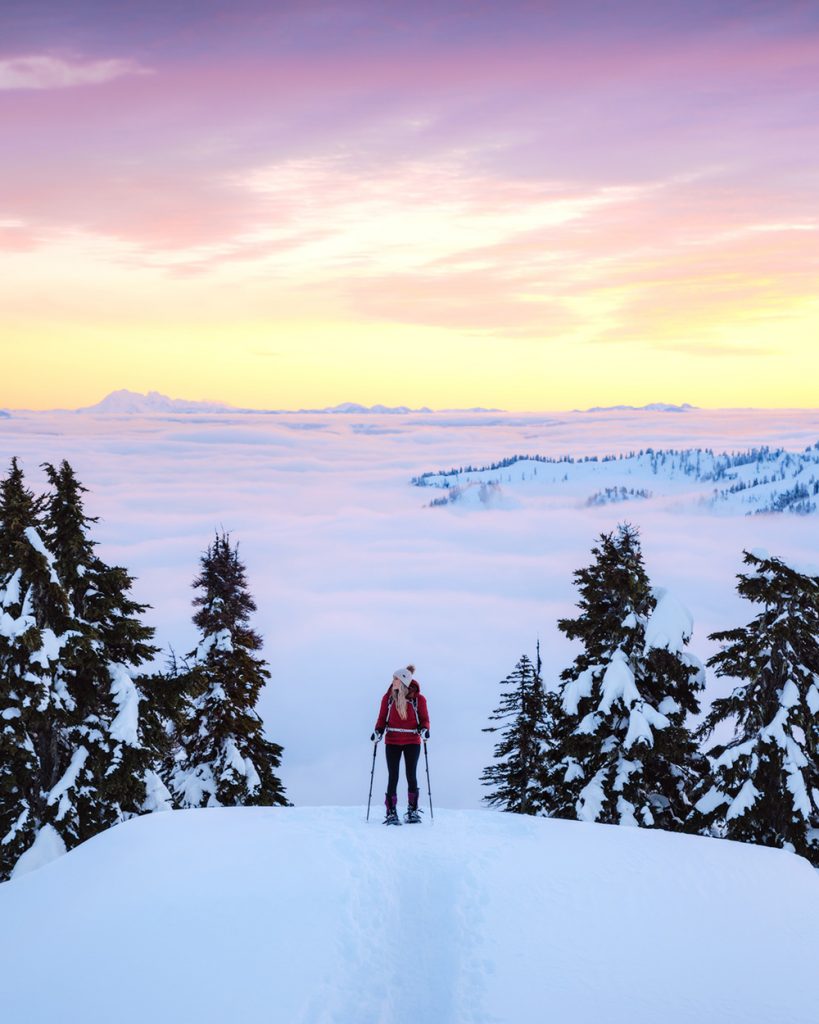
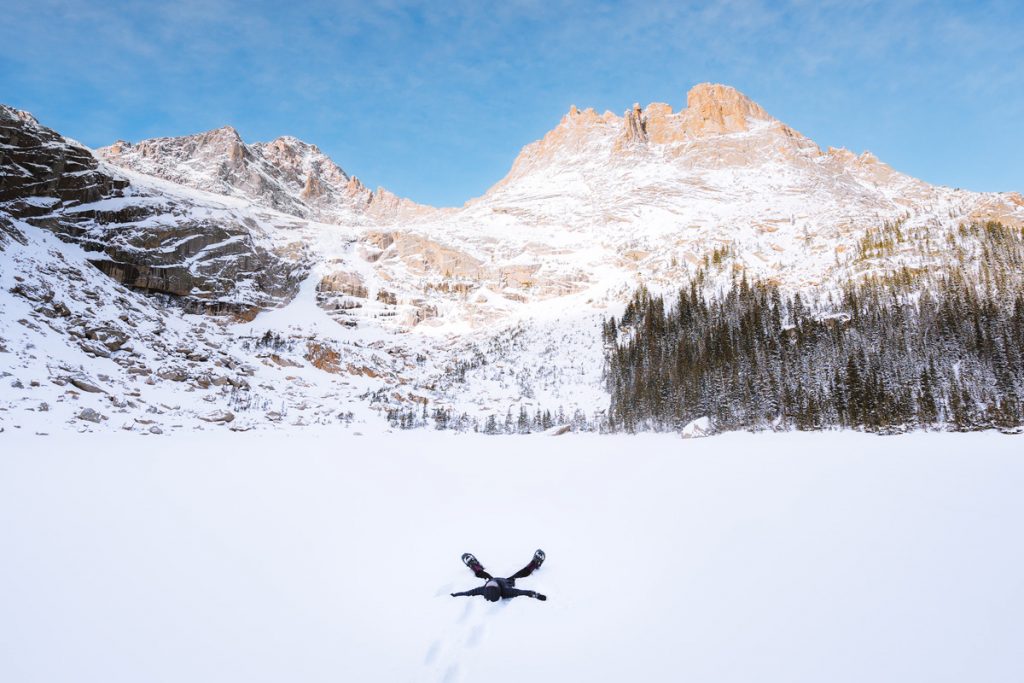
Snowshoeing is a wonderful way to access nature and stay fit during winter! It’s also more accessible and budget-friendly compared to many other winter sports. In this guide, I am sharing a bunch of beginner snowshoeing tips. You should come away from it knowing all the essentials to safely go snowshoeing for the first time!
Disclaimer: This blog post is in collaboration with Backcountry.com and features some affiliate links. This means I get a small commission if you make a purchase (at no extra cost to you). Use code RENEE15 to get 15% off your first Backcountry order (some exclusions apply). You can also learn more about my affiliate policy here. Thank you for the support!
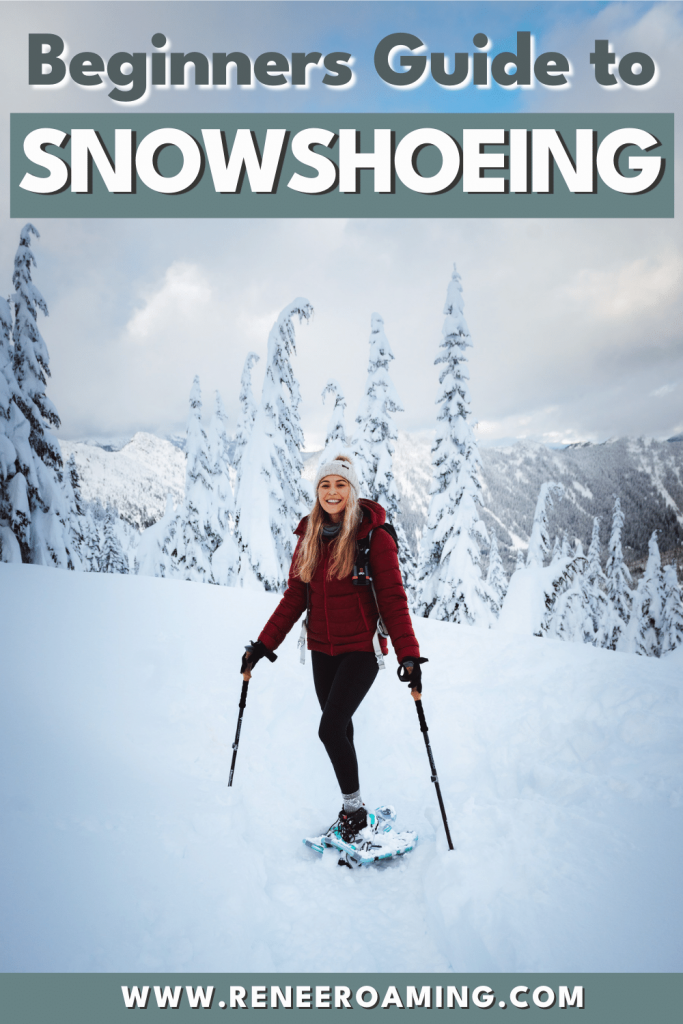
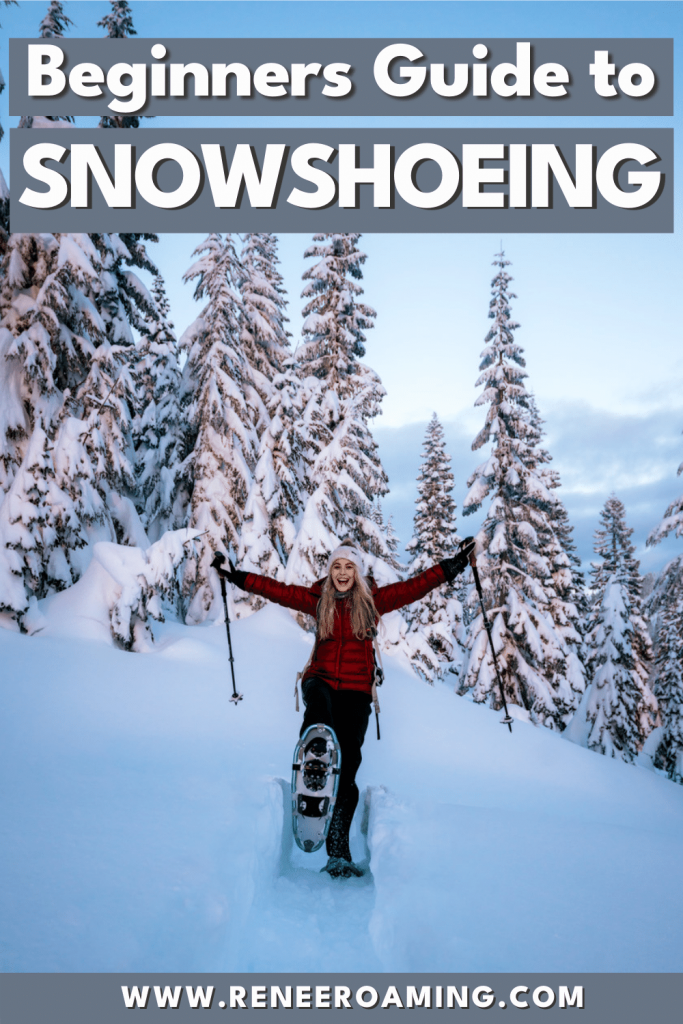
Snowshoeing Tips For Beginners
What Is Snowshoeing?
Snowshoeing is essentially a way to hike in the winter, when regular hiking isn’t an option due to snowy conditions. Snowshoes are devices that you strap to your feet and they help you walk on top of the snow rather than sinking into it. Think of it like having duck feet and floating on the surface!
According to the US Forest Service, snowshoeing (or “shoeski”) was invented in 4000 BC in Central Asia. Back then snowshoes were a plank of wood and crude bindings. Luckily, technology has improved a lot since then and modern day snowshoes are lightweight and relatively easy to use!

Why You Should Try Snowshoeing
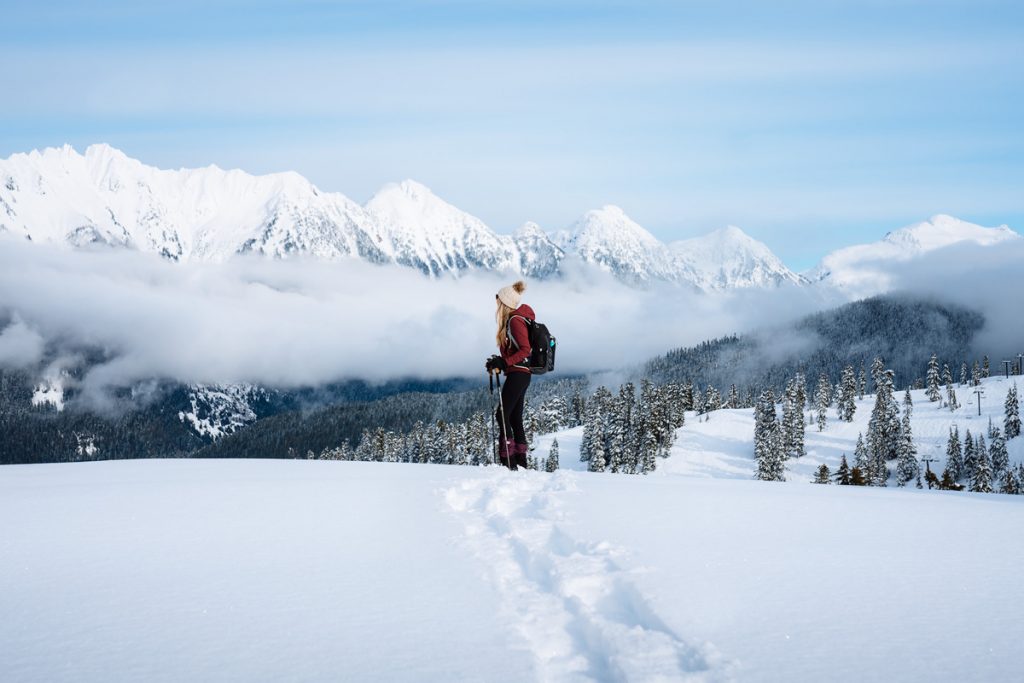
Winter often has us feeling cramped up and lacking in fresh air. Snowshoeing is a great way to get outside in nature, stay fit during the winter months, and access your favorite trails covered in snow! It doesn’t require the same level of gear cost as other outdoor winter sports, like skiing or snowboarding. I would also say that it’s generally less dangerous and lower impact in comparison to skiing/snowboarding. You don’t need expensive lessons to learn how to snowshoe and it’s a great activity for beginners. The best part about it? You can snowshoe to some pretty magical views and often encounter yourself in scenes straight out of a winter fairytale!
Where Can I Snowshoe?
Finding snowshoeing trails will depend on where you live. Trails that are usually used for hiking or biking in the summertime will then turn into snowshoeing trails in the winter months. Look out for local Sno-Parks and nordic centers, or use apps/websites like AllTrails to see what is nearby to you. If you’re a Washington local like me then I would recommend looking on the Washington Trails Association website for recommended trails.
It’s important when snowshoeing for the first time to start out on established trails that have a low avalanche risk. Choose something relatively well-trafficked so that you won’t be the first person to cut trail, nor will you be out there on your own. I would also recommend starting on a relatively flat trail and then advancing to steeper inclines once you have the hang of it.
Keep in mind that you will only need snowshoes if snow depths are more than about 6 inches, or you’re sinking into the snow. If the snow is hard-packed or icy then you should use microspikes instead of snowshoes. My favorite are the Kahtoola Microspikes. These will improve your grip as opposed to wearing hiking shoes without any traction.
Read next: Snowshoe to Artist Point – Washington’s Best Winter Adventure
Best Snowshoes for Beginners
It can be challenging to know which snowshoes to buy as a beginner. One way to see what you like before buying is to rent a pair or borrow some from a friend. When you’re ready to purchase your own snowshoes, these are my top tips for choosing the right pair:
Tips For Choosing The Right Snowshoes
There are three broad categories of snowshoes: hiking snowshoes, backcountry snowshoes, and running snowshoes. As a beginner, you will likely be looking for the first or second categories – hiking or backcountry snowshoes. Check out this article on how to choose the right pair of snowshoes.
- Keep in mind that snowshoes with a larger surface area will allow you to float more on top of the snow, whilst snowshoes with smaller surface areas will typically sink more in powder. That means for extremely powdery locations (e.g. Colorado, Utah) you may want to get a larger deck, and for less snowy locations a smaller snowshoe would suffice. Also, a person who weighs more or is carrying a large backpack will likely benefit from a larger deck size/surface area to prevent sinking.
- Women-specific snowshoes will often accommodate for smaller shoe sizes and will come with a narrower deck. Consider buying a pair of men’s snowshoes if you have a larger foot.
A general recommended weight range for snowshoe sizes:
- 20in: 80-150lb (36-68kg)
- 25in: 120-200lb (54-91kg)
- 30in: 170-250lb (77-113kg)
- 36in: 220-300lb (100-136kg)
Best Beginner Hiking Snowshoes
Hiking snowshoes are the most common type and where most beginners start. They are best for flat terrain or rolling hills, often have less aggressive traction systems, and are usually more affordably priced for entry-level snowshoers. These are my top picks:
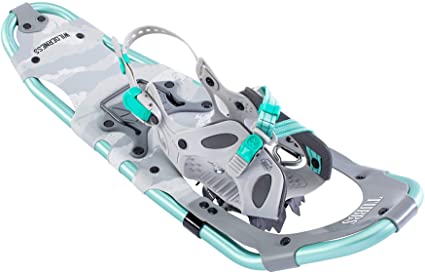
Tubbs Wilderness Snowshoes
The Tubbs Wilderness Snowshoes are my go-to for day hiking and I think they are perfect for beginners. They have good floatation, decent traction, are easy to strap on and off, accommodate for a narrower gait, and have a heel lift for steeper ascents. I find the bindings to be really comfortable and the 21 inch is ideal for me as a fairly petite woman. They come in 21 inch, 25 inch, and 30 inch, and generally retail for $199.95 USD.
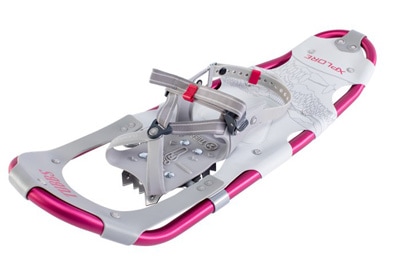
Tubbs Xplore Snowshoes
The Tubbs Xplore Snowshoes are very similar to the Tubbs Wilderness Snowshoes, but they are a little more minimalistic and don’t the heel lift feature. The Xplore’s are best suited for flat terrain and are a great affordable pair of snowshoes for beginners. They come in both 21 inch and 25 inch and typically retail for about $134.95 USD.
MSR Revo Trail Snowshoes
The MSR Revo Trail Snowshoes are another good choice for beginners. They perform well on flat terrain and have an impressive traction system. The Revo’s are nice and small but you can buy modular flotation tails to attach on the ends for increased floatation. They come in both 22 inch and 25 inch and typically retail for about $179.95 USD.

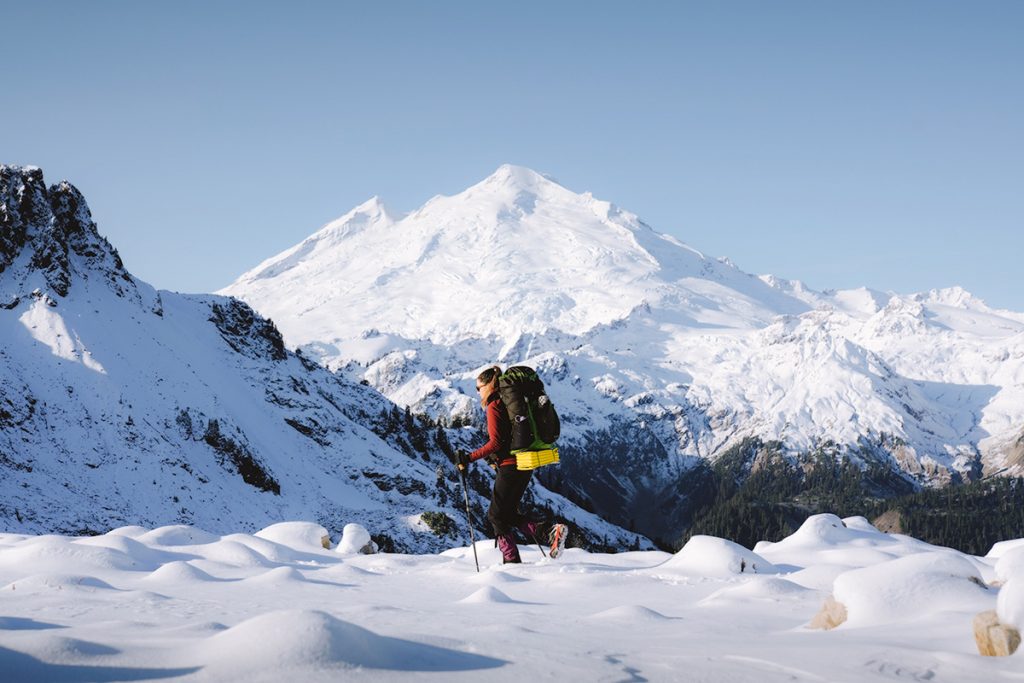
Best Beginner Backcountry Snowshoes
Backcountry snowshoes are best suited for more challenging pursuits and when you are going off the beaten track. They are particularly good for deep powdery snow and steep terrain. The extra floatation makes them ideal for backcountry camping trips when you will be carrying heavier loads. These are my top picks:
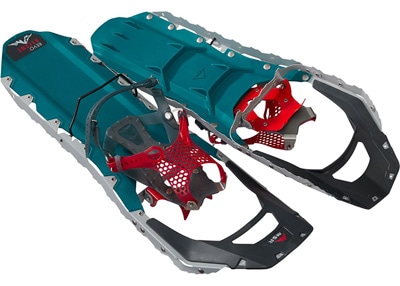
MSR Lightning Ascent Snowshoes
The MSR Lightning Ascent Snowshoes are my go-to for backpacking and for powdery days. They have are lightweight, amazing floatation, and impressive traction. The women’s version are narrower and lighter than the men’s, but ultimately they serve the same function. The Lightning Ascent’s come in both 22 inch and 25 inch and typically retail for about $319.95 USD.

MSR Revo Ascent Snowshoes
The MSR Revo Ascent Snowshoes are very similar to the MSR Revo Trail but they are designed for both flat terrain and steep ascents. Their heel lift help you ascend steep hills by reducing fatigue and increasing traction. Keep in mind that their floatation performance is not quite as good as the MSR Lightning Ascents. The Revo Ascent’s come in both 22 inch and 25 inch and typically retail for about $259.95 USD.
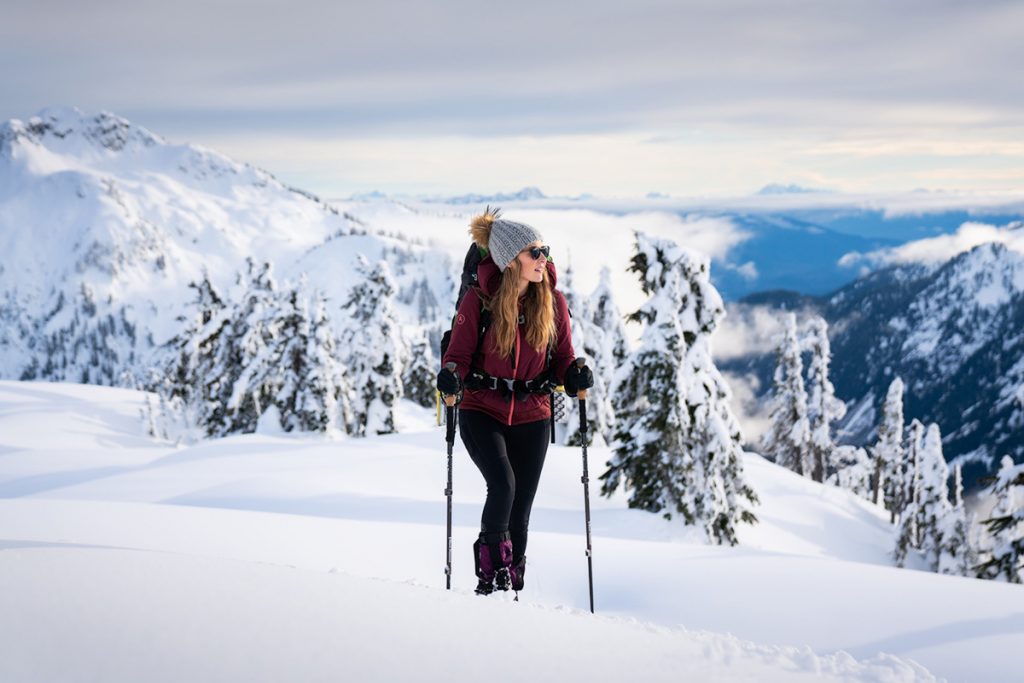
What Should I Wear Snowshoeing?
Dressing for snowshoeing is like any other outdoor adventure in that there are “ideal” items to have but you can also often use things you already own. One thing to consider when choosing what to wear snowshoeing is that the lighter and less bulky your gear is, usually the easier your hike will be. This is because extra weight can definitely slow you down over the course of a few miles. Below I will provide both lightweight (typically more expensive) and also some budget-friendly gear options.
Another thing to keep in mind is that everyone feels the cold differently. Like many women, I get super cold when hiking and camping in the snow, and definitely rely on my winter-specific gear to stay safe and warm when in the backcountry. Whereas my husband doesn’t get quite as cold as me and is, therefore, able to utilize many of his summer gear items instead of buying new pieces. If you live somewhere super cold then you will very likely need to purchase a winter-specific gear setup. Adjust the below recommendations to suit your needs.
Lastly, as with any type of hiking, layering your clothing is very important when snowshoeing. Layering allows you to customize your warmth and adjust for changing conditions. You will see this reflected in my suggested items below.
Don’t forget to use code RENEE15 to get 15% off your first Backcountry.com order! (some exclusions apply)
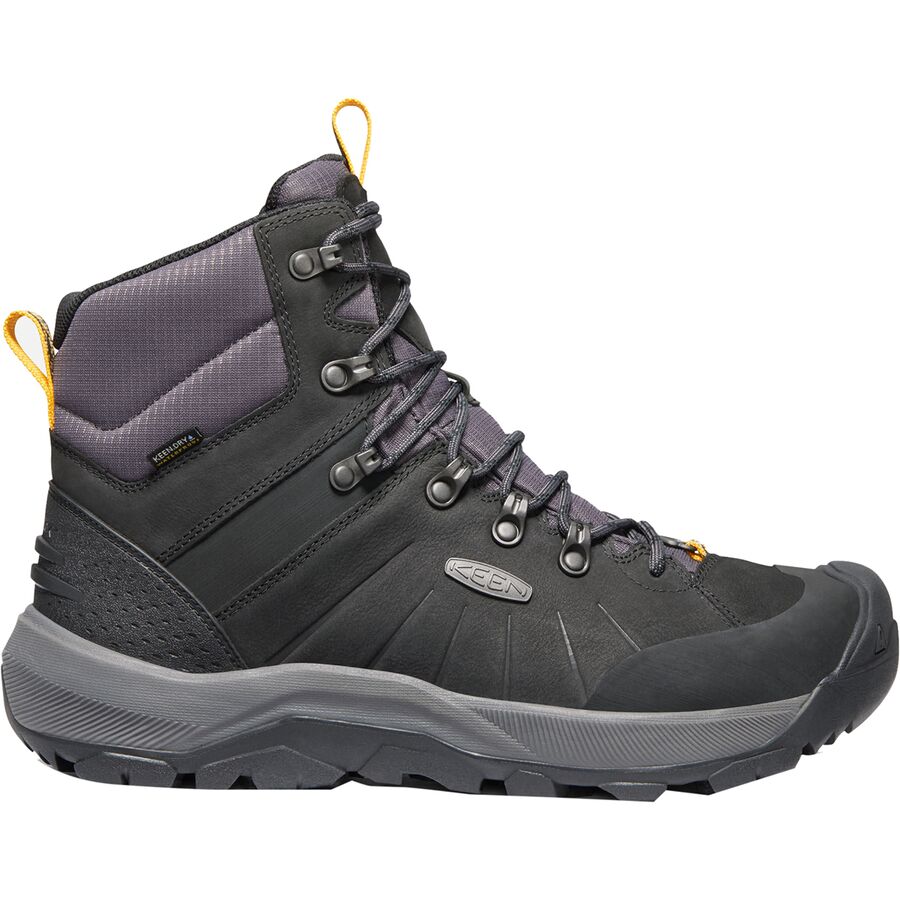
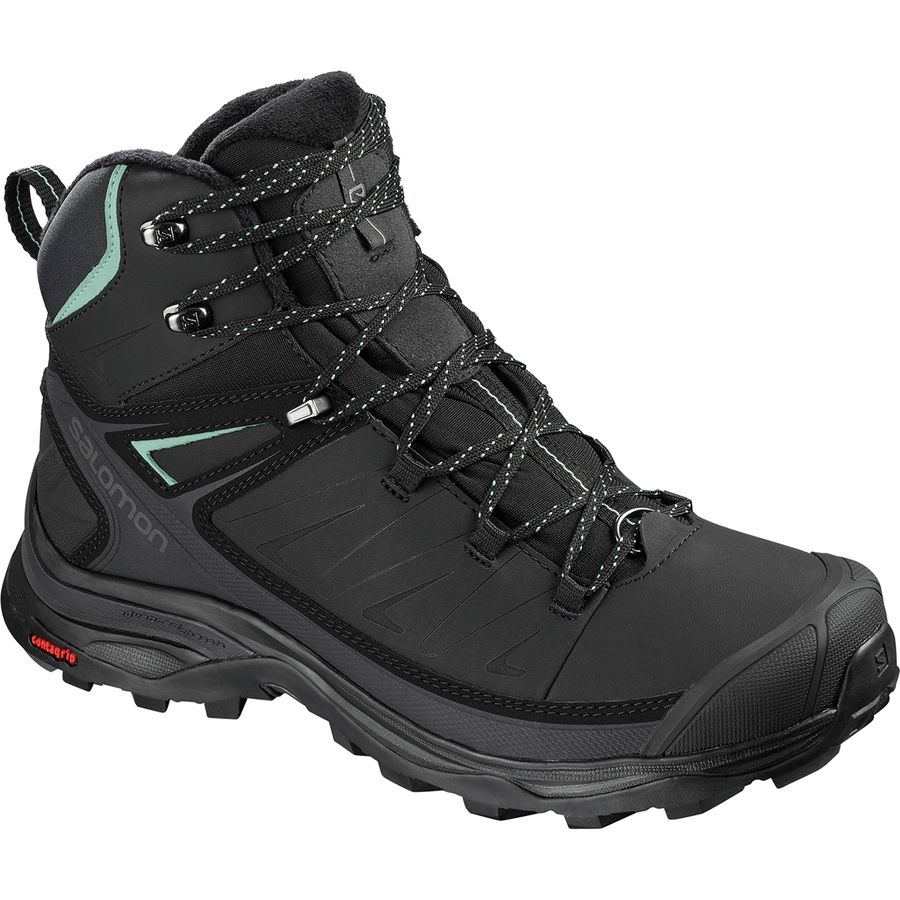
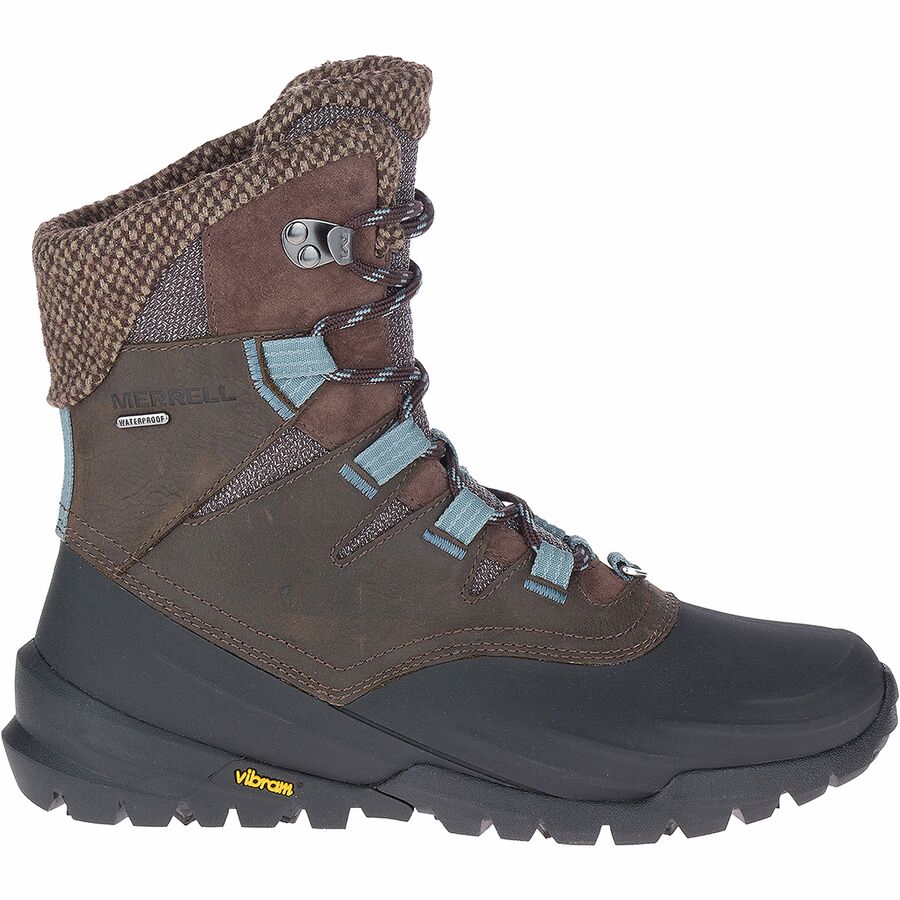
Waterproof Hiking Boots
Waterproof hiking boots are essential for snowshoeing adventures. They will keep your feet warm and dry and should be more durable than summer hiking boots. Hiking boots are a very personal thing and you really need to find what kind of style, width, and height best suit your feet. My go-to pair of waterproof winter hiking boots are the KEEN Revel IV Boots. I love the wider toe box that allows me to wear thick socks and use toe warmers on super cold days. Some other good options are the Salomon X Ultra Mid Winter CS WP Boots and the Merrell Thermo Aurora 2 Mid Shell Waterproof Boots.
Remember that you’ll be wearing thicker socks when hiking in winter (and maybe toe warmers), so you may need to choose 1/2 a size bigger for winter-specific hiking boots. If your shoes are too tight then you will almost certainly get cold toes, trust me!
Read next: Best Hiking Boots For Men and Women
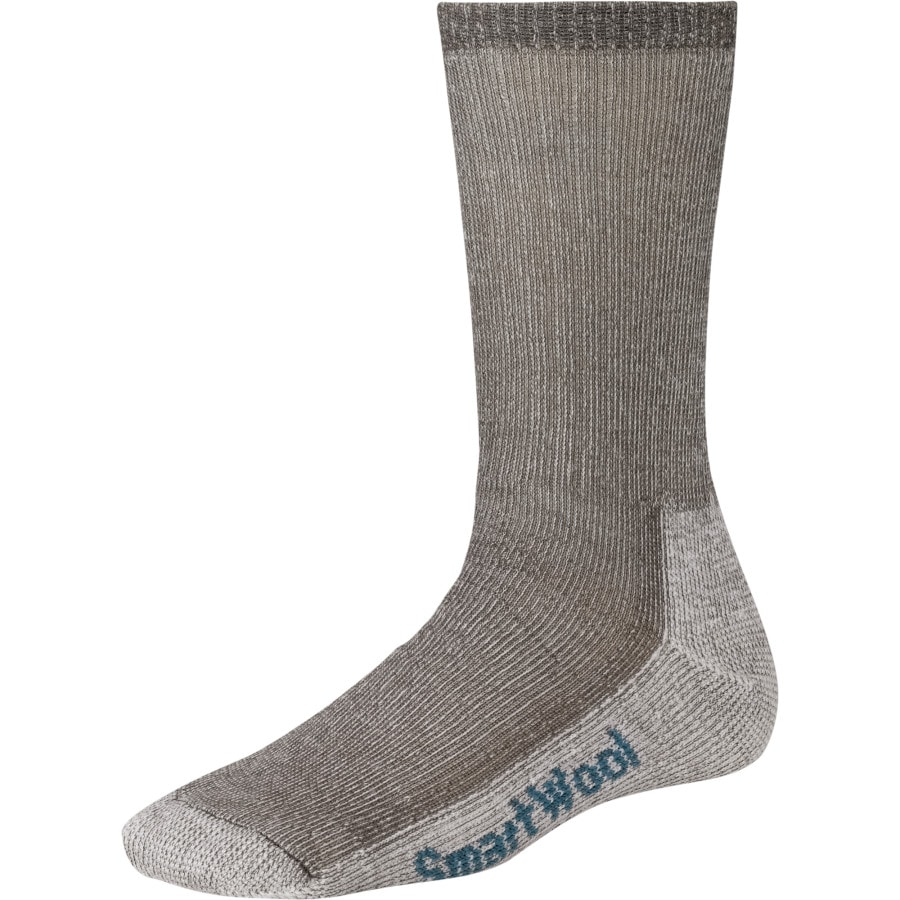
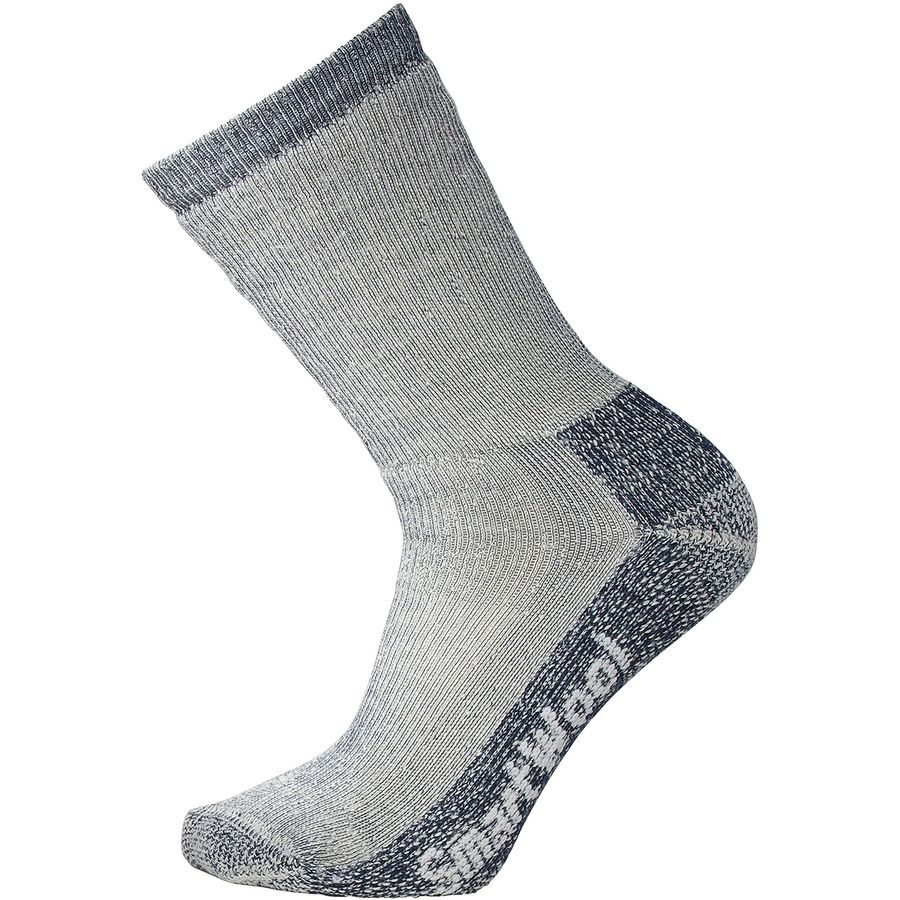
Wool Socks
Don’t overlook the importance of having socks that are comfortable to wear for a long time, fit correctly, and are warm enough for winter conditions. In my opinion, merino wool is the best option for hiking socks. They are breathable, odor-resistant, moisture-wicking, and will be less likely to cause blisters. When choosing socks, you will need to consider the temperature you’ll be hiking in and how much room you have in your shoes. If your shoes are already on the tighter side then you won’t want to bulk them out with heavy socks, as that will ultimately lead to even colder toes.
My go-to merino wool winter hiking socks are the Smartwool Hike Medium Crew Sock. For super cold temperatures, I will wear the Smartwool Trekking Heavy Crew Sock or the Smartwool Mountaineering Extra Heavy Crew Sock. Some other great choices for durable merino wool socks are Darn Tough and Icebreaker.

I recommend packing an extra pair of socks in your day pack, just in case the pair you are wearing get wet. Wet feet can quickly turn into misery (or frost bite) when you’re out in super cold conditions.
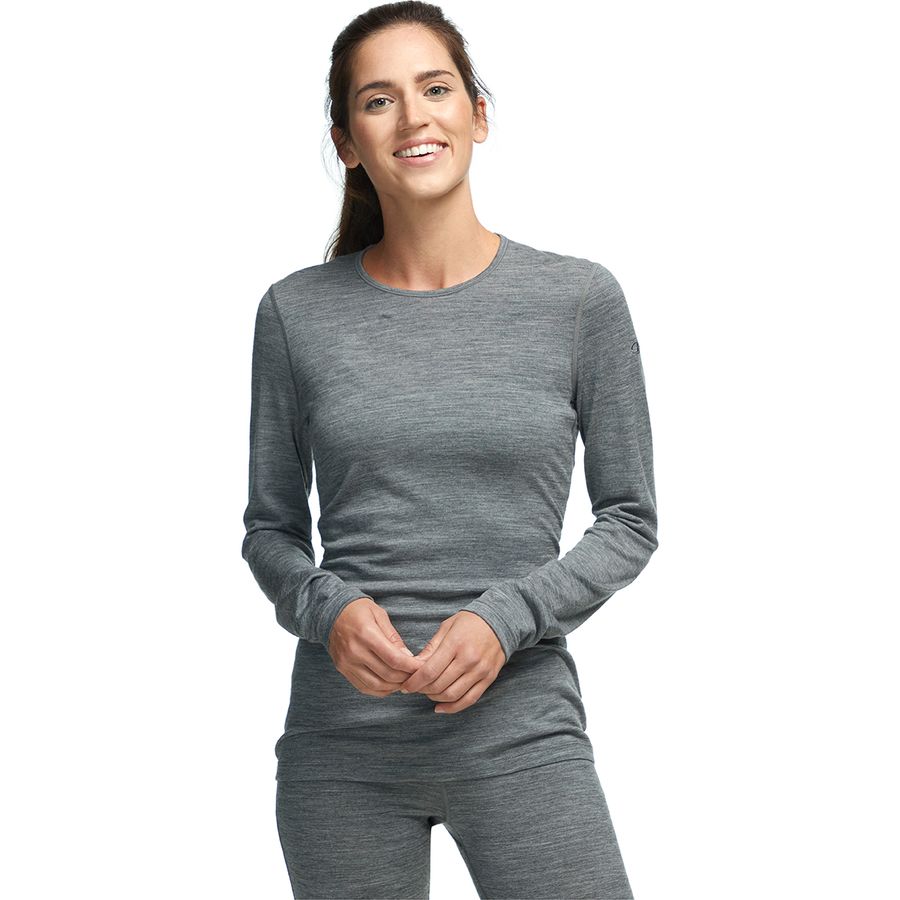
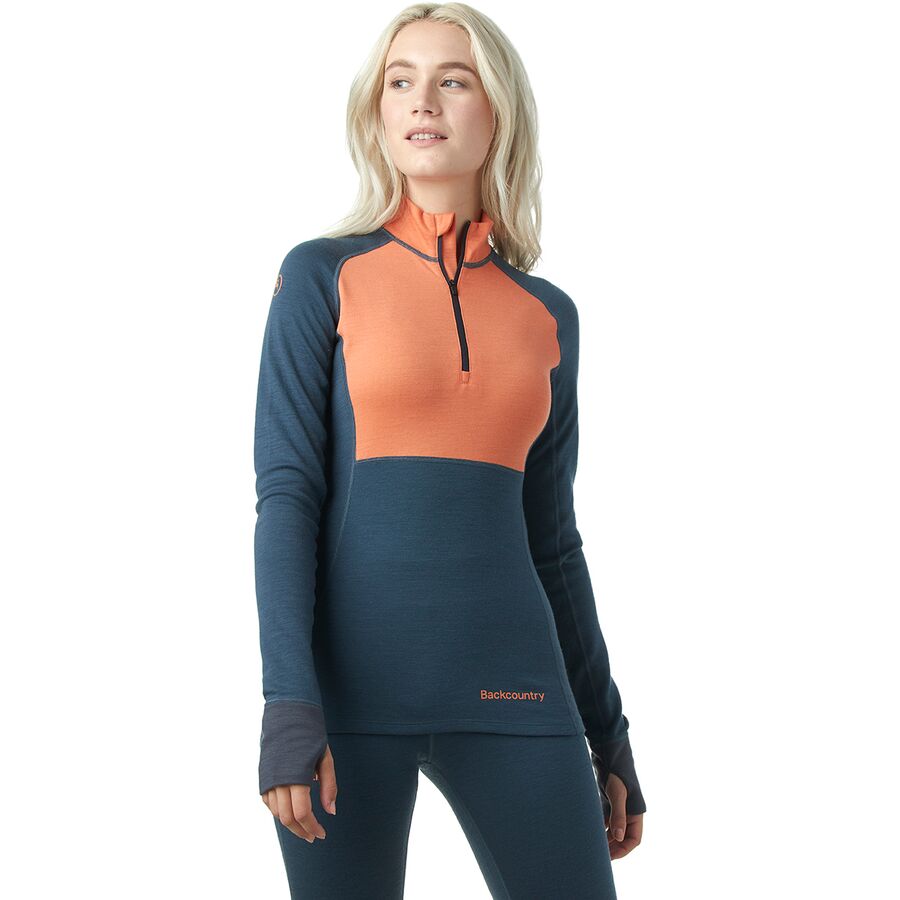
Thermal Top
The first layer on your upper body should be some sort of breathable and moisture-wicking thermal top. These are often called ‘baselayers’ and I recommend opting for something made from merino wool (avoid cotton if you can). In saying that, any sort of moisture-wicking long sleeve top will do just fine, especially when you’re just starting out and slowly acquiring gear. My favorite baselayer tops are the Icebreaker BodyFit 200 Oasis Crew Top and the Backcountry Spruces Merino Baselayer 1/4-Zip Top (also comes in a crew version).
Mid-Layer Fleece
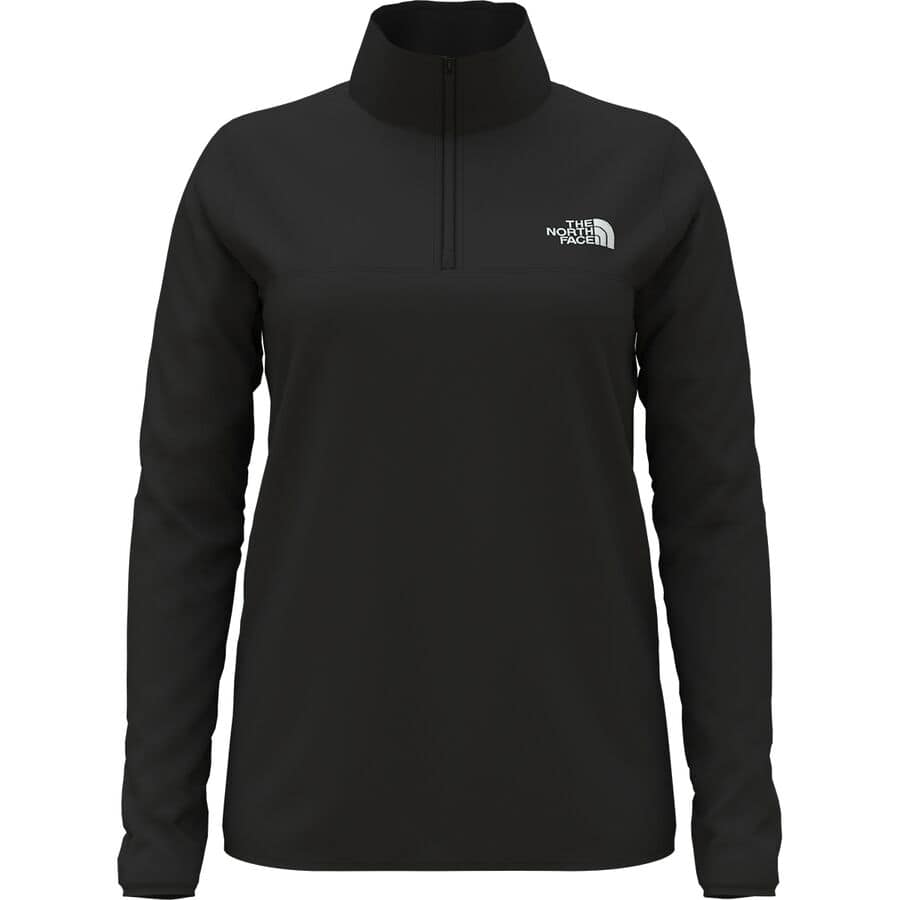
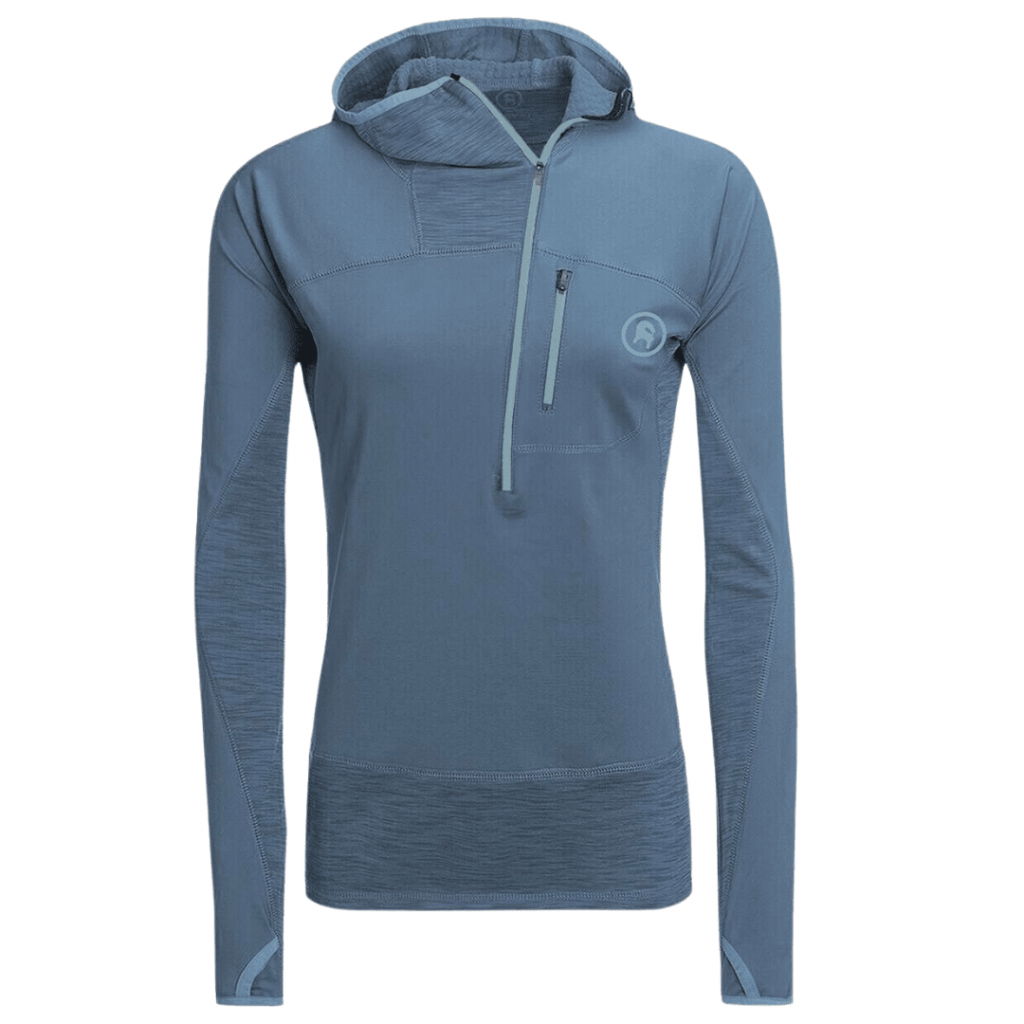
When dressing for snowshoeing, the second item on your upper body will be some sort of mid-layer. You will likely keep this on the whole time and will only take it off for sweaty uphill ascents. So it’s important that this layer is warm but also breathable. Some great choices are the Patagonia R1 Fleece Pullover, the North Face TKA Glacier 1/4-Zip Fleece Pullover, and the Backcountry Hybrid Grid Fleece Pullover.

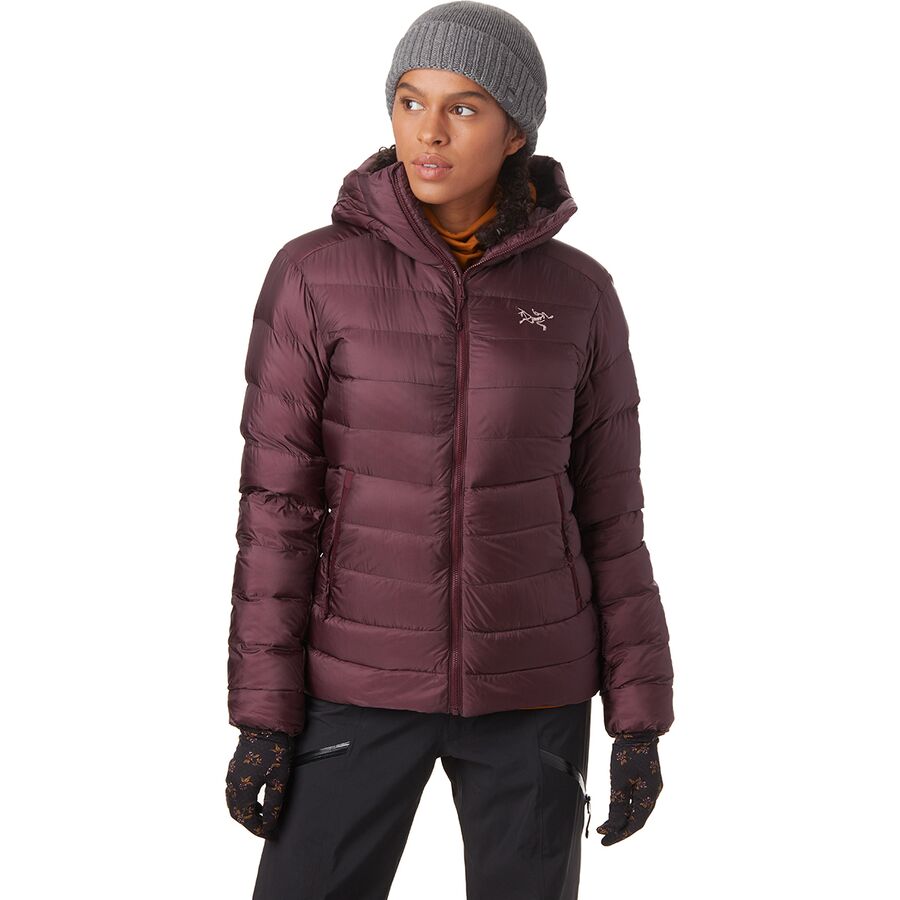
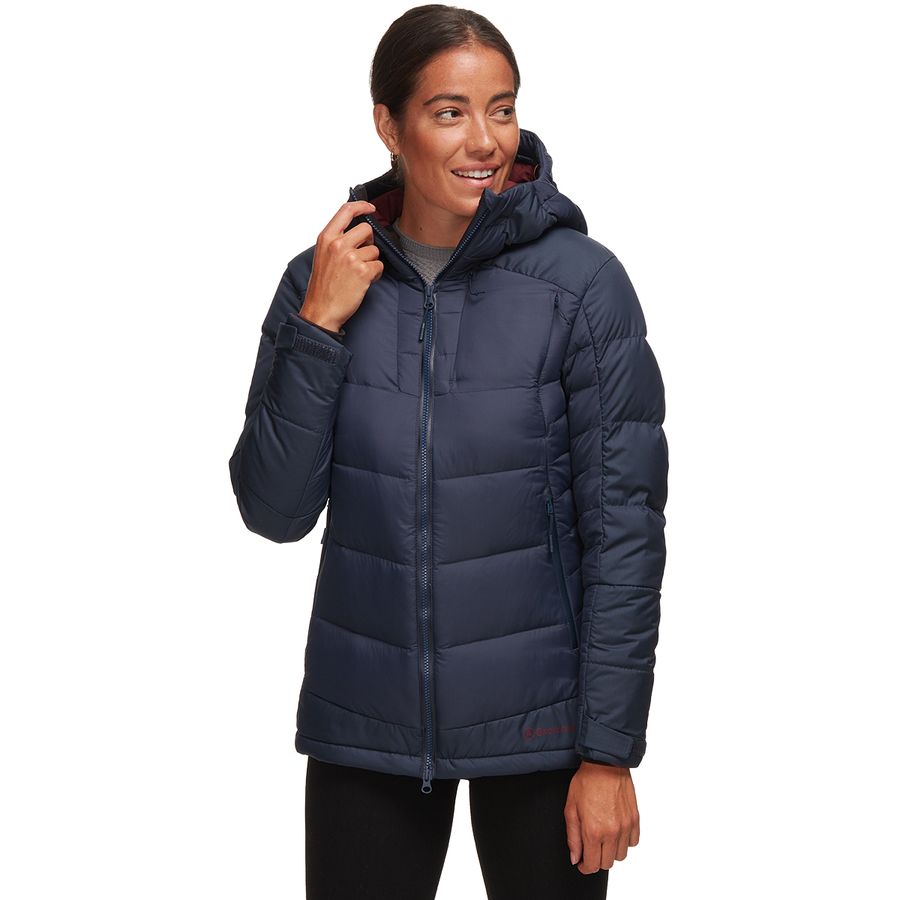
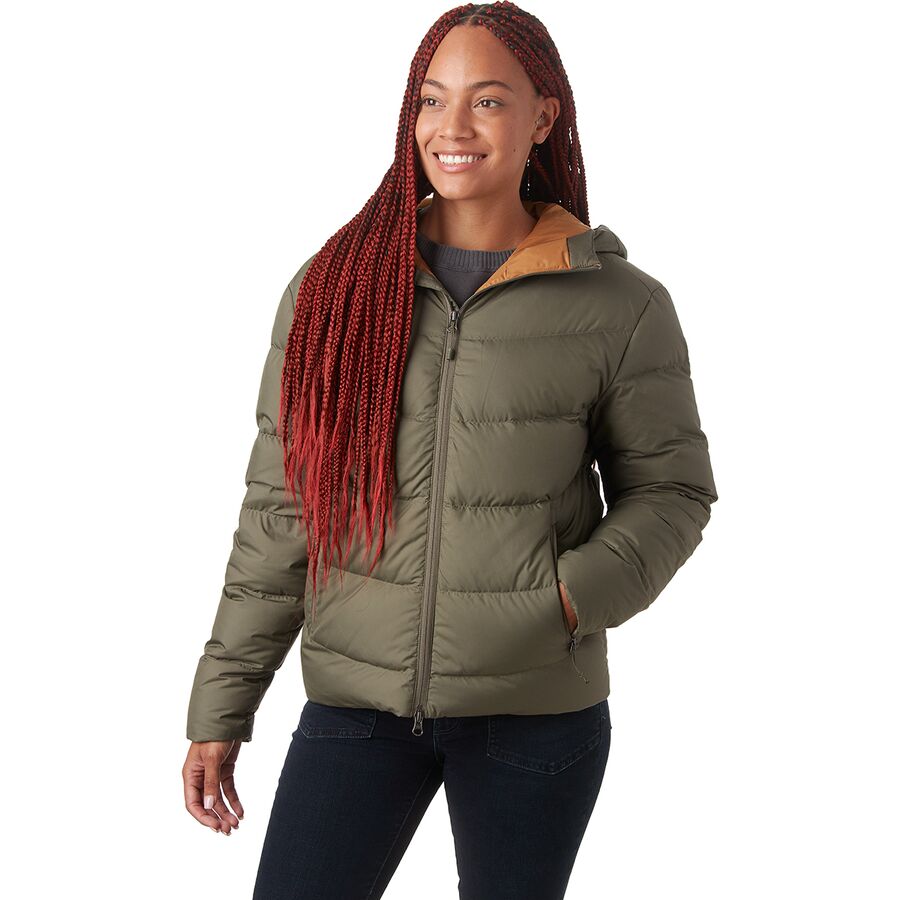
Insulated Jacket
Your next layer for snowshoeing will be an insulated jacket. In my experience, you won’t often be hiking with this jacket on but it’s very much needed for during hiking breaks and when you haven’t warmed up yet. It’s also essential to carry warm layers in case if the weather suddenly changes or if you get caught out longer than expected. There are a wide range of insulated jackets to choose from and some are definitely more affordable than others.
For the last few years, my go-to winter jacket has been the Arc’teryx Cerium SV Hooded Down Jacket. The Cerium SV has a significant price tag but you really can’t beat its warmth to weight ratio. It’s incredibly warm, packs down really small, and only weighs 13.9 ounces. Some more affordable options are the Backcountry Murdock 850 Down Jacket and the Backcountry Thistle Down Jacket. Keep in mind that although they are definitely bulkier and heavier than the Cerium SV, these jackets will still keep you toasty in cold temperatures.
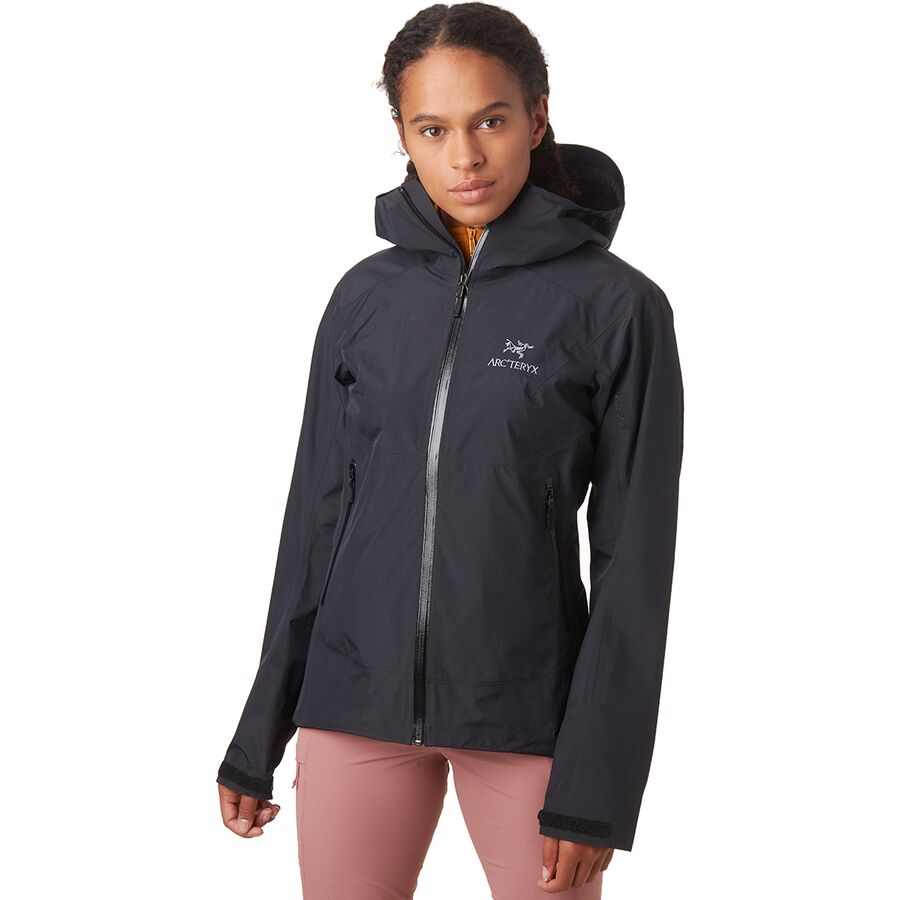
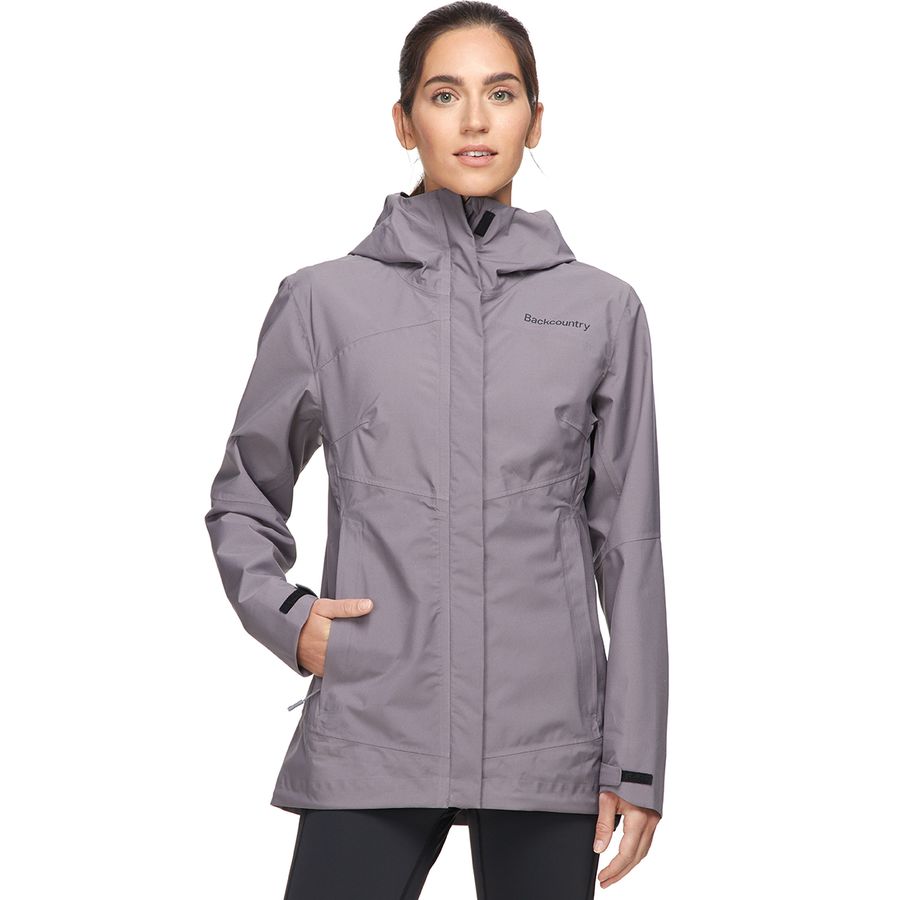
Waterproof Shell Jacket
Your final upper body layer will be a waterproof shell jacket. Similar to an insulated jacket, you likely will not be hiking in this jacket. It’s more for if it starts snowing, raining, or if the wind picks up and you need additional warmth. Think of this layer as more of a “just in case”. You can use any rain shell jacket you already own. My go-to waterproof shell is the Arc’teryx Zeta SL Jacket. Some more affordable options are the Marmot PreCip Eco Jacket and the Backcountry Daintree Rain Jacket.

Winter Pants
There are a few different approaches you can take when selecting which pants to wear snowshoeing. It will ultimately come down to your preference, budget, and the conditions you will be snowshoeing (how cold, how much snow, what type of snow e.g. dry powder vs wet snow).
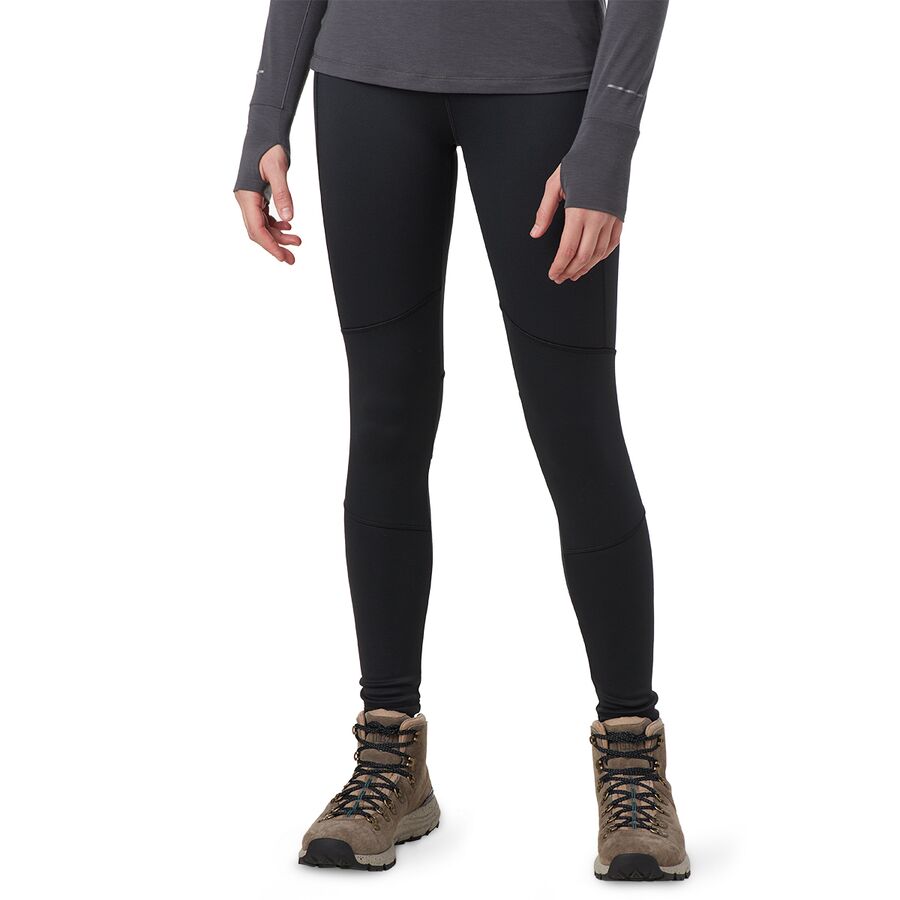
Option 1: Fleece-Lined Pants Or Leggings
Fleece-lined leggings are usually my go-to for when I know I’ll be moving frequently and staying warm. My favorite are the Backcountry Sundial Fleece-Lined Tights.
Option 2: Waterproof Shell Pants
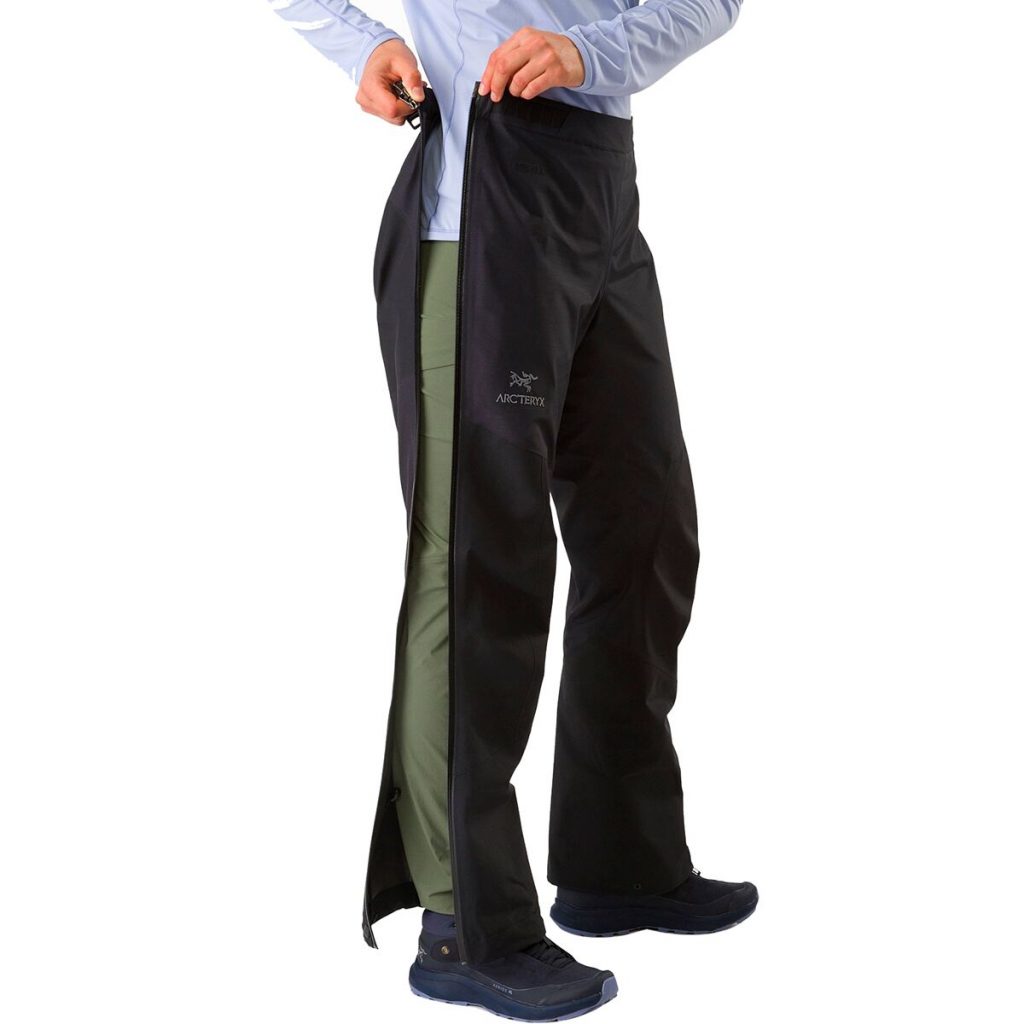
Waterproof shell pants are a great option if you know it will be snowing or the snow will be very wet. Underneath your shell pants, you can wear long thermal underwear or fleece-lined tights. I often choose the second option as I like the flexibility of taking off my shell pants if I’m hot and putting them back on if I’m cold. My go-to pair of shell pants are the Arc’teryx Beta SL Pant. These are definitely an investment but I love how they fully zip on/off without needed to remove my shoes, and they are very lightweight. I use this year-round for protection during cold and wet conditions. Some more affordable options are the Marmot Precip Eco Full-Zip Pant or the North Face Venture 2 1/2-Zip Pant.
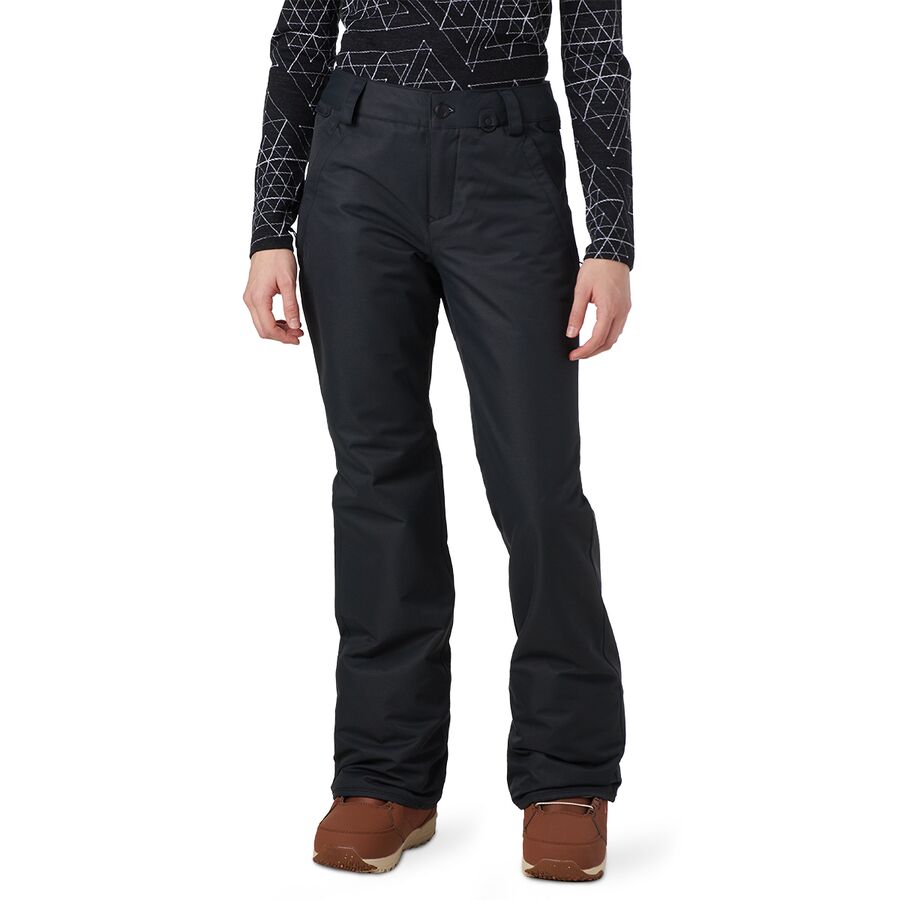
Option 3: Insulated Ski Pants
If you already own a pair of ski pants, they are likely a suitable option for snowshoeing. You may find the insulation gets a little too hot, but this should be fine as long as you’re not climbing steep ascents. You’re best not to wear more layers underneath insulated ski pants unless it’s crazy cold outside. Snowshoeing warms you up very fast! The Columbia Kick Turner Insulated Pant and Volcom Frochickie Insulated Pant are examples of insulated ski pants.
Borrowing a pair of shell pants or ski pants can be great for your first time snowshoeing, until you can decide what best suits your beeds. You’ll be suprised how many friends and family have an old pair of ski pants in their closet!
Gloves / Mittens
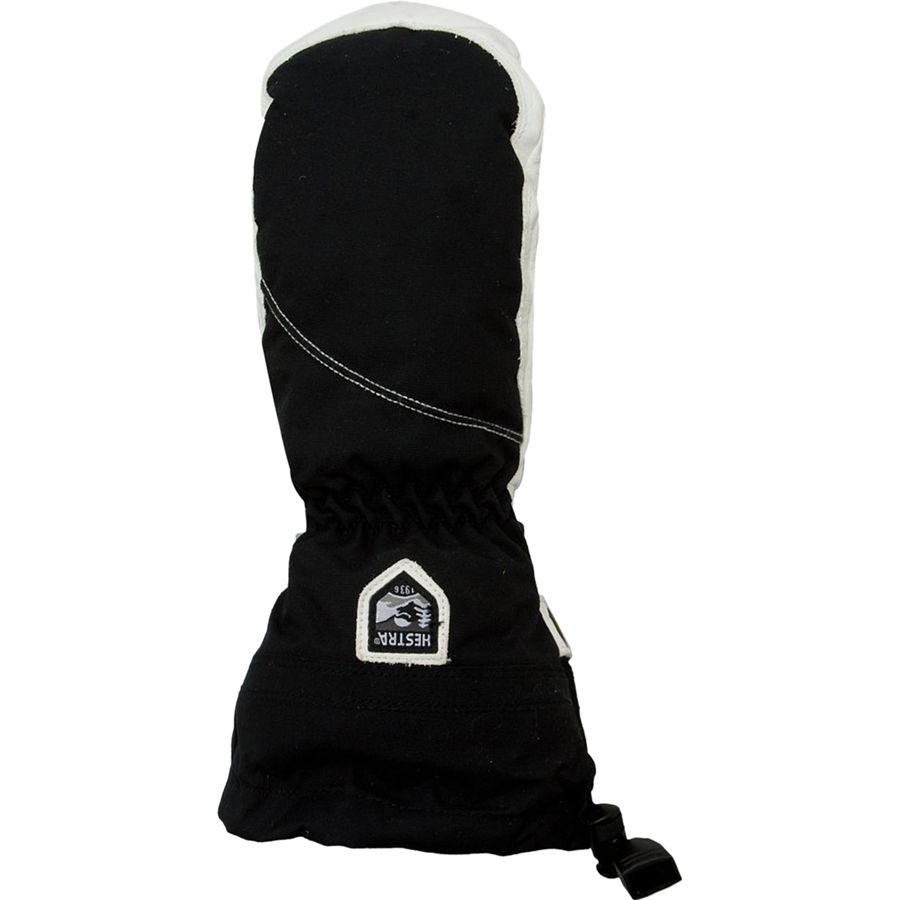
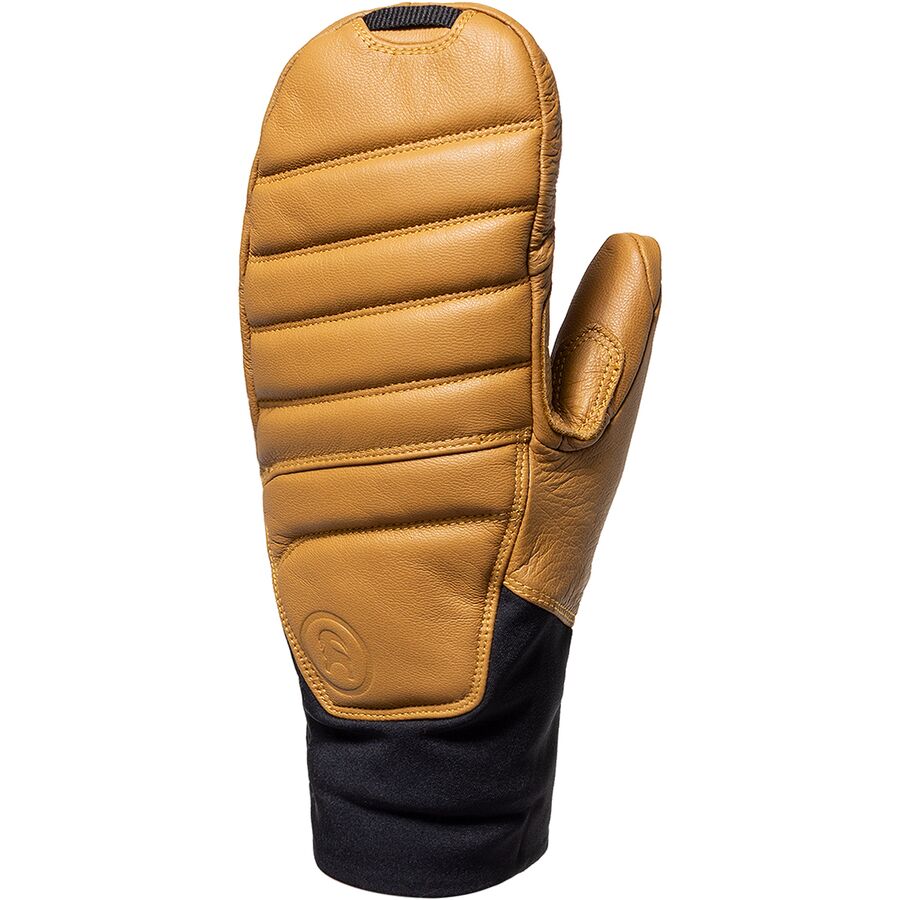
Frostbite is no joke! Adequate hand protection is vital when snowshoeing. I usually take two pairs with me: a lightweight option for if it’s not too cold and I want more dexterity, and a heavier waterproof option for when the temperature really drops or it starts snowing. My go-to lightweight pair are the Icebreaker Quantum Gloves. My favorite pair of waterproof gloves are the Hestra Heli Mittens. I’ve owned these for 6+ years now and have been impressed with their durability and warmth. A more affordable option are the Backcountry Gore-Tex Mittens.
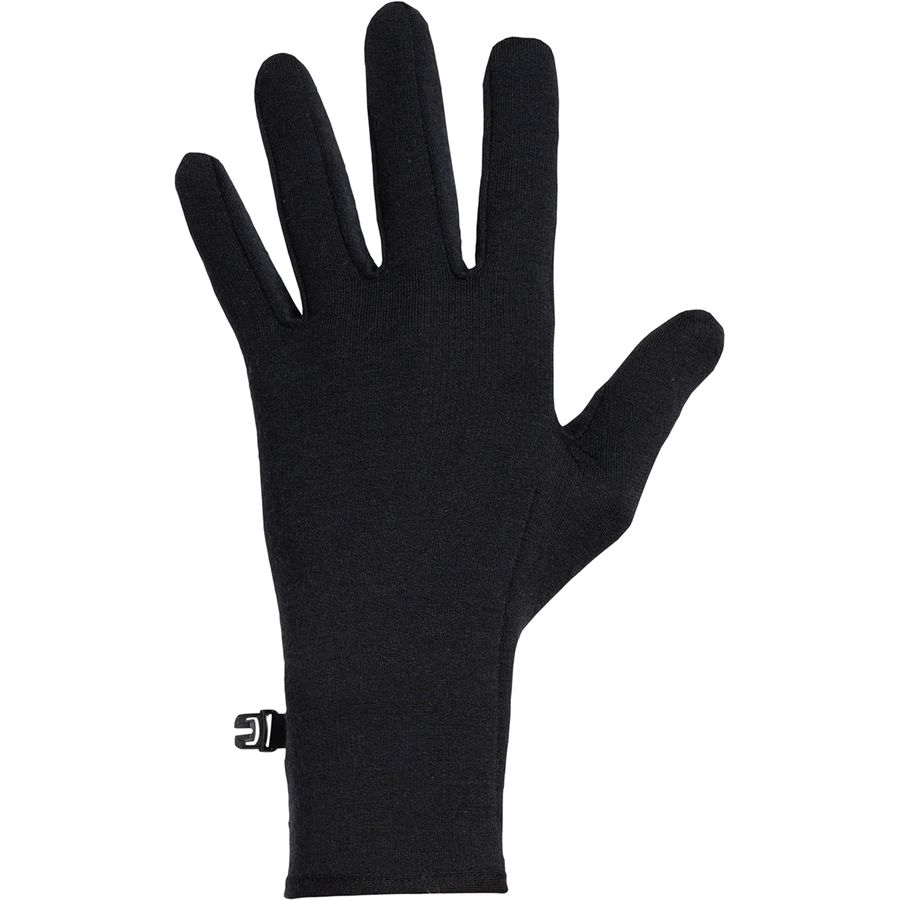
I would also suggest taking along some hand warmers to put inside your gloves in case it gets super cold!
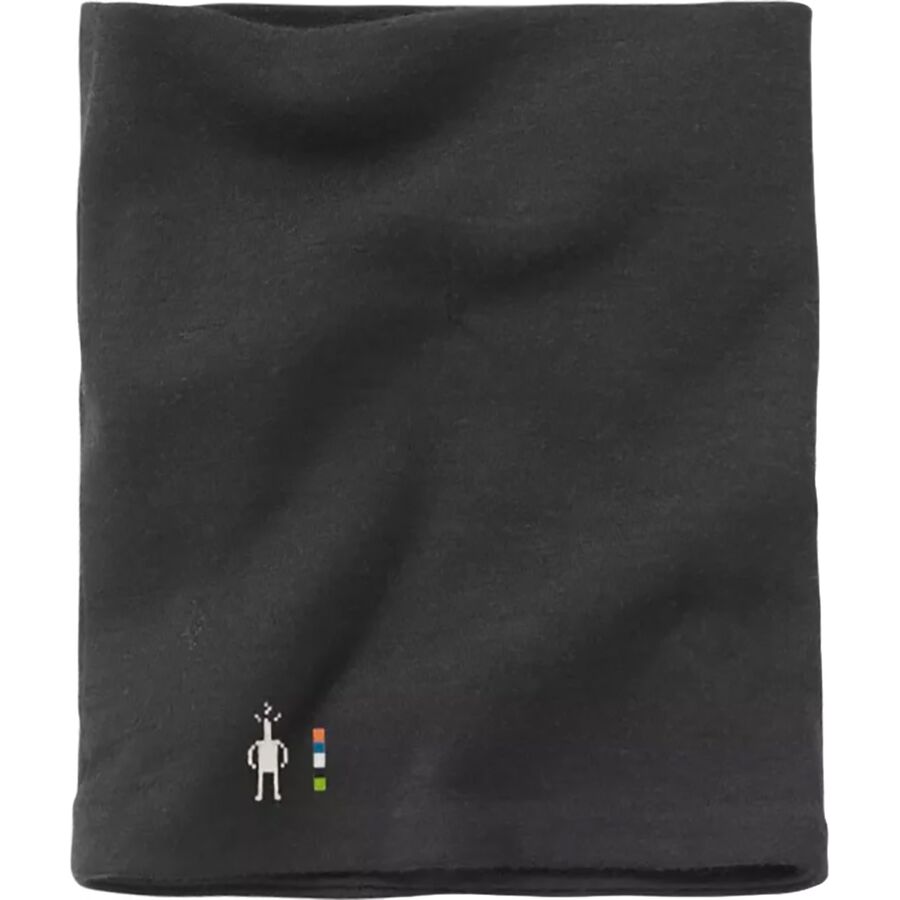
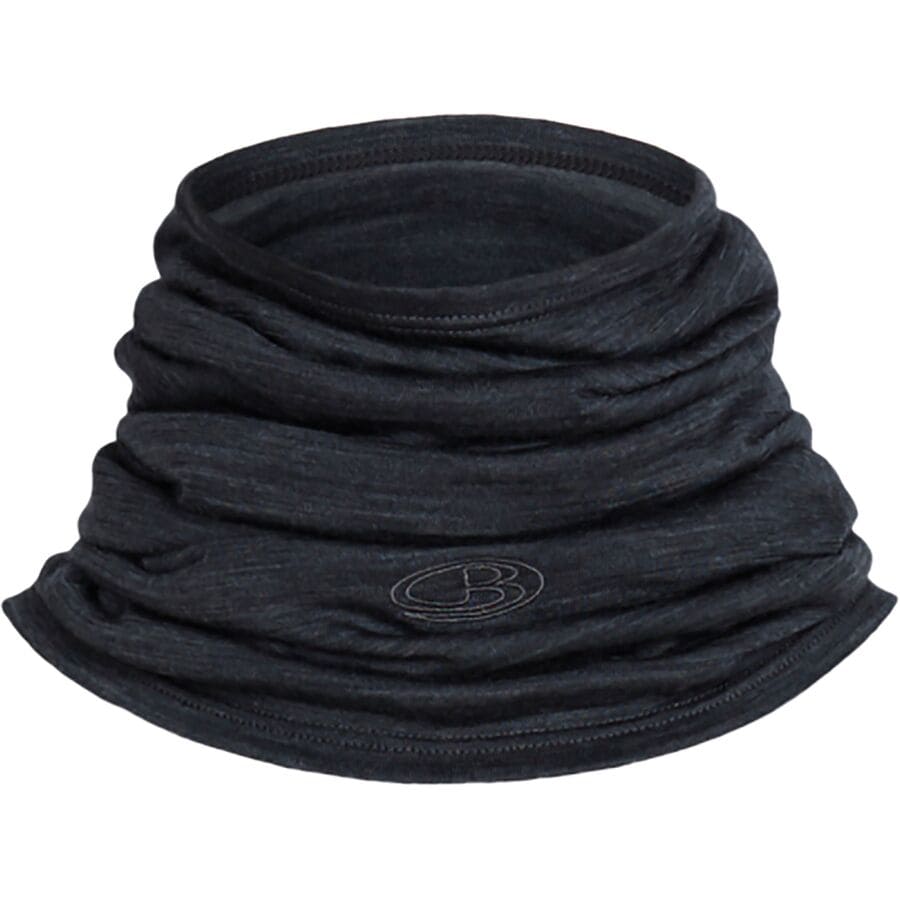
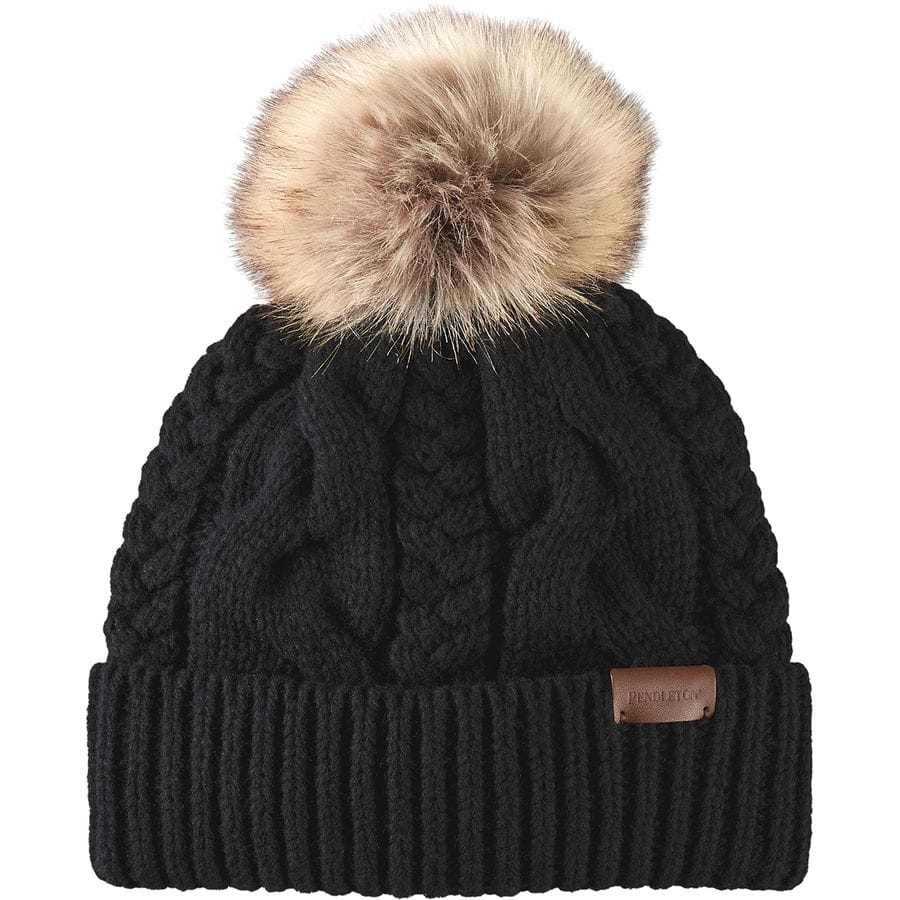
Head and Neck Protection
I would highly recommend wearing a neck gaiter and beanie when snowshoeing. These will keep you warm, protect you from the sun, and help stop snow from getting into places you don’t want it. For neck gaiters, some great options are the Smartwool Merino 250 Neck Gaiter and the Icebreaker Cool-Lite Flexi Chute. My go-to beanie is the Pendleton Cable Hat.
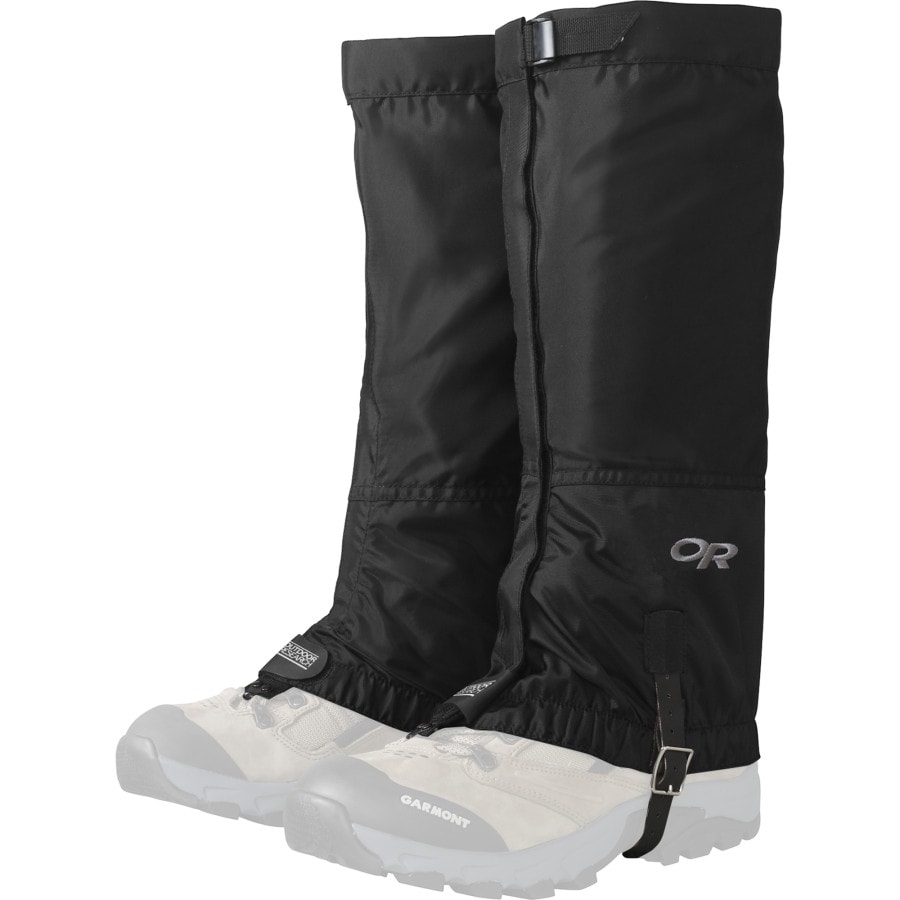
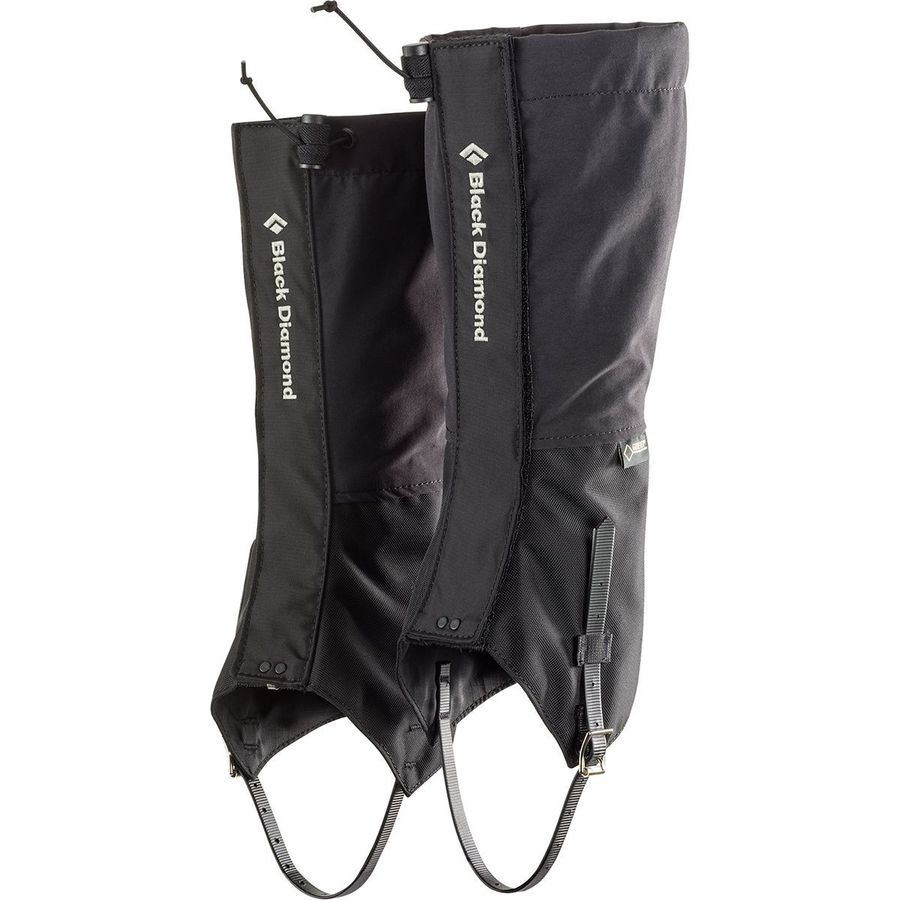
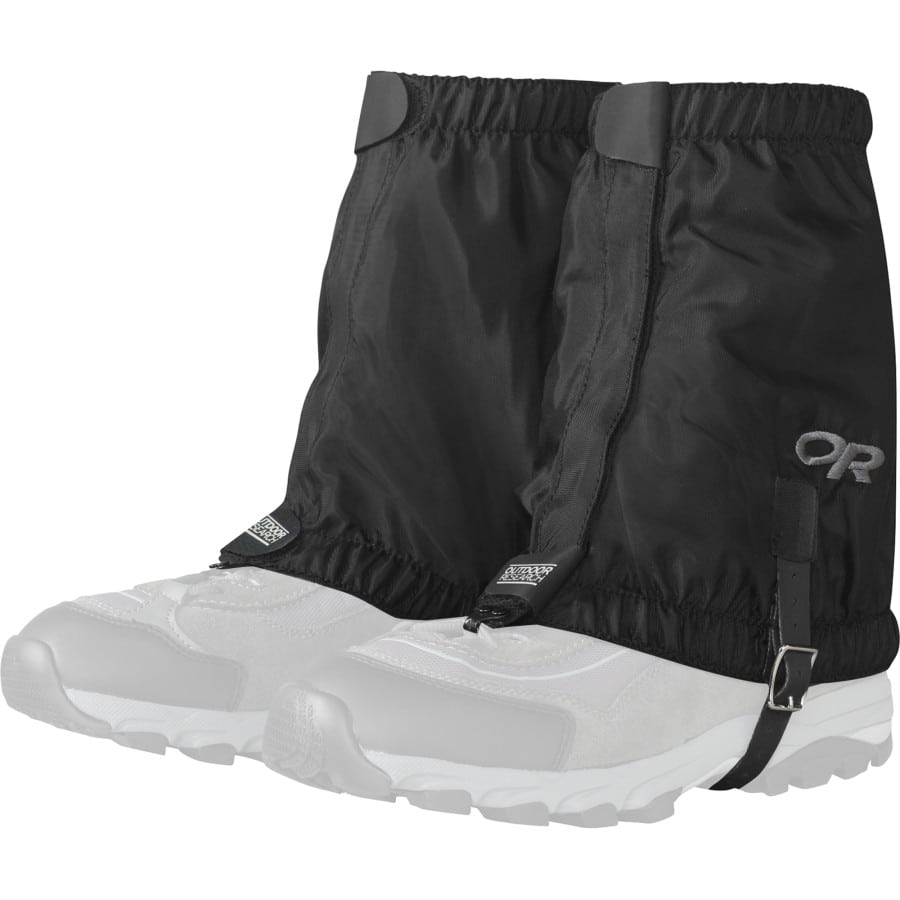
Gaiters
Gaiters are optional and you may not need them depending on what pants you wear. They are essentially zip-on coverings for the bottom of your pants and their purpose is to prevent snow from getting into your shoes. I own the Outdoor Research Rocky Mountain High Gaiters and they have served me well over the years. Some other options are the Black Diamond FrontPoint GTX Gaiters and the Outdoor Research Rocky Mountain Low Gaiters.
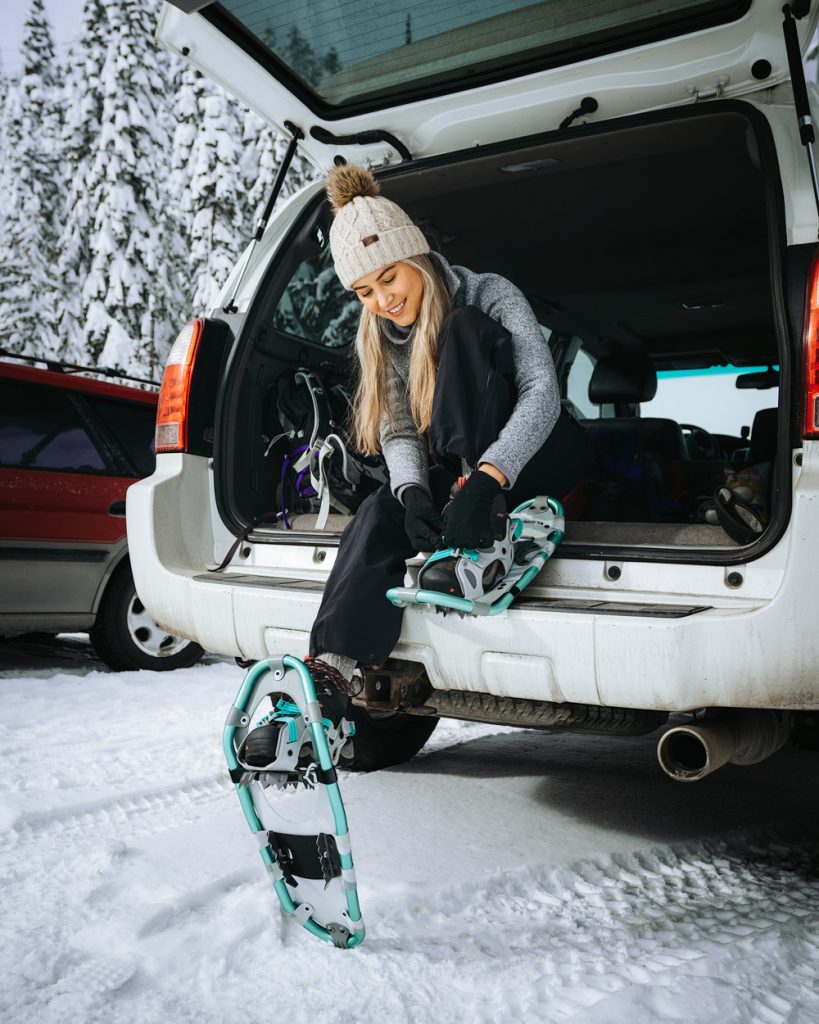
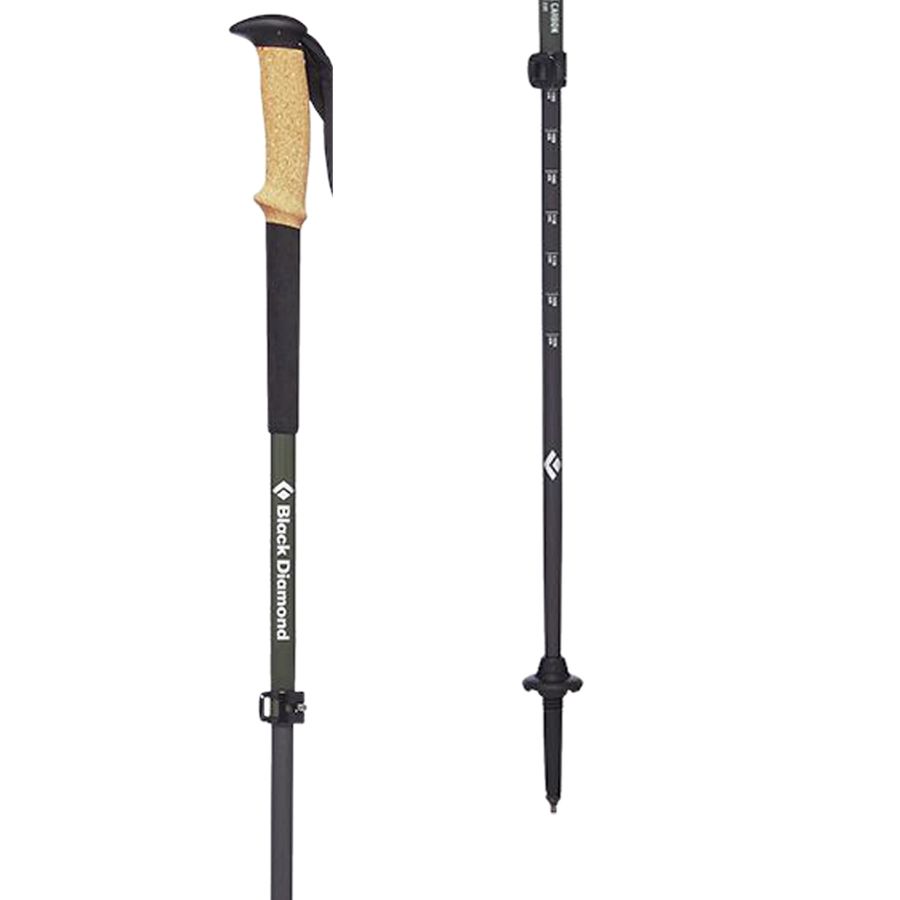
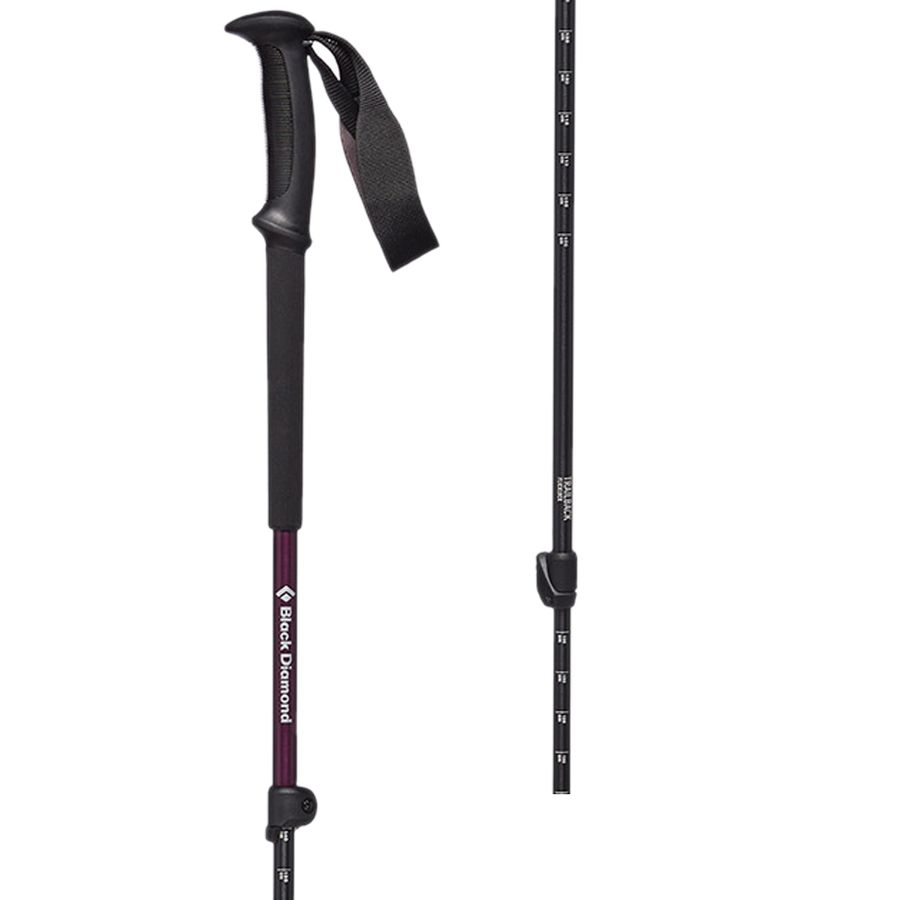
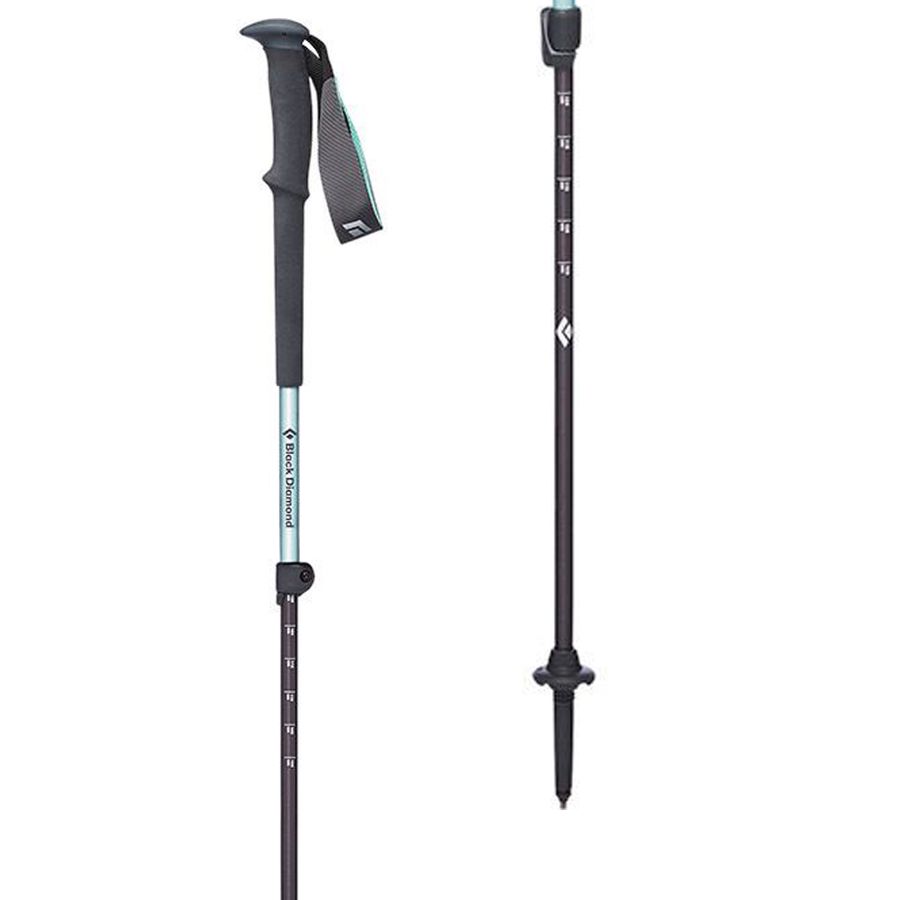
Snowshoeing Poles
I highly recommend using snowshoeing poles. They assist with balance, take some of the strain off your legs, and will help prevent falls. You can use regular trekking poles but be sure to attach trekking pole baskets to prevent sinking into the snow. These sometimes come with trekking poles and other times you need to buy them separately. My go-to trekking poles are the Black Diamond Carbon Cork Trekking Poles and I use them year-round. Some more affordable options are the Black Diamond Trailback Trekking Poles and the Black Diamond Trail Trekking Poles.
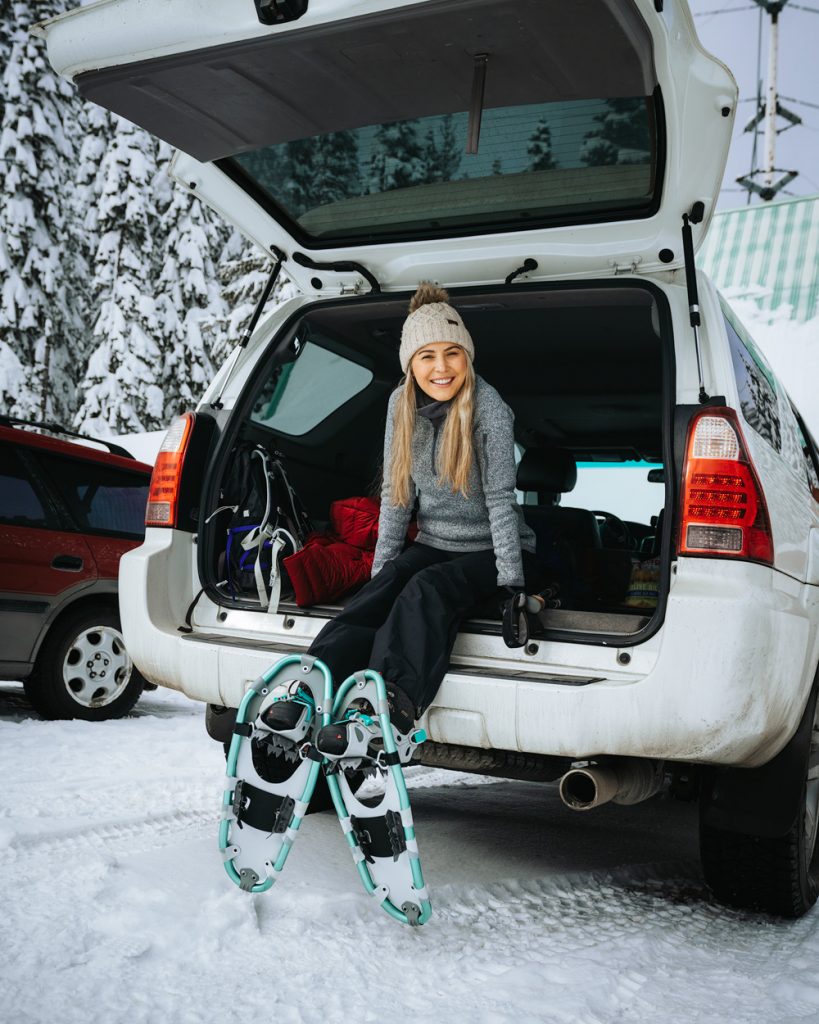
What Should I Pack For A Snowshoeing Trip?
There are some essentials to pack for any winter adventure. For snowshoeing, I would recommend the following:
- Day Pack: Choose one with a hip strap for increased comfort. I recommend the Osprey Tempest 30L Backpack.
- Water: You can either use a hydration bladder or a water bottle. Be mindful that water can freeze in winter so you may want to choose an insulated bottle like the Hydro Flask 32oz Wide Mouth Trail Lightweight Water Bottle.
- Snacks: Again, choose items that won’t freeze. Trail mix, fruit, granola bars, and bagels are good choices.
- Navigation: Pack a compass and printed map, a GPS device, and/or a navigation app on your phone (including downloading the offline map). I use the Gaia GPS app.
- Emergency Device: These can be pricey and you may not have one when first starting out, but they are definitely worth investing in once you have the means. I recommend the SPOT Gen4 Satellite GPS Messenger.
- First Aid Kit: Something lightweight for emergencies. I recommend the Adventure Medical Ultralight & Watertight Medical Kit.
- Emergency Blanket: A lightweight blanket for emergency warmth in the sudden cold. I recommend the Adventure Medical SOL Emergency Blanket.
- Fire Lighter or Matches: Again, for emergencies only. I recommend the Wolf and Grizzly Fire Set or regular matches.
- Hygiene Essentials: Pack some toilet paper or wet wipes, hand sanitizer, and a sealable bag to pack out any waste/trash.
- Headlamp: Even if you think you won’t be out after dark, you should carry a headlamp or flashlight for safety reasons. I recommend the Petzl Actik Core Headlamp.
- Sunscreen: This is a must for sunny days. The snow reflects the sun and you can end up with some nasty sunburn if you skip applying sunscreen.
- Chapstick: A cold weather must, no explanation needed.
- Clothing Layers: Pack any clothing items that you aren’t wearing or only taking for emergencies, e.g. your shell jacket and pants.
Tips For First Time Snowshoeing
Let’s talk about how to snowshoe for the first time. And by that I mean the actual movement and technique of snowshoeing. I will say that I didn’t research these things before first time snowshoeing and I managed just fine. You sort of just get a feel for it after a while. In saying that, it’s always a good idea to be prepared and will likely accelerate your learning curve.
How To Snowshoe On Flat Terrain
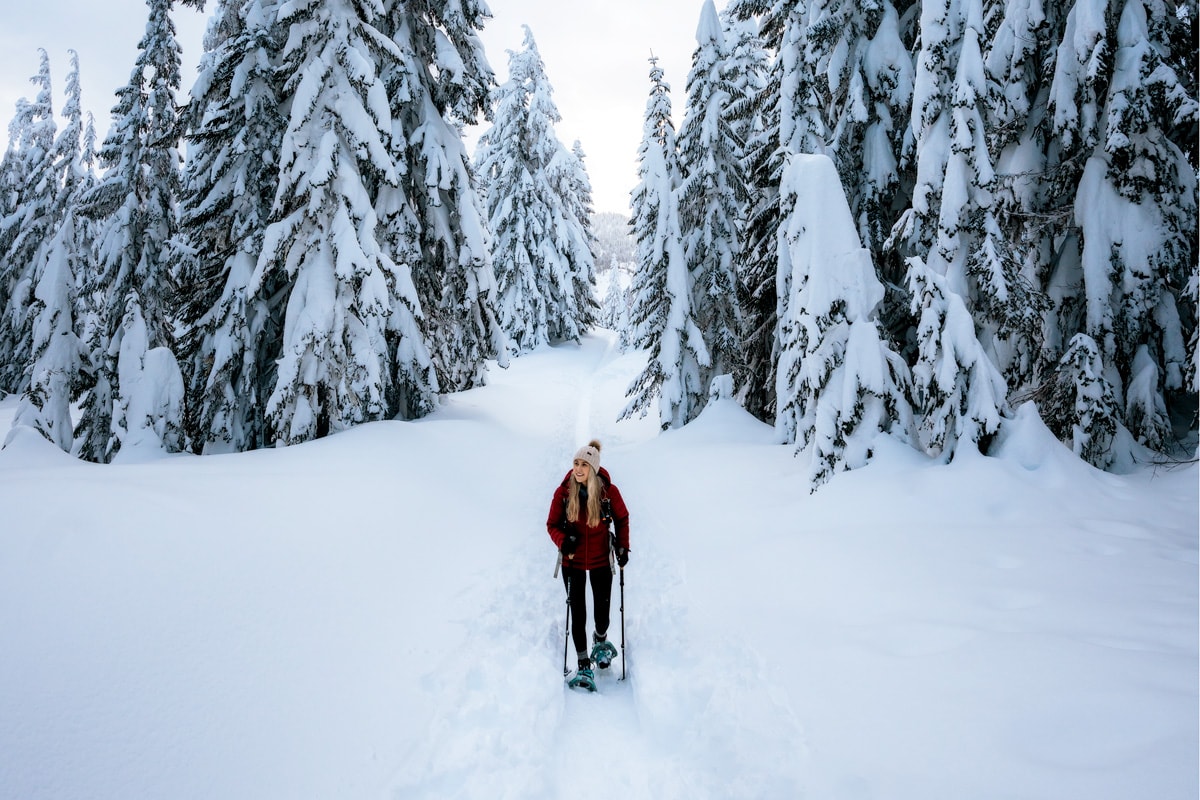
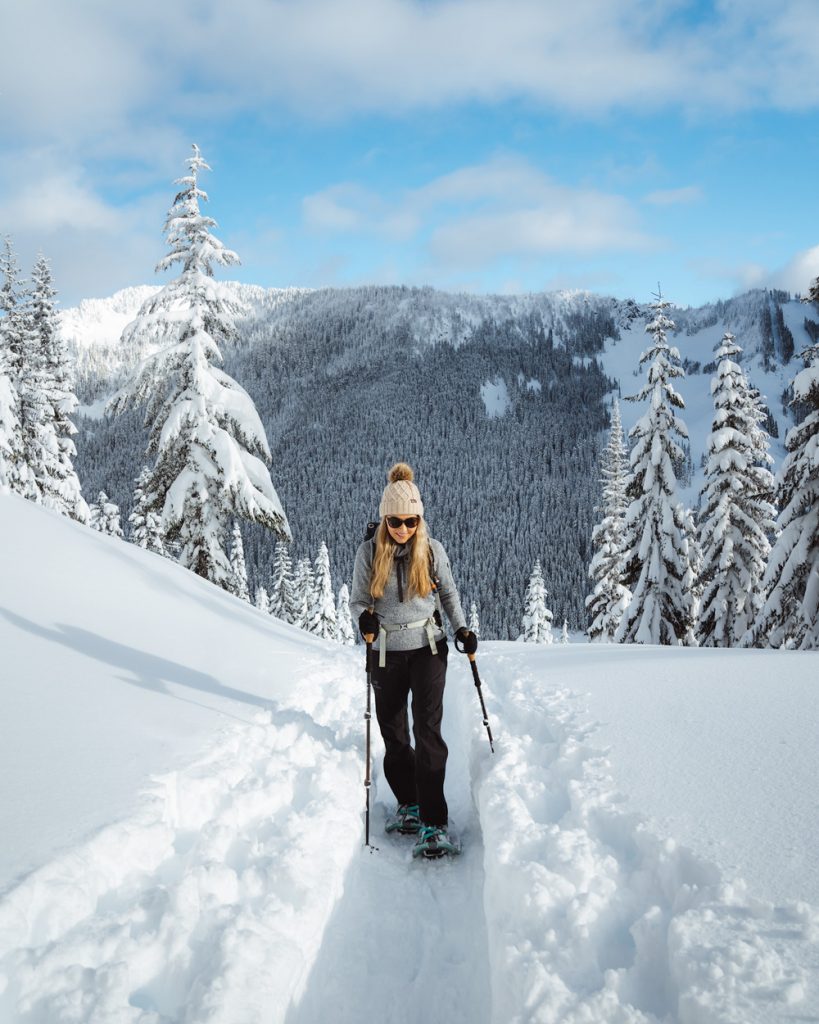
Snowshoeing on flat terrain should come naturally. It’s just like regular walking/hiking but with a slightly wider stance. This is so you avoid clipping the sides of your snowshoes and tripping up. If necessary, use your poles to keep balanced but you won’t need to press them into the snow very far. Generally, women get sorer after snowshoeing because we naturally have a narrower walking stance compared to men. So walking wider tends to leave us with tender hips and groin muscles, at least until we are used to it.
Pro tip – don’t attempt to walk backward in snowshoes! This will ultimately lead to you falling over haha.
How To Snowshoe Uphill
Walking uphill in snowshoes is similar to how you would usually hike uphill. You place more weight in the front of your shoe and you use your poles to help with upward momentum. On moderate to steep slopes, I would highly recommend using the heel lift feature of your snowshoes. Some snowshoes don’t have this but many do. Look for it under the heel. Flicking this up will hold your foot in an angled position so that you don’t have to work so hard for each step as you ascend.
How To Snowshoe Downhill
I won’t sugarcoat it, walking downhill in snowshoes does take some practice. I have taken a few tumbles when clipping my snowshoes, but the landing is nearly always soft, so don’t stress too much about mistakes. The key is to keep your poles planted in front of you, bend your knees, and move your body weight slightly back. Plant your heels in when you step and use your poles for balance (you may need to adjust them to be longer for the descent). Be mindful of keeping a wide stance and look out for any tree roots or rocks that could cause you to misstep. Remember that if the slope gets ready steep you can just sit down or even glissade down the hill (be safe if you choose to do this).
How To Correctly Use Snowshoe Poles
You definitely don’t need to use poles when snowshoeing for the first time, but I really do recommend it. They help maintain balance and make a big difference when going up or downhill. You’re essentially offloading some leg strain and taking on that effort with arm strength. I suggest choosing adjustable poles so that you can extend them for downhill travel and shorten them for uphill ascents if required.
How To Get Up After Falling Down
You may not take any tumbles when snowshoeing for the first time, but it is likely that you will fall at some point. This often occurs when you clip the slides of your snowshoes together or if you get caught on something like a branch. Descents are often more difficult than ascents or regular traversing, so that might be where you experience your first fall. Don’t stress, if you feel yourself falling, simply fall toward the uphill side or just sit down. The snow will likely be soft and your fall shouldn’t be painful.
Getting up can be a different story haha. If the snow is very powdery or deep then this could be a little challenging. Use your poles to propel yourself up or ask a friend to extend their pole for you to hold on to. If the snow is deep then make an X with your poles and press down on the middle point as a brace (so that you don’t keep falling deeper into the snow). Another option is to turn so that you’re facing upslope and then press off like you’re going uphill. This may be easier than trying to swing your body weight forward when you’re sitting in deep powder.
Following Snowshoe Trail Etiquette
Like any outdoor activity, it’s important to follow correct snowshoeing etiquette and to always respect others and nature. Here are some tips for trail etiquette when first time snowshoeing:
- Always follow Leave No Trace principles when snowshoeing. This goes for if you’re on an established trail or in the backcountry. Pack out all your trash and be respectful of other people recreating around you.
- Do your best to avoid snowshoeing on ski tracks/trails. Keep these trails smooth for skiers and do not enter areas that restrict snowshoers/hikers.
- Give way to hikers coming uphill and to faster hikers approaching from behind. Step to the side of the trail and let them pass. Always move off the trail for downhill skiers and snowboarders and be mindful that they can approach unexpectedly.
- Research trails ahead of time and make sure you’re prepared for the conditions. Purchase trail permits when required and follow local recreation rules/signs.
- Do not bring your pet on a trail if it is forbidden. Have them on a leash if it’s required, and always pick up after them.
- Unlike summer hiking, it’s generally considered okay to go off-trail when snowshoeing. This will depend on how much snowfall there has been. If there is enough snow coverage then you shouldn’t be disturbing any vegetation. If unsure, you should ask a local ranger for their recommendations on this.
Read next: Ultimate Guide to Winter Hiking and Camping
How To Stay Safe Snowshoeing
Like any outdoor activity, snowshoeing has some risks. There are also the added risks of it being winter and thus /more volatile conditions. To ensure you stay safe out on the trail, I have outlined some key things to keep in mind when snowshoeing:
Have The Correct Gear
It’s so important during winter to have adequate gear. This is because getting caught out in a winter storm can have more severe life or death consequences than say in summer. There is just less room for error. Refer to the above packing recommendations and be sure to always carry the 10 Essentials.
Know How To Navigate
Trail navigation is very important, for obvious reasons. A great starting place is purchasing or printing a map for the area you will be hiking and camping (keep it inside a protective/waterproof sleeve). It’s also a good idea to bring along a compass and have some basic skills to use it. In addition, there are phone apps that allow for offline navigation/maps, such as Gaia. Lastly, you can consider investing in a GPS device for navigation purposes. I usually try to hike with a combination of a paper map and a phone app with offline maps downloaded.
Research The Conditions
Always research conditions before you head out snowshoeing. When did it snow last? How deep is the snow? What is the weather forecast? What time is sunset? Is there an avalanche warning?
Understand Avalanche Safety
You should always research avalanche safety before hitting the trails in winter. This is a great article on what to look for and how to be prepared for avalanches. You could also consider getting your Avalanche 1 Training. Courses are offered all around the country, here is some more information.
Know Your Limits
As with all outdoor recreation, it’s important to understand your limits. If it’s your first time snowshoeing then choose a short, flat trail, and don’t push yourself too much. If you know that 5 miles is your max during summer hikes, then maybe aim for 3 miles max when snowshoeing. At least to begin with anyway. Turn around if you are worried about the conditions or your abilities to safely continue. Don’t be afraid to ask for help, but preferably don’t put yourself in situations where you will need help.
Share Your Trail Plans
Tell someone where you will be snowshoeing and when you will be home. Consider leaving your travel plans on a note under your driver’s seat as this is something rangers look for if they find an empty car.
You can also consider carrying an emergency device. They are generally expensive but can also save your life in a precarious situation. Over the past 5 years, my husband and I have tried both the Garmin InReach Explorer+ and the SPOT Gen4 Satellite GPS Messenger. I personally prefer the lightweight nature of the SPOT Gen4 Satellite GPS Messenger and it’s also more affordable. We didn’t purchase an emergency device for quite some time after we got into hiking and backcountry camping, but it now gives us peace of mind on longer treks, more risky hikes, and solo adventures.
Read next: 12 Best National Parks to Visit in Winter
Leave No Trace and Snowshoeing
As touched on earlier in the post, following Leave No Trace principles is very important when you’re recreating outdoors. Please be sure to educate yourself on proper winter hiking and camping etiquette before heading out. Listed below are some winter-specific guidelines taken directly from the Leave No Trace Center for Outdoor Ethics:
Plan Ahead and Prepare
- Know the area and what to expect; ALWAYS check avalanche and weather reports prior to departure. Consult maps and local authorities about high danger areas, safety information, and regulations for the area you plan to visit.
- Prepare for extreme weather, hazards, and emergencies.
- Monitor snow conditions frequently. Carry and use an avalanche beacon, probe, and shovel in areas that require it.
- Educate yourself by taking a winter backcountry travel course.
- Visit the backcountry in small groups, but never alone. Leave your itinerary with family or friends.
- Repackage food into reusable containers.
- Use a map and compass to eliminate the need for tree markings, rock cairns, or flagging.
Travel and Camp On Durable Surfaces
- Stay on deep snow cover whenever possible; in muddy spring conditions, stay on snow or walk in the middle of the trail to avoid creating new trails and damaging trailside plants.
- Travel and camp away from avalanche paths, cornices, steep slopes, and unstable snow.
- Choose a campsite on durable surfaces- snow, rock, or mineral soil- not tundra or other fragile vegetation.
- Camp at a safe, stable site out of view of heavily-traveled routes and trails.
- Keep pollutants out of water sources by camping at least 200 feet (70 adult steps) from recognizable lakes and streams- consult your map.
Dispose of Waste Properly
- Pack It In, Pack It Out. Pack out everything you bring with you. Burying trash and litter in the snow or ground is unacceptable.
- Pick up all food scraps, wax shavings, and pieces of litter. Pack out all trash: yours and others.
- Pack out solid human waste. In lieu of packing it out, cover and disguise human waste deep in the snow away from travel routes and at least 200 feet (70 adult steps) from water sources.
- Use toilet paper or wipes sparingly. Pack them out.
- If necessary, use small amounts of biodegradable soaps for dishes. Strain dishwater into a sump hole.
- Inspect your campsite for trash and evidence of your stay. Dismantle all snow shelters, igloos, or windbreaks. Naturalize the area before you leave.
Leave What You Find
- Leave all plants, rocks, animals, and historical or cultural artifacts as you find them.
- Let nature’s sounds prevail. Keep loud voices and noises to a minimum.
Minimize Campfire Impacts
- Campfires cause lasting impacts in the backcountry. Always carry a lightweight camp stove for cooking.
- Use dead downed wood if you can find it. Put out all fires completely. Widely scatter cool ashes.
- Do not cut or break limbs off live, dead, or downed trees.
Respect Wildlife
- Winter is an especially vulnerable time for animals. Observe wildlife from a distance. Do not follow or approach them.
- Never feed wildlife or leave food behind to be eaten.
- Protect wildlife and your food by storing rations and trash securely.
Be Considerate of Other Visitors
- Be respectful of other users. Share the trail and be courteous.
- Yield to downhill and faster traffic. Prepare for blind corners.
- When stopped, move off the trail.
- Separate ski and snowshoe tracks where possible. Avoid hiking on ski or snowshoe tracks.
- Learn and follow local regulations regarding pets. Control dogs. Pack out or bury all dog feces.
Final Thoughts On Snowshoeing For Beginners
I hope this guide gave you some helpful information about how to snowshoe for the first time. Feel free to leave your beginner snowshoeing tips in the comments below and we can all learn together!
PIN to refer to later!


Great tips! I’ve been wanting to try snowshoeing for a while, and this post makes it seem so approachable. I especially appreciate the packing list; it’s easy to forget the essentials. Can’t wait to hit the trails!
Great guide for beginners! Snowshoeing looks simple, but learning the right techniques, choosing proper gear, and understanding snow conditions really makes the first experience safer and more enjoyable. Tips like pacing yourself and practicing balance are especially helpful for newcomers. Before planning a trip, I also like checking the snowday predictor website to get an idea of weather and snow conditions — it makes preparation much easier.
Hi Renee,
Do the companies pay you to sell their products in your blog?
If so how do I build a contract with the companies?
Cheers
I just bought a pair of snowshoes this past season and wish I had seen this first. I definitely learned a few things for next season. Thanks for providing all this information in one place!