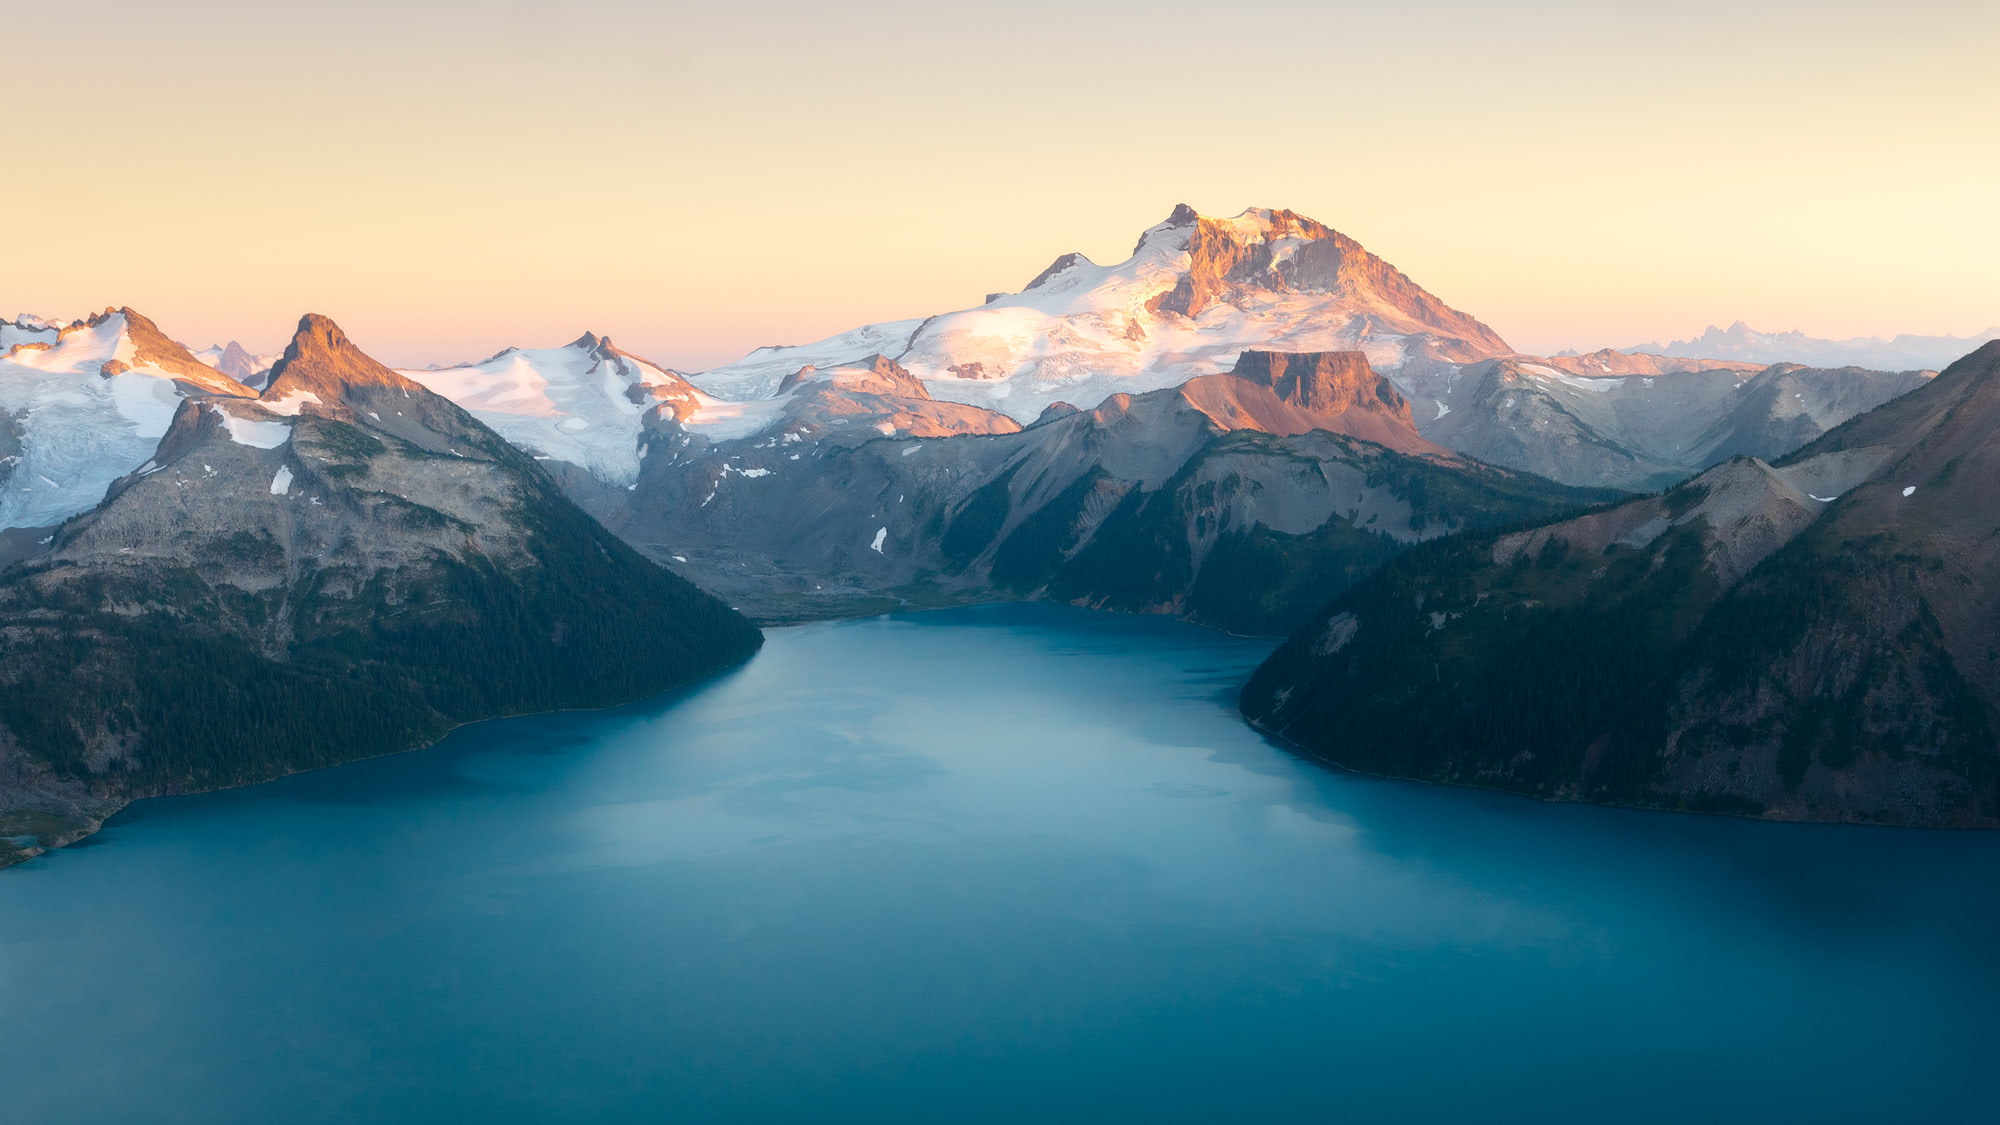
Panorama Ridge is one of those WOAH locations that you see online and just know you have to experience it for yourself. Located in Garibaldi Provincial Park, this epic hike is not the easiest to get to. In fact, it’s quite challenging! (Don’t let that deter you though!)
In this blog post I have featured everything you need to know about hiking Panorama Ridge. You’ll find all the must-know information, a description of my experience hiking the trail, some questions to help you decide if you should take on the challenge, packing suggestions, and more!
Garibaldi Provincial Park: Panorama Ridge Overnight Backpacking Trip
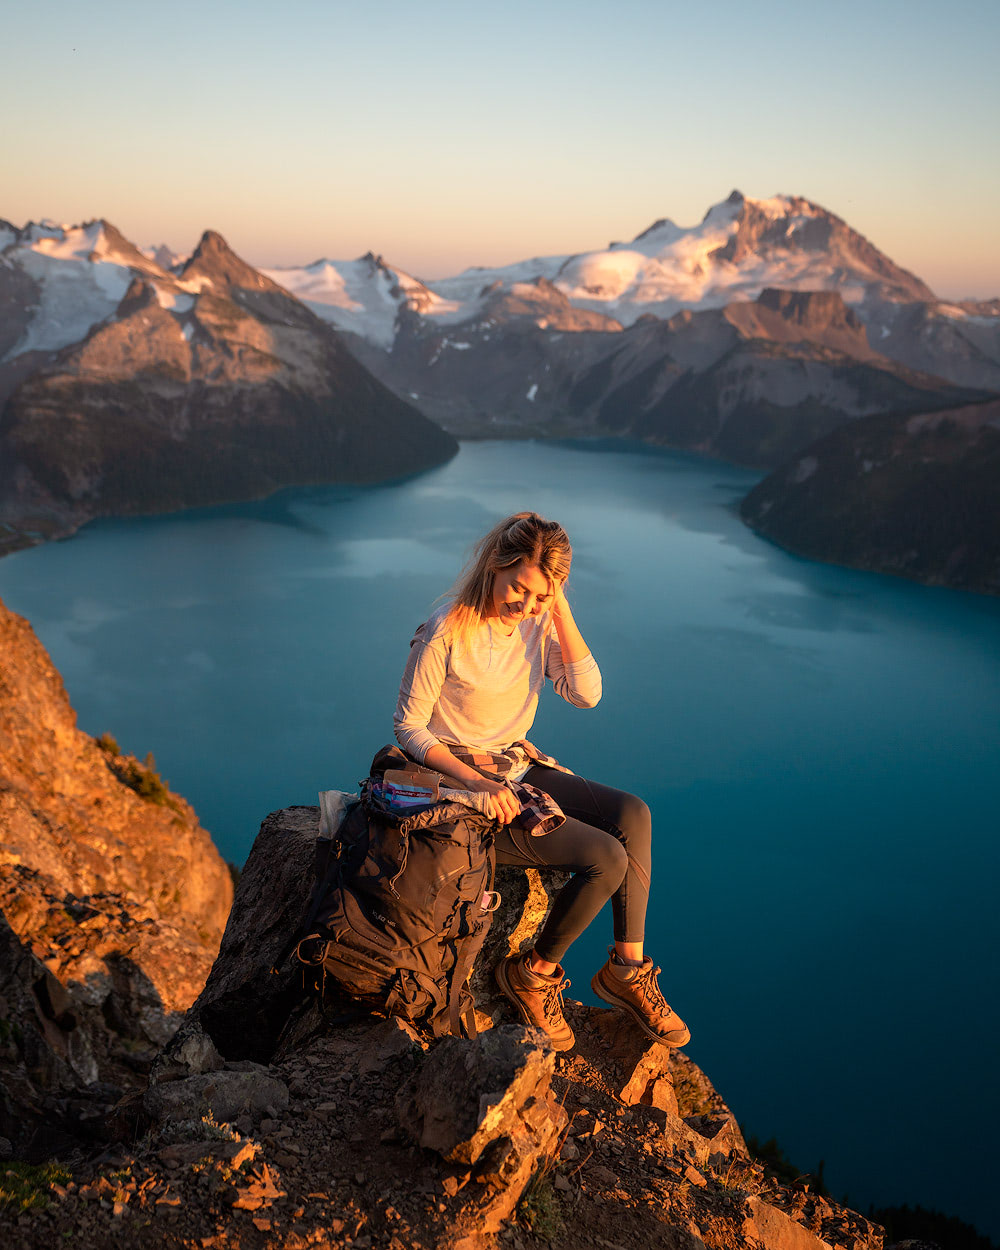
This month I’ve partnered up with Backcountry.com to inspire you to get outdoors and explore beautiful places like Panorama Ridge. To help you gear up, Backcountry are offering my readers 15% off first-time orders (use code RENEE15)! They also have free 2-day shipping on orders over $50, super easy returns, and access to 24/7 advice from their amazing Gearheads.
Must-Know Panorama Ridge Information
I found it difficult to find all this information in one spot… so in an effort to make it easier for you all, below is some must-know information for planning a hiking or backpacking trip to Panorama Ridge!
Location: Garibaldi Provincial Park, British Columbia, Canada.
Distance: 32 km / 20 miles * (round trip), with 1575 m / 5170 ft elevation gain.
Popularity: high, you won’t be the only one out on this trail!
When to go: July through October, less busy on weekdays.
Camping: allowed at Taylor Meadows and Garibaldi Lake with a reservation and permit.
Toilets: at parking lot, Taylor Meadows, the Black Tusk junction, and Garibaldi Lake.
Parking: at the Rubble Creek parking lot (arrive early), or catch the Parkbus from Vancouver.
Dogs: not permitted at Panorama Ridge or on any of the other trails in Garibaldi Provincial Park.
Cost: free parking and our camping permit at Taylor Meadows cost $26.30 CAD for 2 adults.
Bears: this is bear country, be prepared (this article is helpful reading).
Keep in mind: garbage facilities are not provided, pack out what you pack in.
* These figures is based off our GPS app (Gaia). You will see multiple different numbers online for this hike, but this is what we tracked.
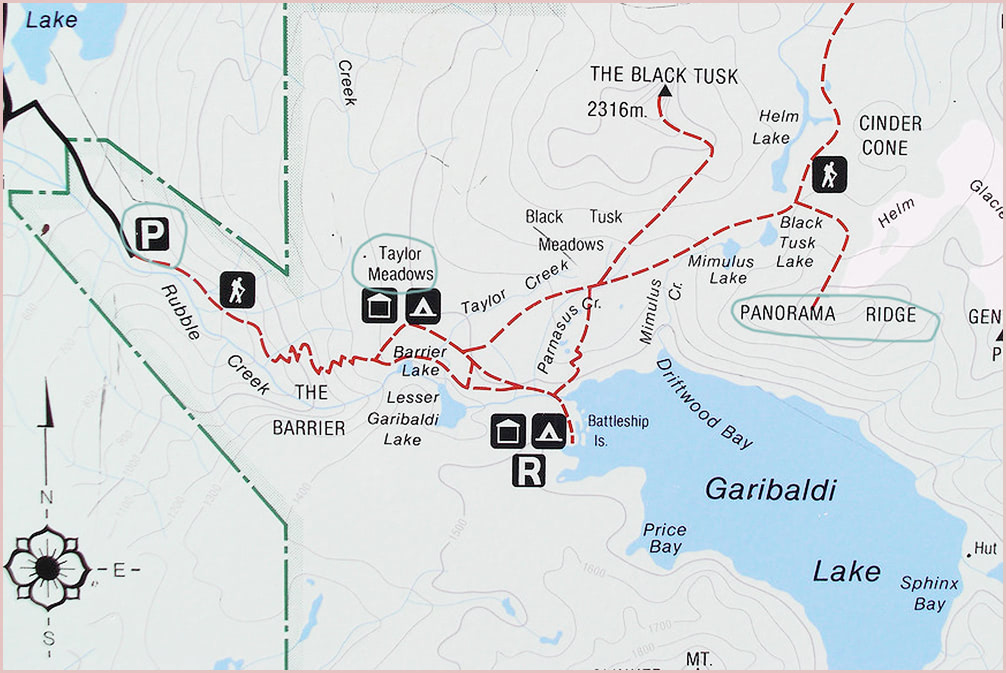
Here is a map to orientate yourself with the trail to Panorama Ridge:
Suggested Route
There are a couple of different routes you can take to hike Panorama Ridge. We opted to spend 1 night camping at Taylor Meadows, thus splitting the hike over 2 days. The reasons we did this are that the Taylor Meadows route is the most direct, so that we could stay up on the ridge until sunset, and to reduce the miles we would have to cover in 1 day. This is how our route looked:
Day 1: covered 15 miles / 24 kms
- 10:30 am * – depart from Rubble Creek parking lot.
- 1:00 pm – arrive at Taylor Meadows, set up camp, eat lunch, filter water.
- 3:00 pm – begin our hike up to Panorama Ridge.
- 6:00 pm – arrive at Panorama Ridge, cook dinner, watch sunset.
- 9:00 pm – hike back down to Taylor Meadows in the dark.
Day 2: covered 5 miles / 8 kms
- 8:00 am – wake up, have breakfast, pack up camp.
- 9:00 am – begin the hike down to Rubble Creek parking lot.
- 11:00 am – arrive back at the car.
* these times are based on our hiking ability, the amount of breaks we took etc. Please use this as a guide and ensure you tailor it to your needs.
You cannot camp up on Panorama Ridge. Sadly I have seen many people do it and post about it on their blogs and Instagram accounts (even the night we went there was a couple camping on the ridge). Please do the right thing and reserve a camp spot at either Taylor Meadows or Garibaldi Lake. Don’t break the rules for the ‘gram… it ruins it for everyone.
Our Experience
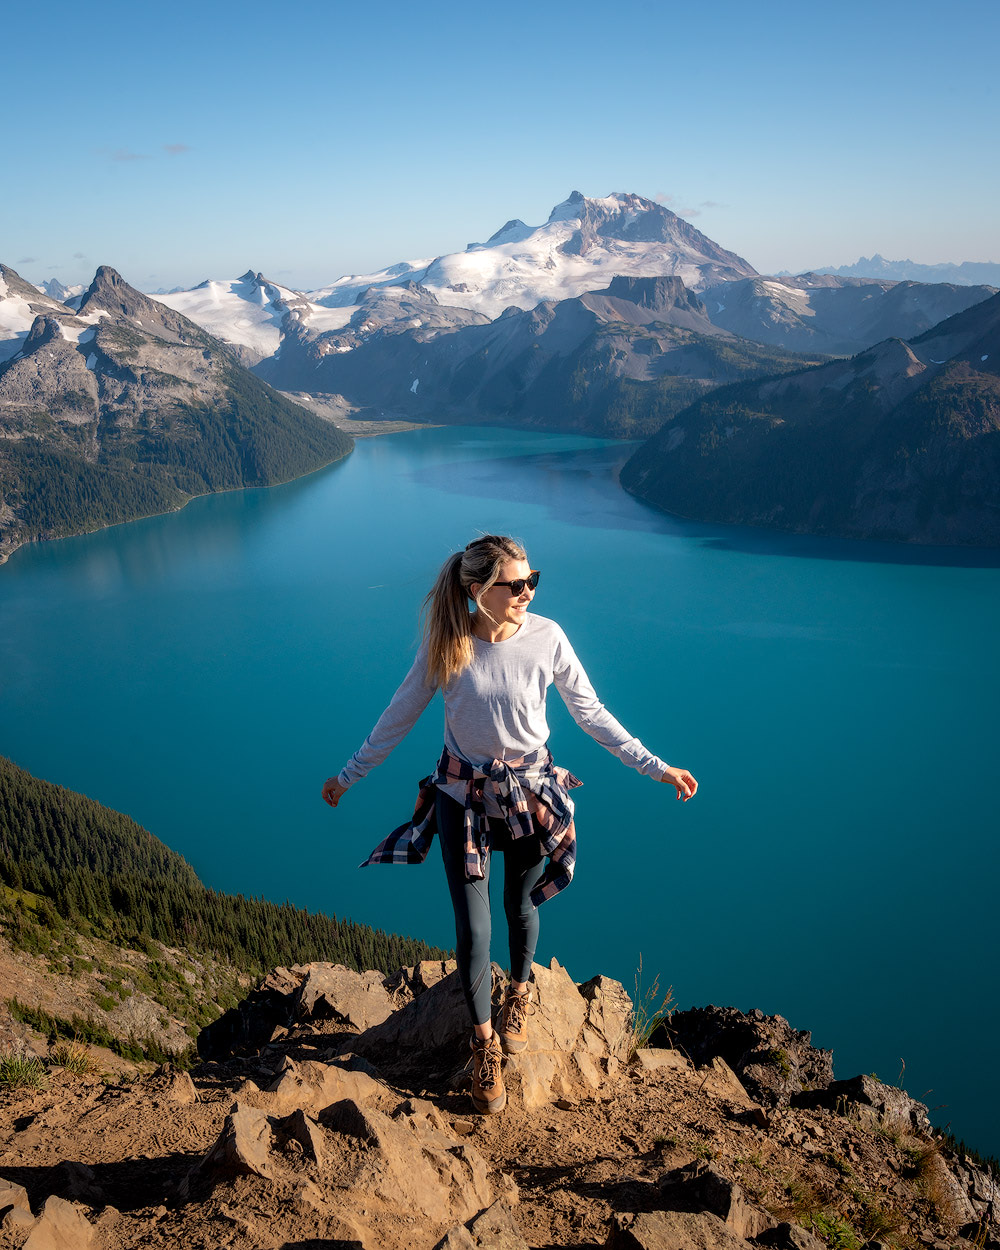
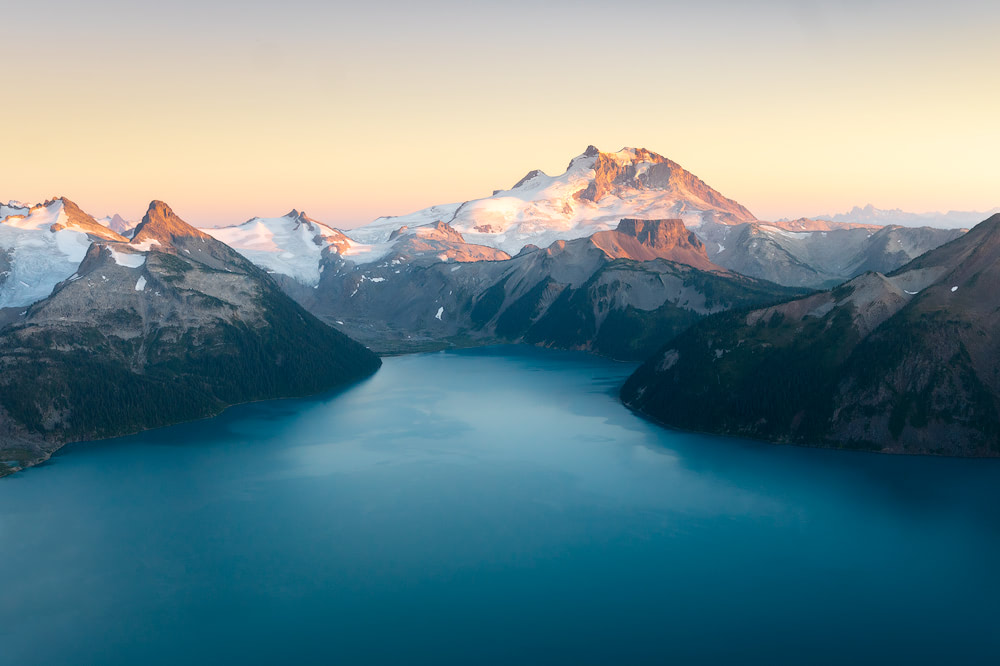
Overall, we had a really wonderful time hiking Panorama Ridge. In fact, it is the most beautiful hike I’ve done in British Columbia to date and now I can finally see what all the fuss is about! I also wanted to chat through my experience in more detail because I know I find these kinds of trip reports to be helpful when I am planning a hike.
Hiking to Taylor Meadows
The trail covers 7.5 km / 5 mile and 1050 m / 3445 ft in elevation gain from the Rubble Creek parking lot to Taylor Meadows. There is a section that has 20 steep switch backs that I found myself huffing and puffing on… though, to be honest, it wasn’t nearly as hard as I thought it was going to be. I also loved that this section of the trail was nearly entirely shaded by trees and the path was nice and wide for passing other hikers. Arriving into Taylor Meadows was absolutely gorgeous!
Hiking to Black Tusk Junction
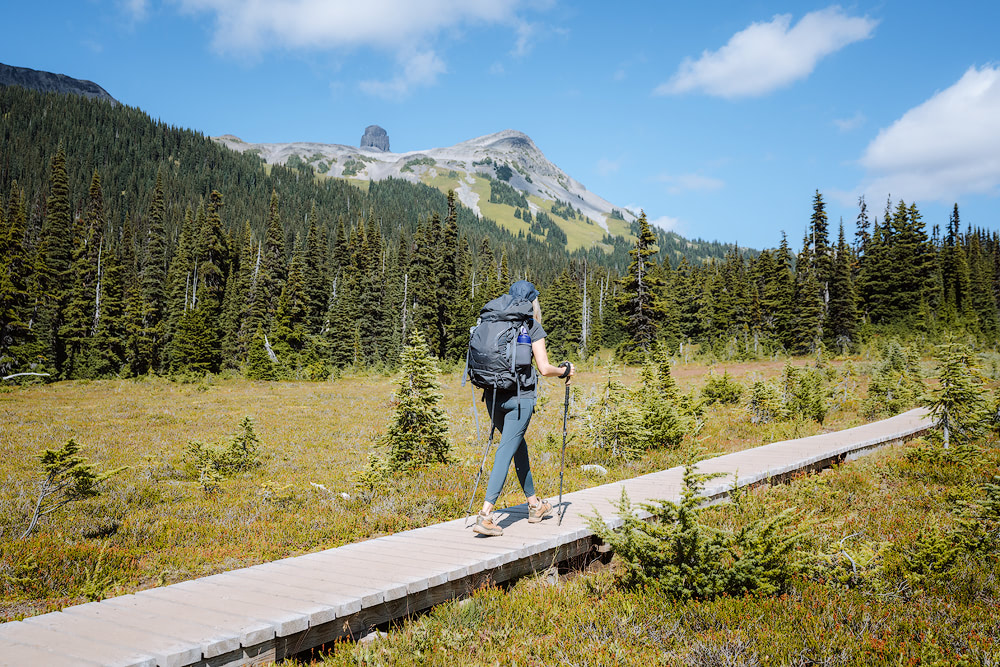
We dropped some weight at Taylor Meadows when we set up our tent etc. So this next section of the trail was a little easier on the body. It was also incredibly beautiful and I very much enjoyed hiking through the lush meadows with views of Black Tusk in the distance. In fact, we came across a black bear just off the trail but he was not fazed by us (we made noise so he knew we were there and had bear spray ready just in case).
Hiking up to Panorama Ridge
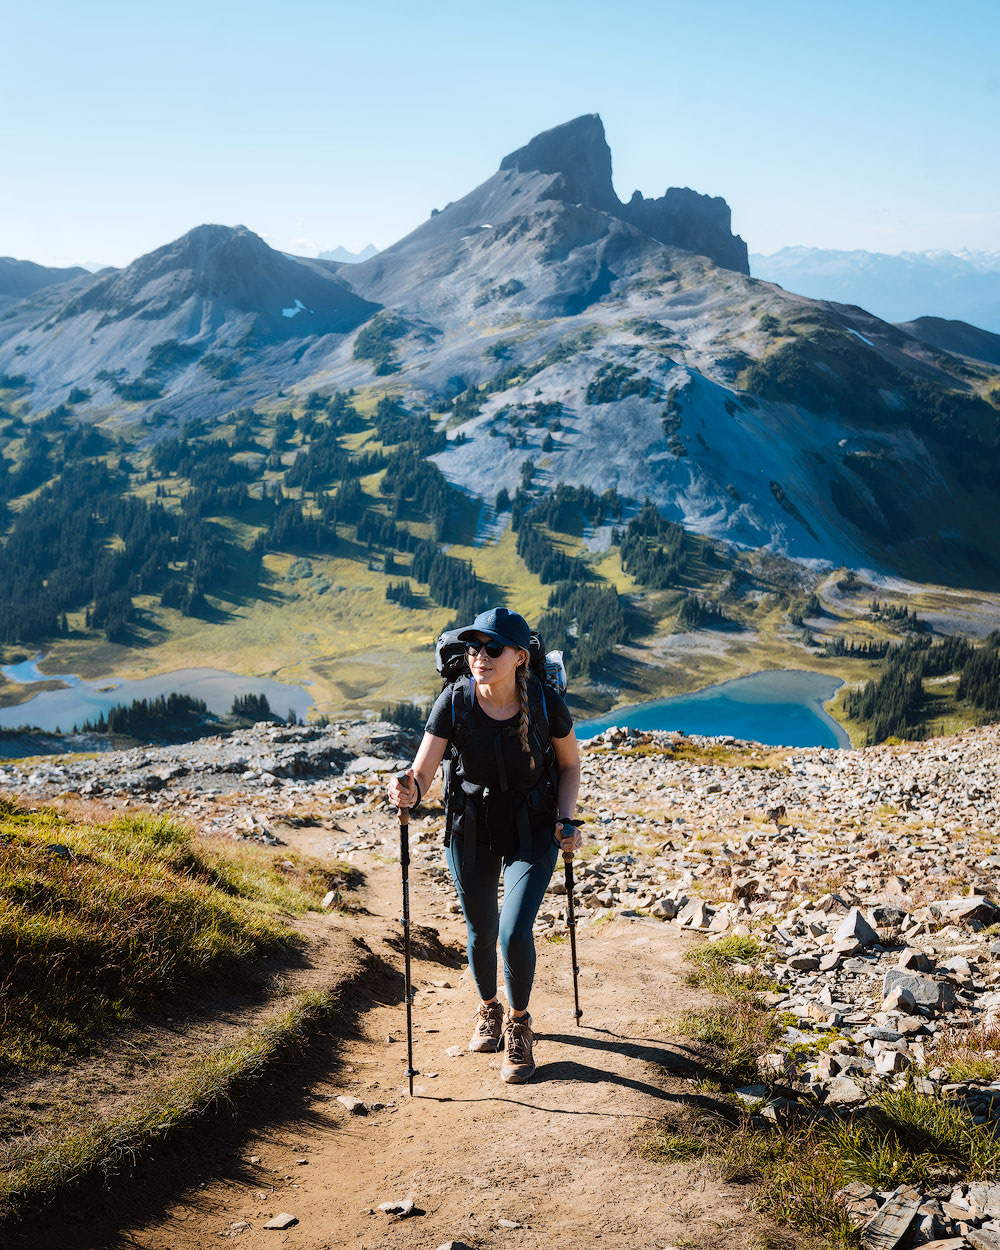
By this point of the hike I was pretty tired. We went into the trek already a bit sleep deprived and a little sore from some things in the days prior… so that wasn’t ideal haha. The hike between Black Tusk Junction and Panorama Ridge wasn’t too far but I felt this section more than any other point of the hike. Walking on rocks isn’t always easy and by this stage we were at about 2,100 m / 7000 feet above sea level (making it slightly harder to breathe if you aren’t used to being at altitude). Route finding was not a challenge in the day light and also there were still other hikers around at this point.
Hiking Down in the Dark
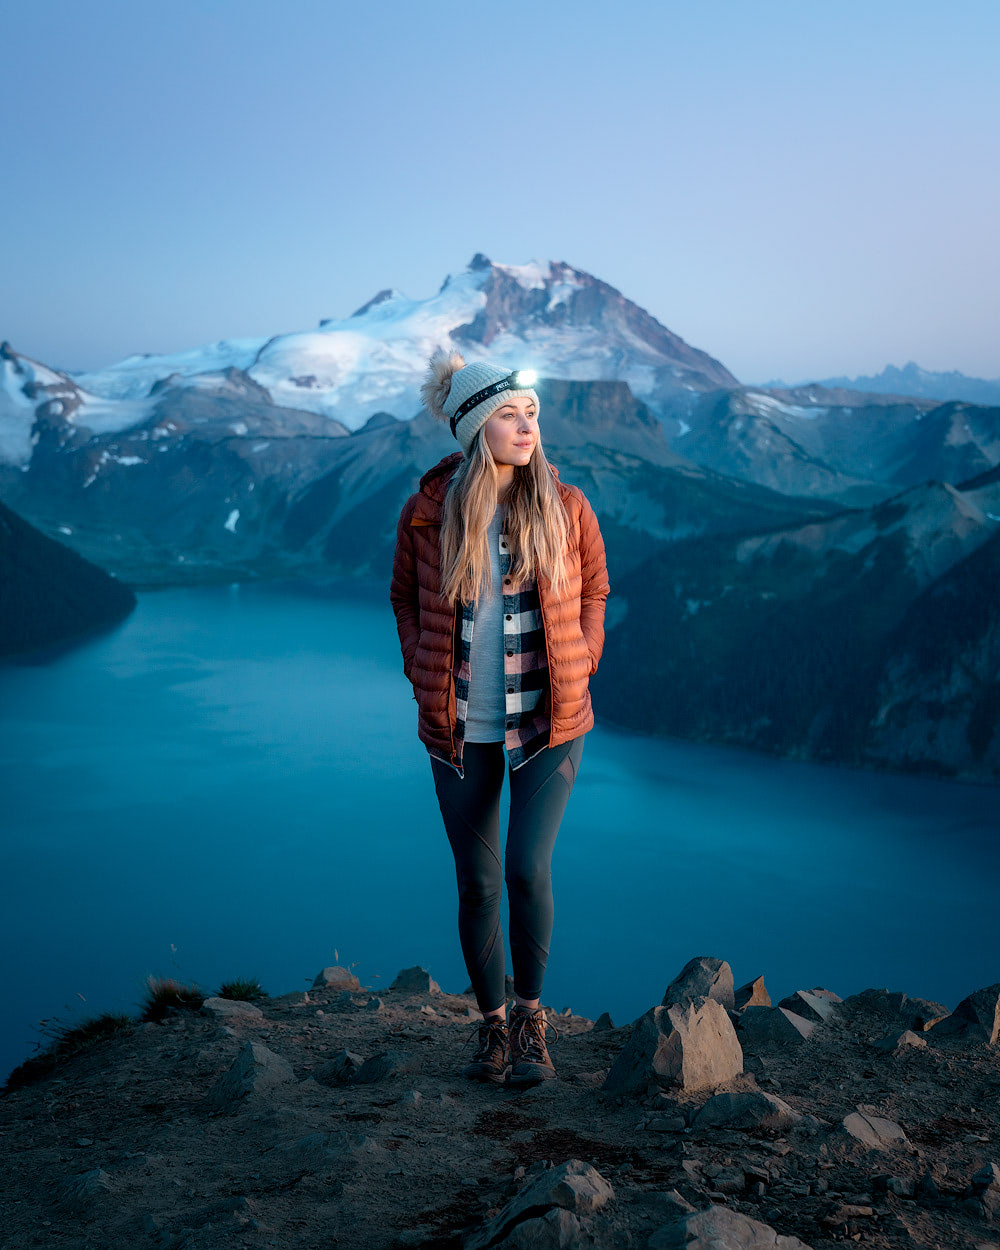
We stayed up on Panorama Ridge until sunset (and a little into blue hour) as we are photographers and wanted to capture those scenes. It was a beautiful sight to witness, though it was a little challenging at times to then hike back down the rock pile in the dark. We had headlamps to help guide the way but the reflective markers often didn’t illuminate and it took some route finding at times. I would suggest getting down this section before dark if you are solo hiking or don’t have much experience with route finding. But once down the rocks we had a smooth hike back to camp.
Hiking back to Rubble Creek
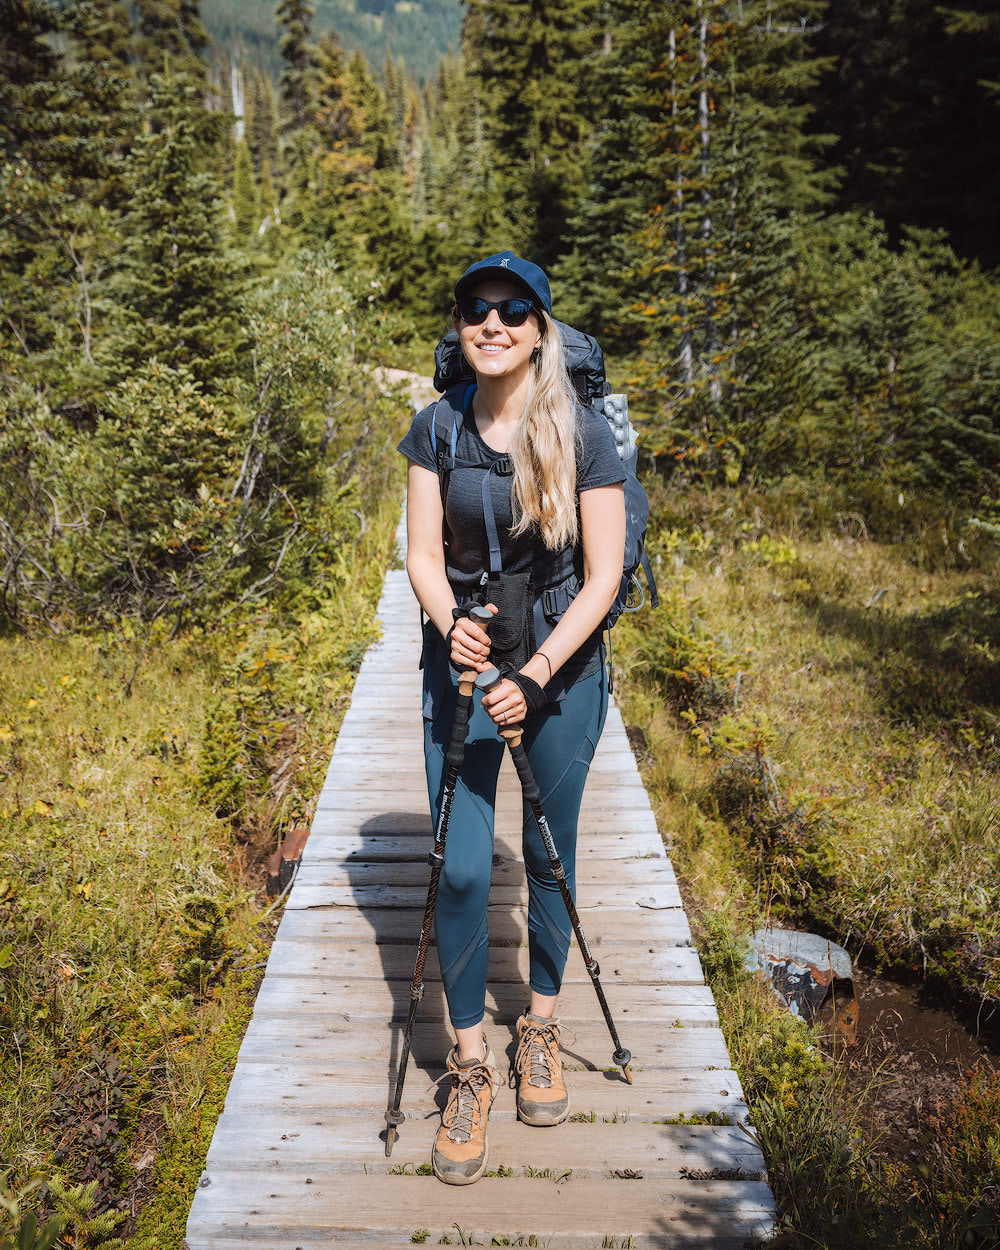
I was a little stiff upon waking the next morning and definitely felt the jarring downhill descent when we first set off. Having trekking poles always makes a big difference for me when hiking down steep sections of trail and I was very happy I packed them for this backpacking trip. Our hike down to the parking lot was uneventful, though again shaded nicely from the sun. As always, it was an amazing feeling to get back to the car and take off my hiking boots!
Should you hike Panorama Ridge?
I am a relatively experienced hiker. I’ve hiked countless mountain trails all around the world, taken 10 day treks in the Alaskan backcountry, and also experienced hiking in bear country. In saying that, I still found this backpacking trip to Panorama Ridge to be quite challenging. My feet were pretty sore once we got down to the car and I was also very stiff the next day. In addition, we did come across multiple people who didn’t look prepared to be out there and were struggling to keep going by about the halfway point.
The questions below should help you think about whether or not you are fit enough and prepared to hike Panorama Ridge. I am not trying to scare you off, I simply want you to know what you’re getting into. This hike isn’t one you “start out” with, it’s one you progress to after hiking other trails and also getting some experience in the backcountry.
- Have you hiked a 15+ mile / 20+ km trail before?
- Have you ever gone up and down that amount of elevation in one day?
- Do you have any injuries or areas prone to soreness after extended periods of hiking?
- Do you have the required gear to ensure you will be safe?
- Do you have a buddy to hike it with? (with equal or more experience than you)
- Have you read up on hiking in bear country or experienced it before?
Packing Suggestions
Here are some packing suggestions for those wanting to take a similar overnight trip in Garibaldi Provincial Park, including links to specific gear I personally use and love. But if you are just day hiking to Panorama Ridge then you can disregard the camping gear suggestions. I would also suggest you take the time to read through my in-depth hiking and backcountry camping blog posts, they go into more detail about planning and packing considerations!
Hiking Gear
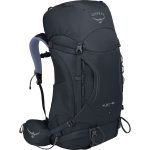
- Backpack: Osprey Packs Kyte 46L Backpack (women’s), Osprey Packs Exos 48L Backpack (unisex)
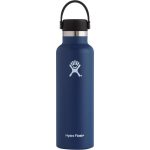
- Reusable water bottle: Hydroflask Bottle, Wide Mouth Nalgene Bottle
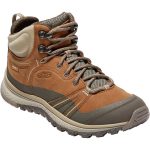
- Hiking boots: KEEN Terradora Leather Mid Waterproof Boot (women’s), Salomon X Ultra 3 Mid GTX Hiking Boot (men’s)
- Hiking socks: Icebreaker Hike Plus Light Cushion Sock (women’s), Icebreaker Hike Lite Crew Sock (men’s)
- Lightweight top: Icebreaker Sphere SS Low Crewe Shirt (women’s), Icebreaker Tech Lite Short-Sleeve Crew Shirt (men’s)
- Hiking pants: Arc’teryx Oriel Legging (women’s), Arc’teryx Lefroy Pant (men’s)
- Warm jacket: Arc’teryx Cerium LT Down Jacket (women’s), Backcountry Silver Fork 750 Down Jacket (men’s)
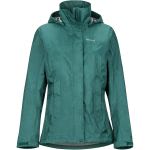
- Rain Jacket: Marmot PreCip Eco Rain Jacket (women’s), Patagonia Torrentshell Jacket (men’s)
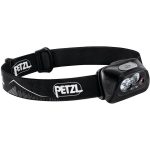
- Head lamp: Petzl Actik Headlamp (especially if you plan to hike in the dark)
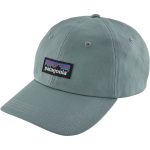
- Sun hat: Patagonia P-6 Label Trad Cap, Patagonia Tech Sun Booney Hat
- Sunglasses: Smith Caper Chromapop Polarized Sunglasses, Sunski Foothills Polarized Sunglasses
- First aid kit: Adventure Medical Adventure First Aid Series Medical Kit
- Water filter: SteriPEN Steripen Classic 3 Handheld Water Purifier, Katadyn Micropur Purification Tablets
- Bear spray: Counter Assault Bear Deterrent Spray with Belt Holster
- Bug spray & Sunscreen: find these at your local grocery store
Camping Gear
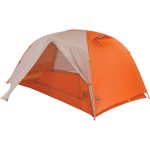
- Tent: Big Agnes Copper Spur HV UL 2 Tent
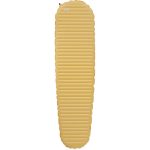
- Sleeping pad: Therm-a-Rest NeoAir XLite Sleeping Pad
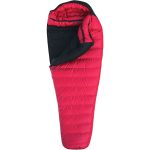
- Sleeping bag: Western Mountaineering Apache MF 15 Degree Sleeping Bag (my absolute favorite because I sleep cold even in summer!)
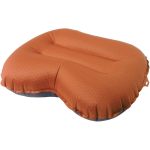
- Pillow: Exped Air Pillow UL (cover with your down jacket and then a Buff)
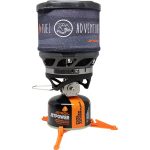
- Stove: Jetboil MiniMo Stove (and don’t forget gas to go with it)
- Camp meals: Good To-Go Pad Thai (I also love Mary Jane Farms meals)
- Eating spork: Sea To Summit Titanium Spork
- Lightweight mug: GSI Outdoors Infinity Backpacker Mug
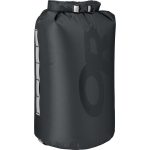
- Food storage bag: Outdoor Research Durable Dry Sack (this is to hang)
- Sleeping layers: Backcountry Spruces Merino Baselayer Crew and Bottom (also come in men’s)
Optional
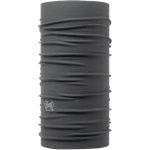
- Buff: Buff Original Buff – Solid
- Trekking poles: Black Diamond Alpine Carbon Trekking Poles
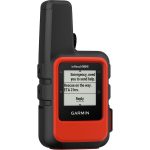
- Emergency device: Garmin inReach Explorer+, Garmin InReach Mini
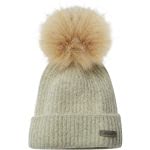
- Beanie: Columbia Winter Blur Pom Pom Beanie, Fjallraven Byron Beanie
- Gloves: The North Face Etip Glove (women’s), or there is also a unisex version
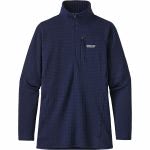
- Fleece layer: Patagonia R1 Fleece Pullover (women’s), Patagonia R1 Fleece Pullover (men’s)
- Light wind jacket: Backcountry Canyonlands Lightweight Wind Jacket (women’s), Arc’teryx Squamish Hooded Jacket (men’s)
Don’t forget – for 15% off your first Backcountry.com order, use code RENEE15
Hiking in Bear Country
We spotted a black bear close to the trail on the first day of this hike and then we came across numerous hikers that had had (uneventful) bear encounters that same day. So I would suggest you read up on hiking and camping in bear country (this article is a good place to start). Some precautions we took were:
- Carrying bear spray as a ‘just-in-case’ measure
- Making noise as we hiked, especially before corners and near creeks
- Stayed alert to sounds (no headphones/earbuds)
- Hiking in a group of 2 people
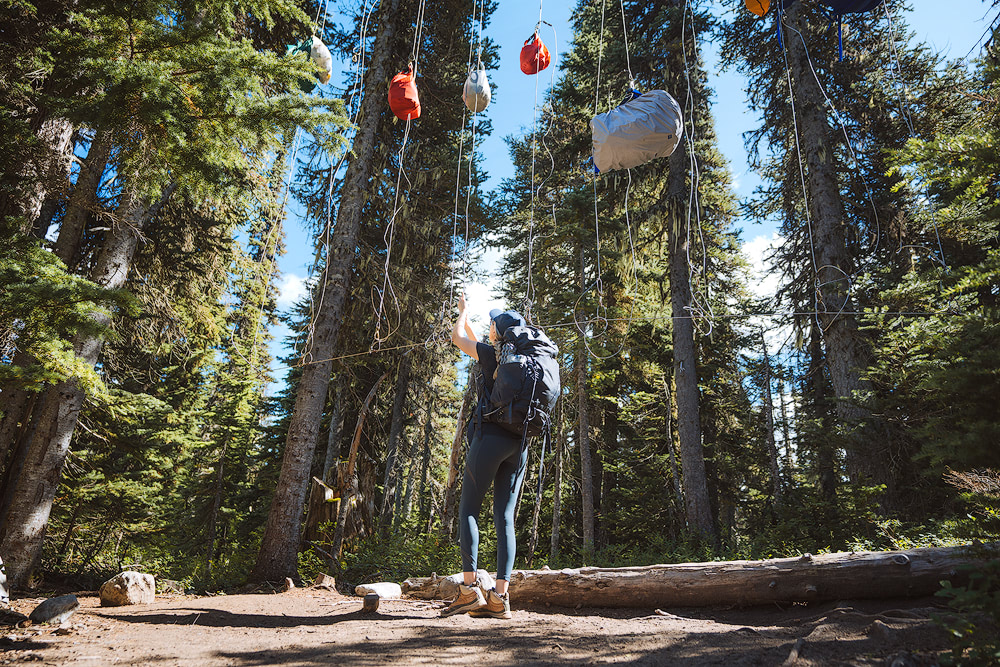
- Caching our food correctly at camp
- Wore strong headlamps when hiking at night
When we came across that black bear we stopped to access the situation, stayed calm, and talk in a calm but firm voice to the bear. In fact, there was another couple trying to come down the trail so we met halfway and passed the bear as a group of four (all whilst chatting to the bear so he knew we were there). The bear was about 60 feet off the trail and was not fazed by us, though we did have our bear spray handy just in case).
Leave No Trace
Before you go… if you’re going to be out in nature it’s important that you strive to protect it and also follow Leave No Trace (LNT) principles. So please be sure to educate yourself on proper etiquette before heading into the national park. Listed below are some guidelines taken directly from the Leave No Trace Center for Outdoor Ethics, known as The Seven Principles.
- Plan ahead and prepare – read more
- Travel and camp on durable surfaces – read more
- Dispose of waste properly – read more
- Leave what you find – read more
- Minimize campfire impacts – read more
- Respect wildlife – read more
- Be considerate of other visitors – read more
Save on Pinterest to read later!
More Adventure Inspiration!
Top 6 Must-See Canadian Rockies Lakes
Couples Adventure Getaway to British Columbia, Canada
Holy Grail Hiking and Camping Gear – 2019 Edition
Get Outside: A Beginners Guide to Backcountry Camping
Get Outside: A Beginners Guide to Hiking
Disclaimer: Thank you to Backcountry for collaborating on this blog post. As always, all opinions are truthful and my own. The offer of 15% off does not apply on top of any other offer or discount, and it’s one use per customer. This post contains some affiliate links, which means if you buy something my blog will receive a small commission at no extra cost to you.




Thanks for sharing Renee! Pics are amazing as always! I really like the legging (in the color navy) you are wearing in most photos of the blog. Do you mind sharing with me the brand of the legging?
Thank you!! Those leggings are by Lululemon ☺️
Hi! Do you need to bring bear cans on this hike or are these bear lockers/ bear hangs at Taylor Meadows?
Brilliant info and photos – thks for sharing !
Glad you liked it 🙂
Another amazing blog Renee. The photos of this hike are epic and all the info is super helpful.
Thank you!!
Thanks for sharing! Very informative and your pictures are amazing!
Thank you, glad you found it to be helpful Kenneth 🙂